My first small restauration - a small paint job, 3D printing and a mechanical repair
List of defects
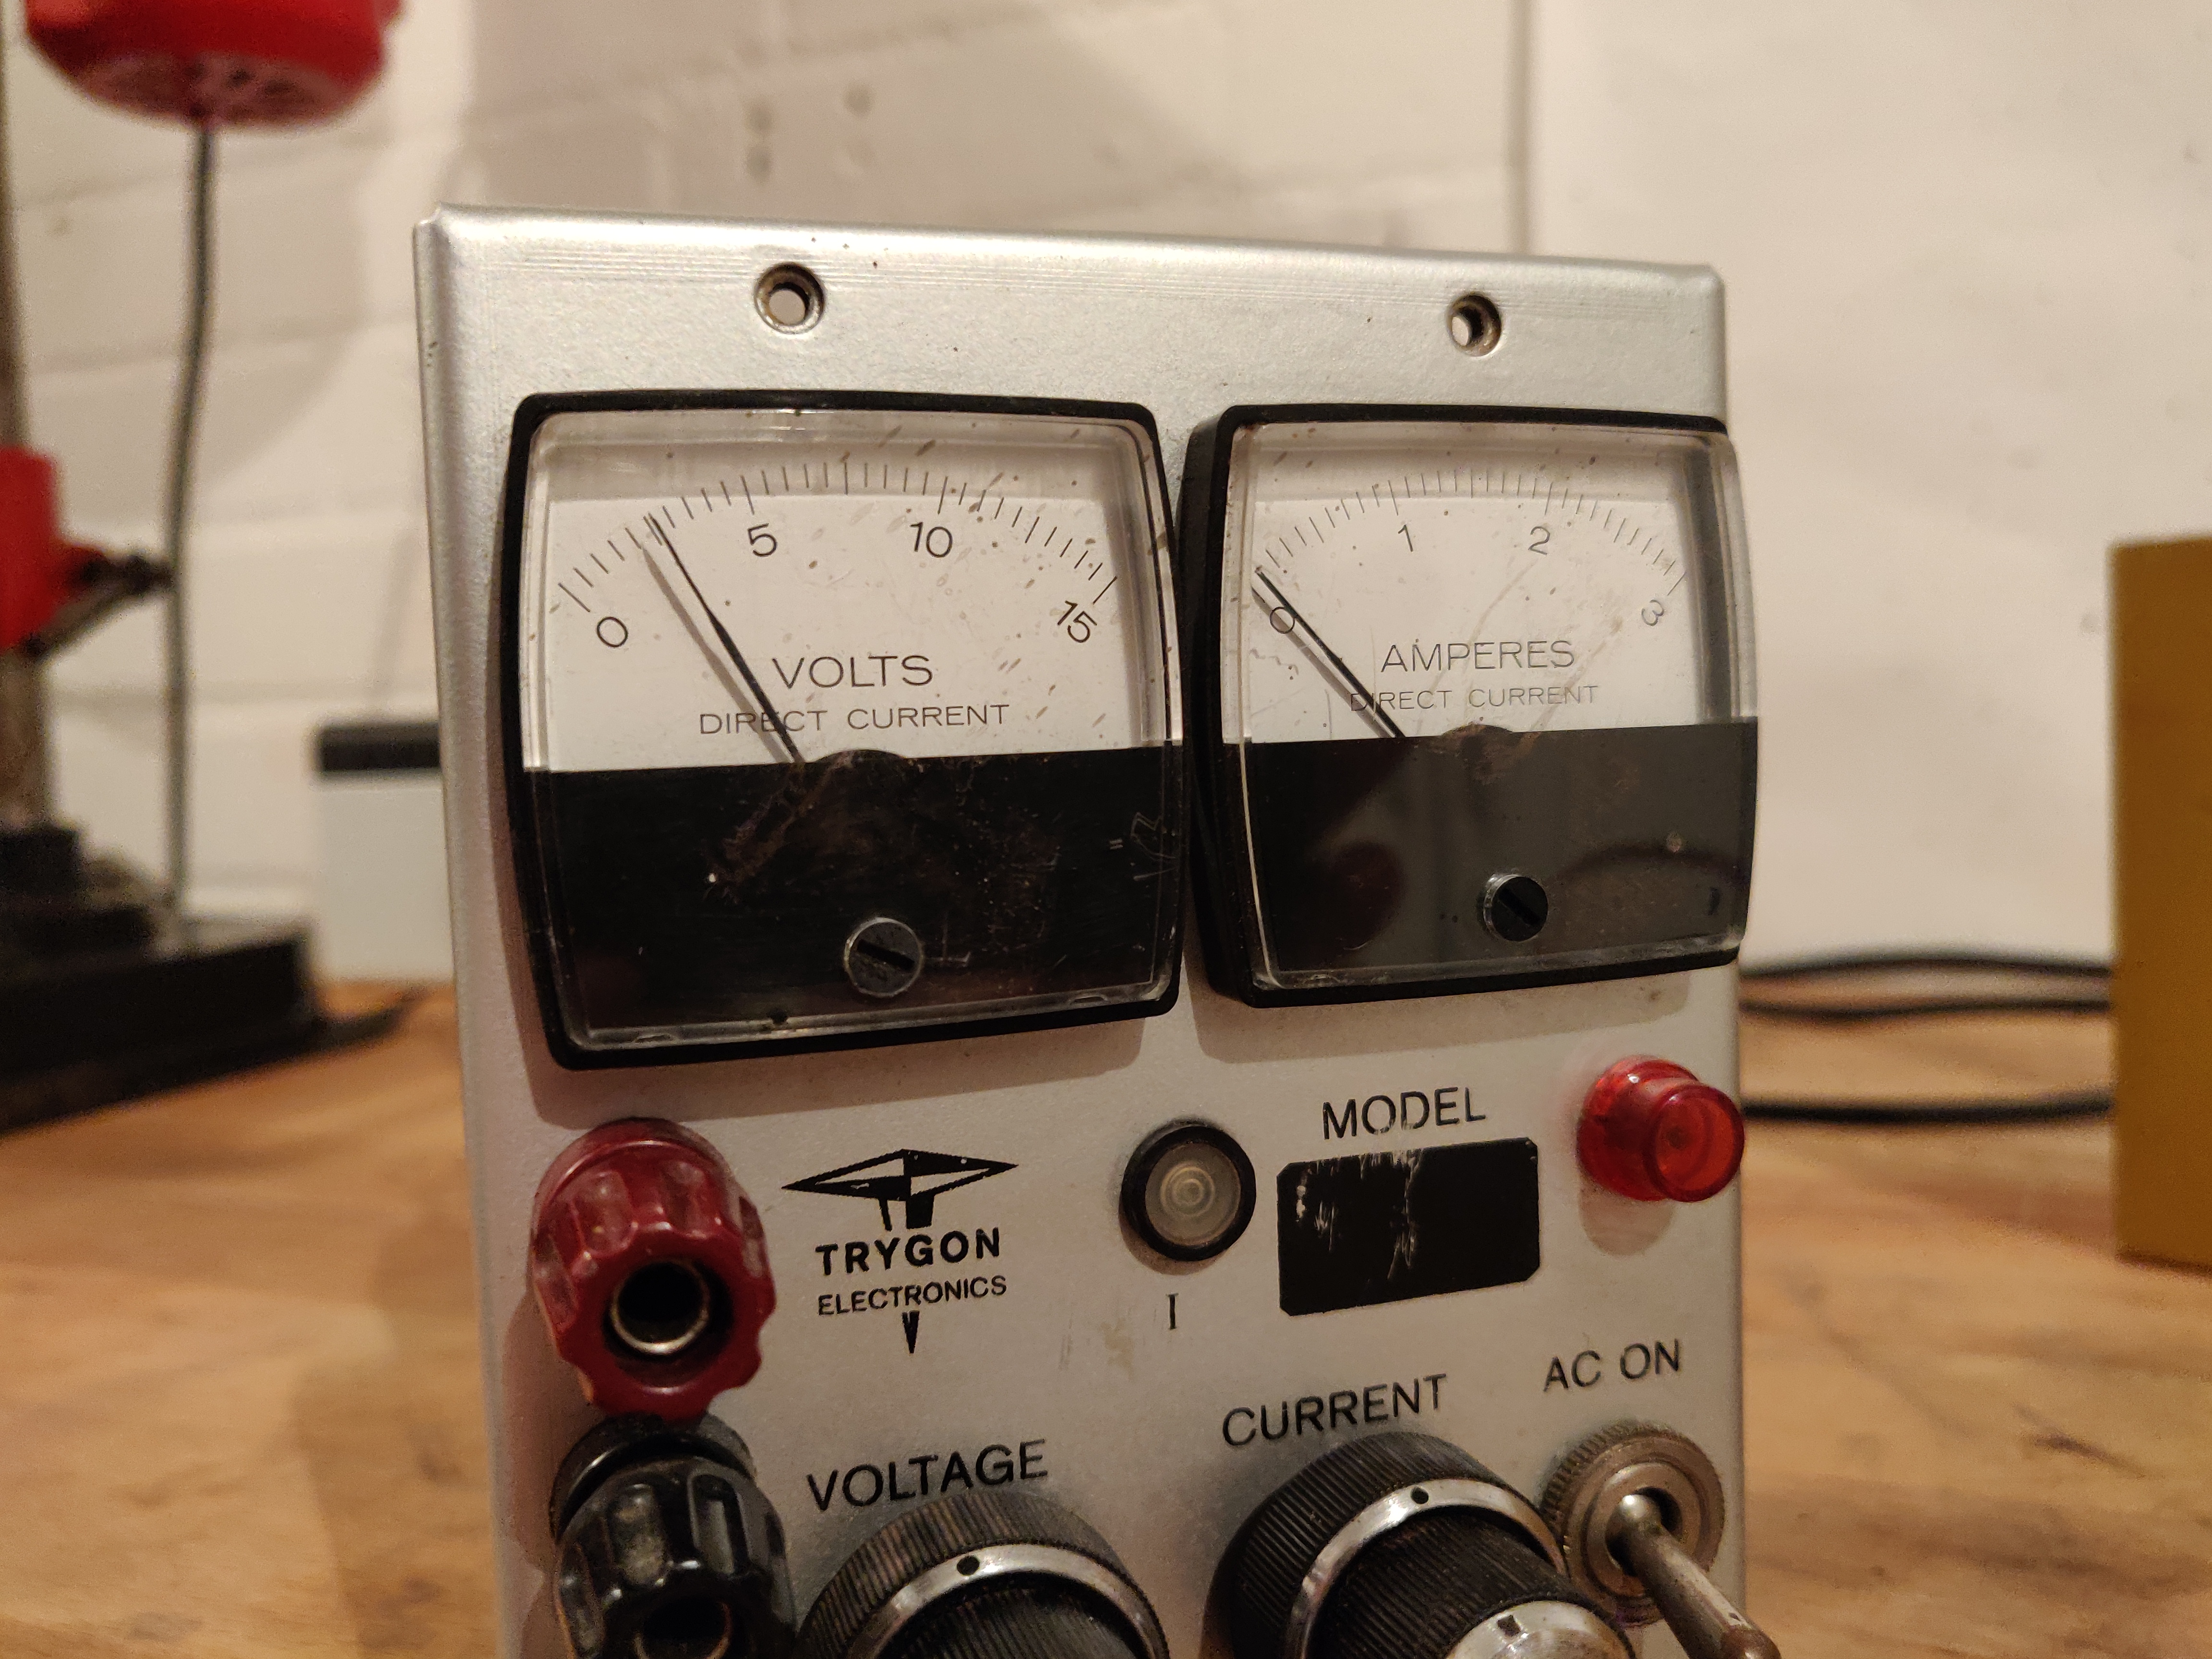
- Volt gauge won´t go lower than 2.5 Volt
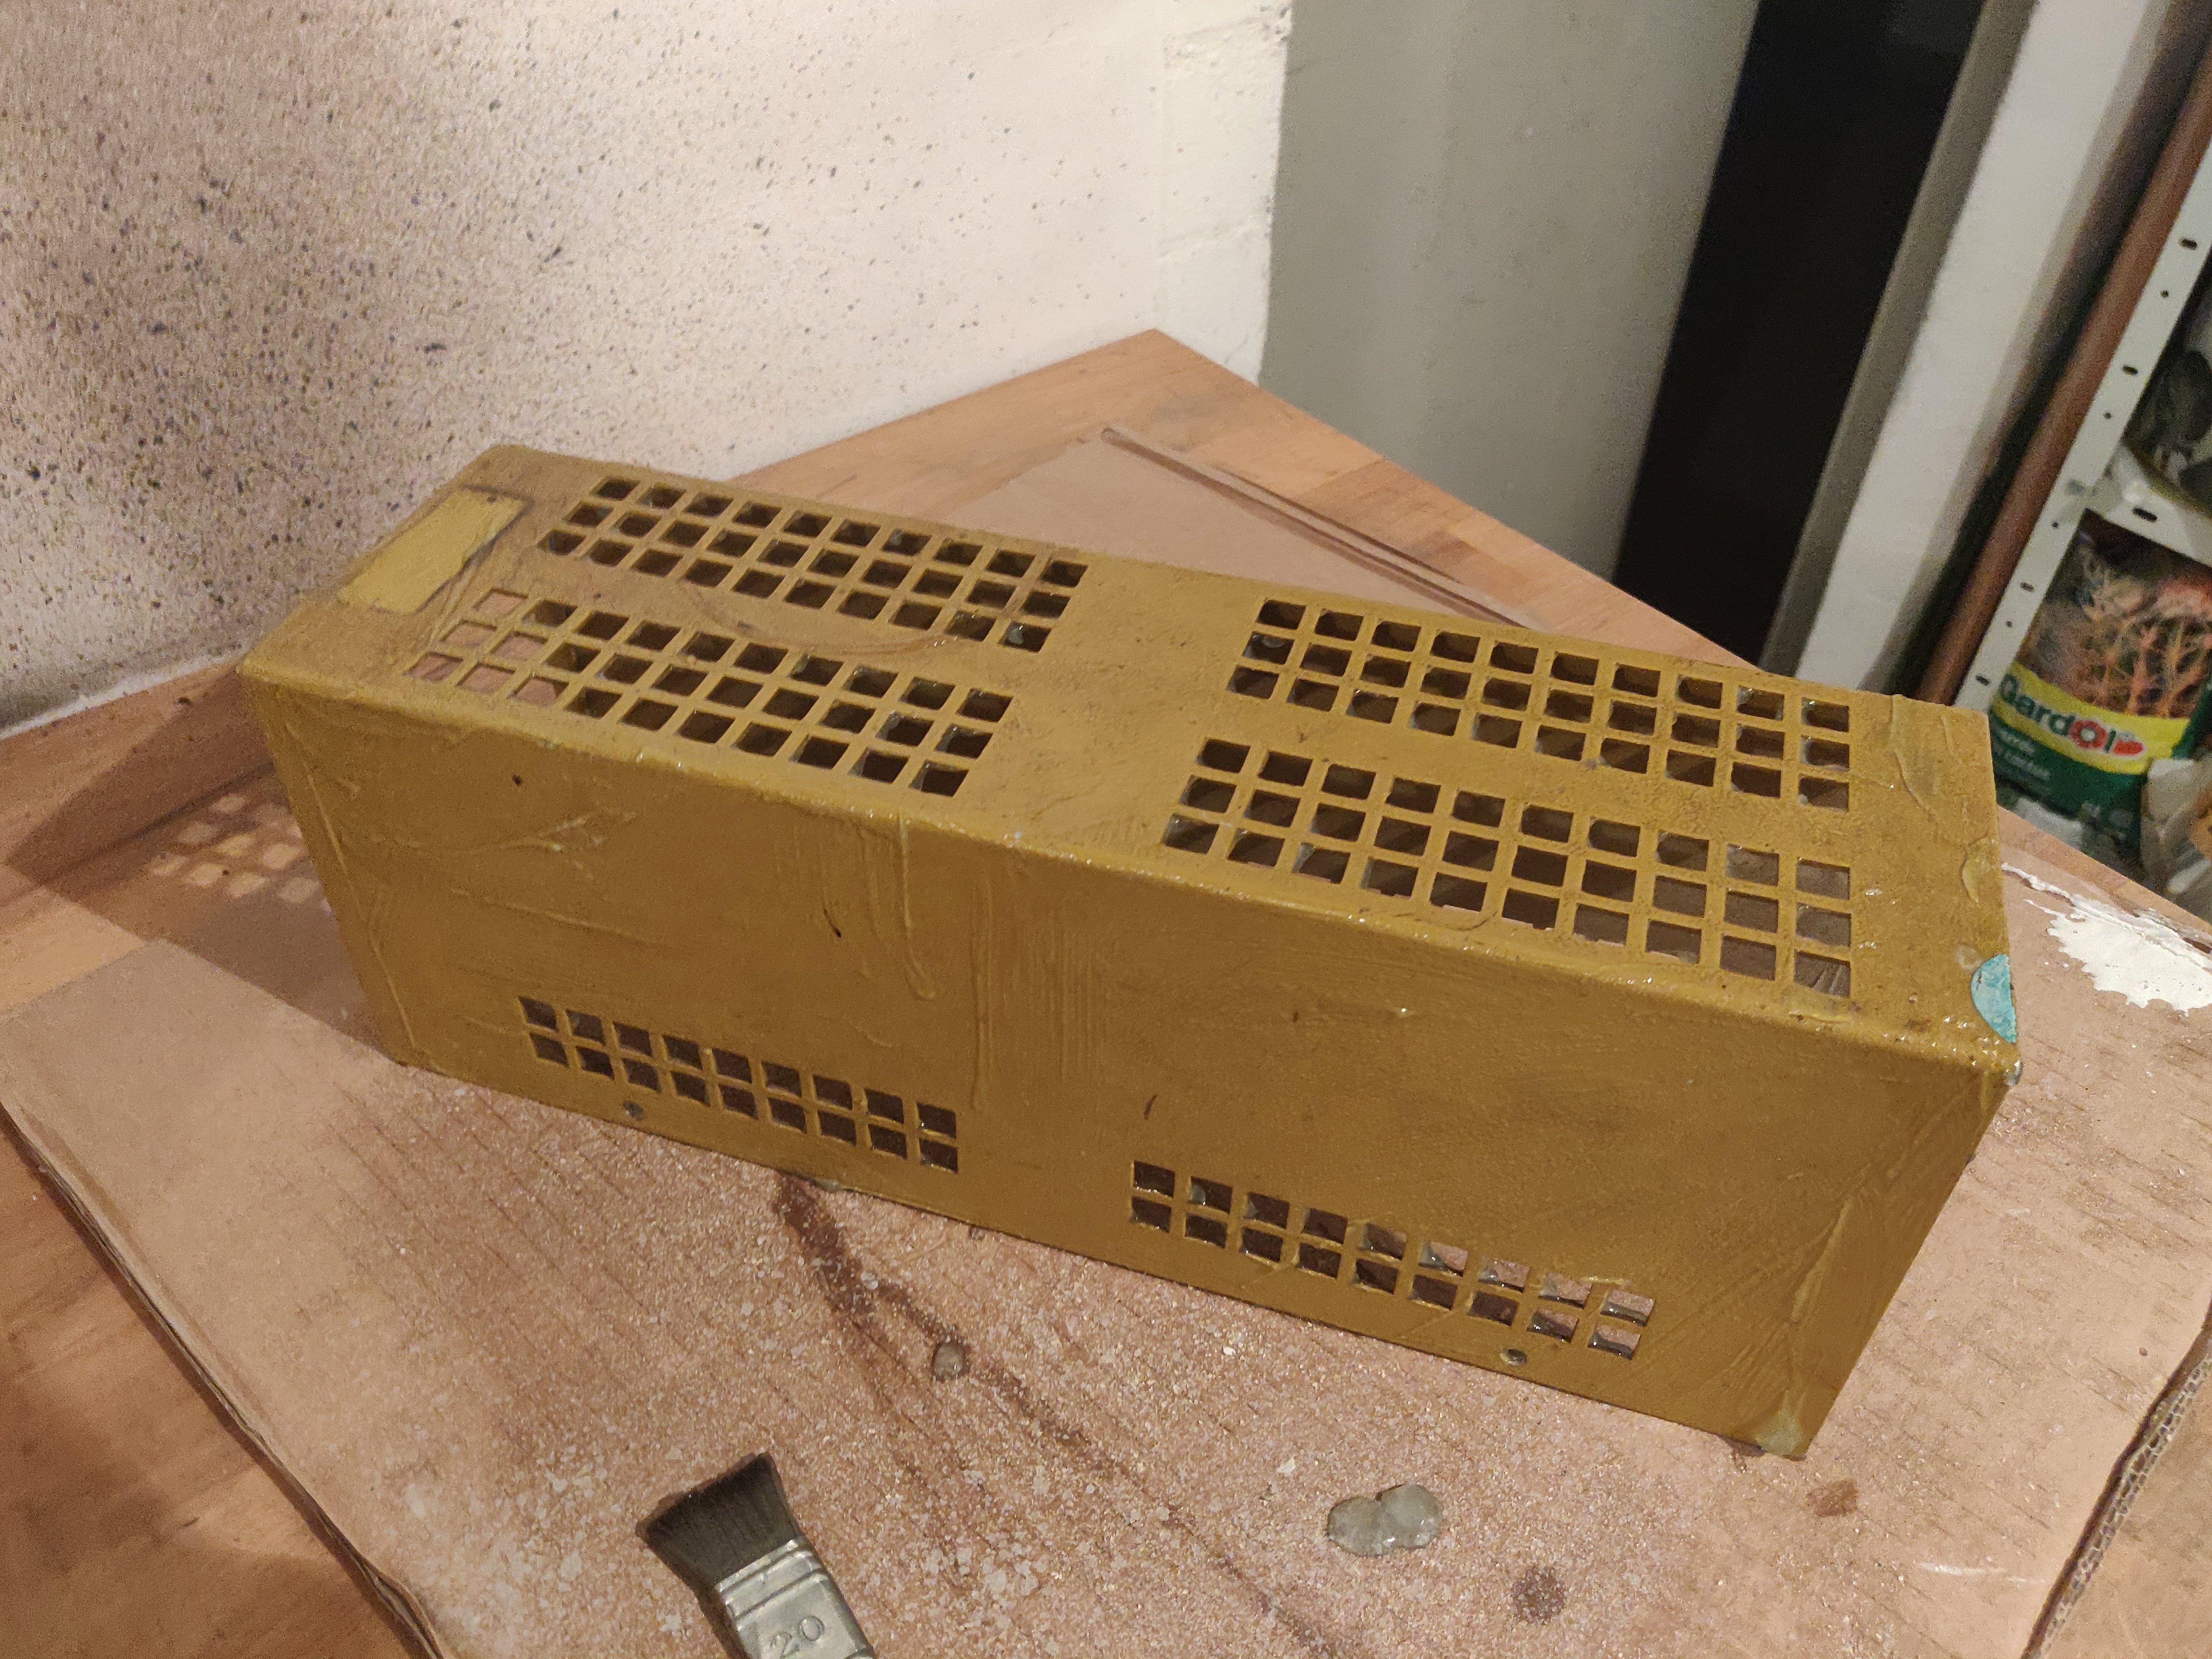
- Old paint peeled off
Improvements
- 3D printed dust covers
Disassembly
The modelnumber is blacked off, so my best guess for the build date is somewhere in the 80s. But i could be completly off.
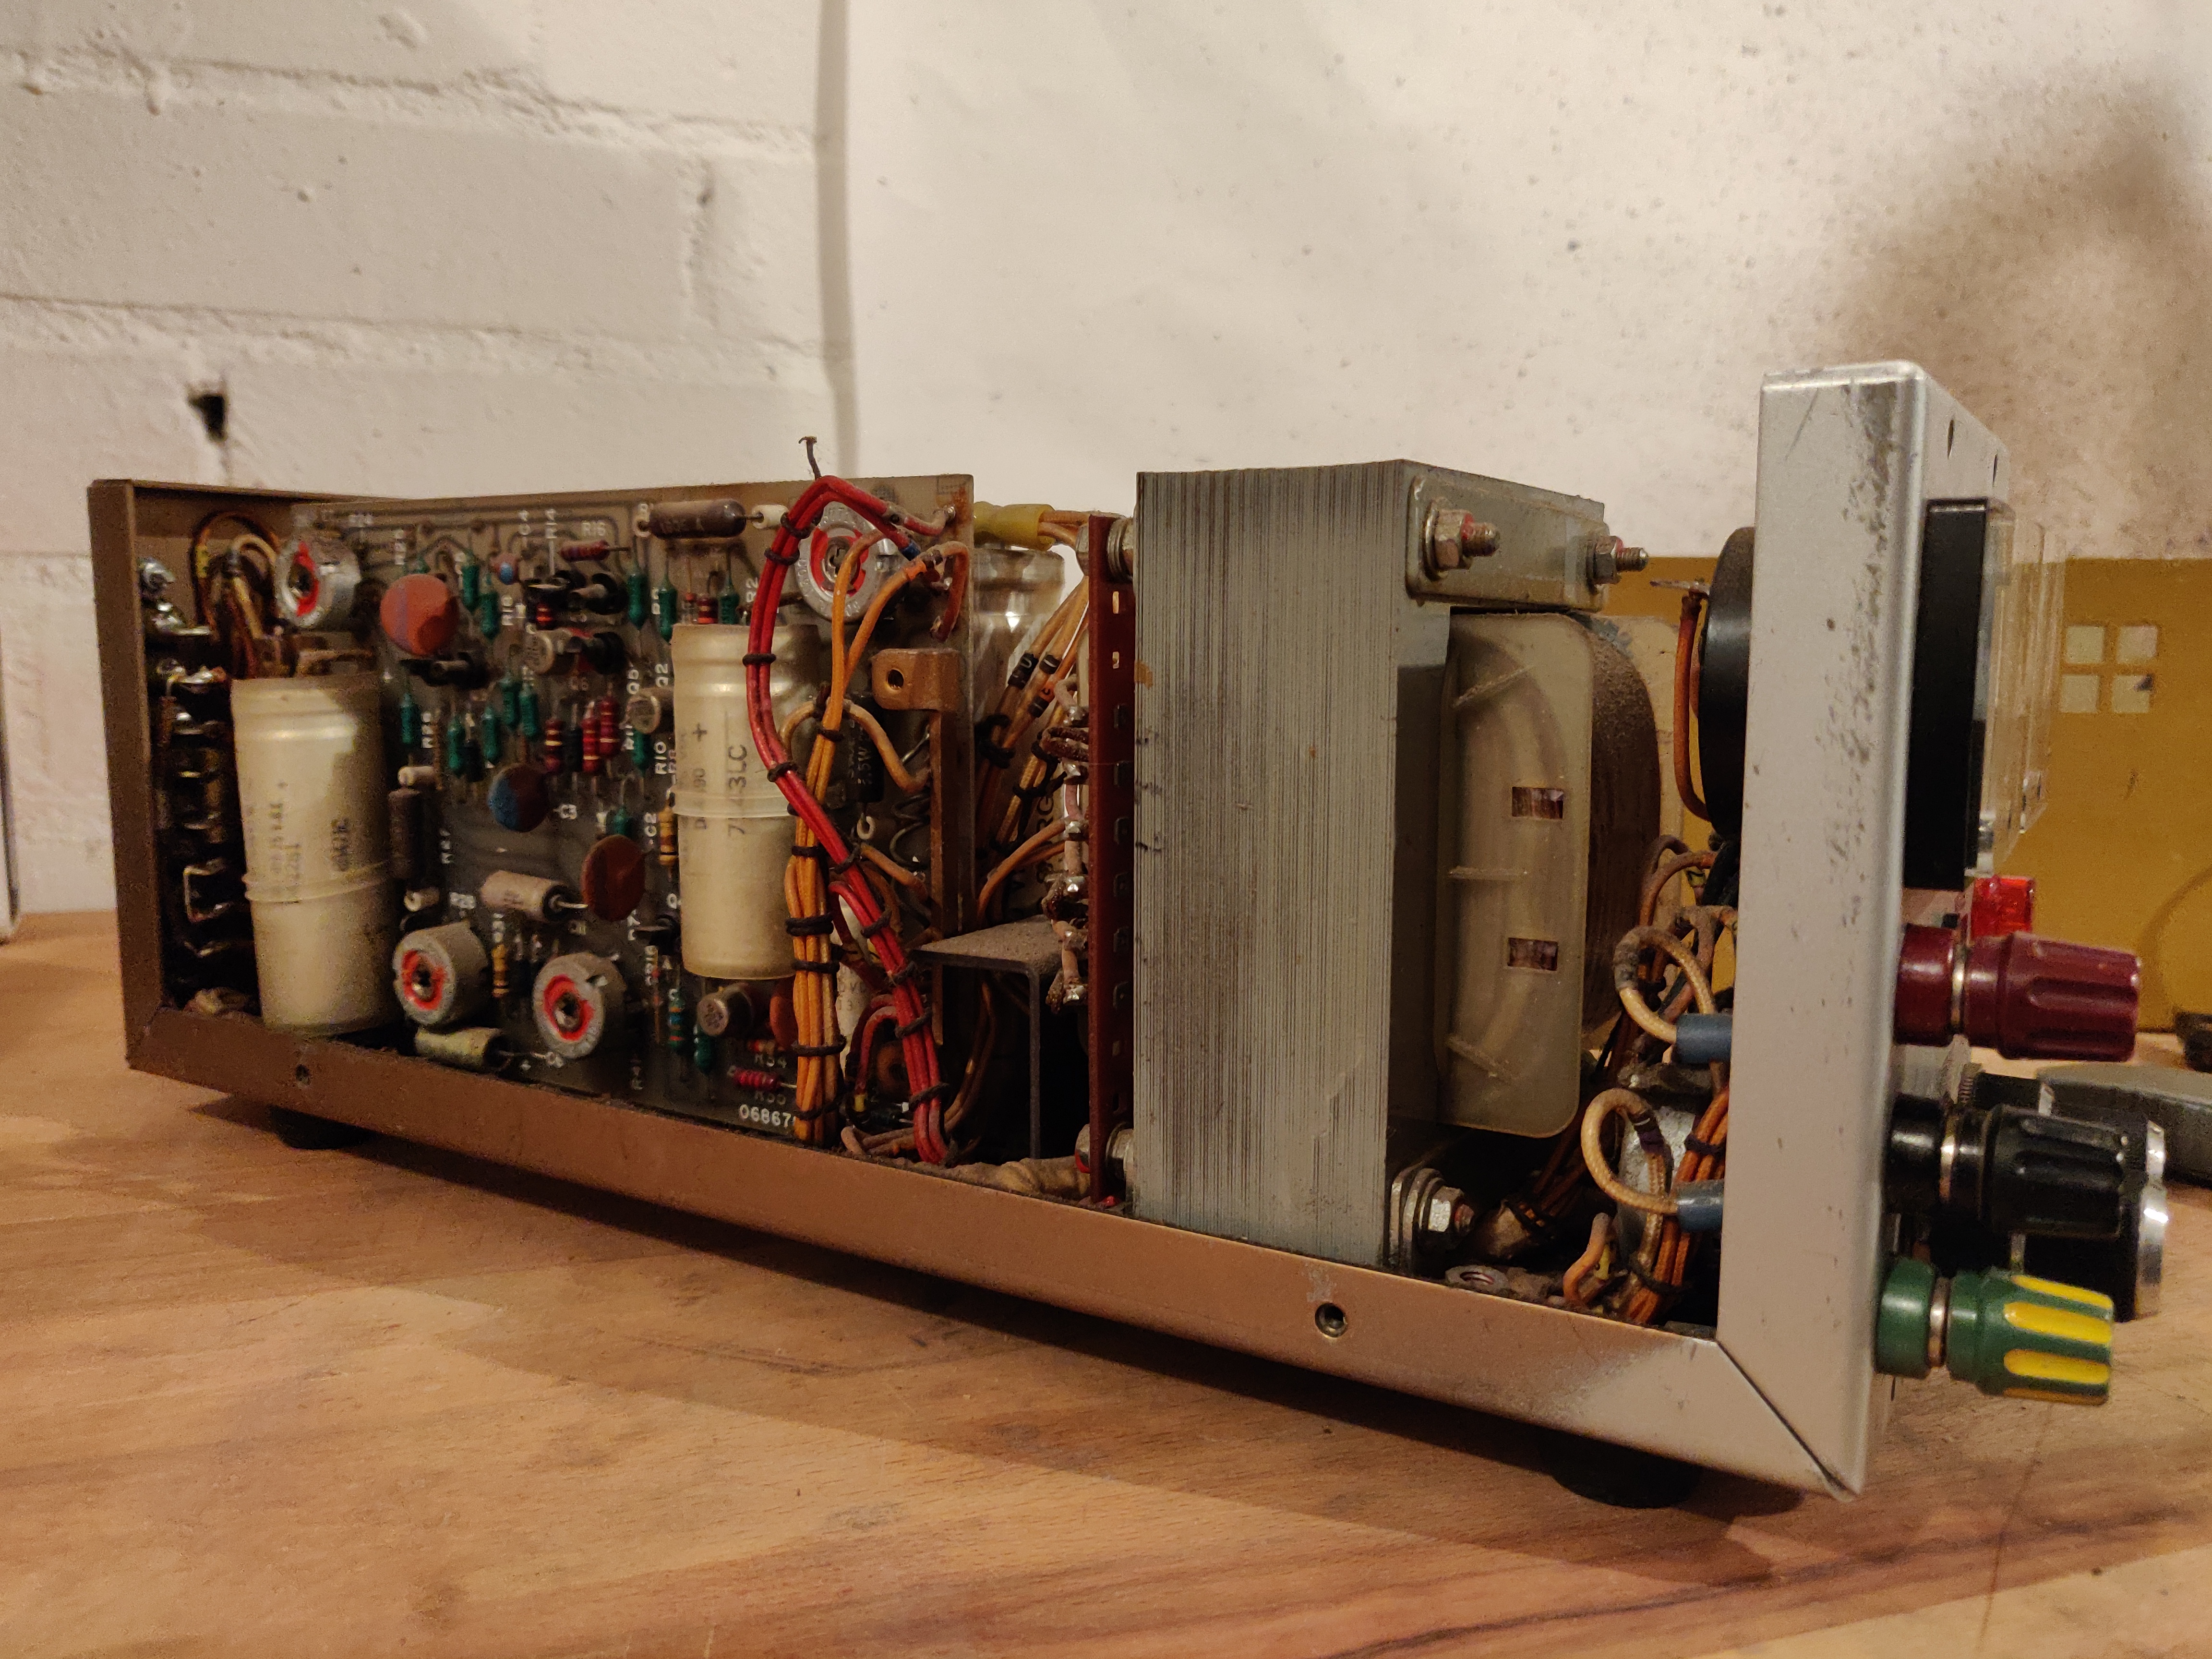
After taking of the top cover, one could really see its age - dirty but still impressive.
Repair
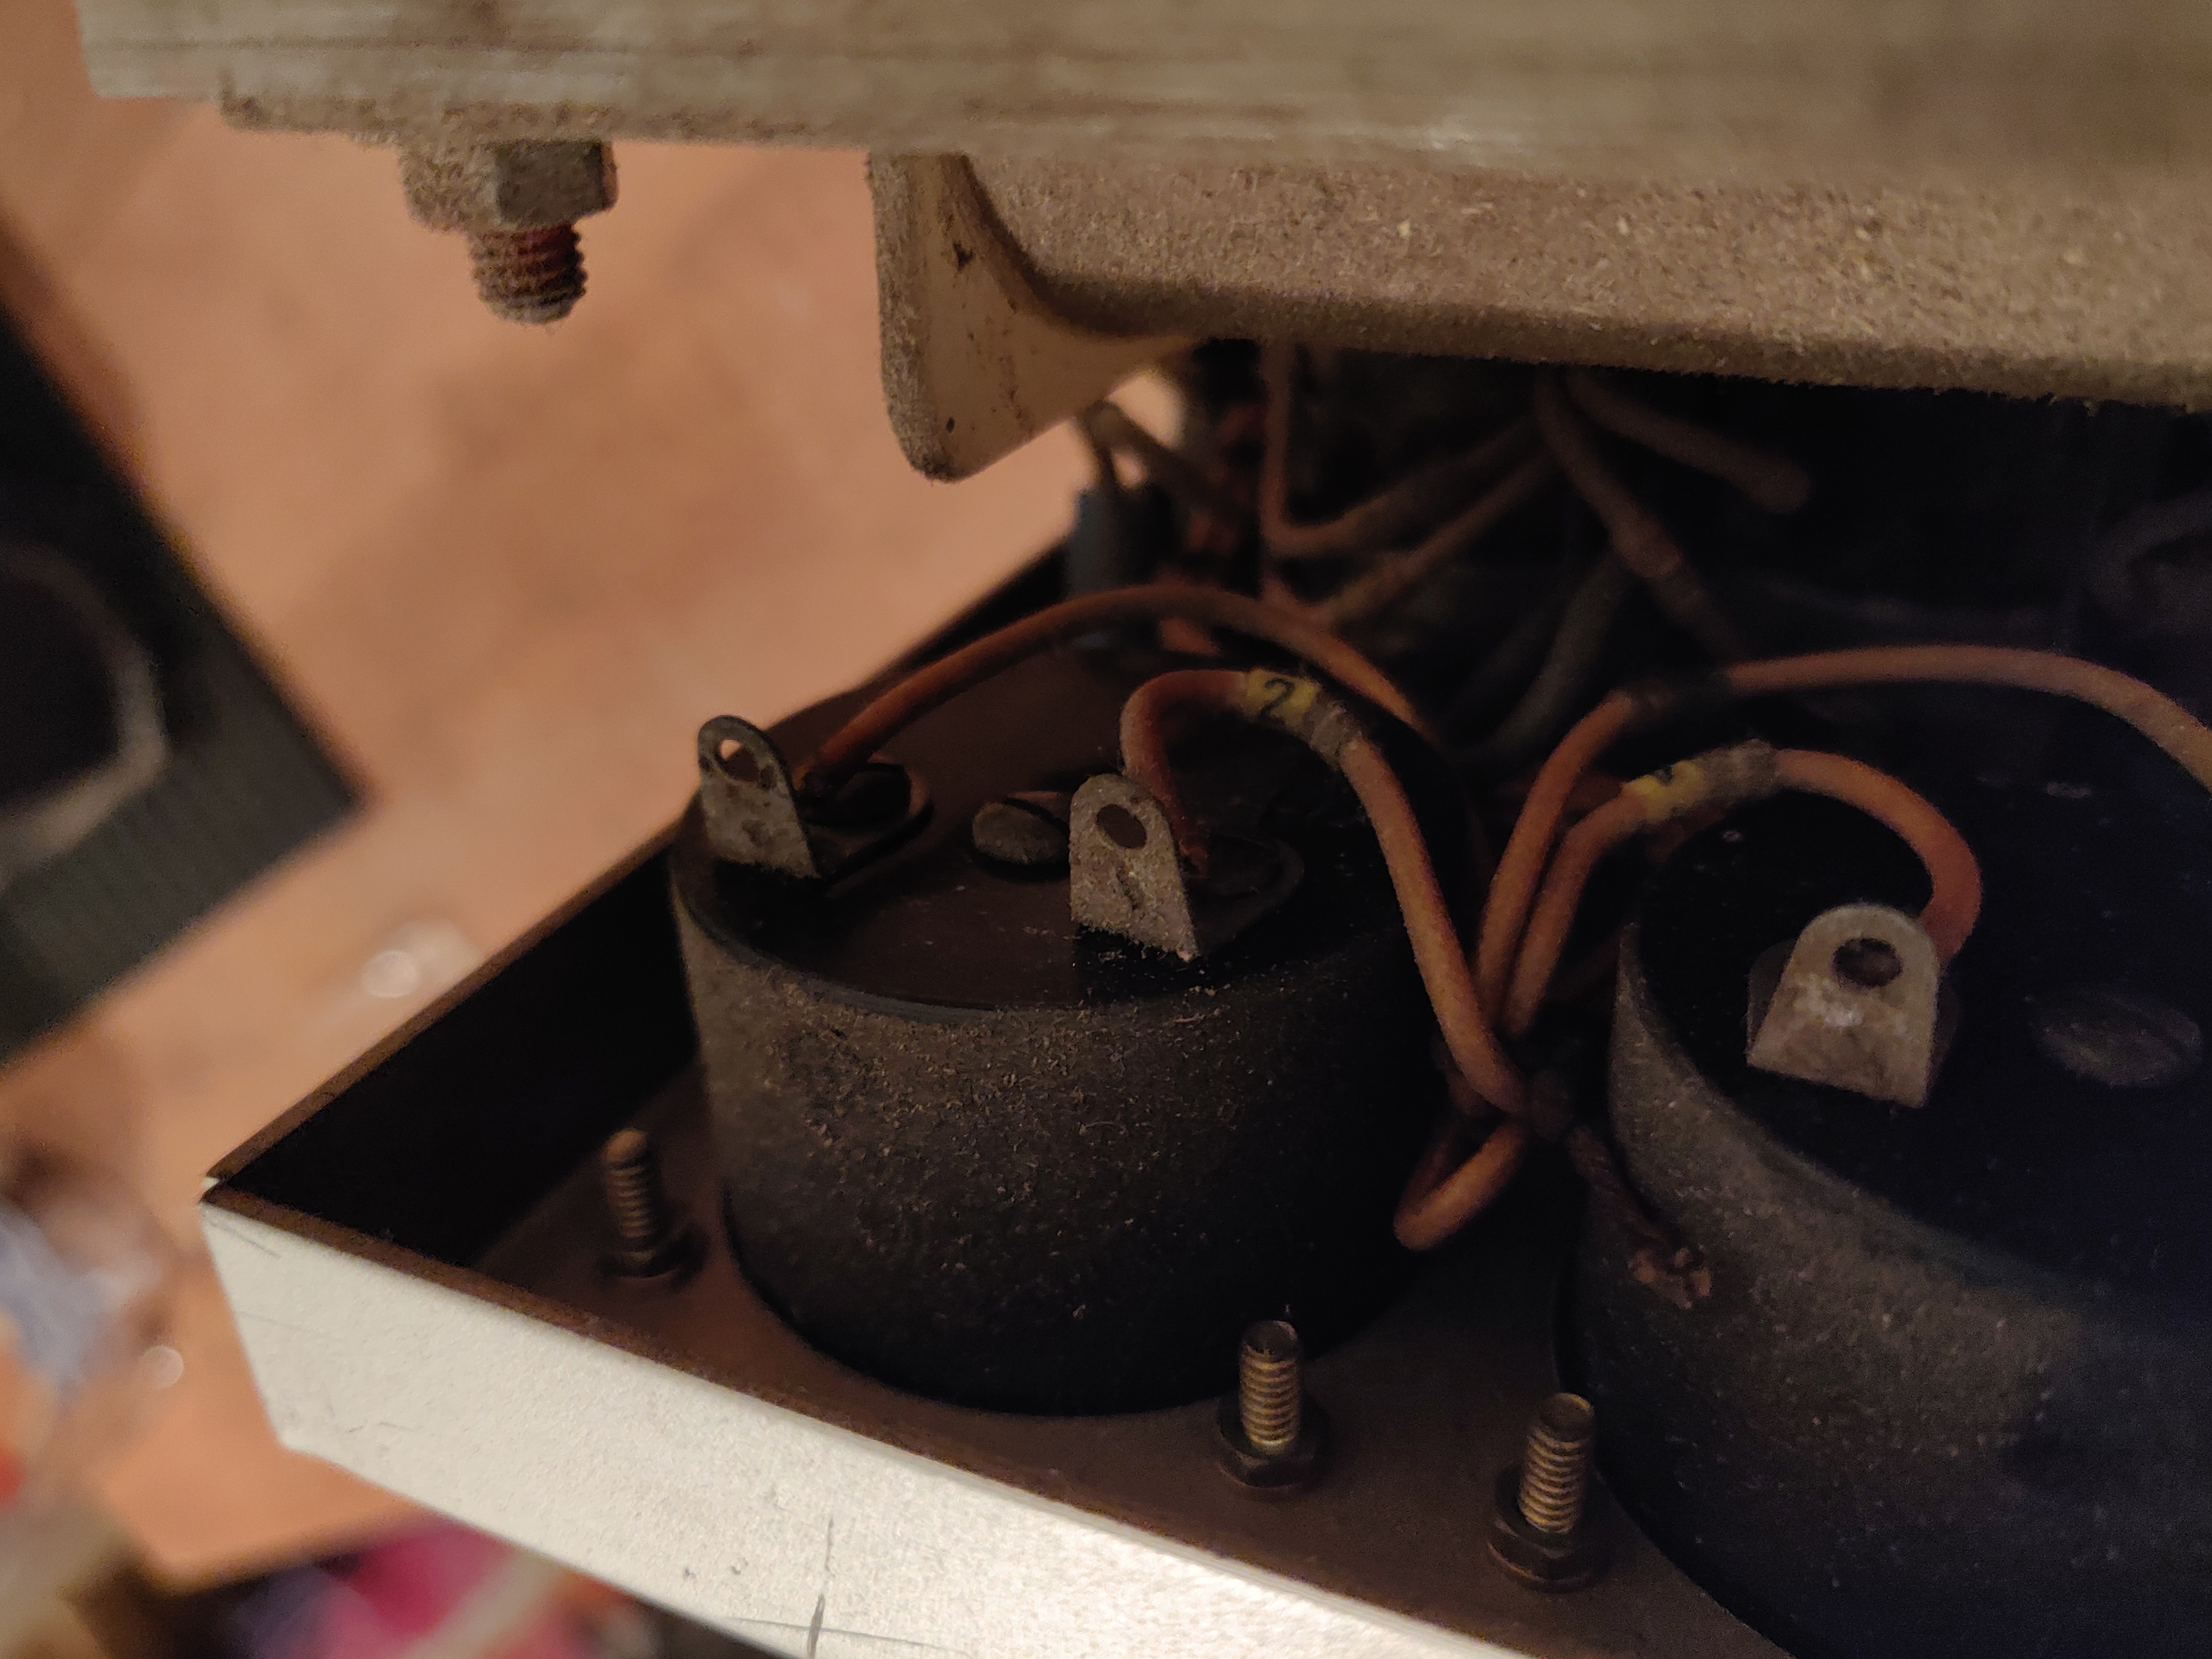
I tried to remove the gauges from the back, but after a quick glance it seemed that its way too much work.
So after some sweaty minutes of fiddeling with the front cover I had success and could remove the pointer assembly. Sadly I dont have any pictures of it.
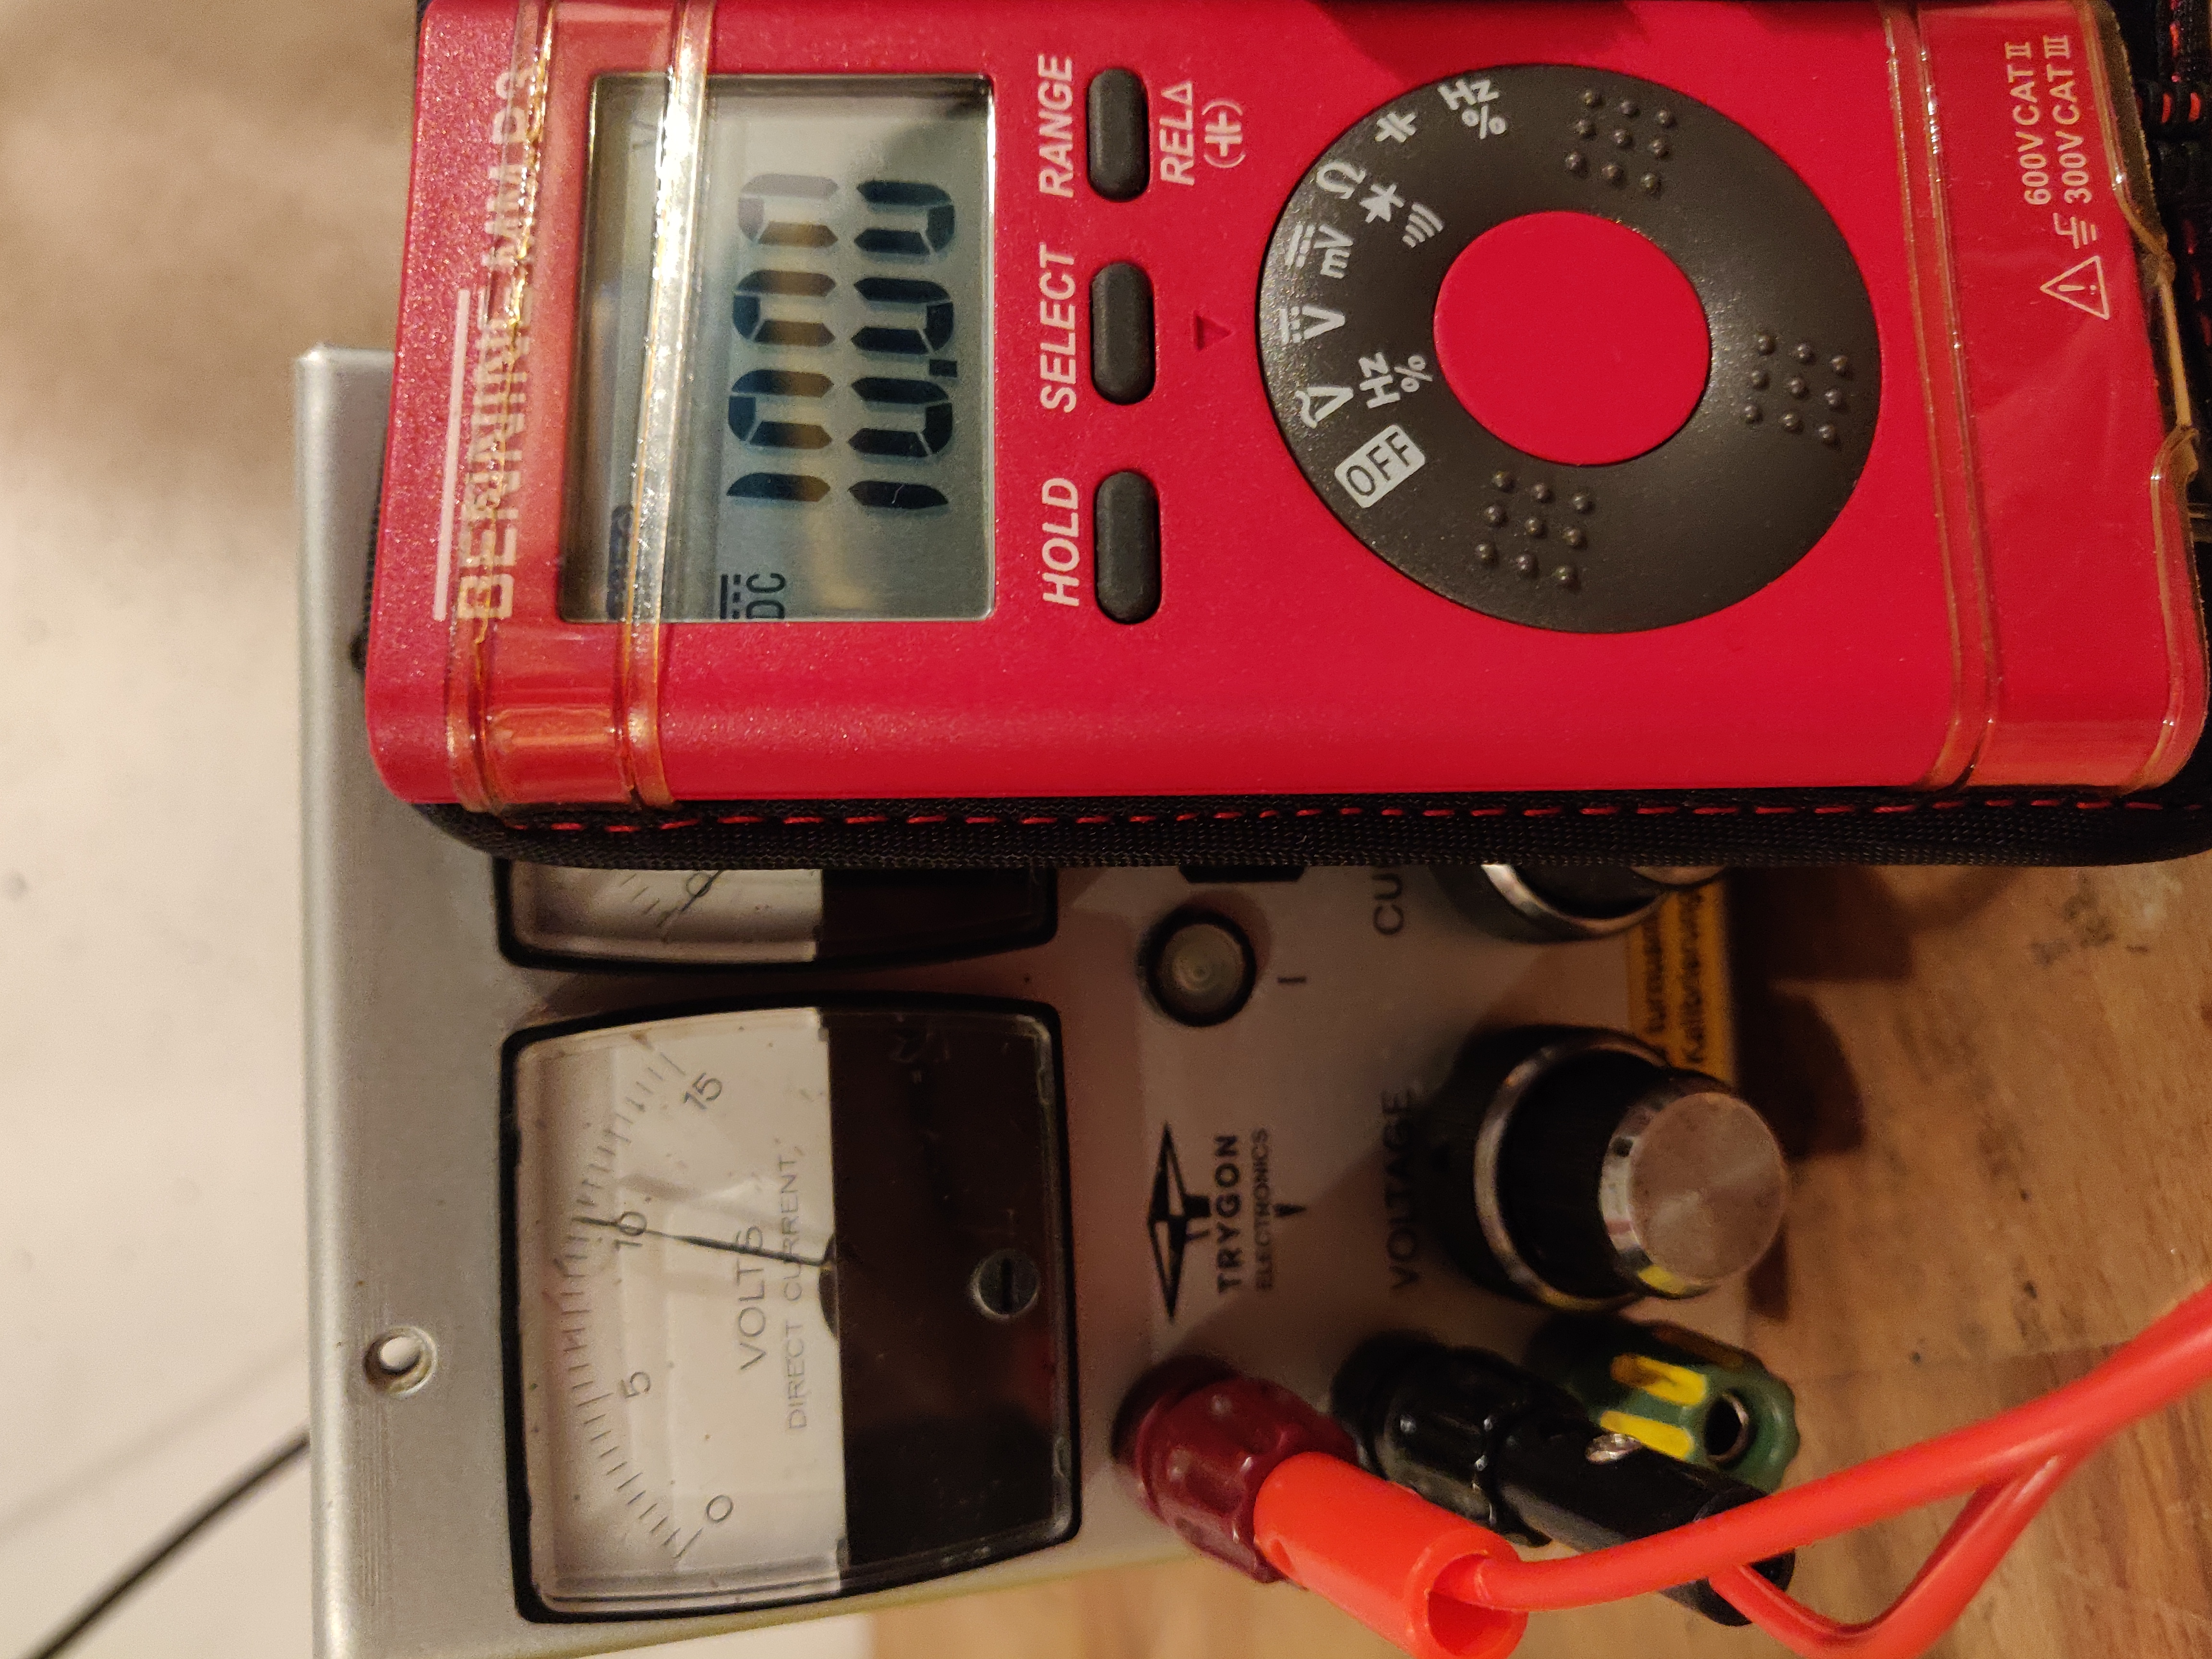
Turning on the powersupply shows that my repair worked. The analog pointer showed the exact reading as the digital one.
Painting
Second to last step was a fresh coat of paint, but first the old flaky had to be removed. I applied a thick coat of paint stripper and let it soak for a couple of hours. After the time had passed I could simply scratch of the old paint with a plastic scraper.
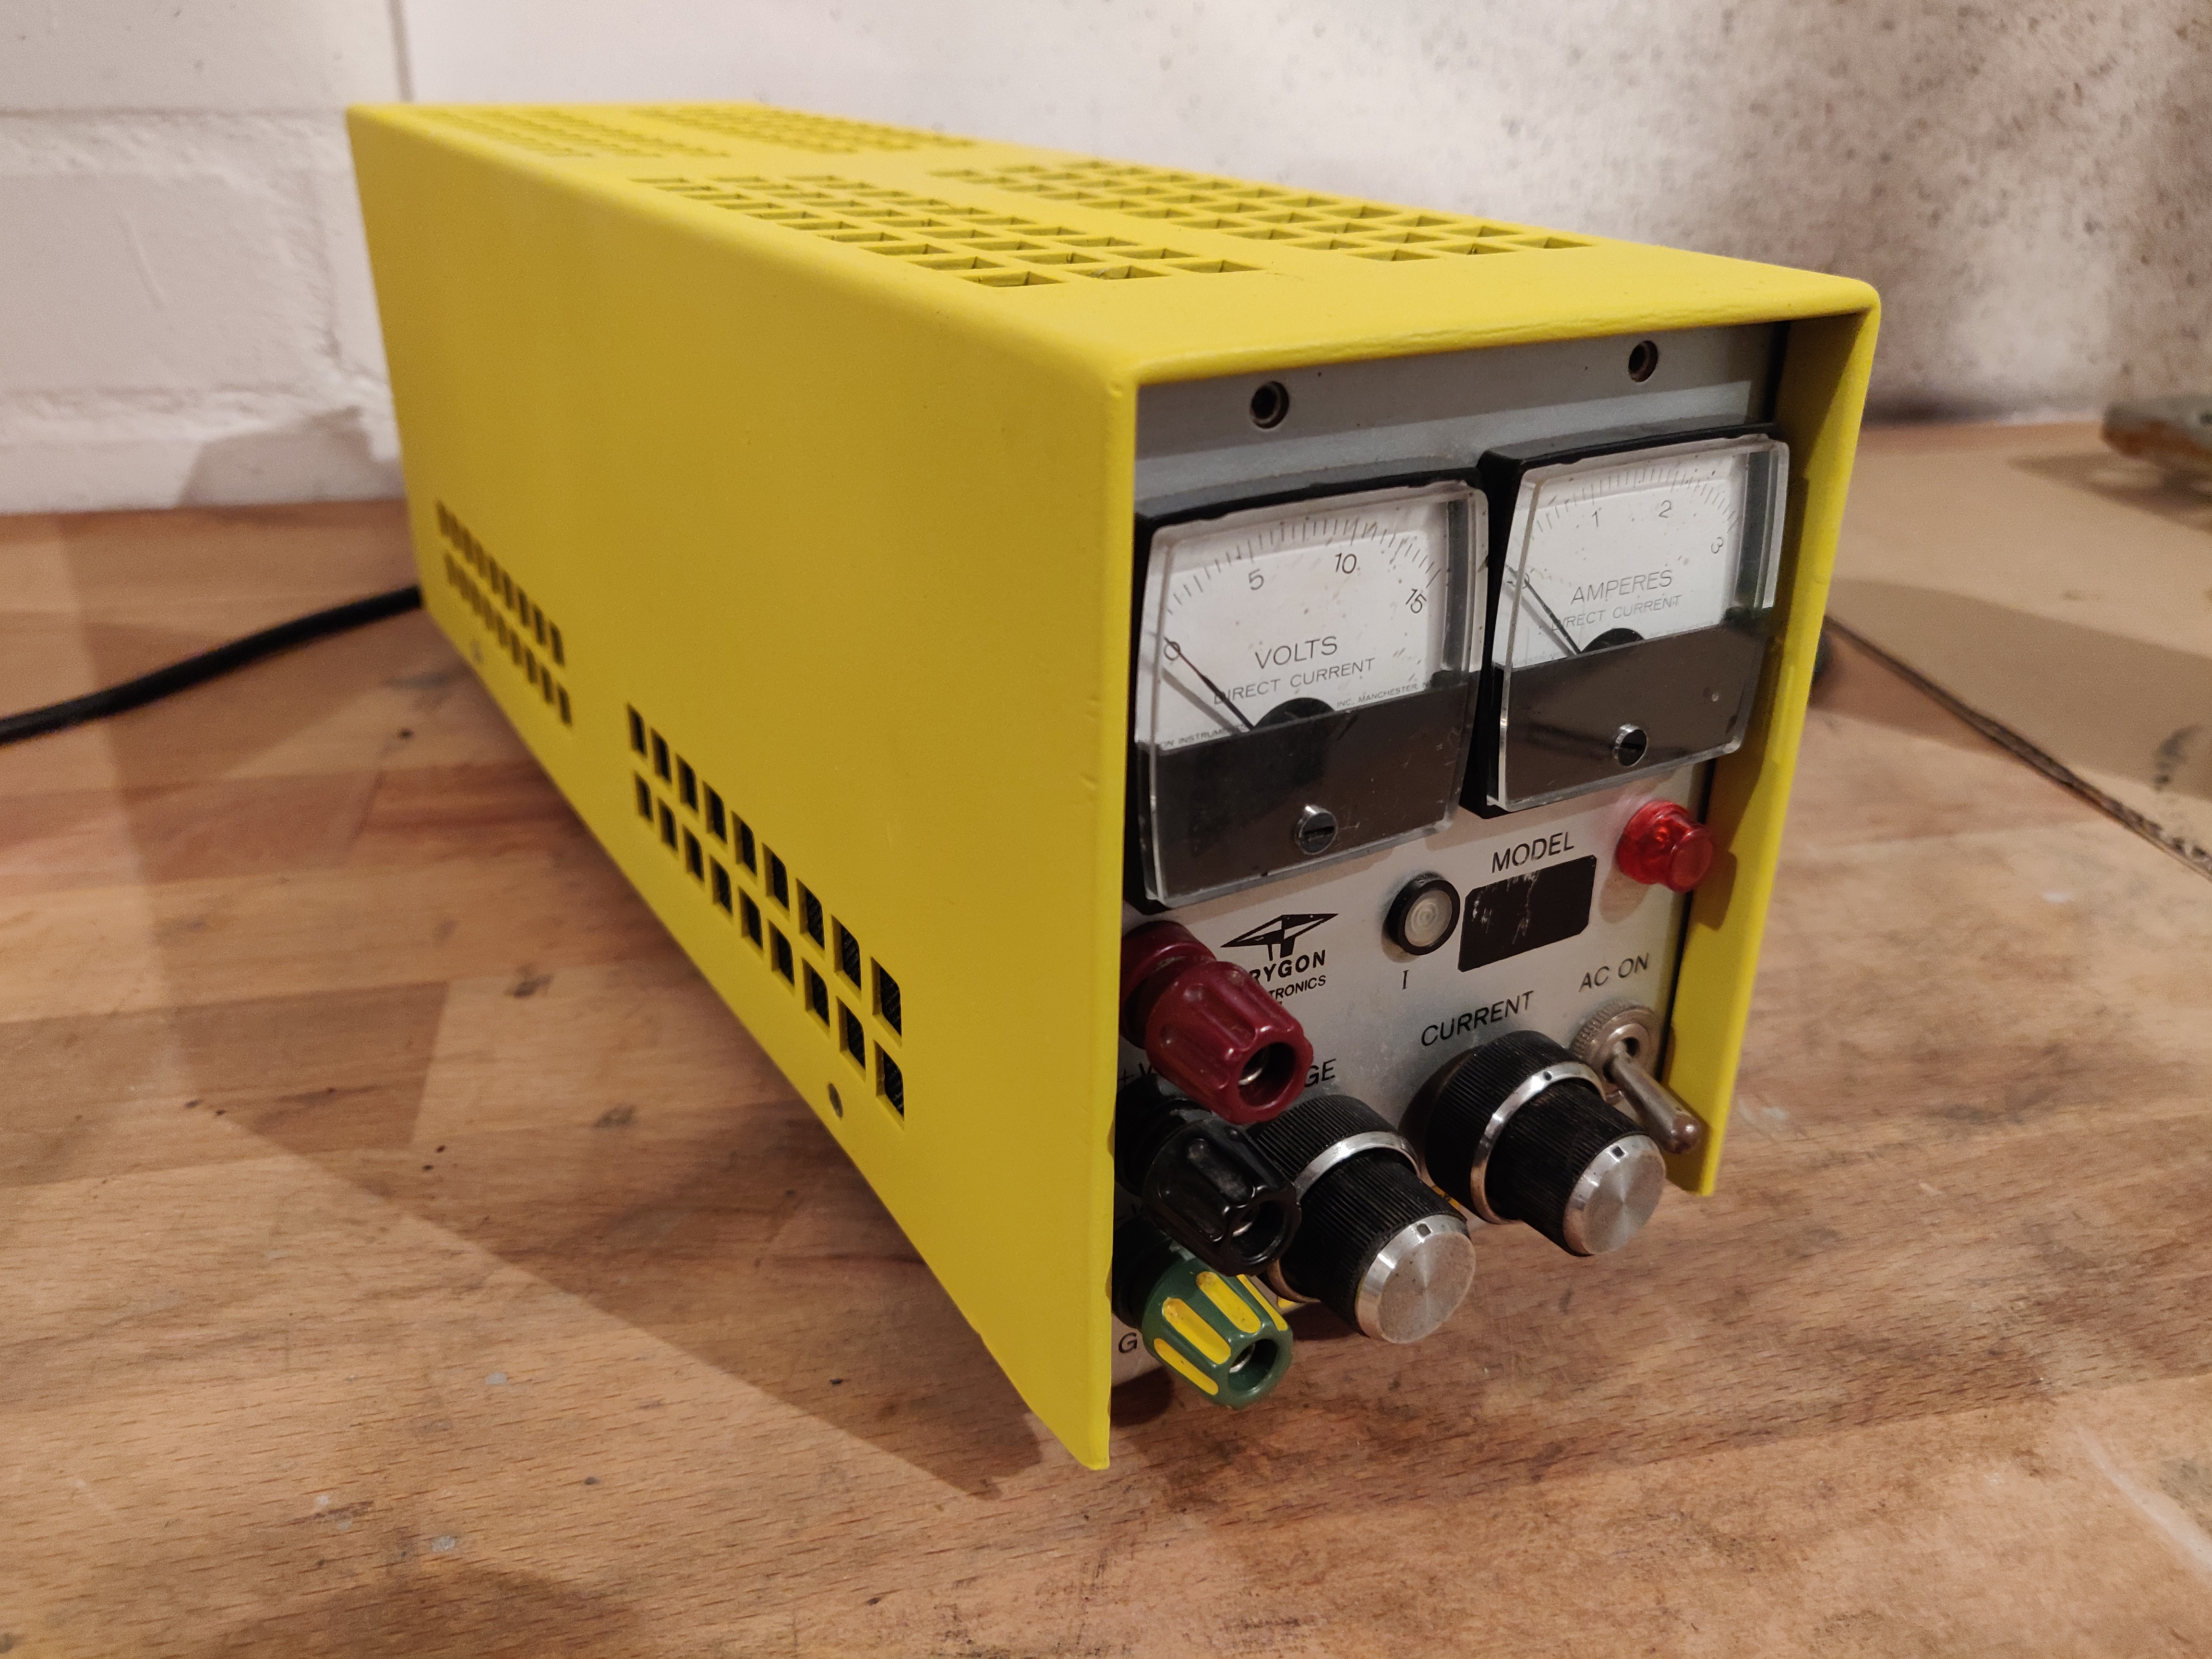
A quick sanding, degreasing and painting session later the powersupply looked 20 years younger.
Finishing
Now it was time to apply the 3D printed dust covers. Some small dabs of superglue did the trick.
A quick assembly later and the powersupply looked like a new one.
