Adding a carrier to my new E-Bike
Bill of Materials
- Bike Carrier
- 1m of aluminium tube (outer Ø10mm, inner Ø8mm)
- Block of aluminium
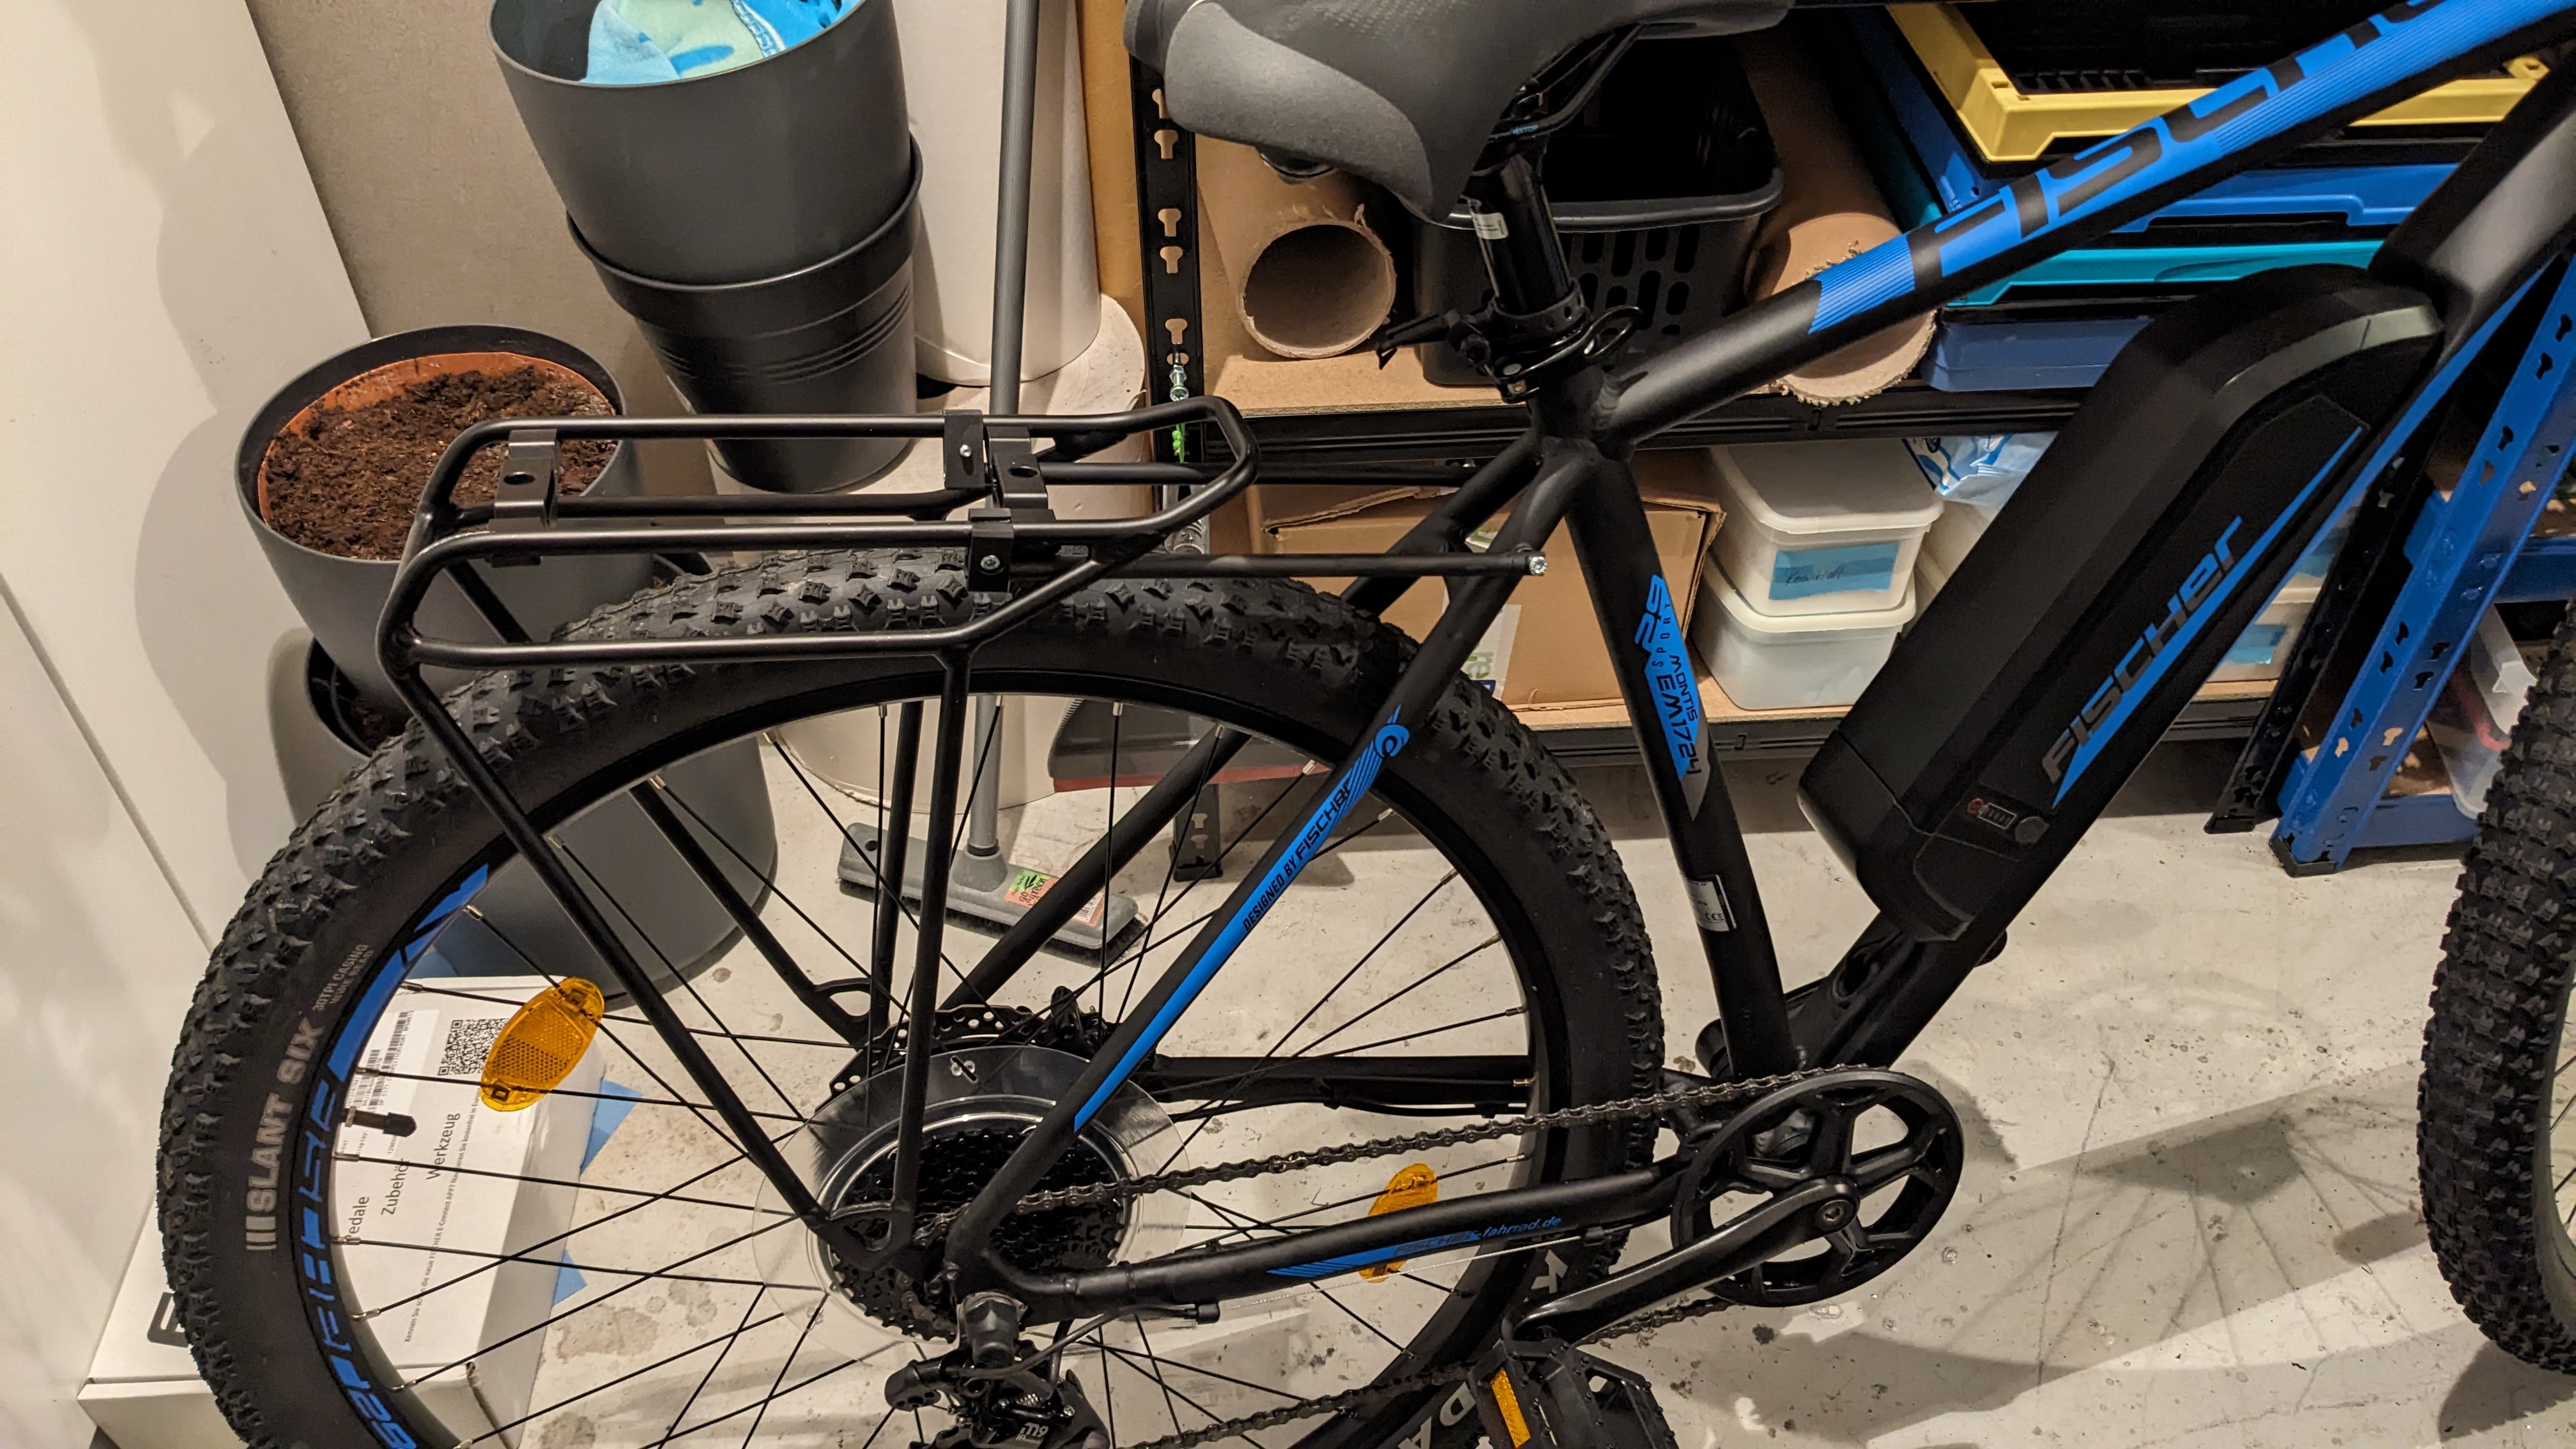
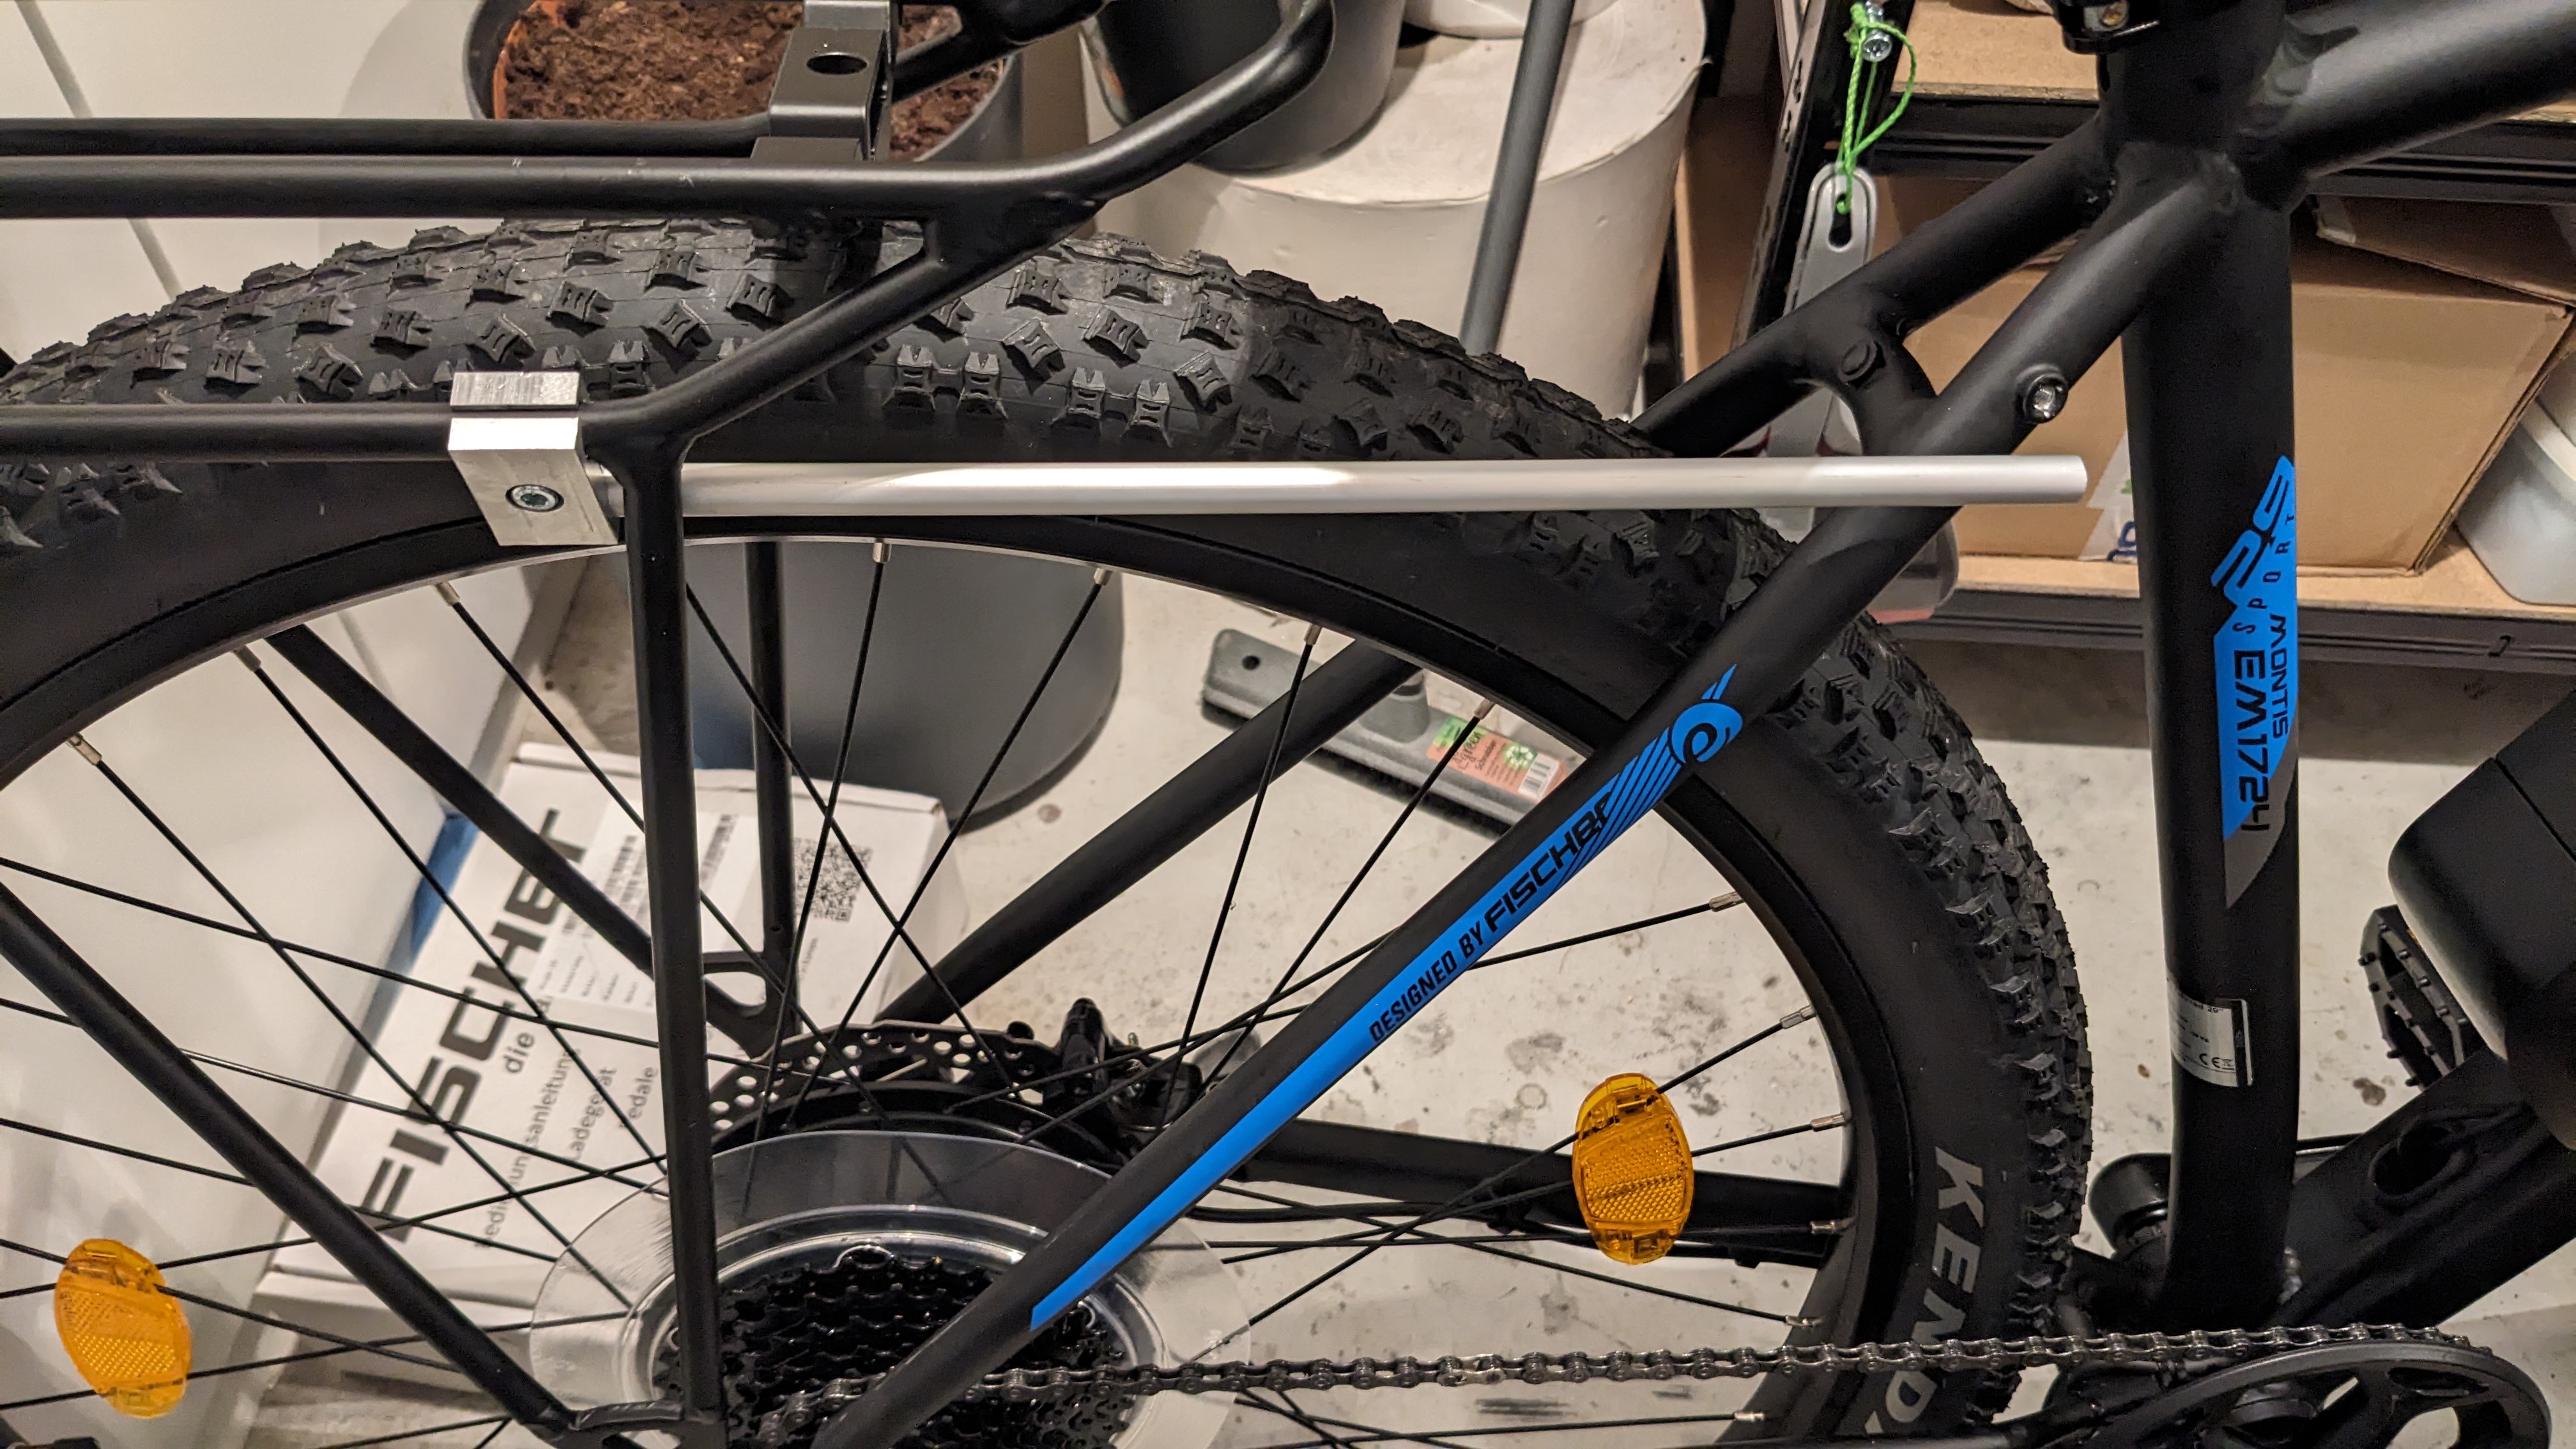
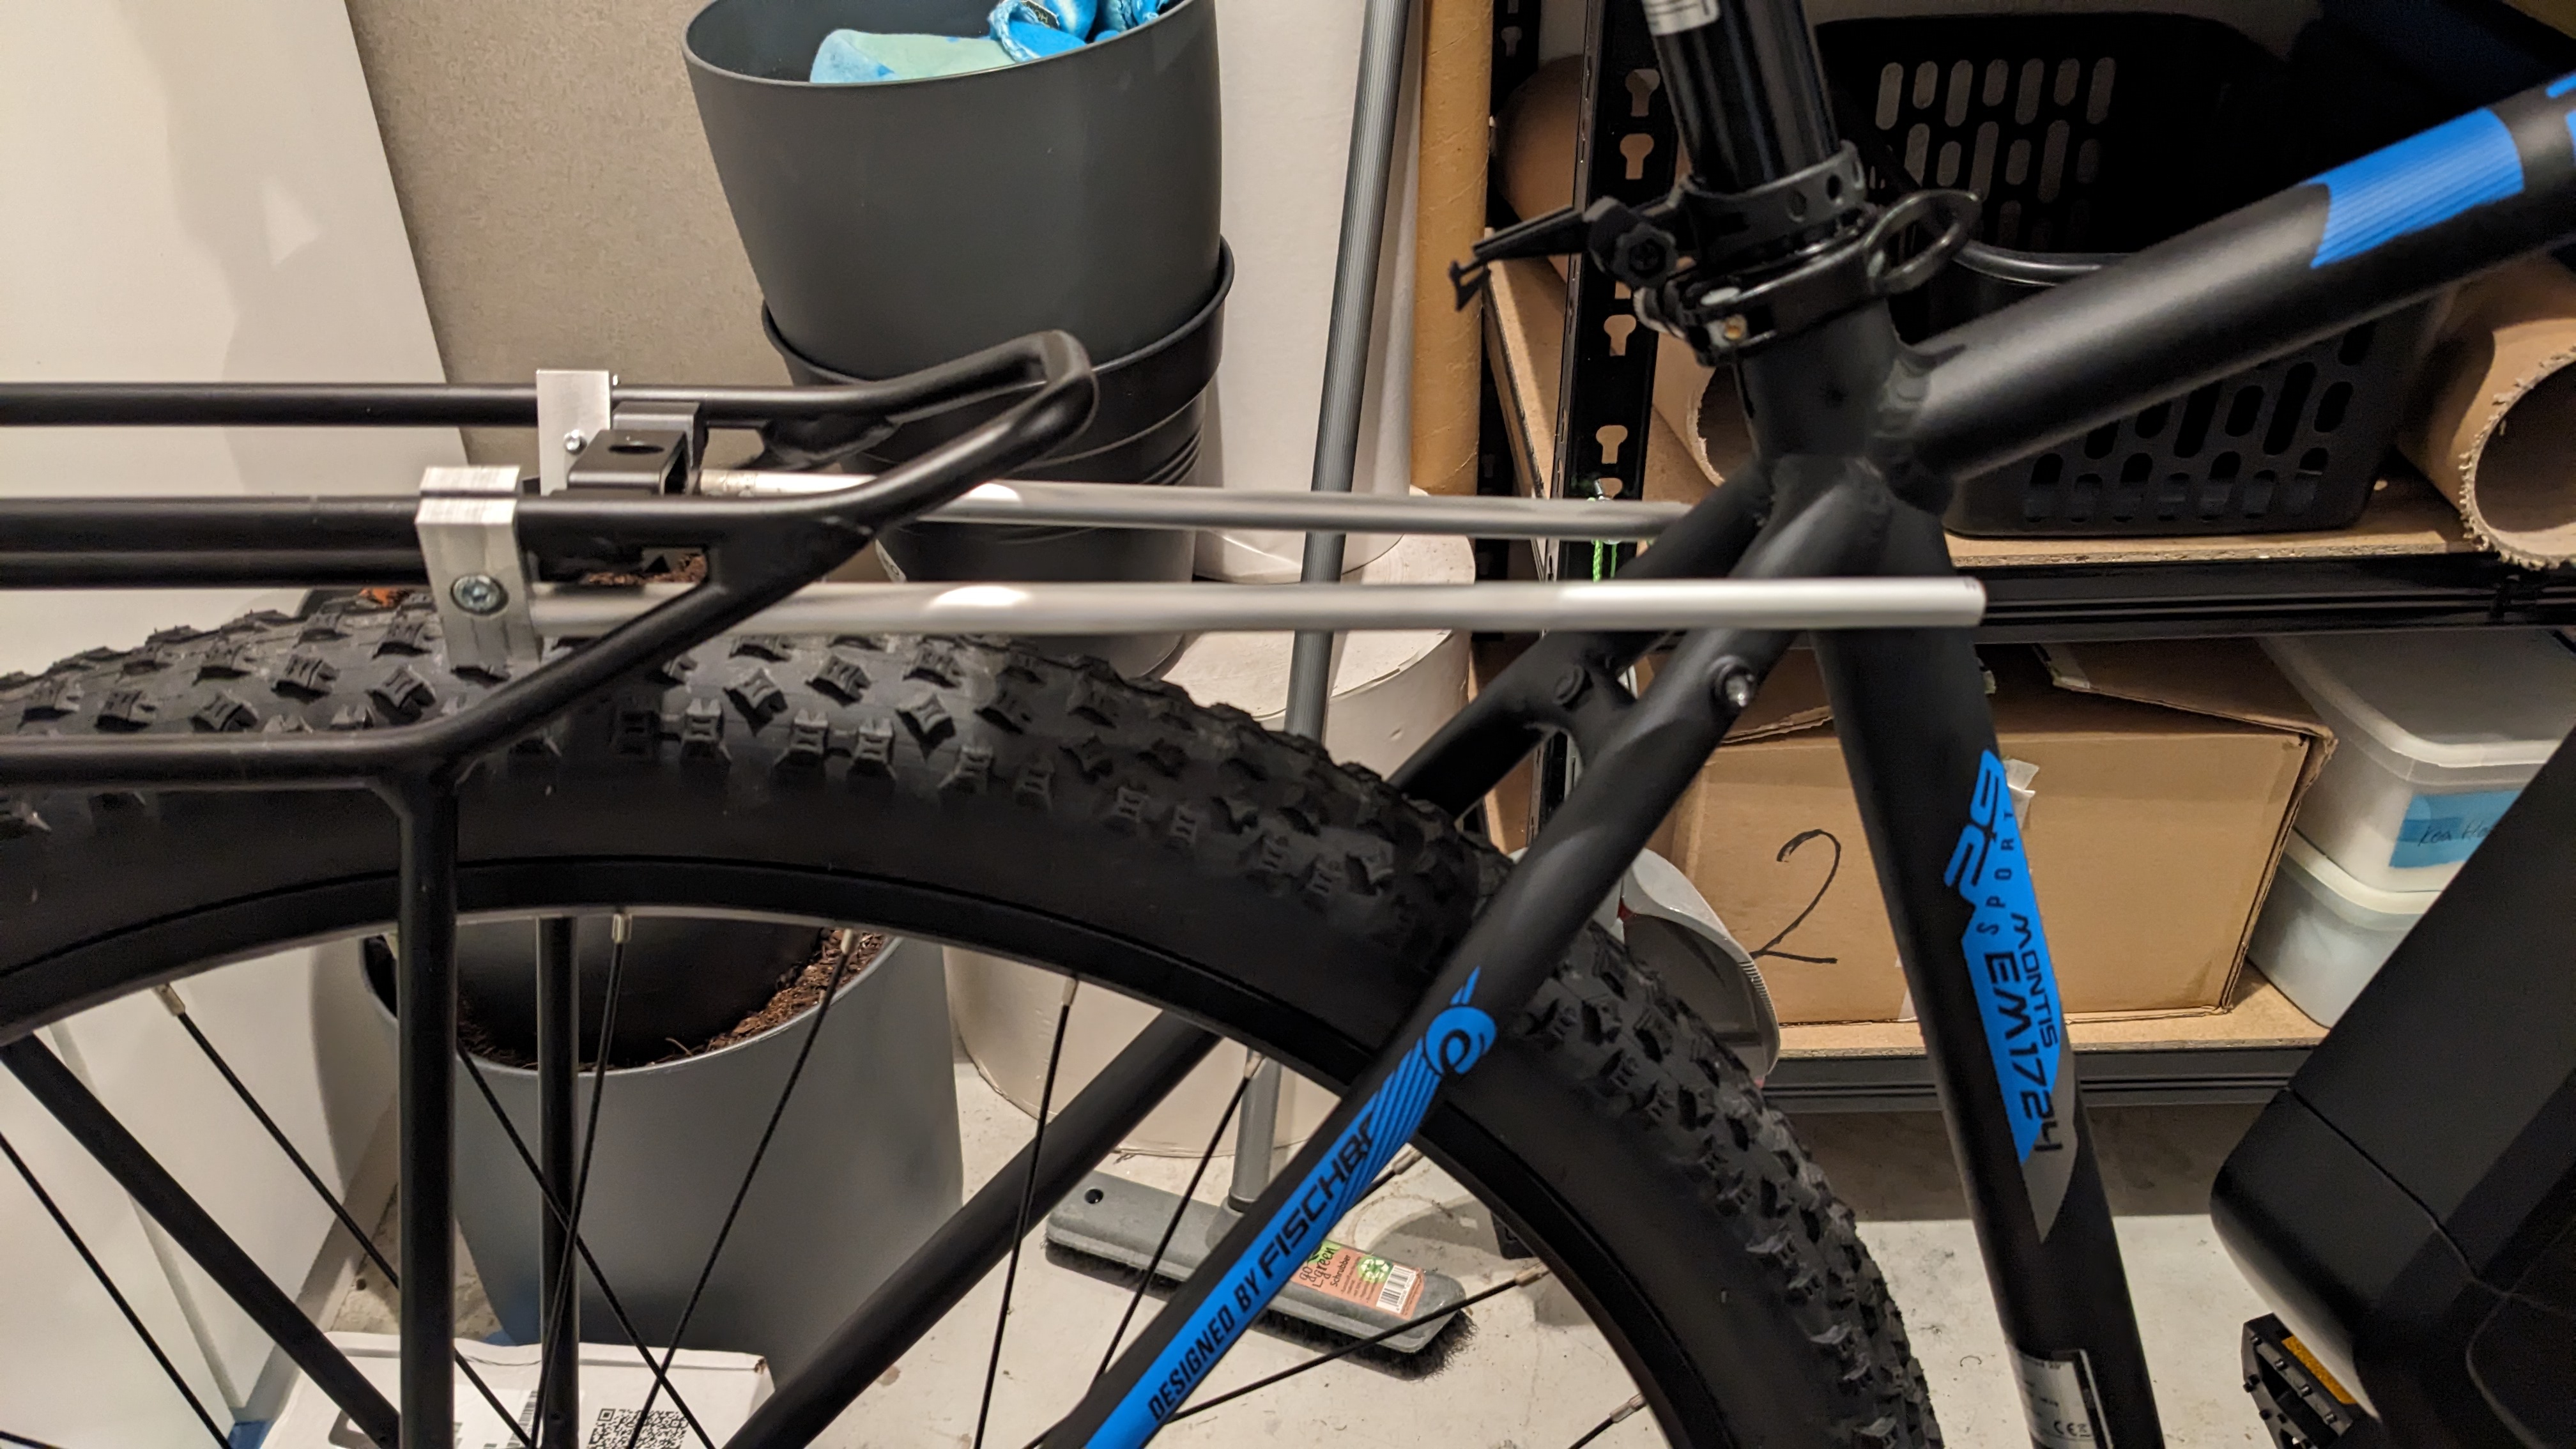
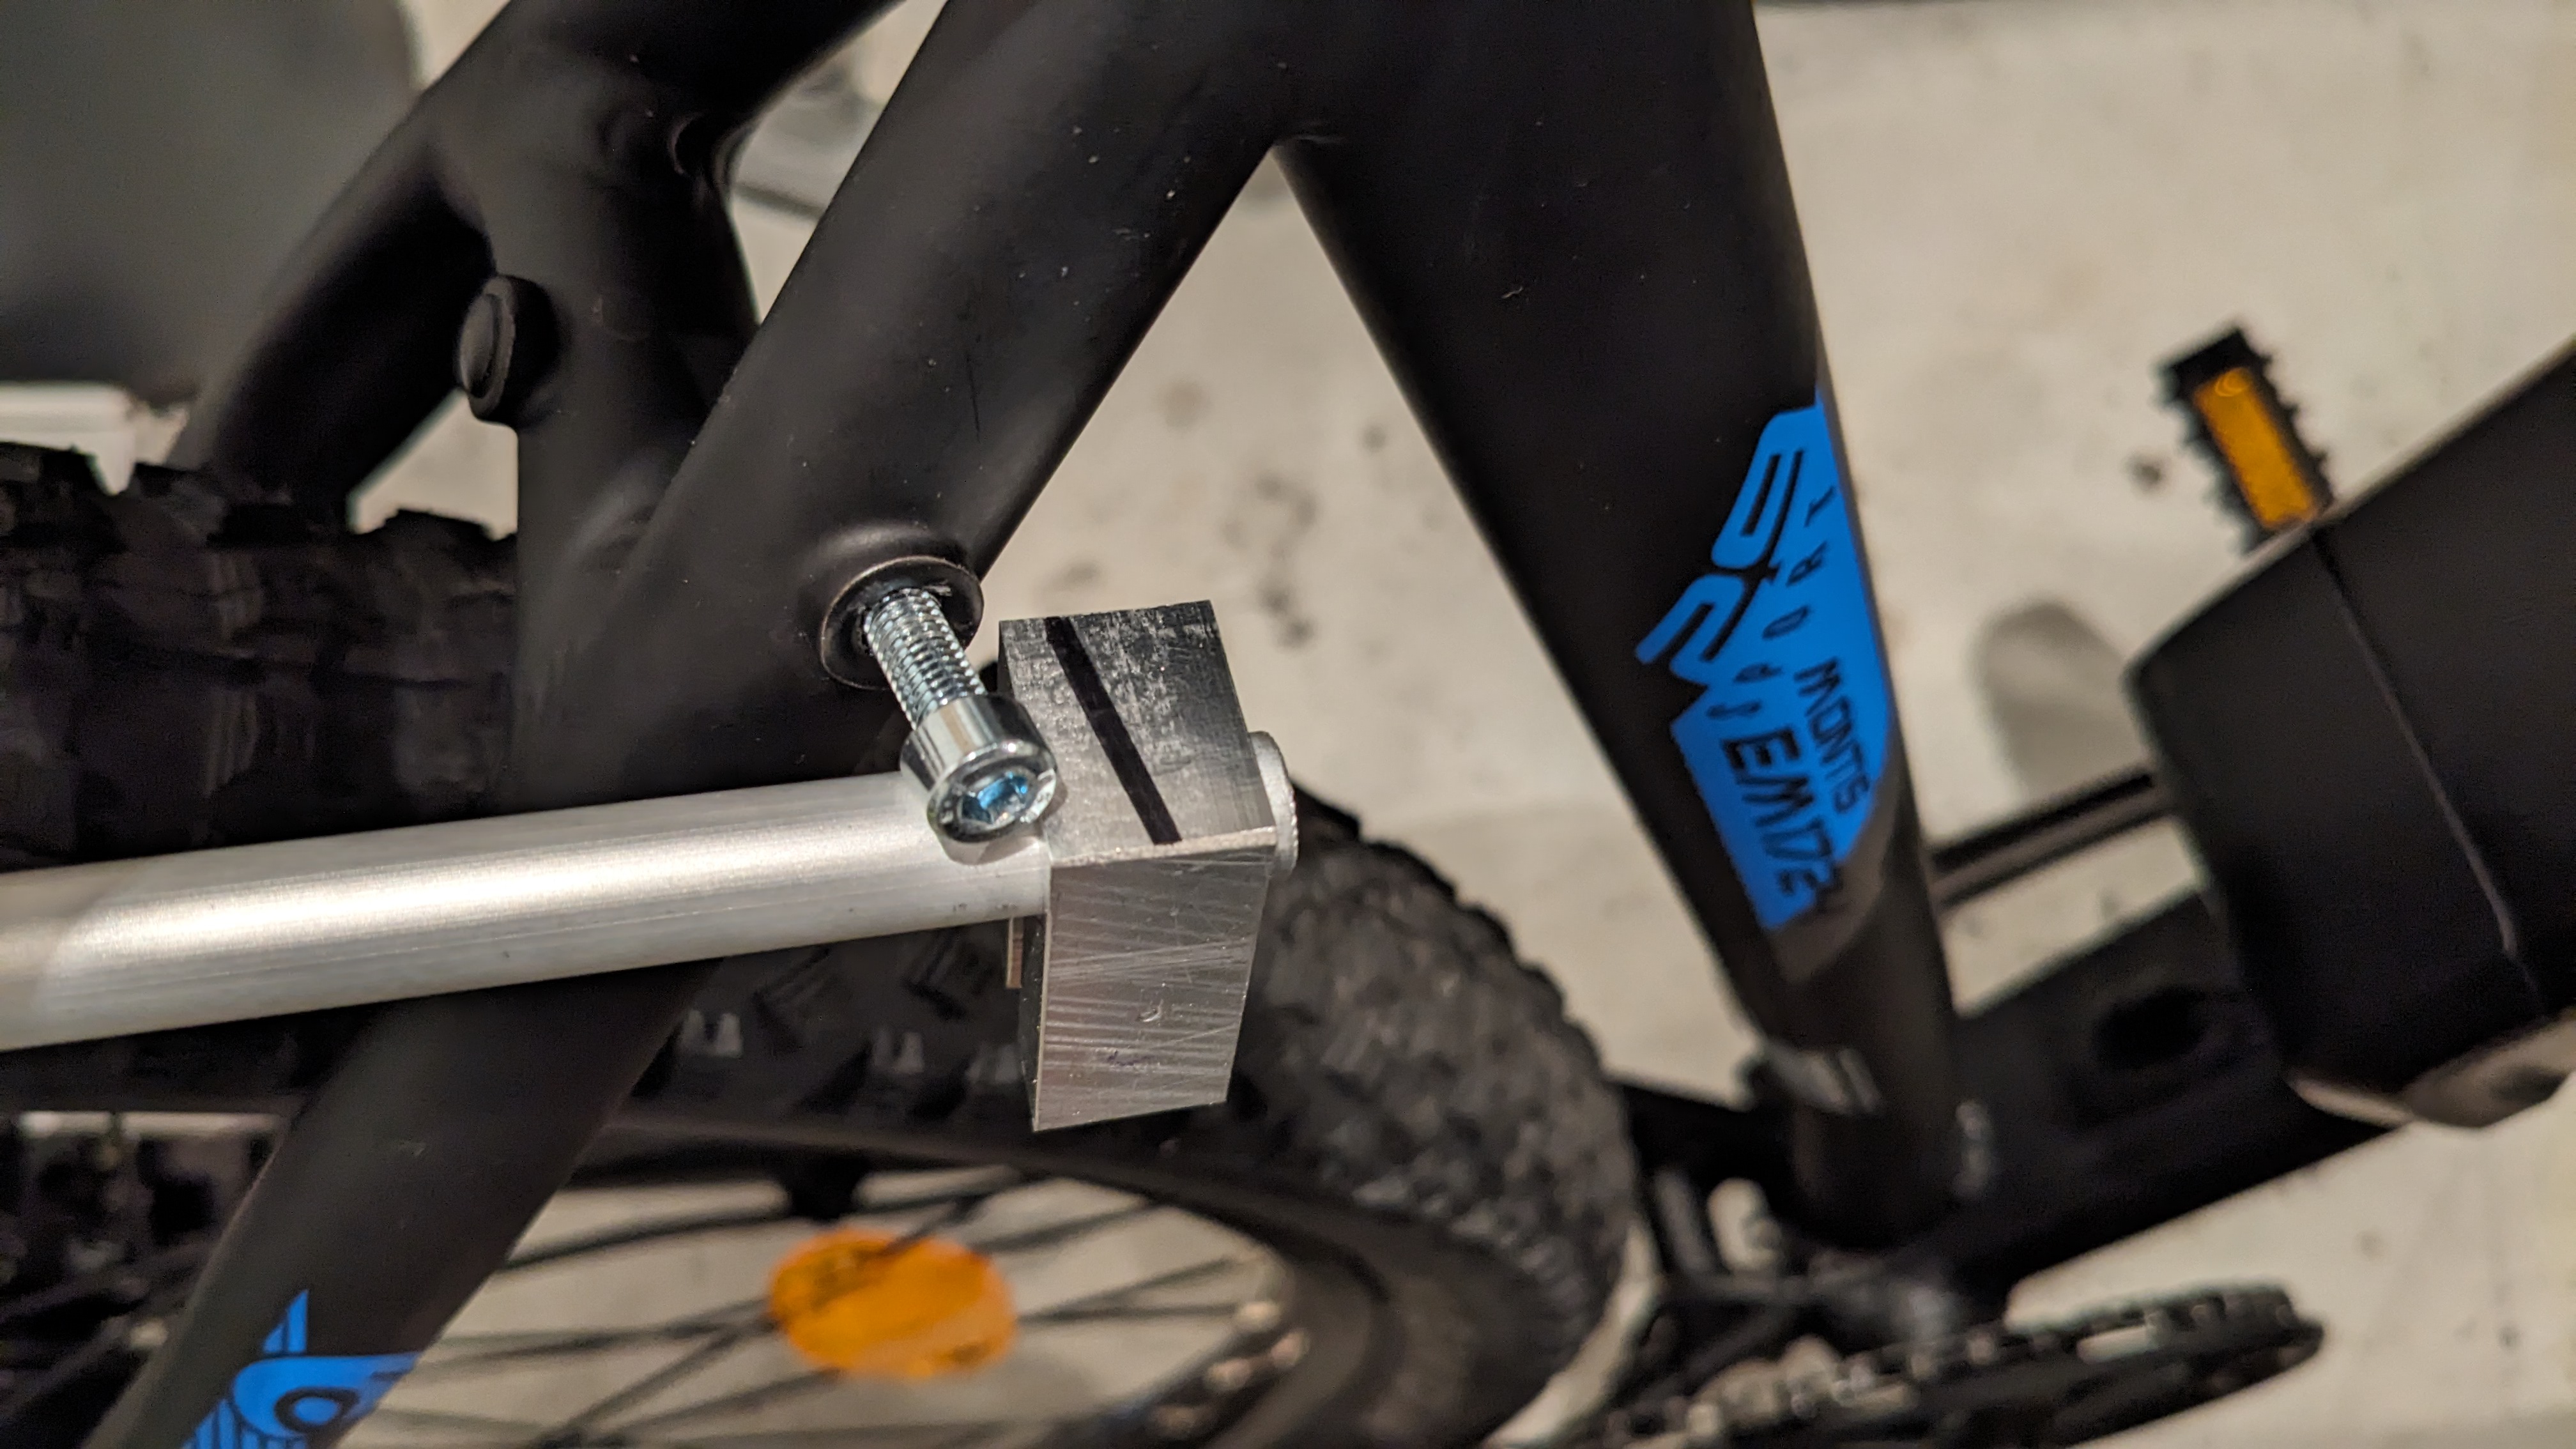
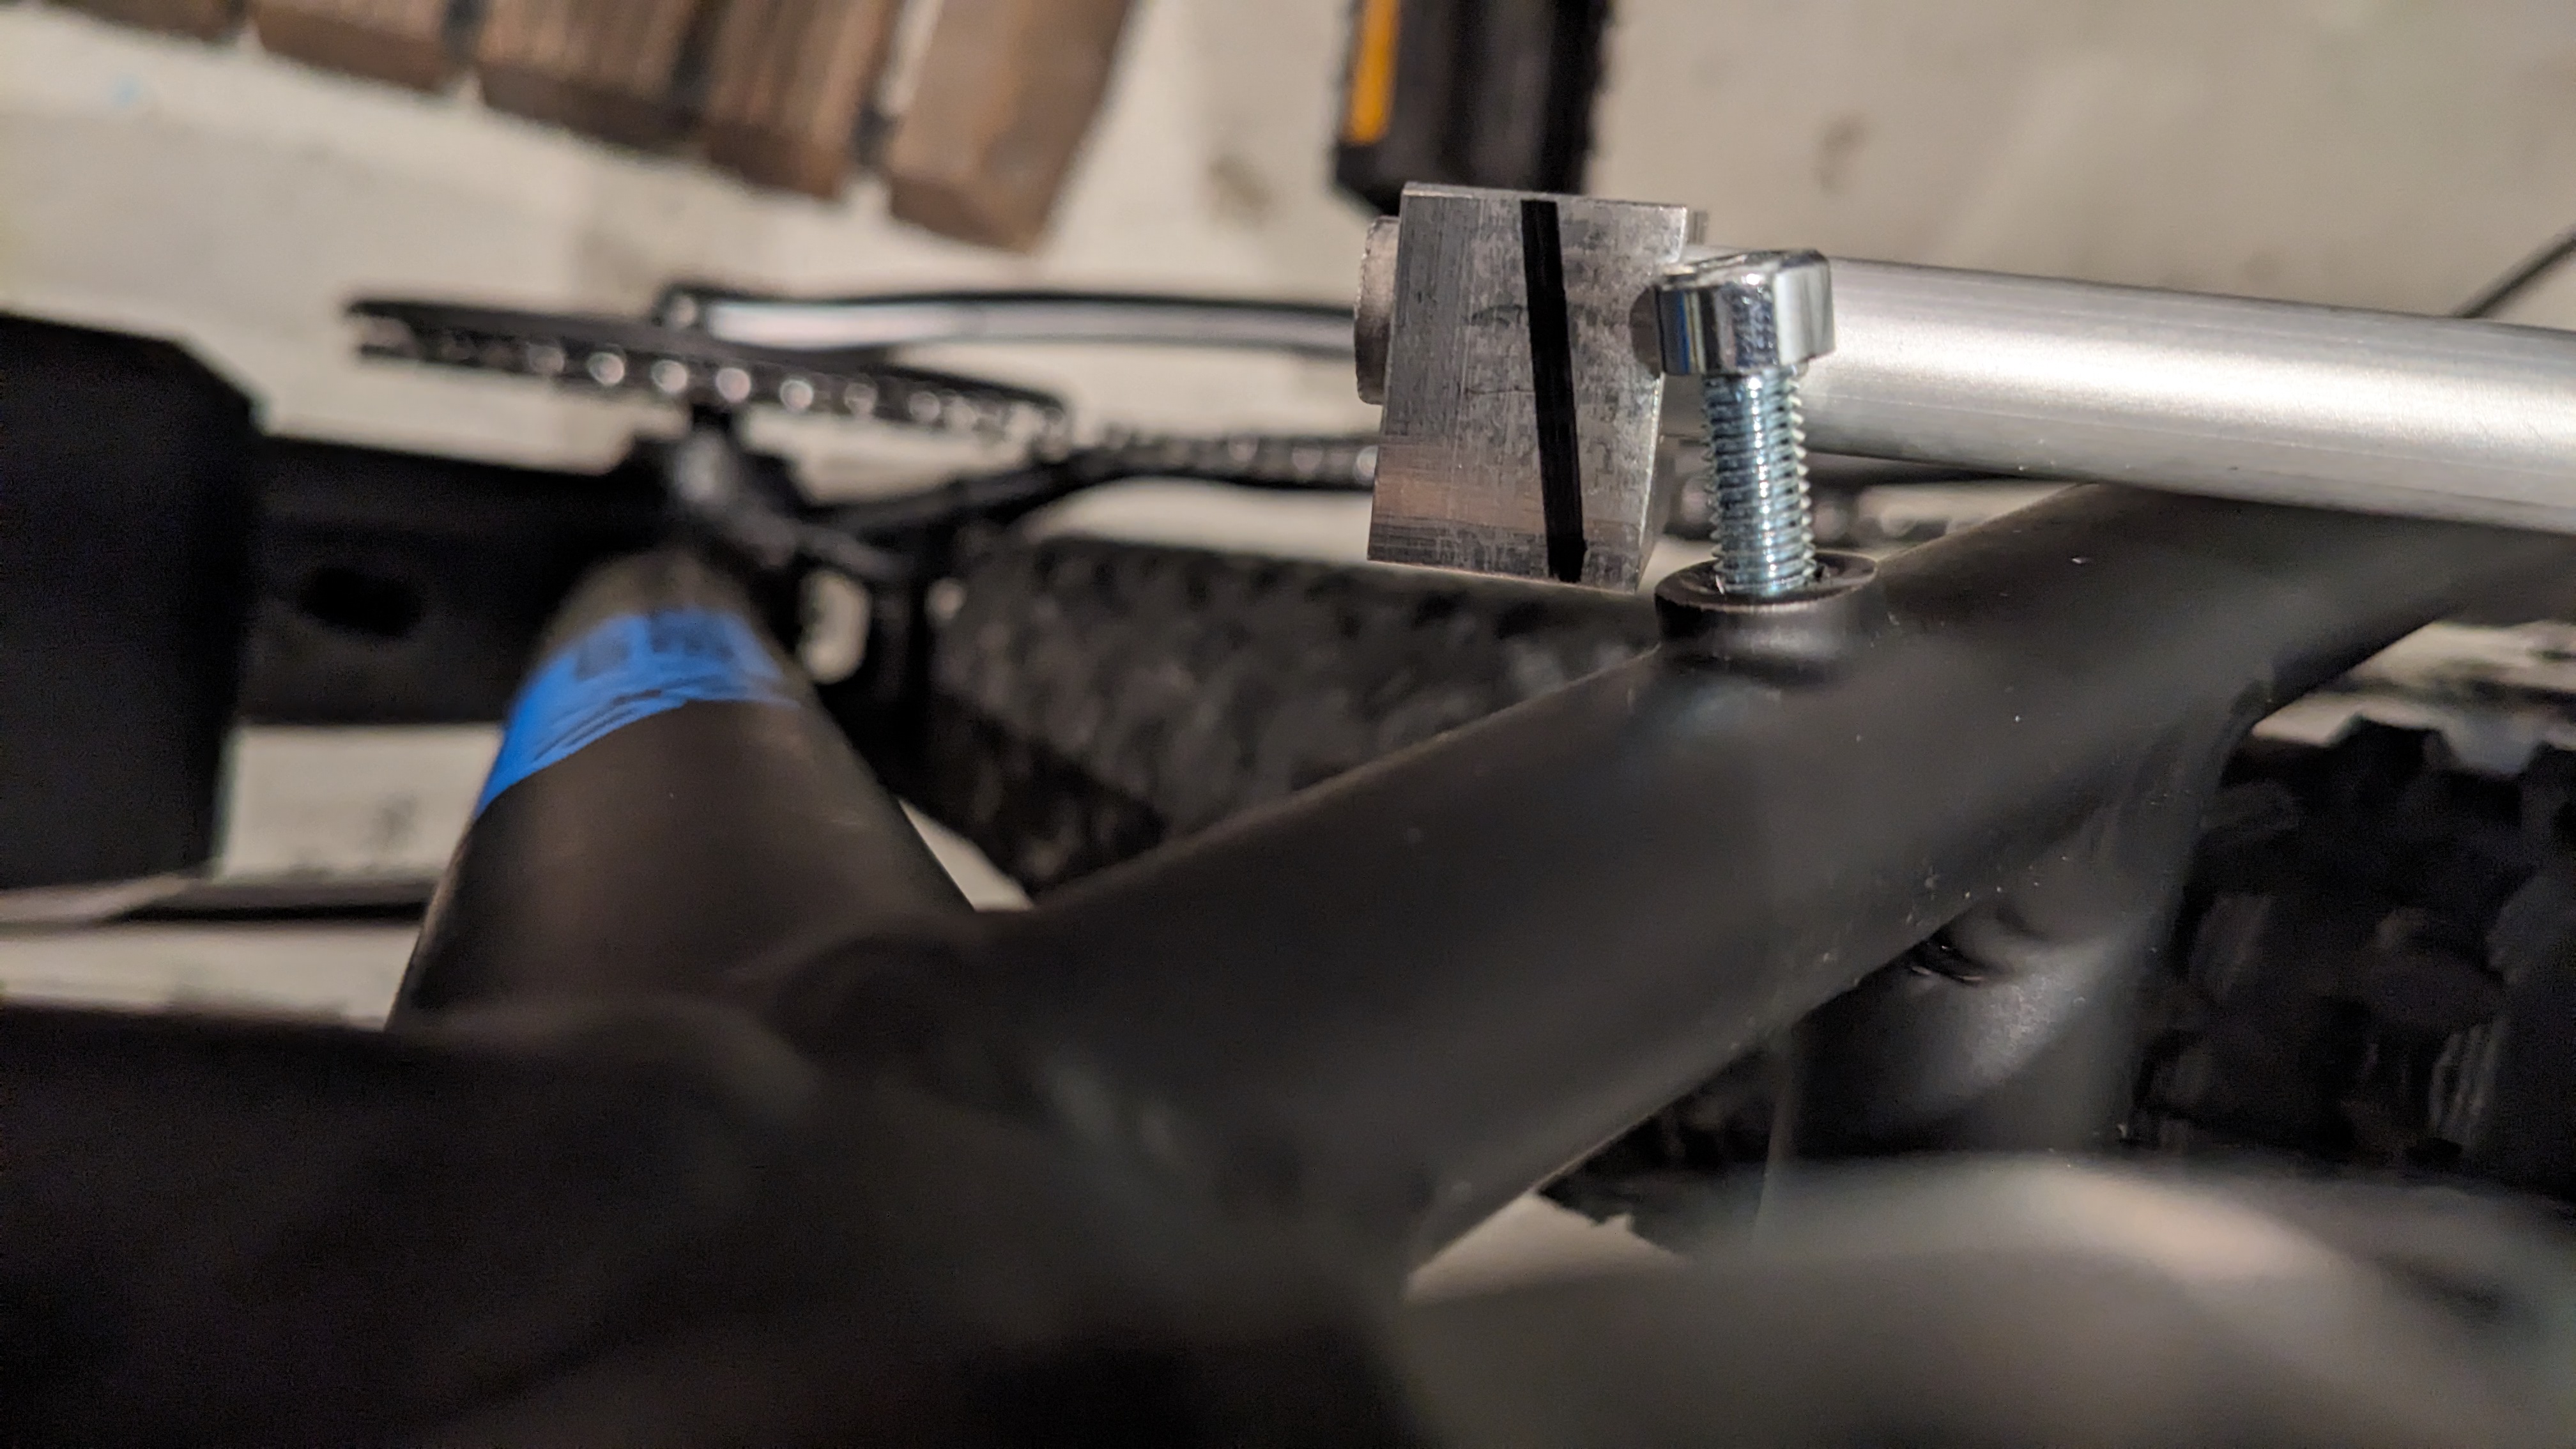
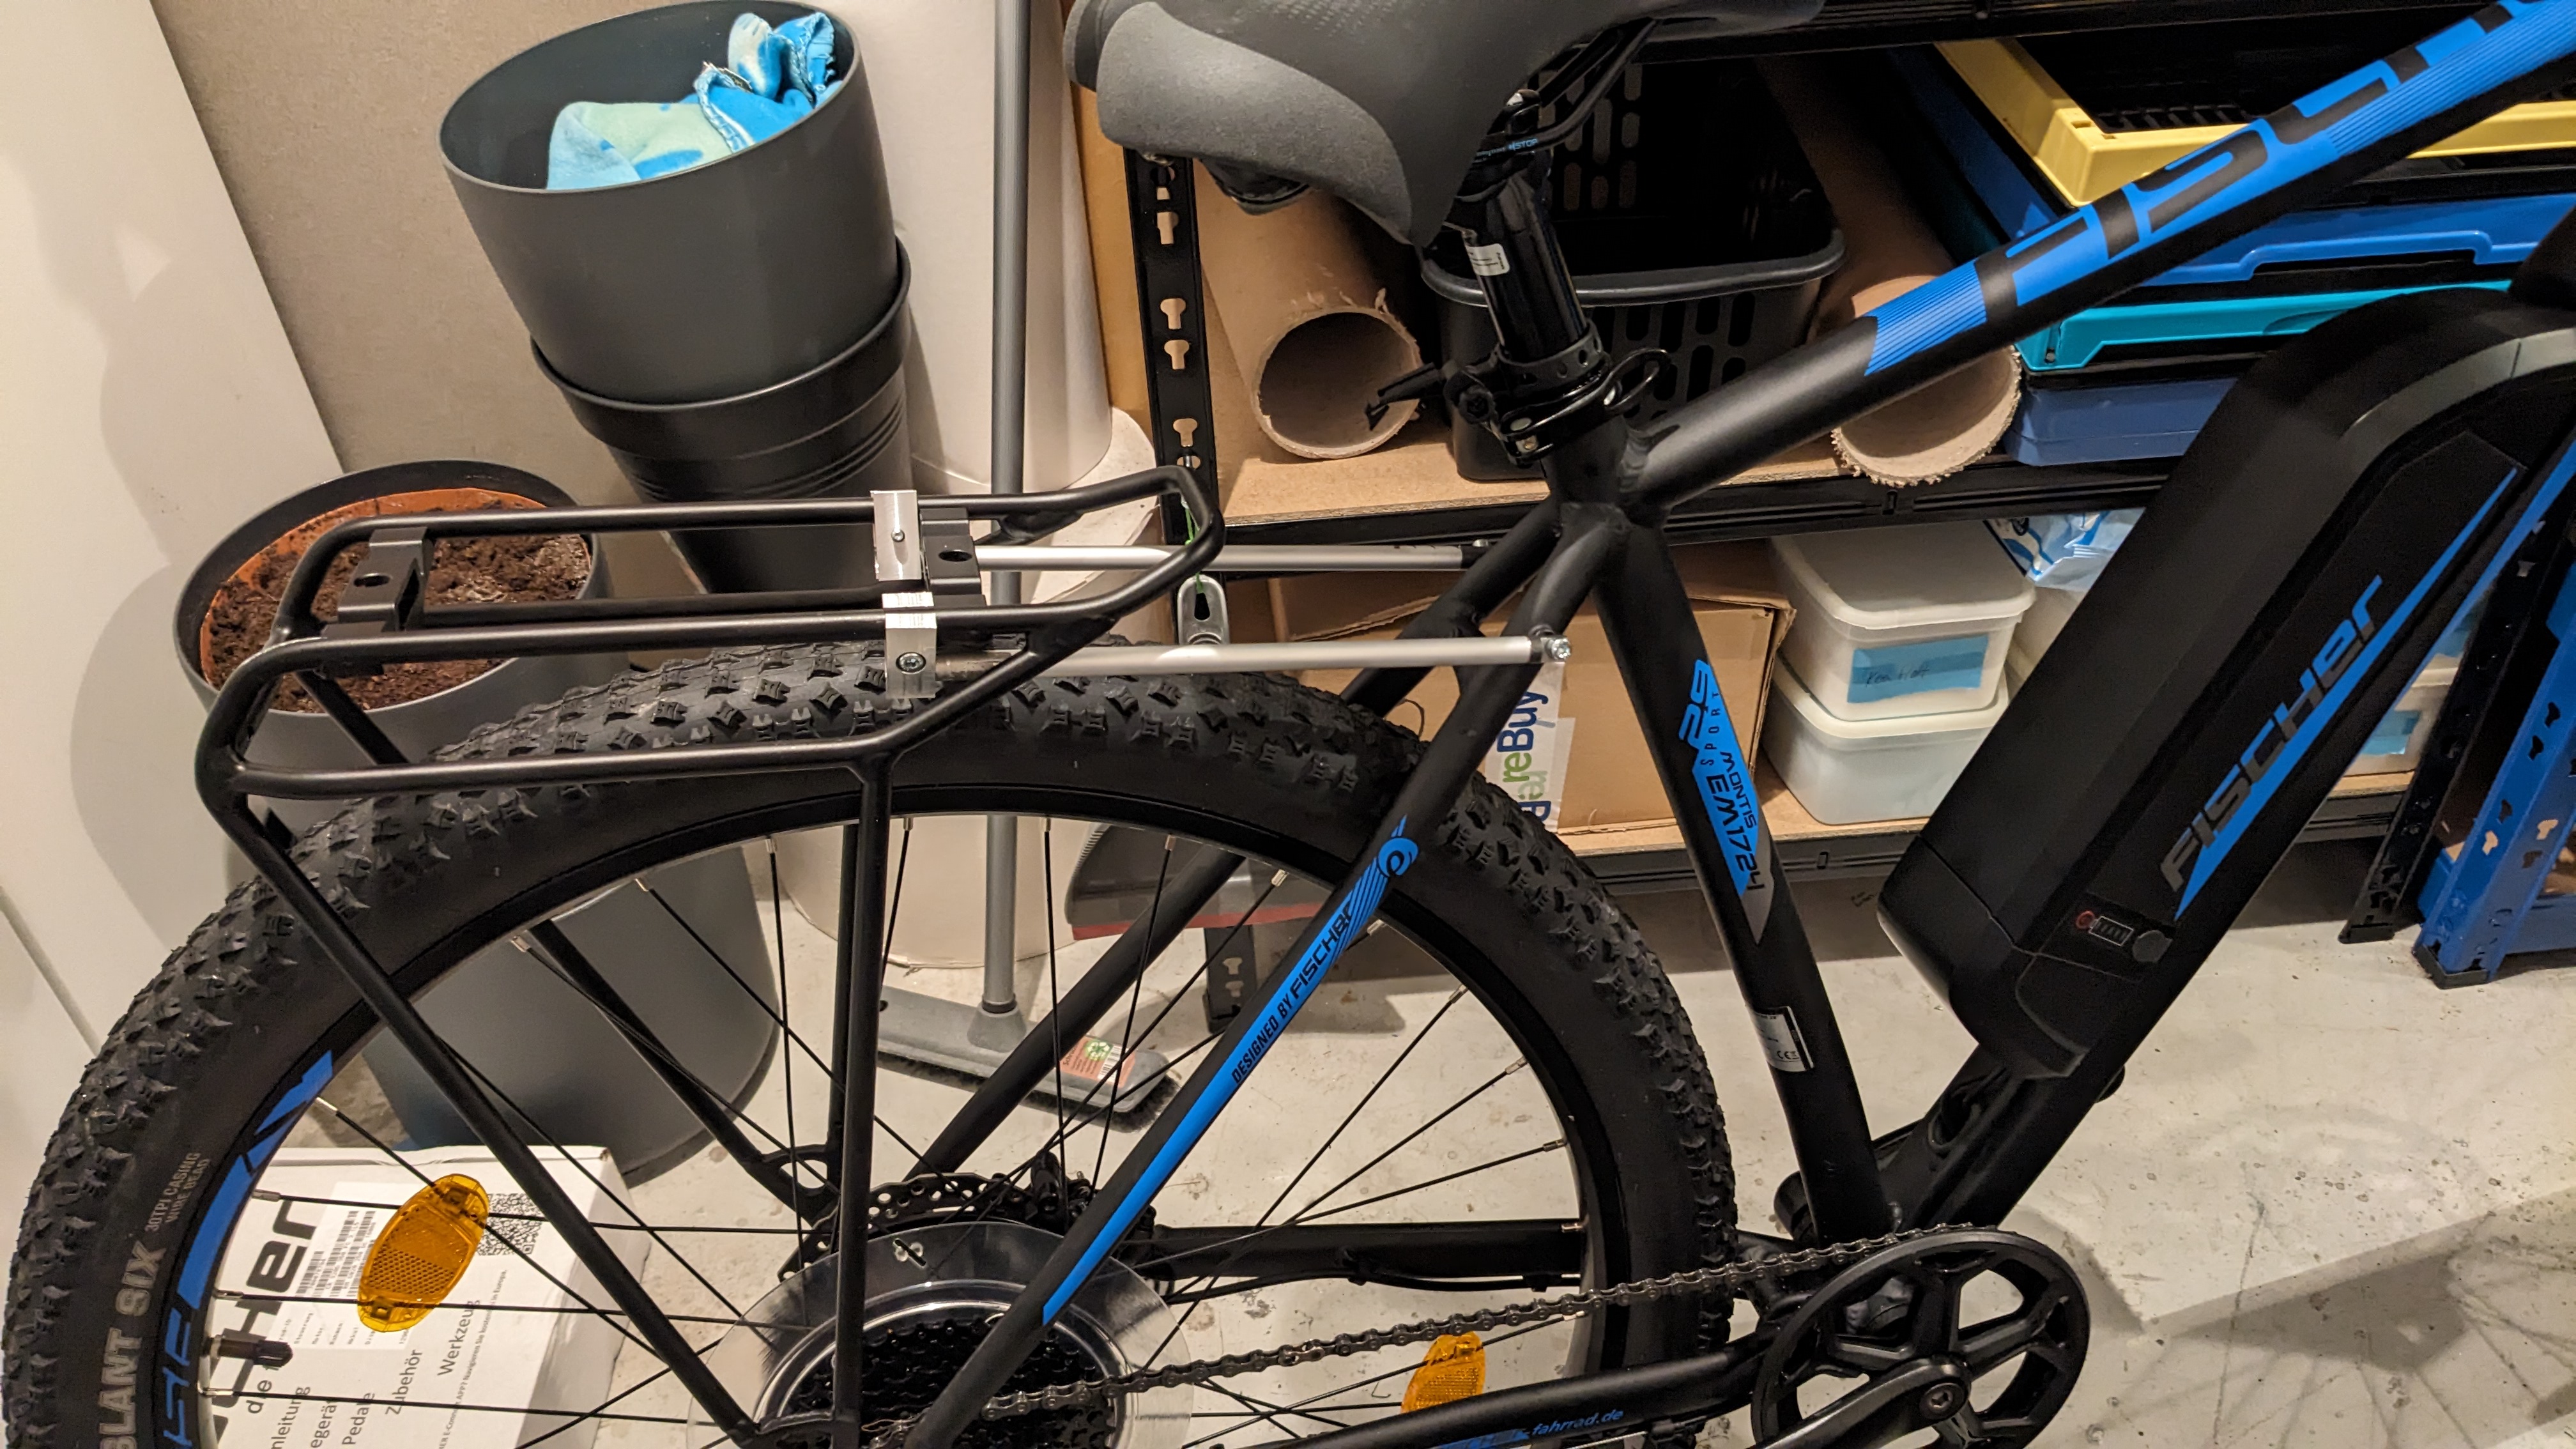
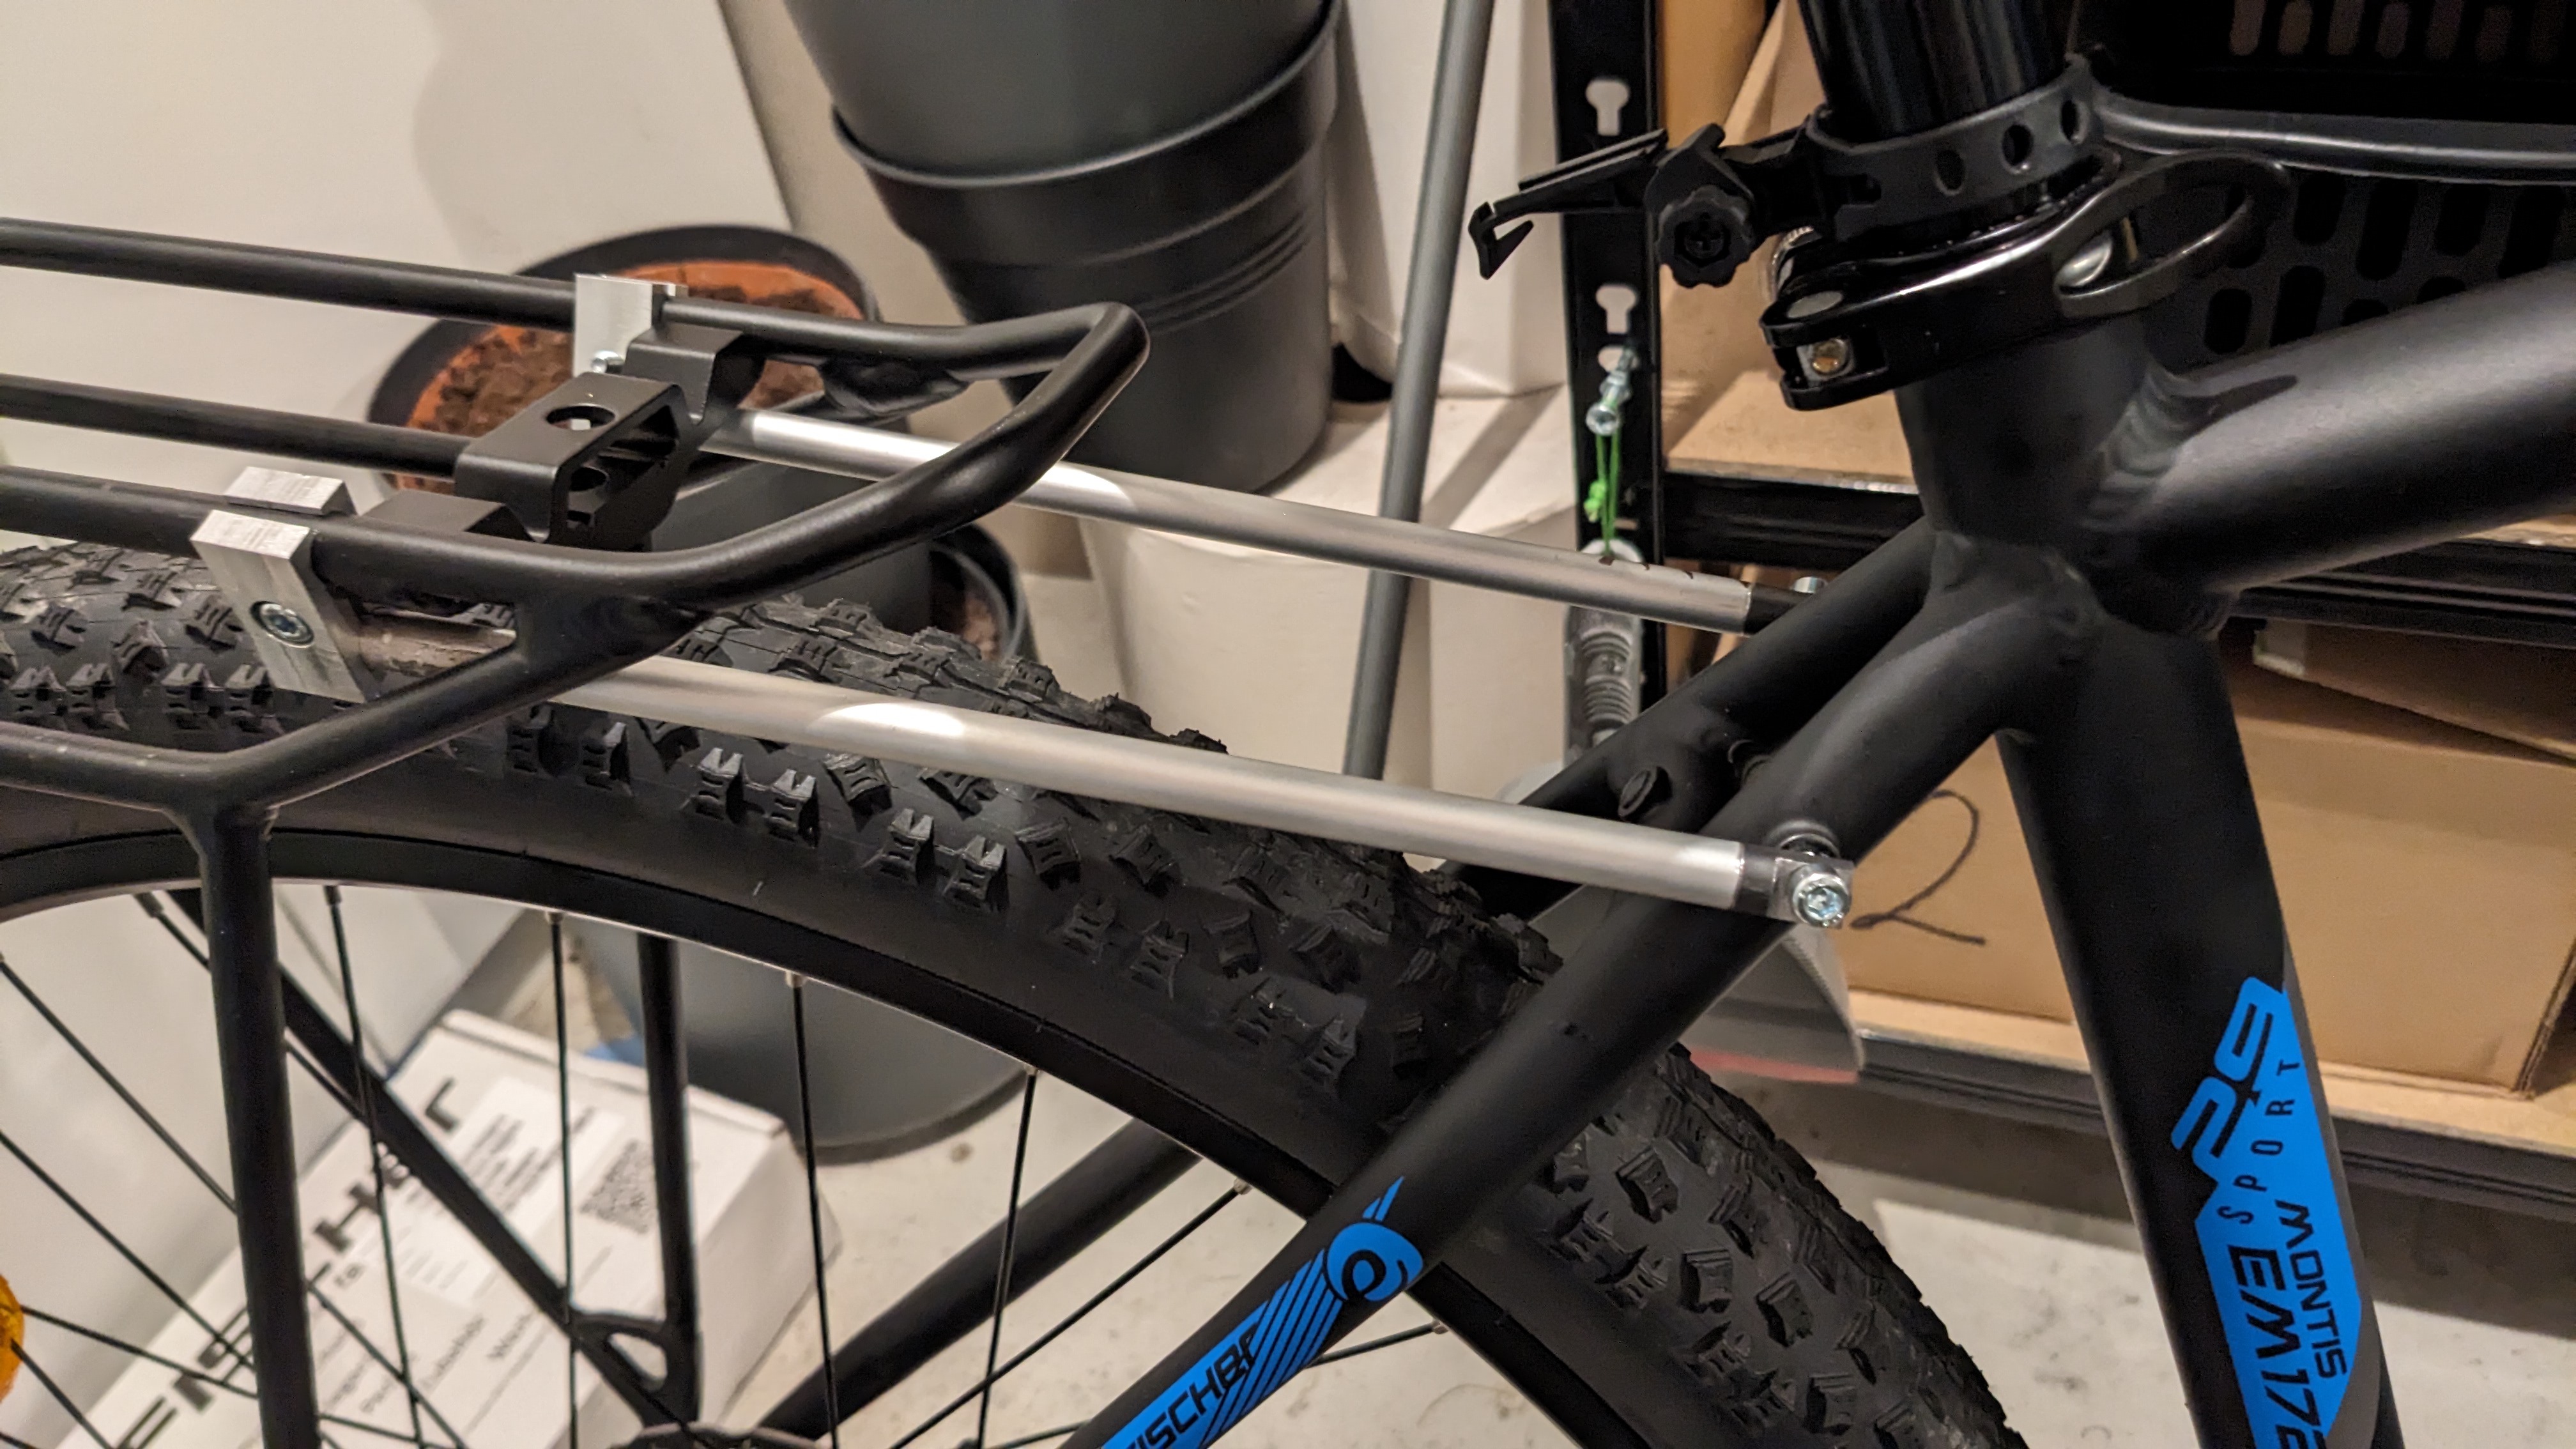
Finished product
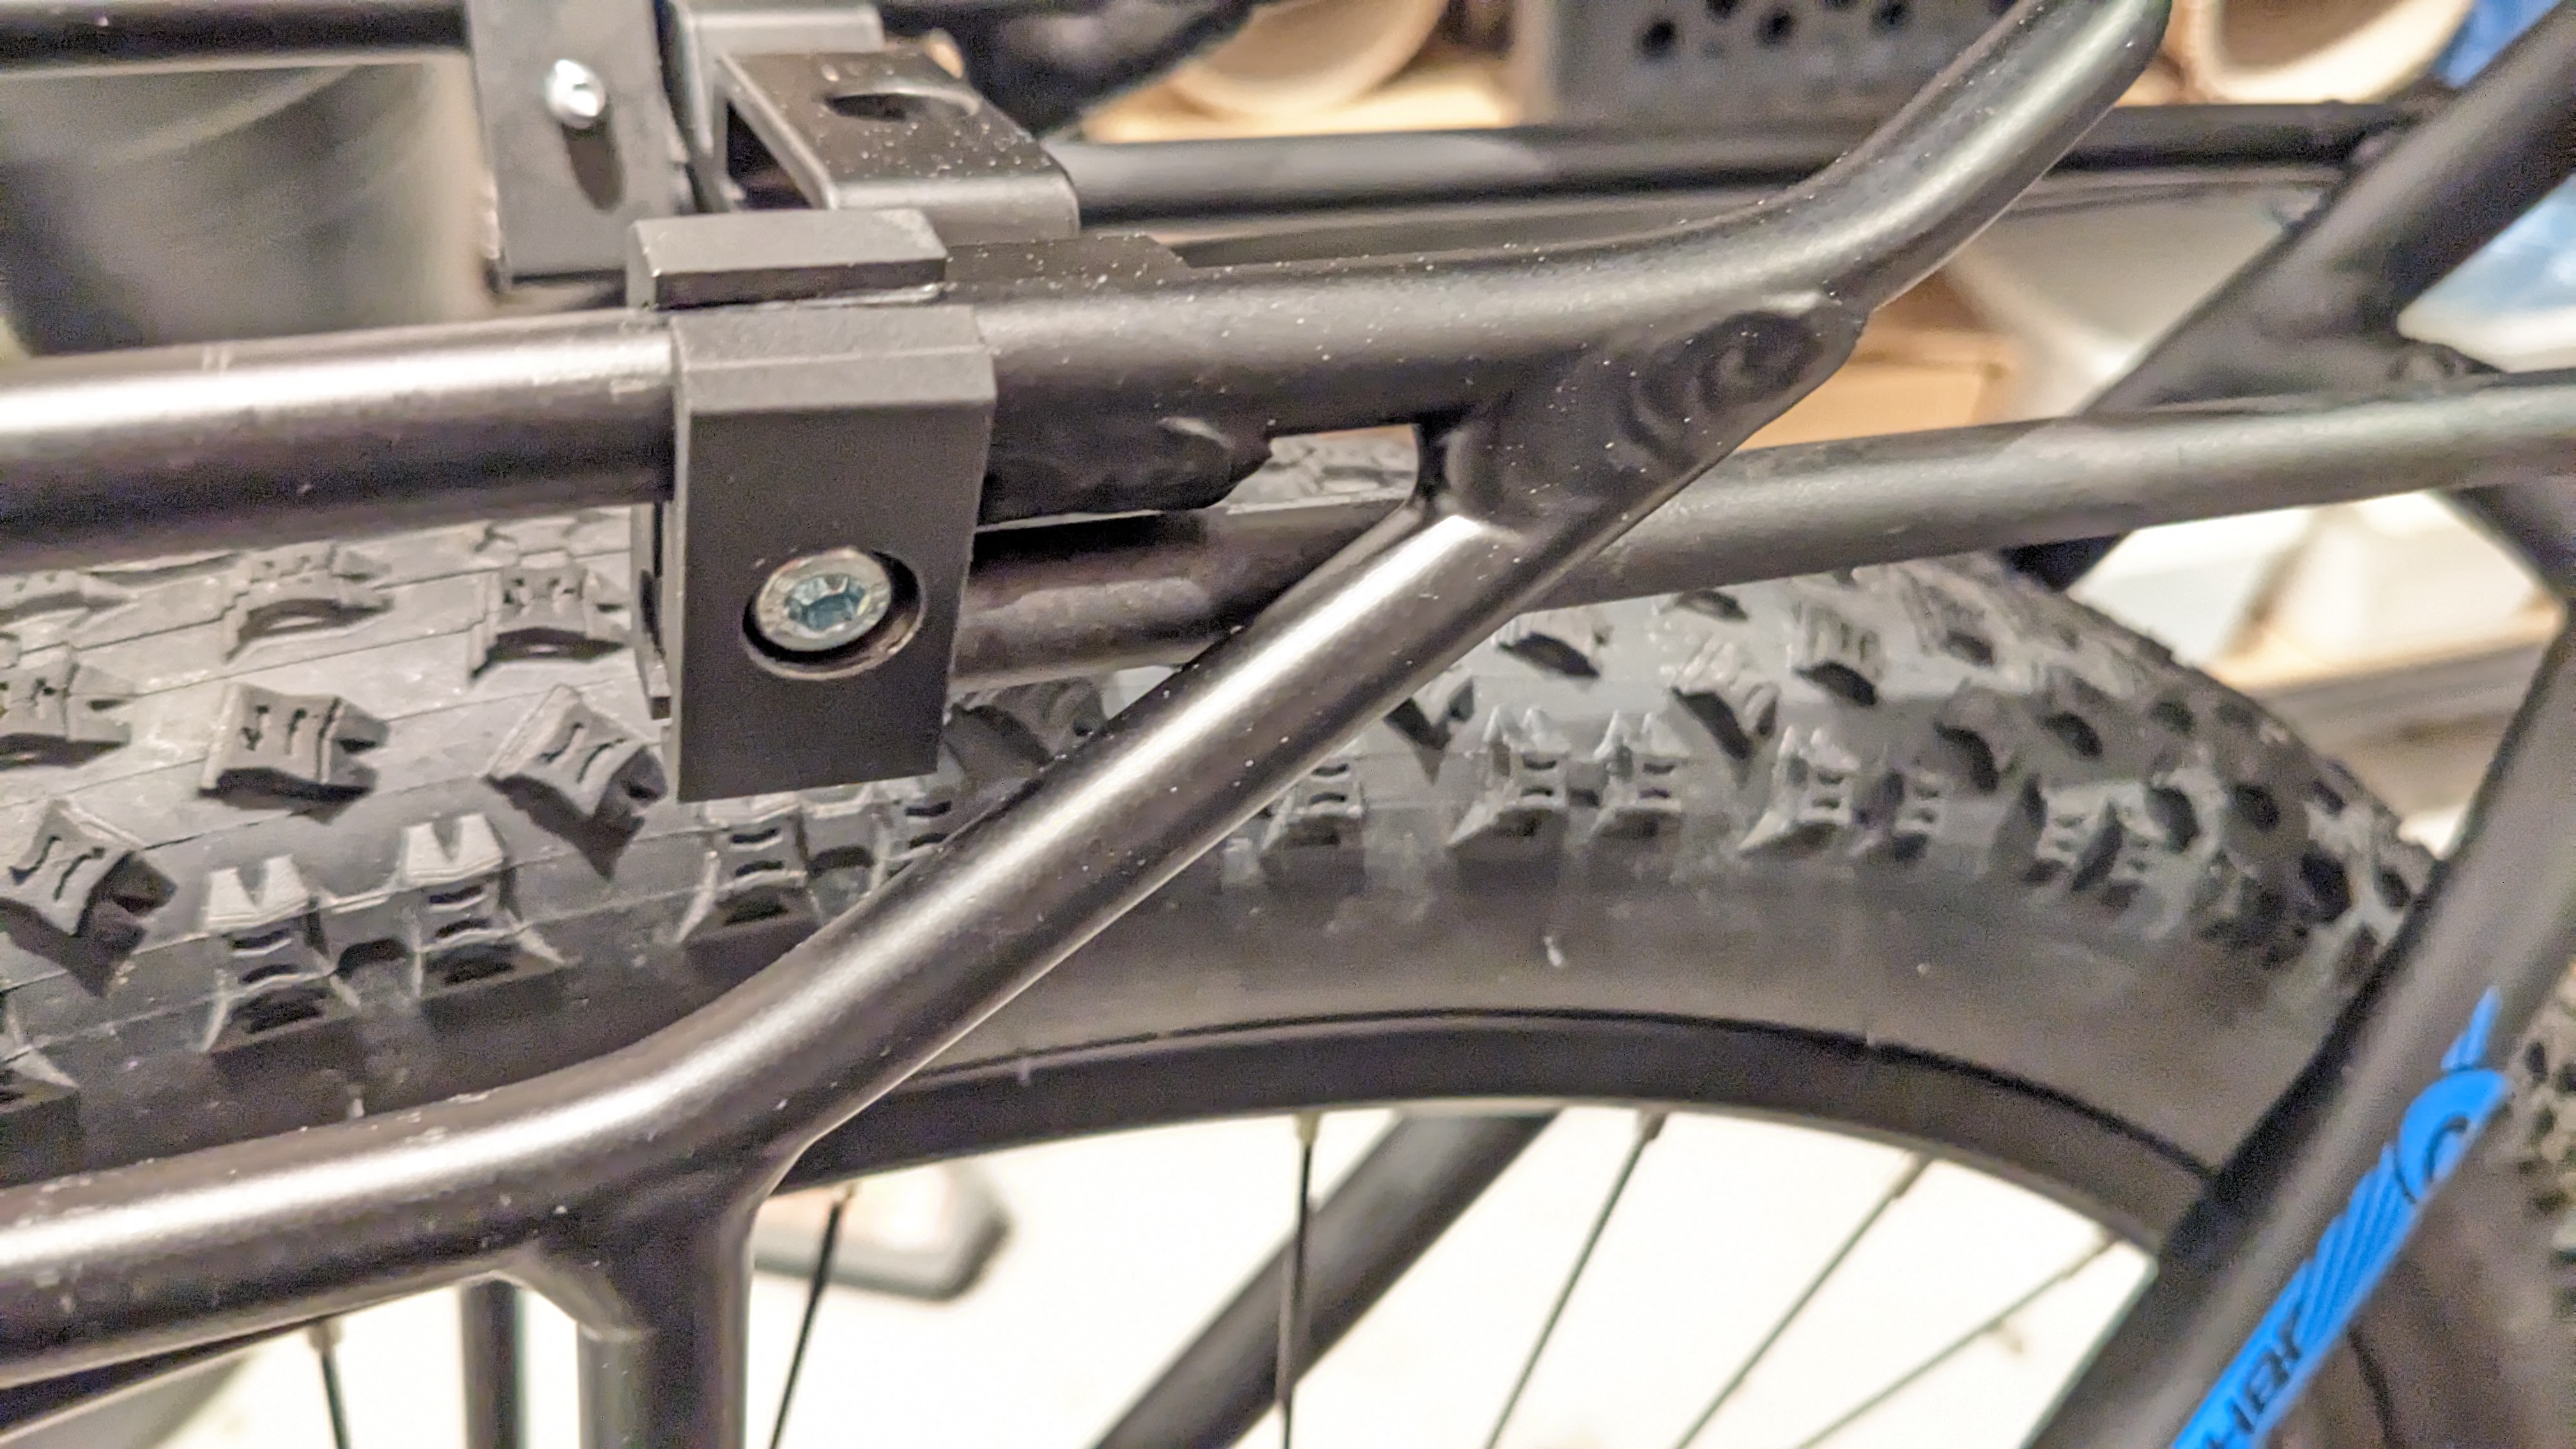
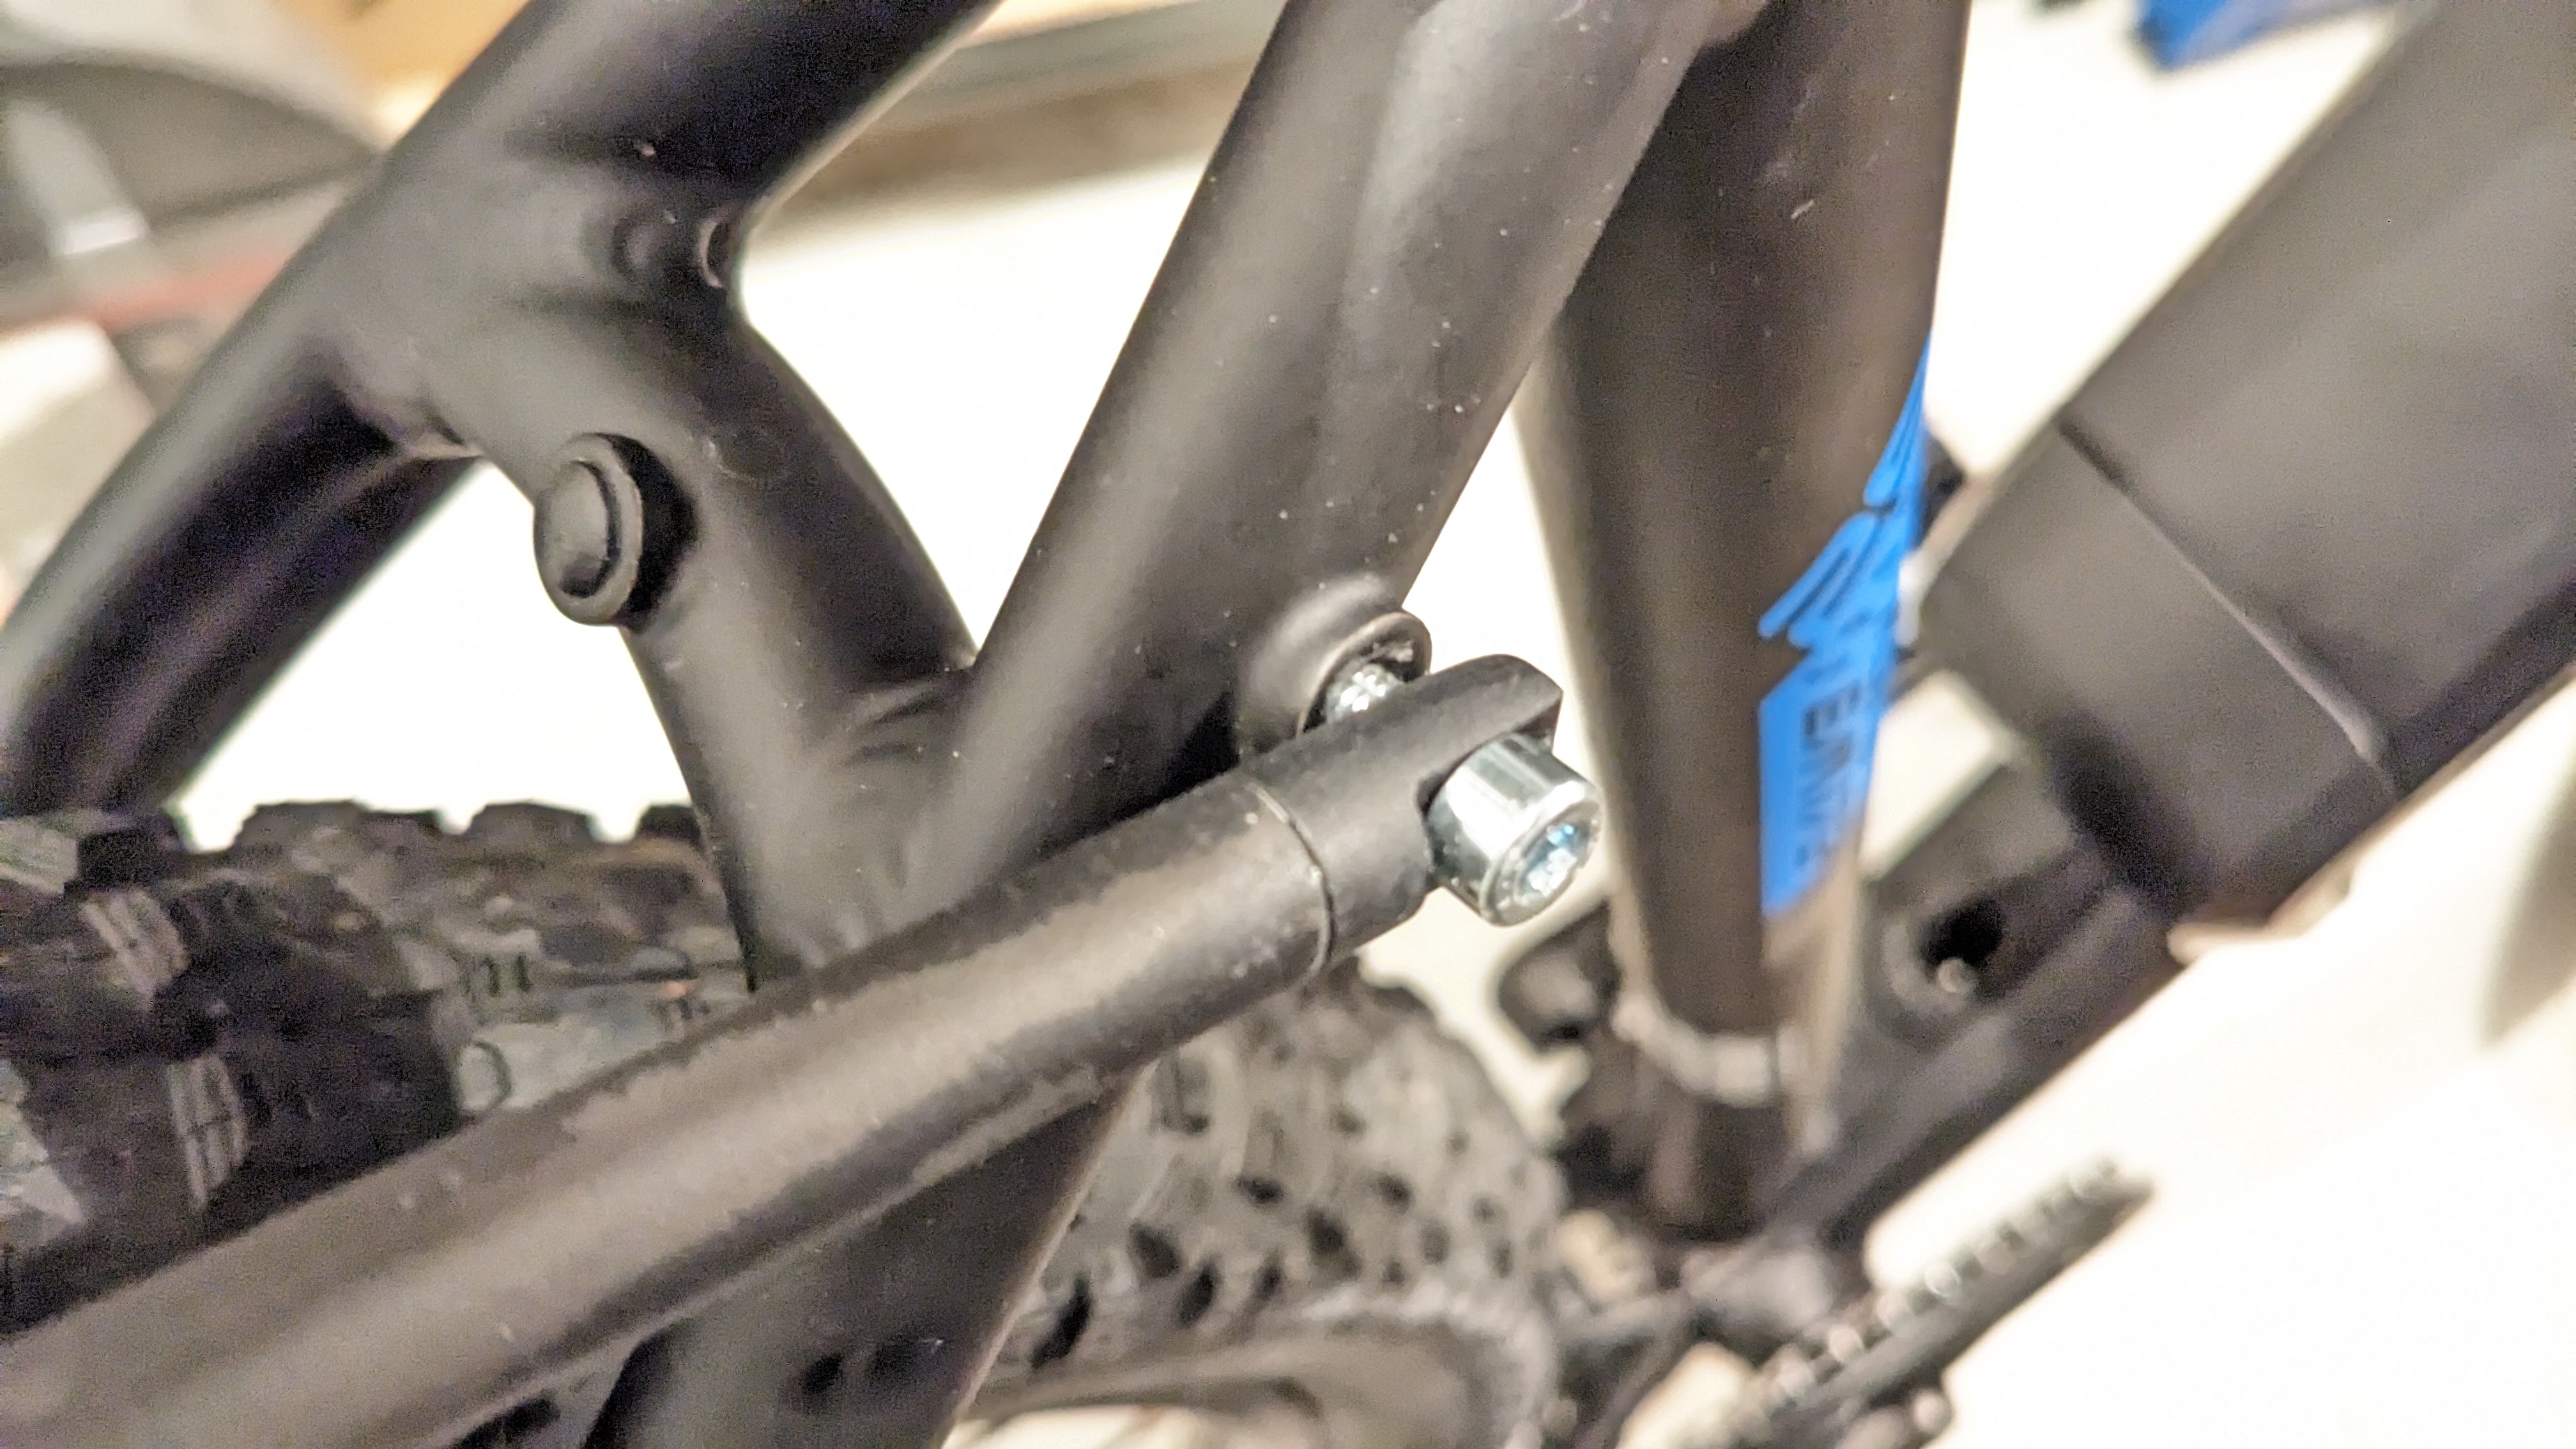
It does look okay, if you are standing far away. But for your trained "metal-worker-eye" it is hideous. But im treating it as an early prototype, meaning i´ll drive it for a couple of weeks and will adapt the new design to its current flaws. Let´s get to the build process.
Build process
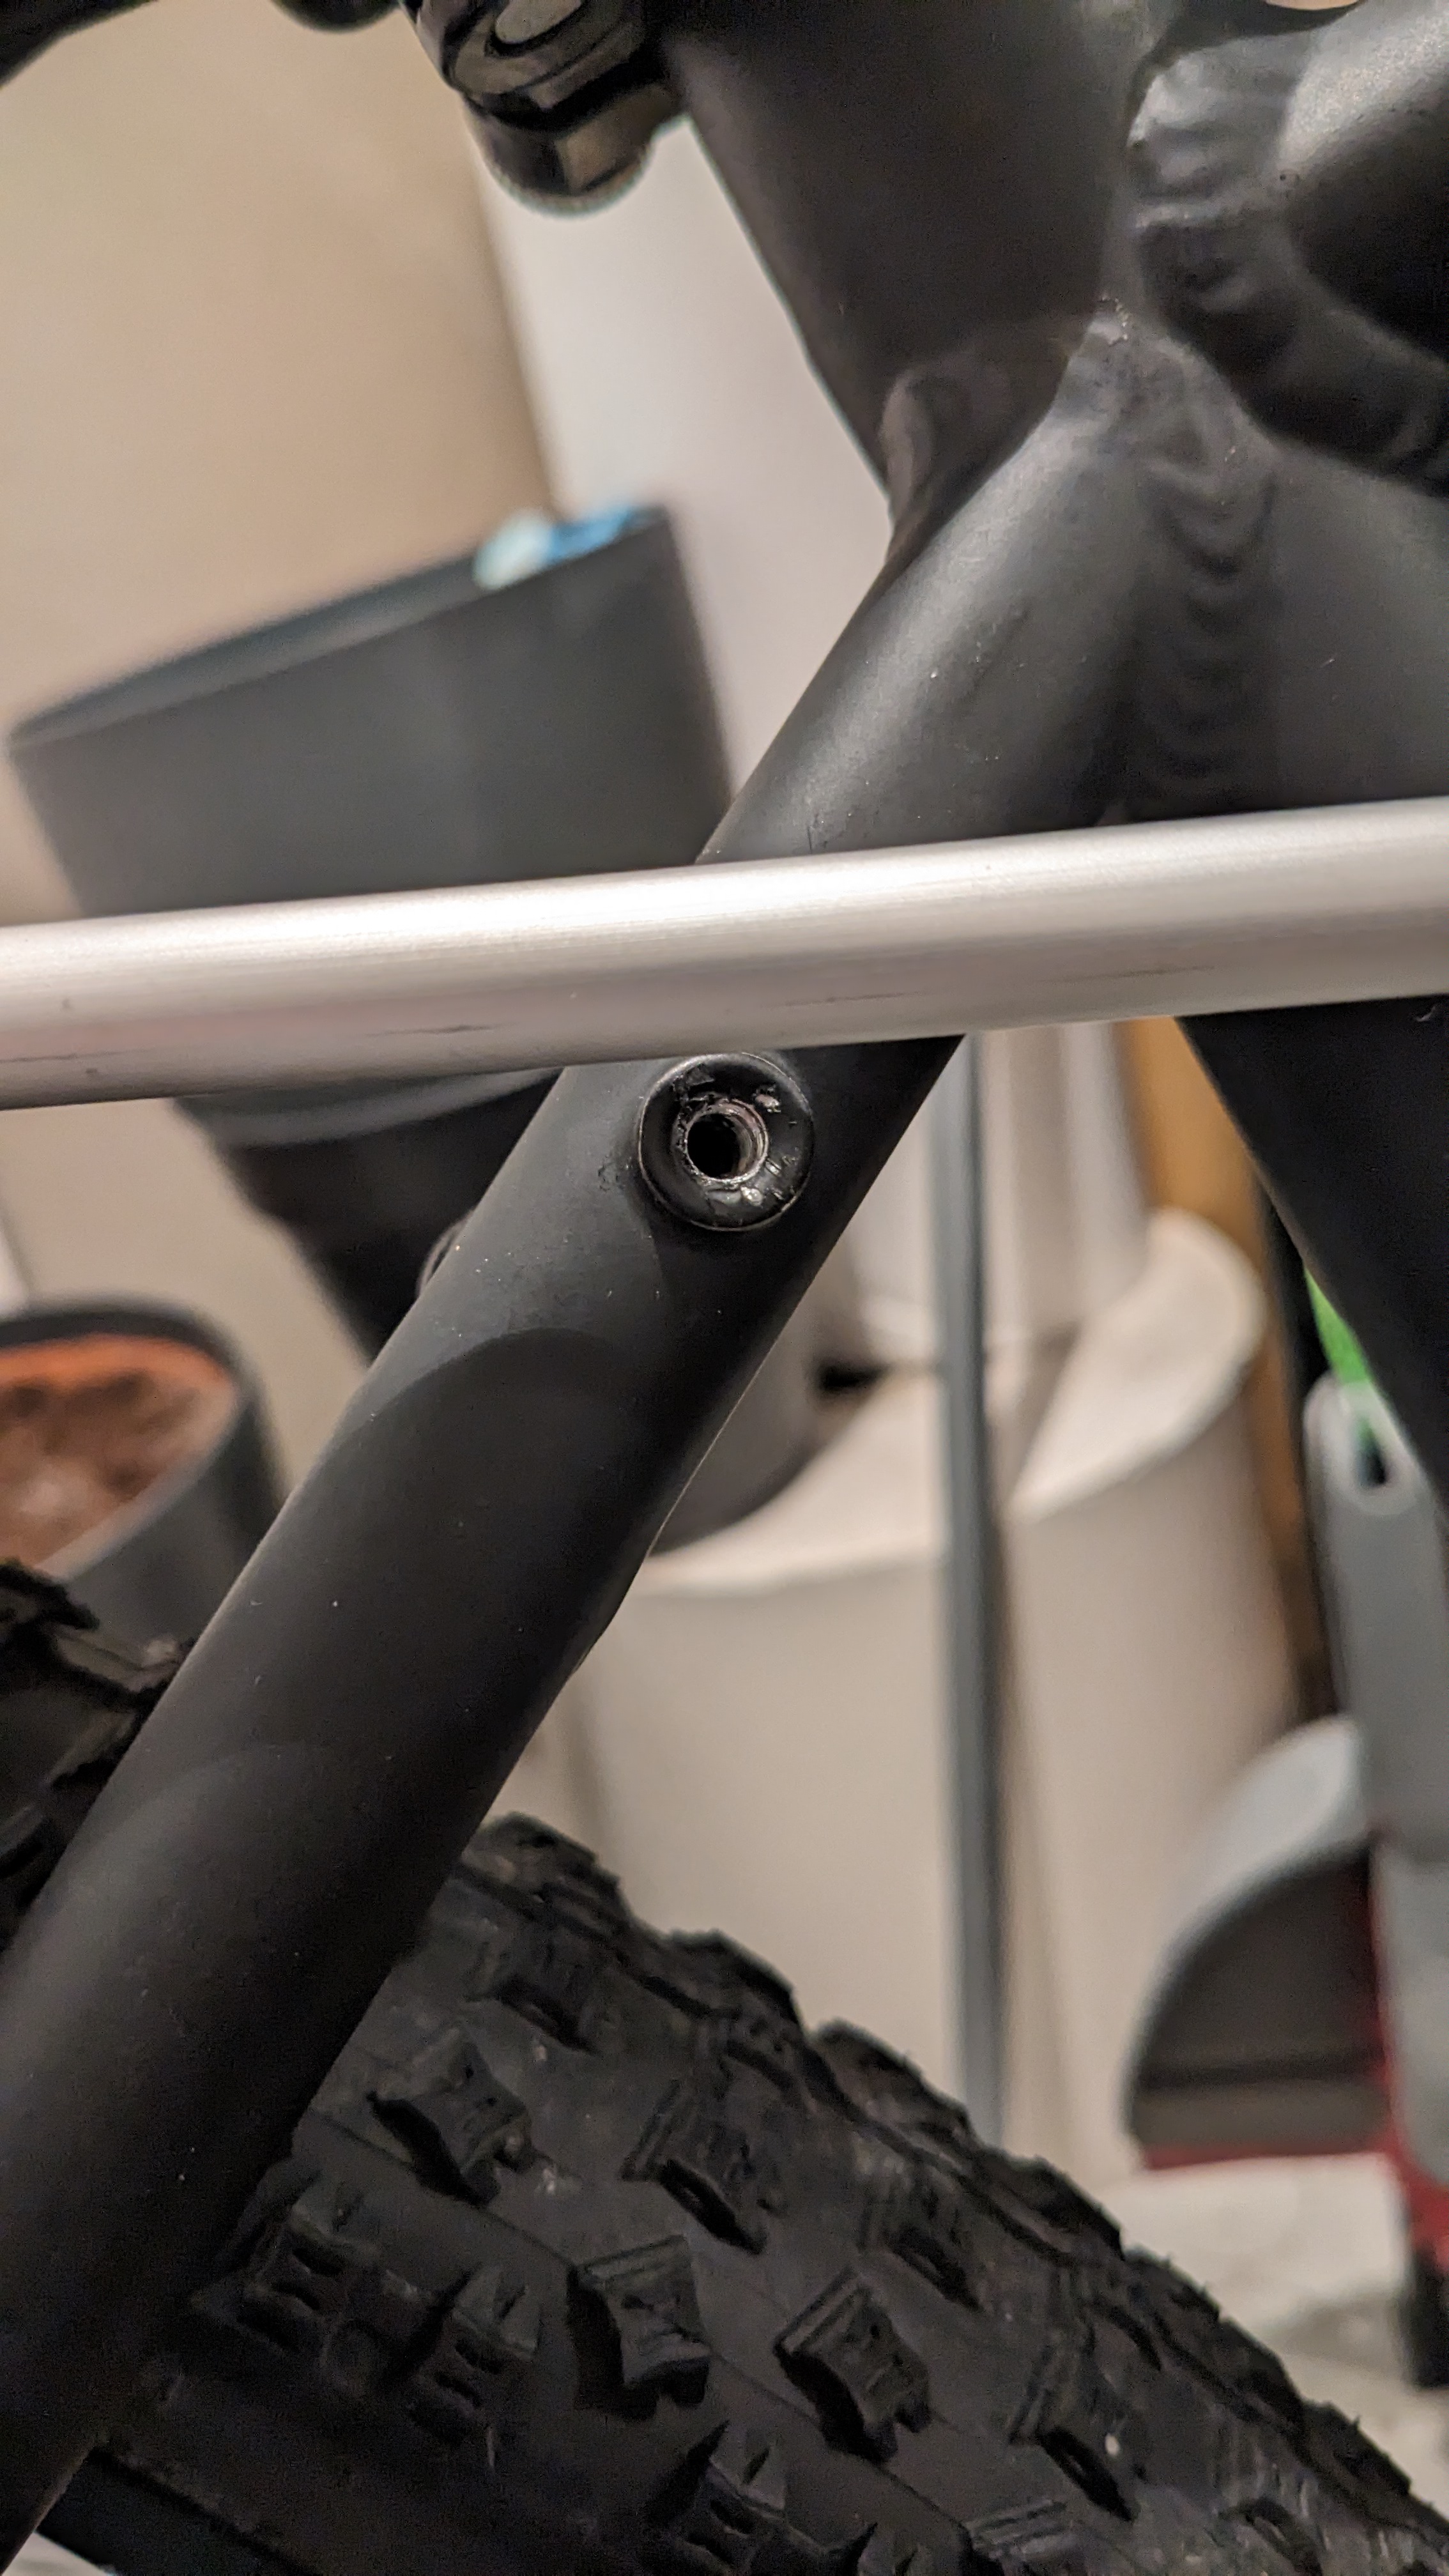
I had the raw stock material laying around in my workshop. The carrier was bought from a local bike shop. It is an Cube ACID 29". One could ask: "why not use the included mounting option?". Easy answer: Because it does not fit with my 61mm (2.6") wide tyres.
Planning phase
The idea is as always: KISS.
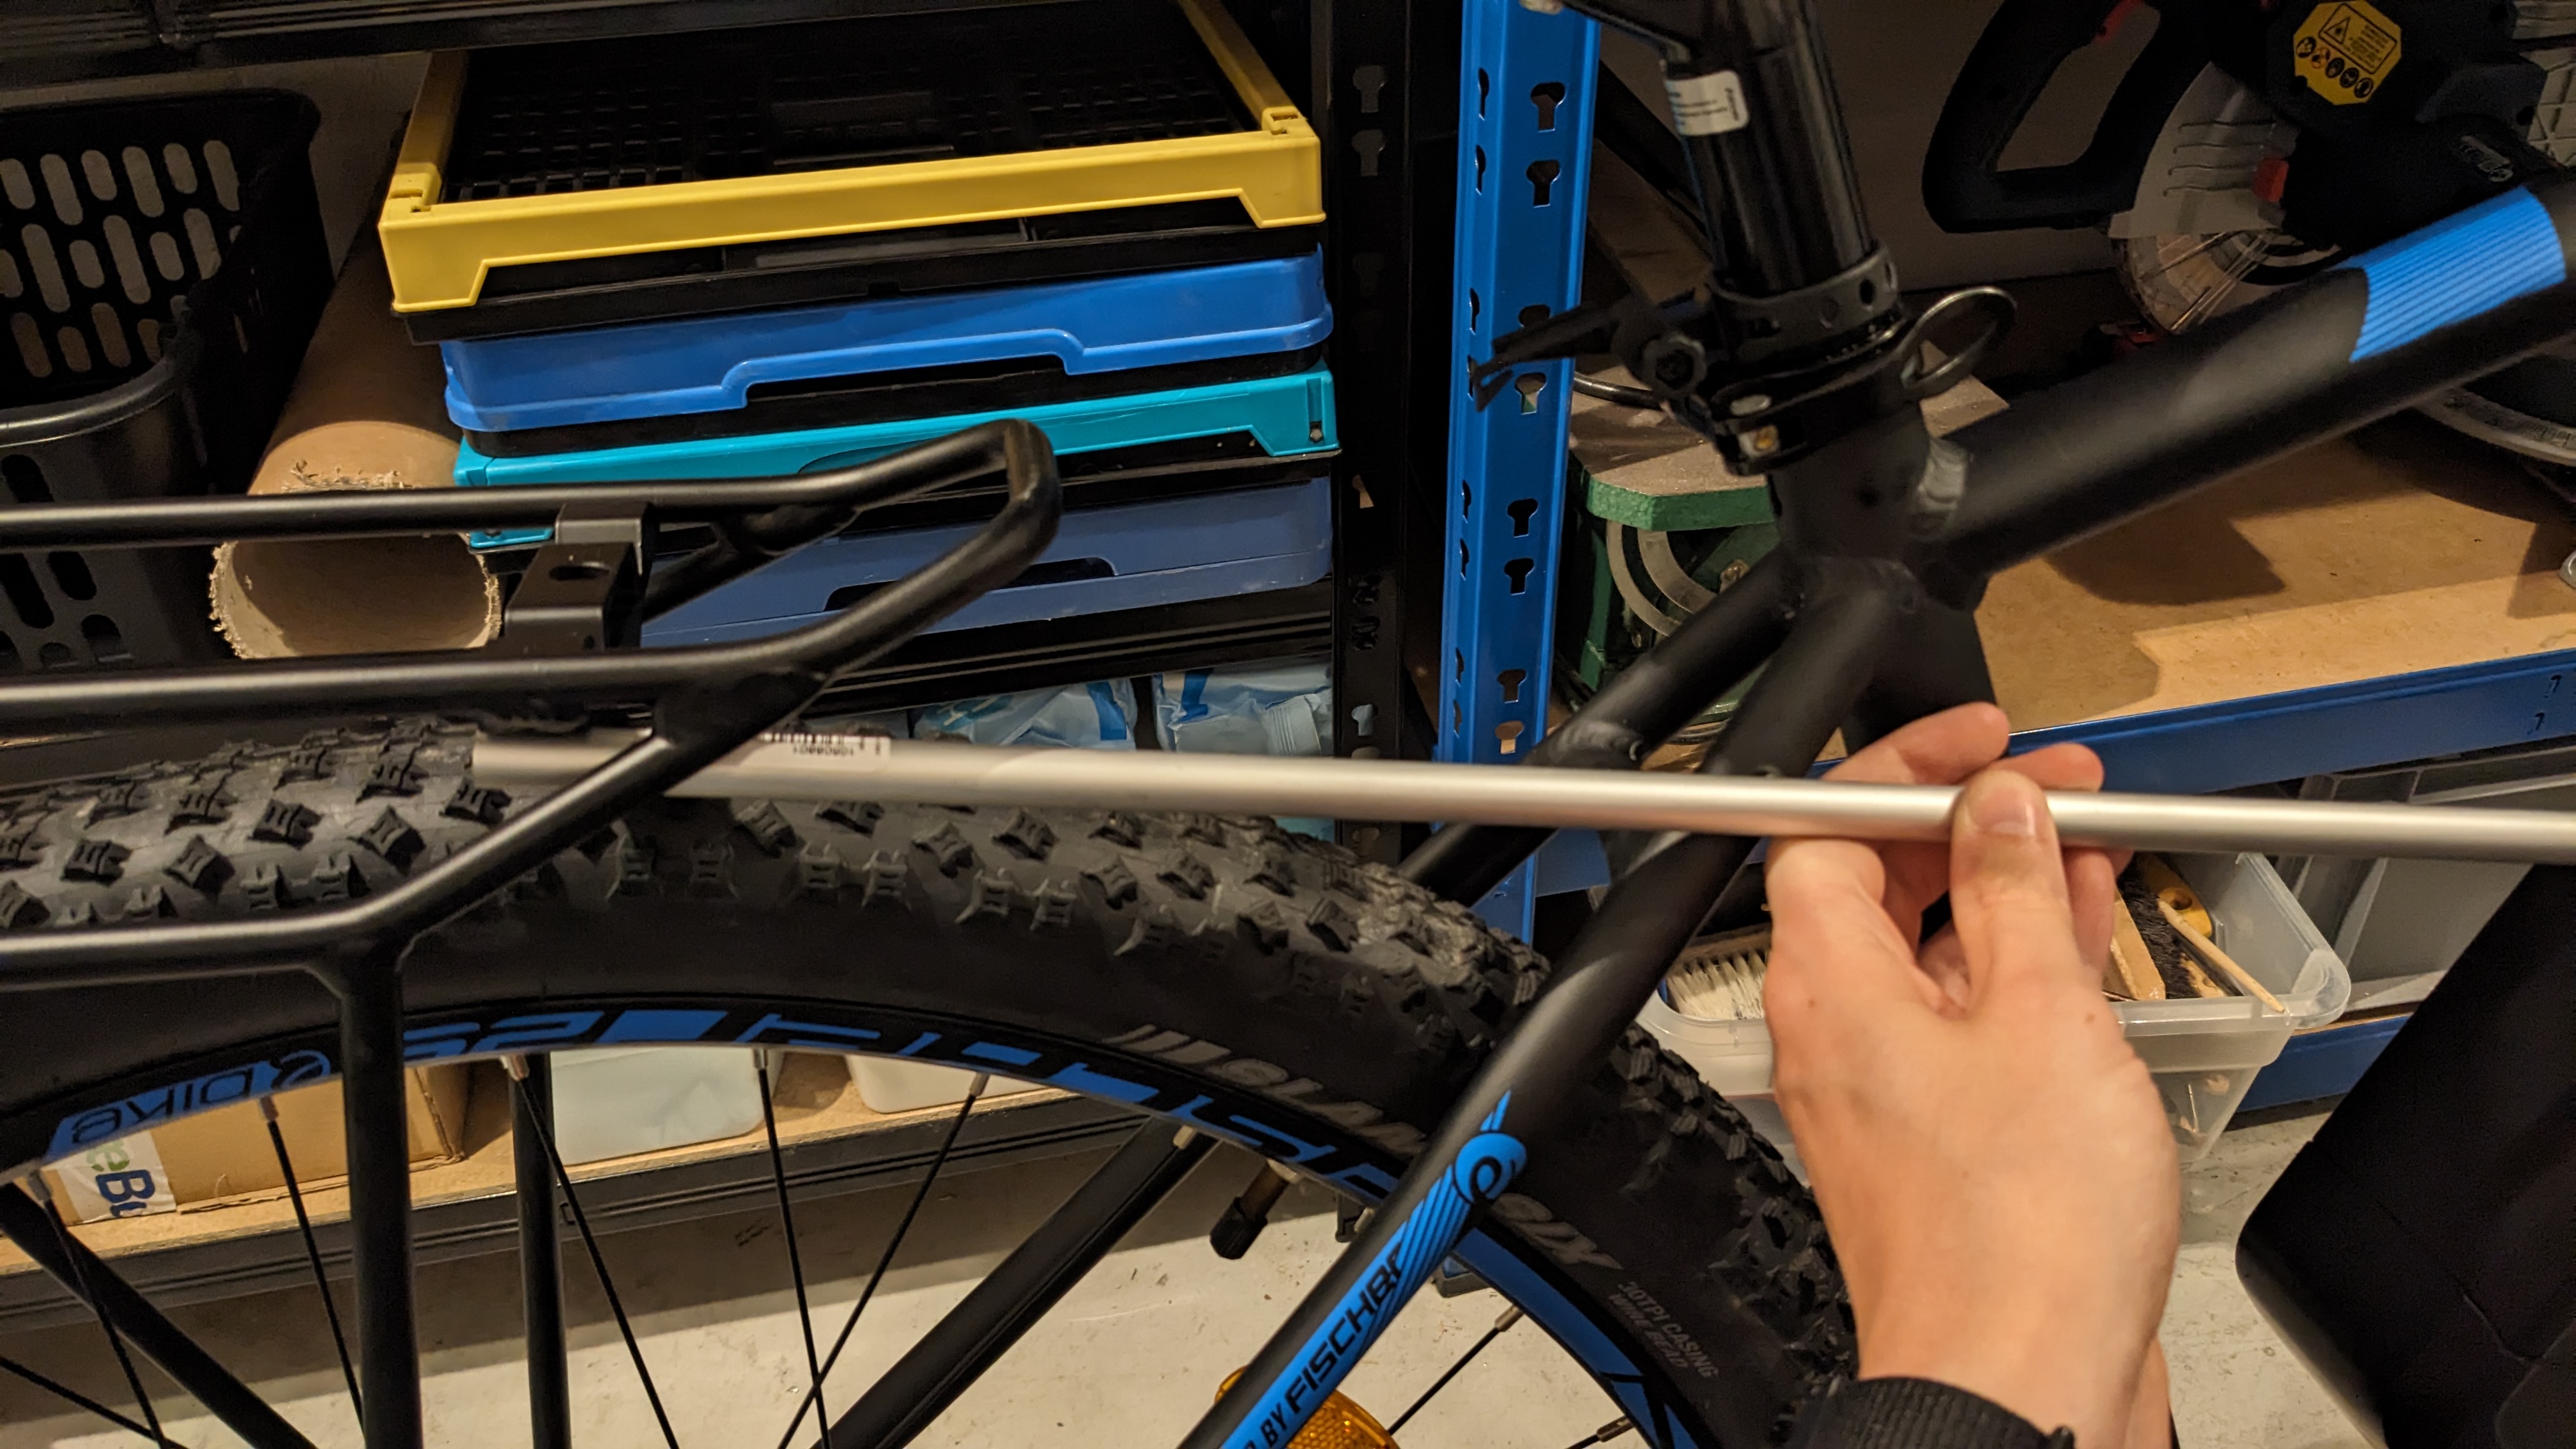
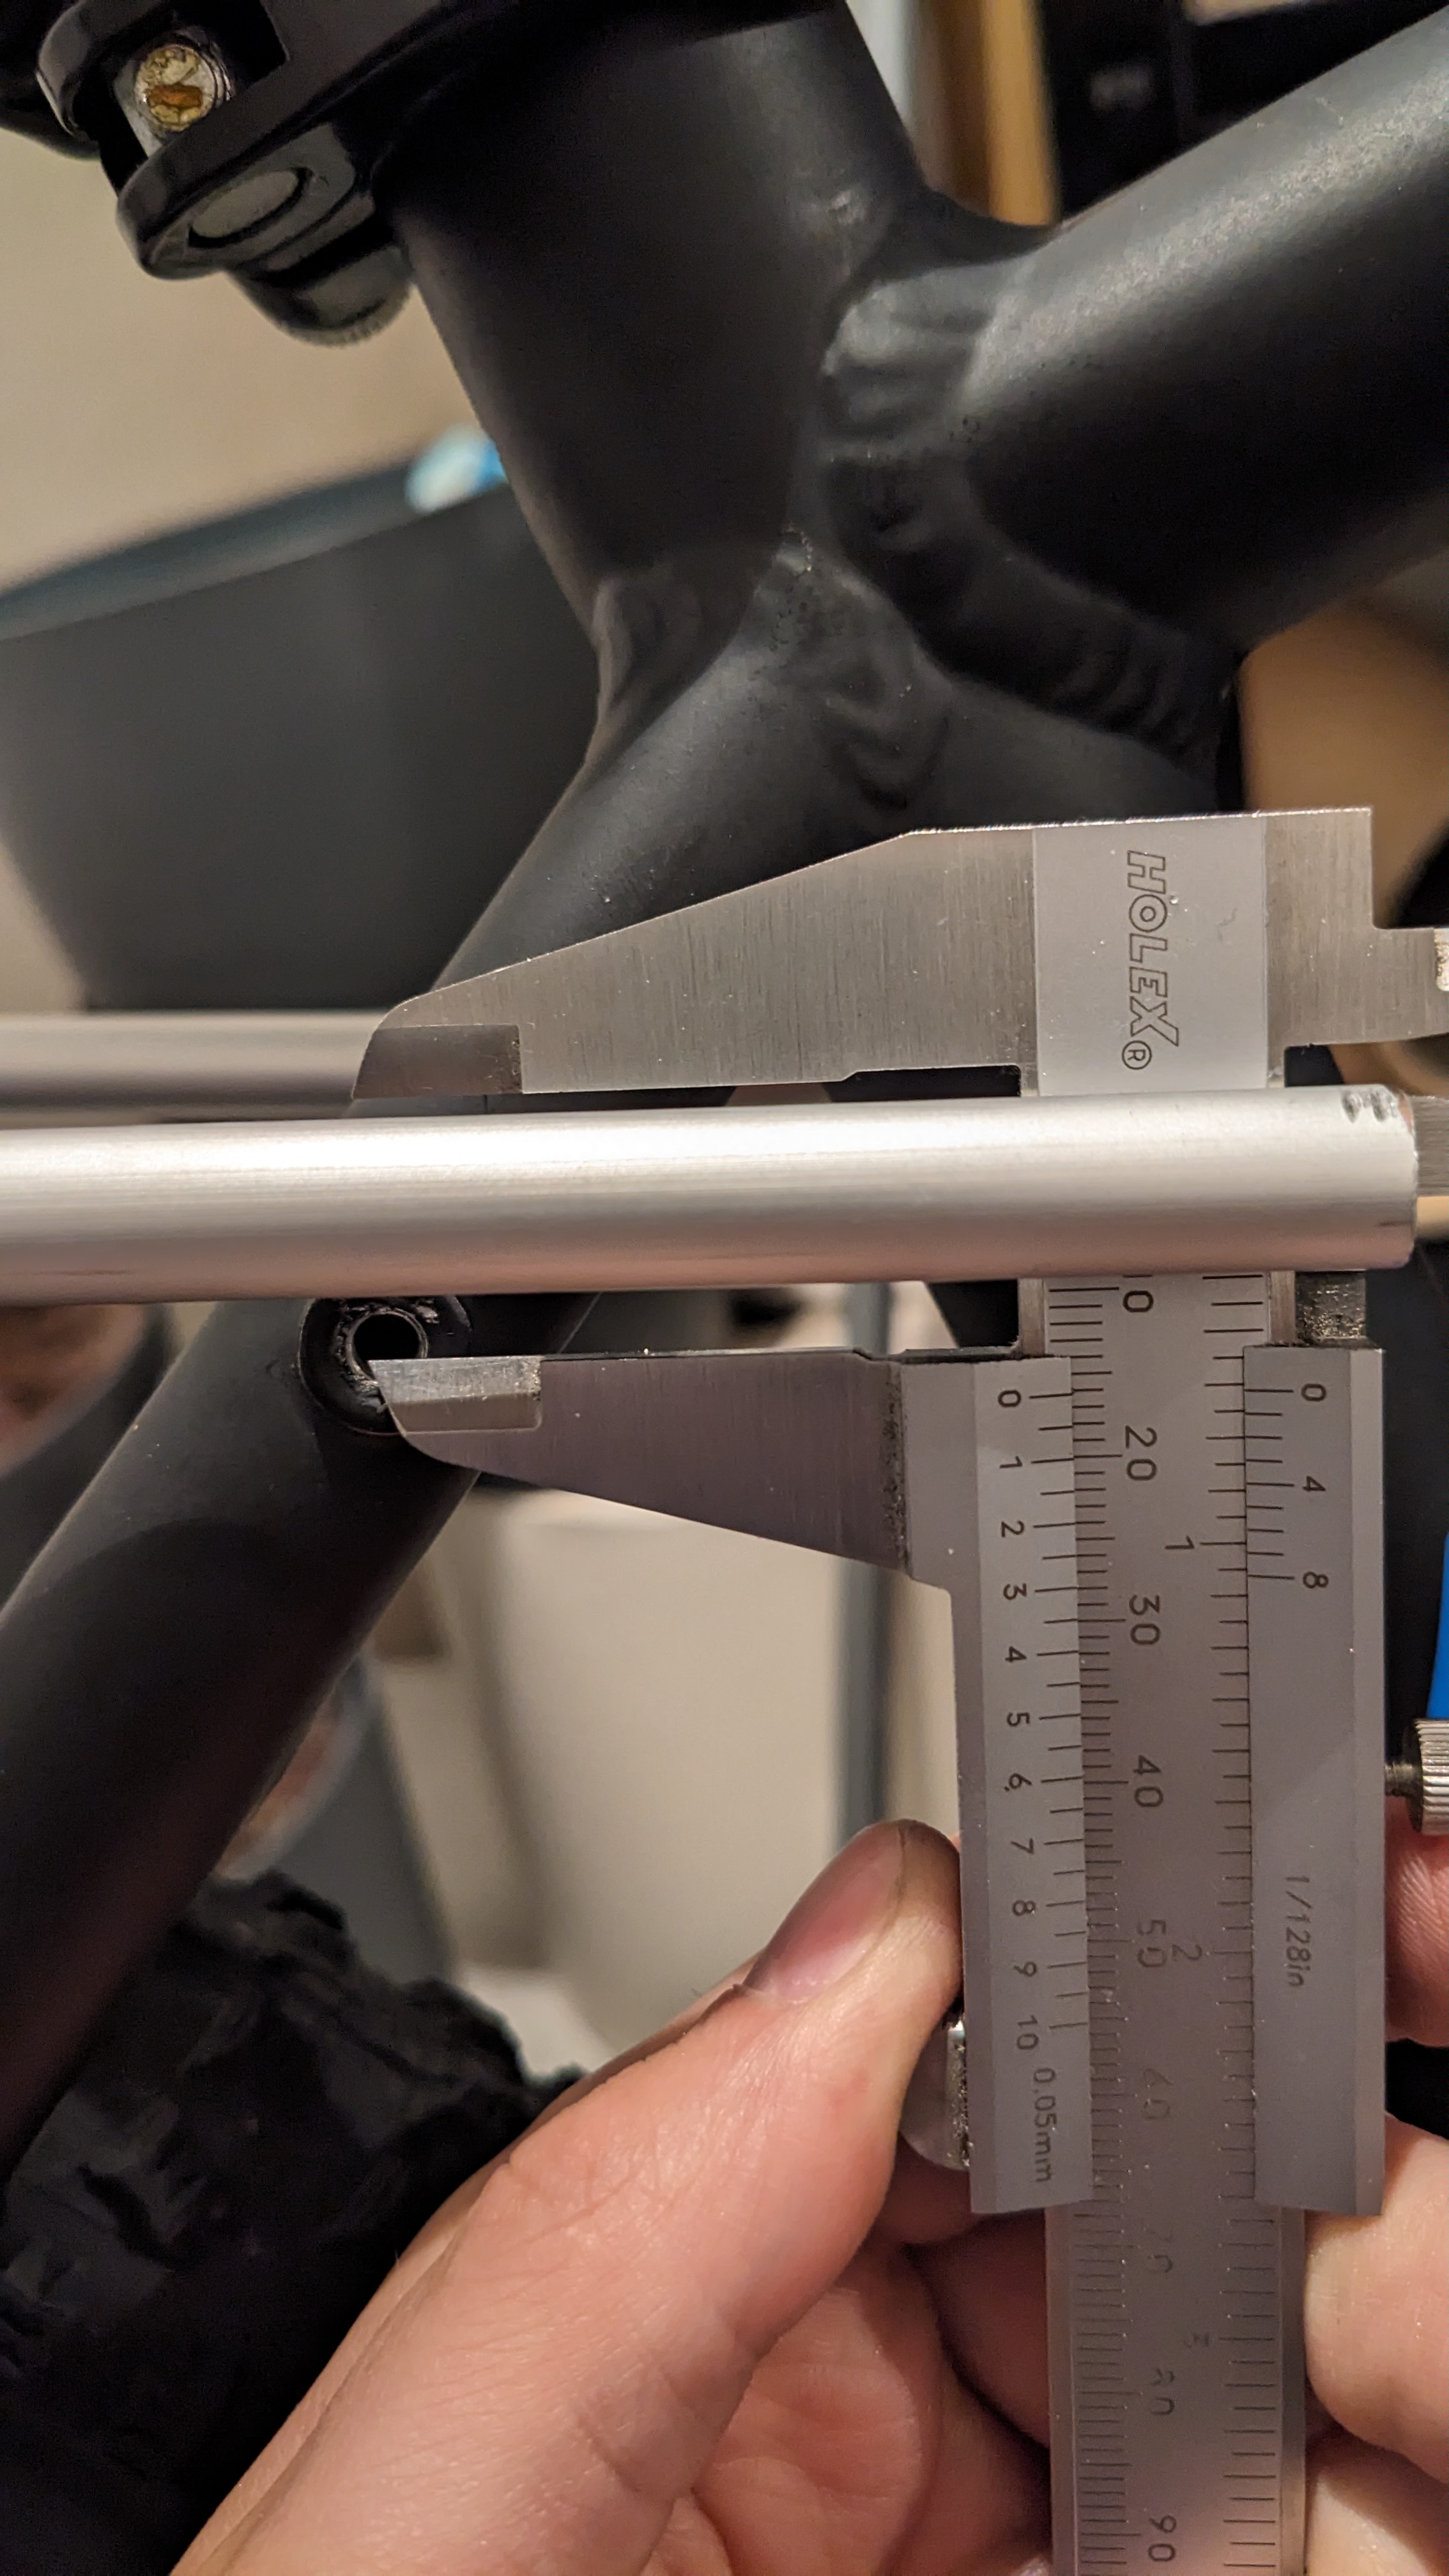
Fortunately the aluminium tube had the exact diameter as the bought carrier, so no work had to be done there. Except cutting it to length.
Manufacturing
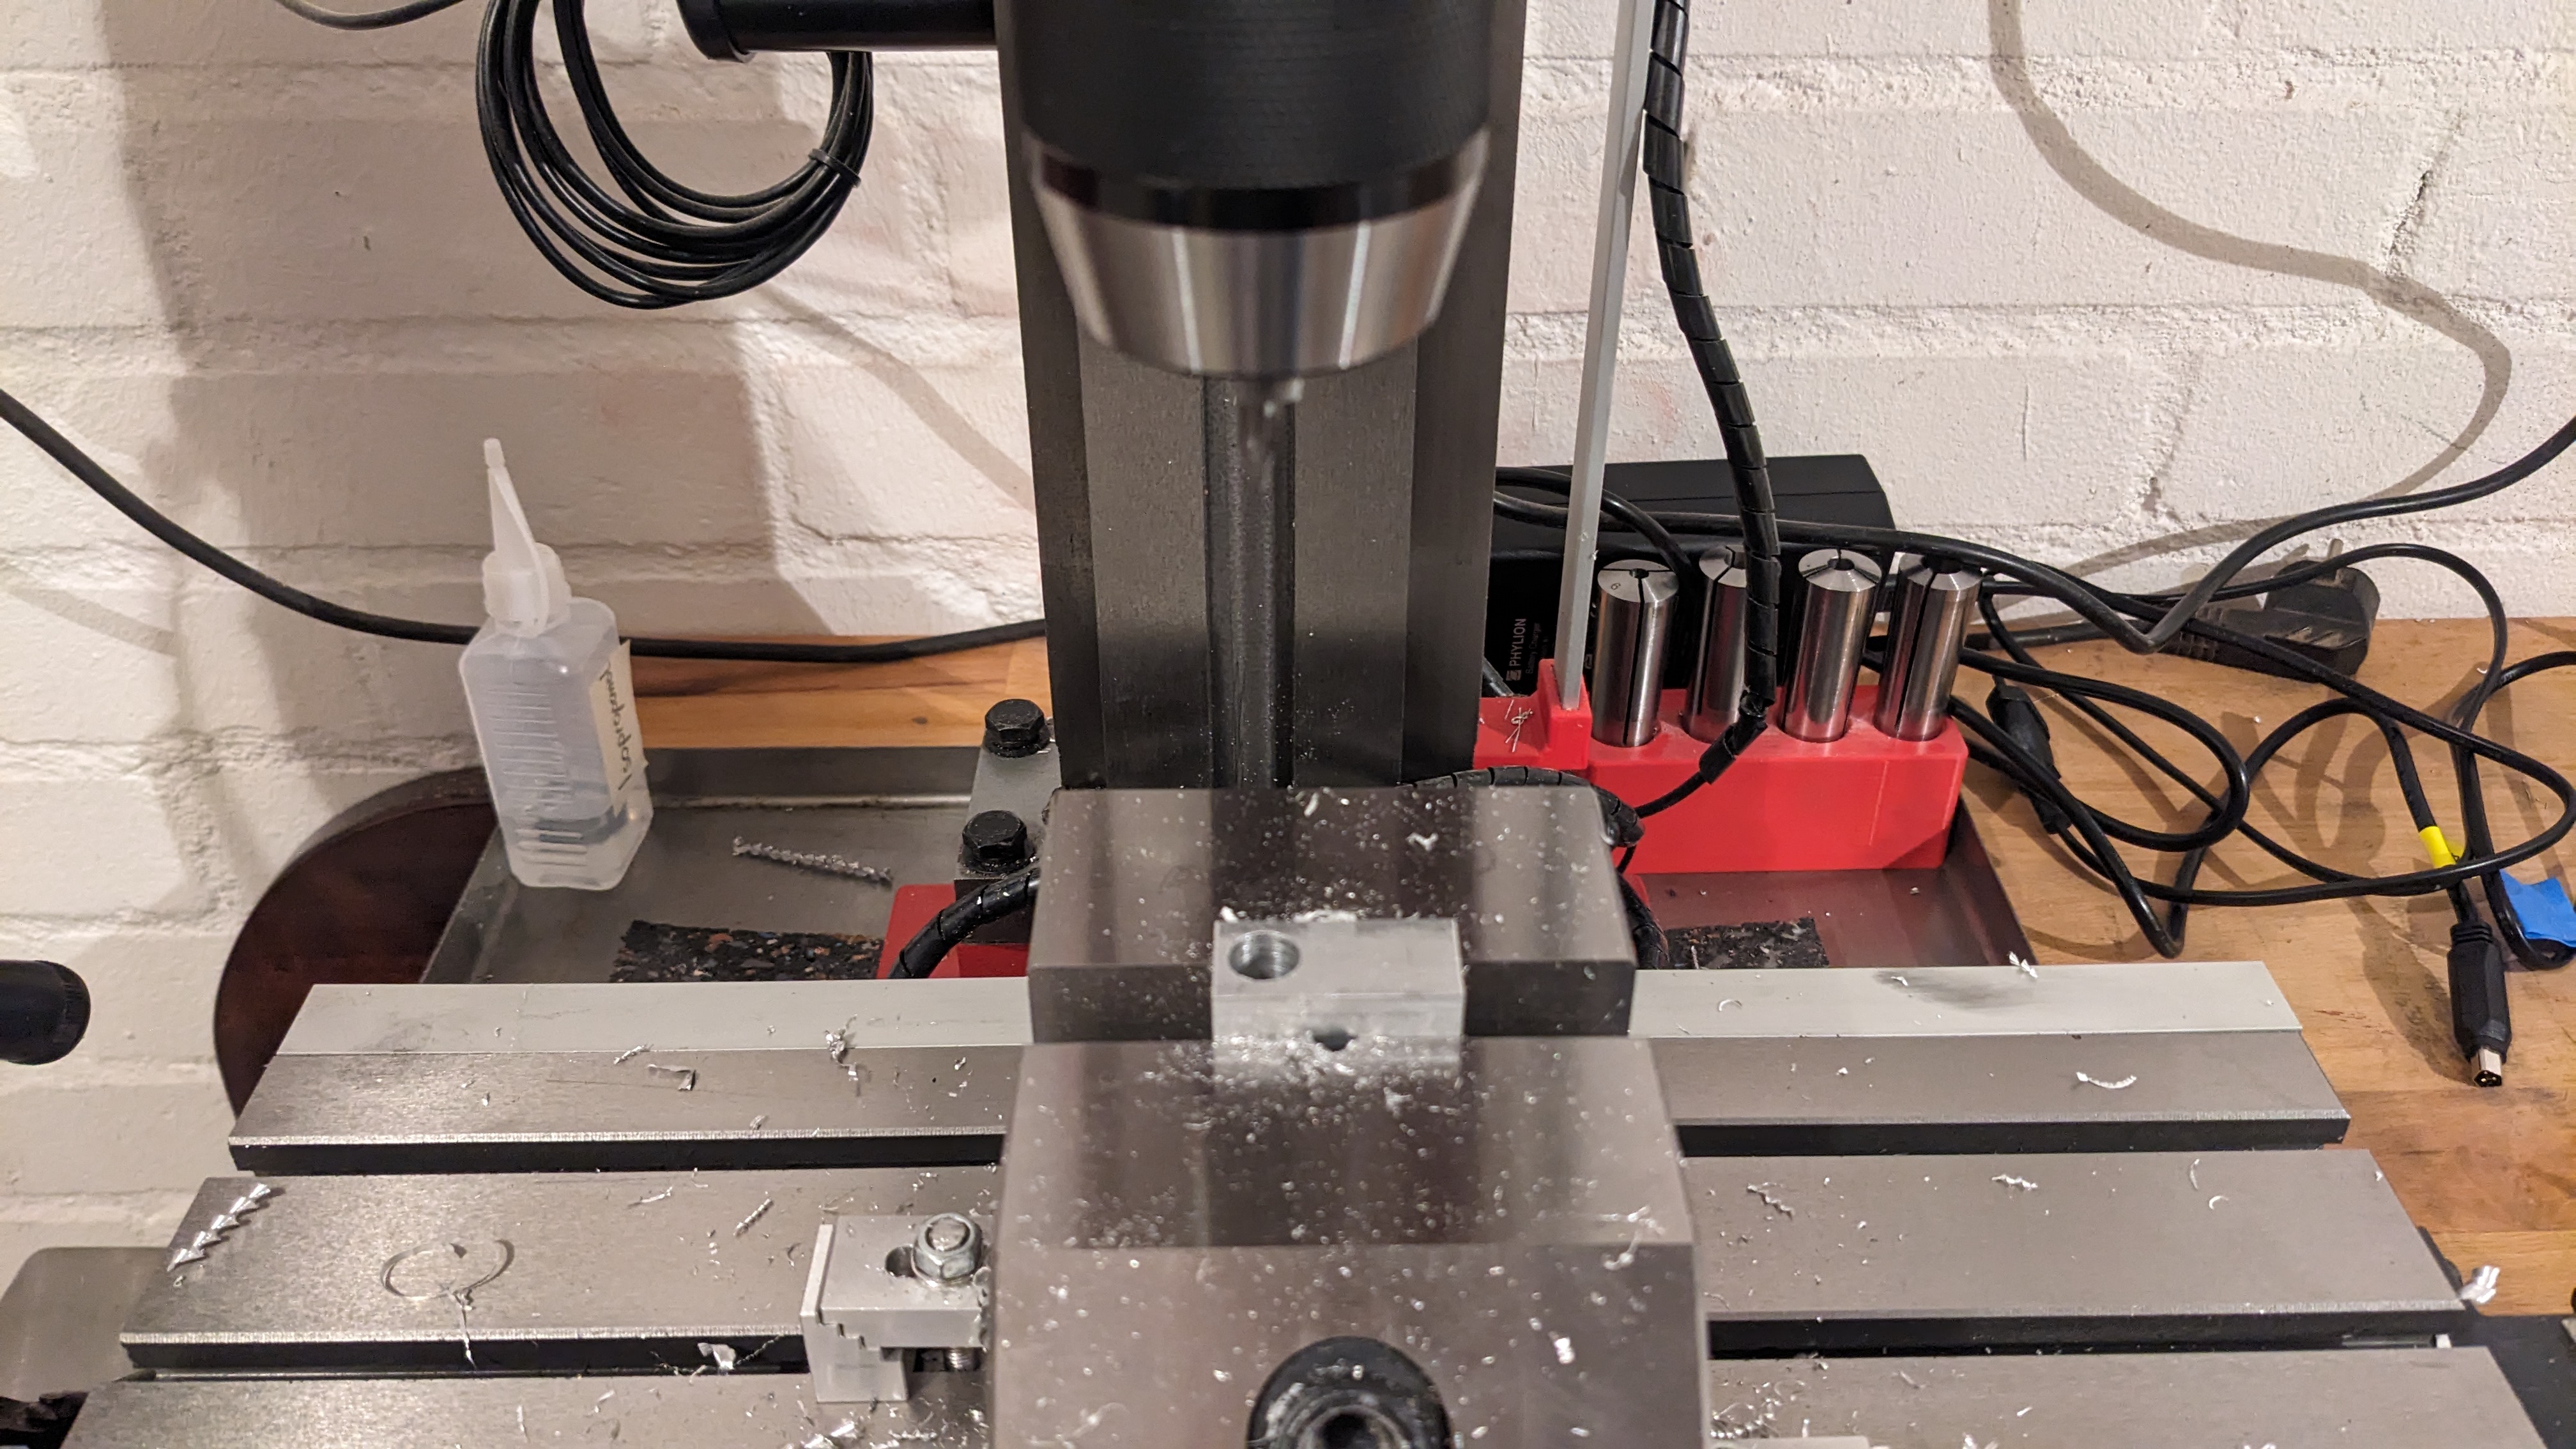
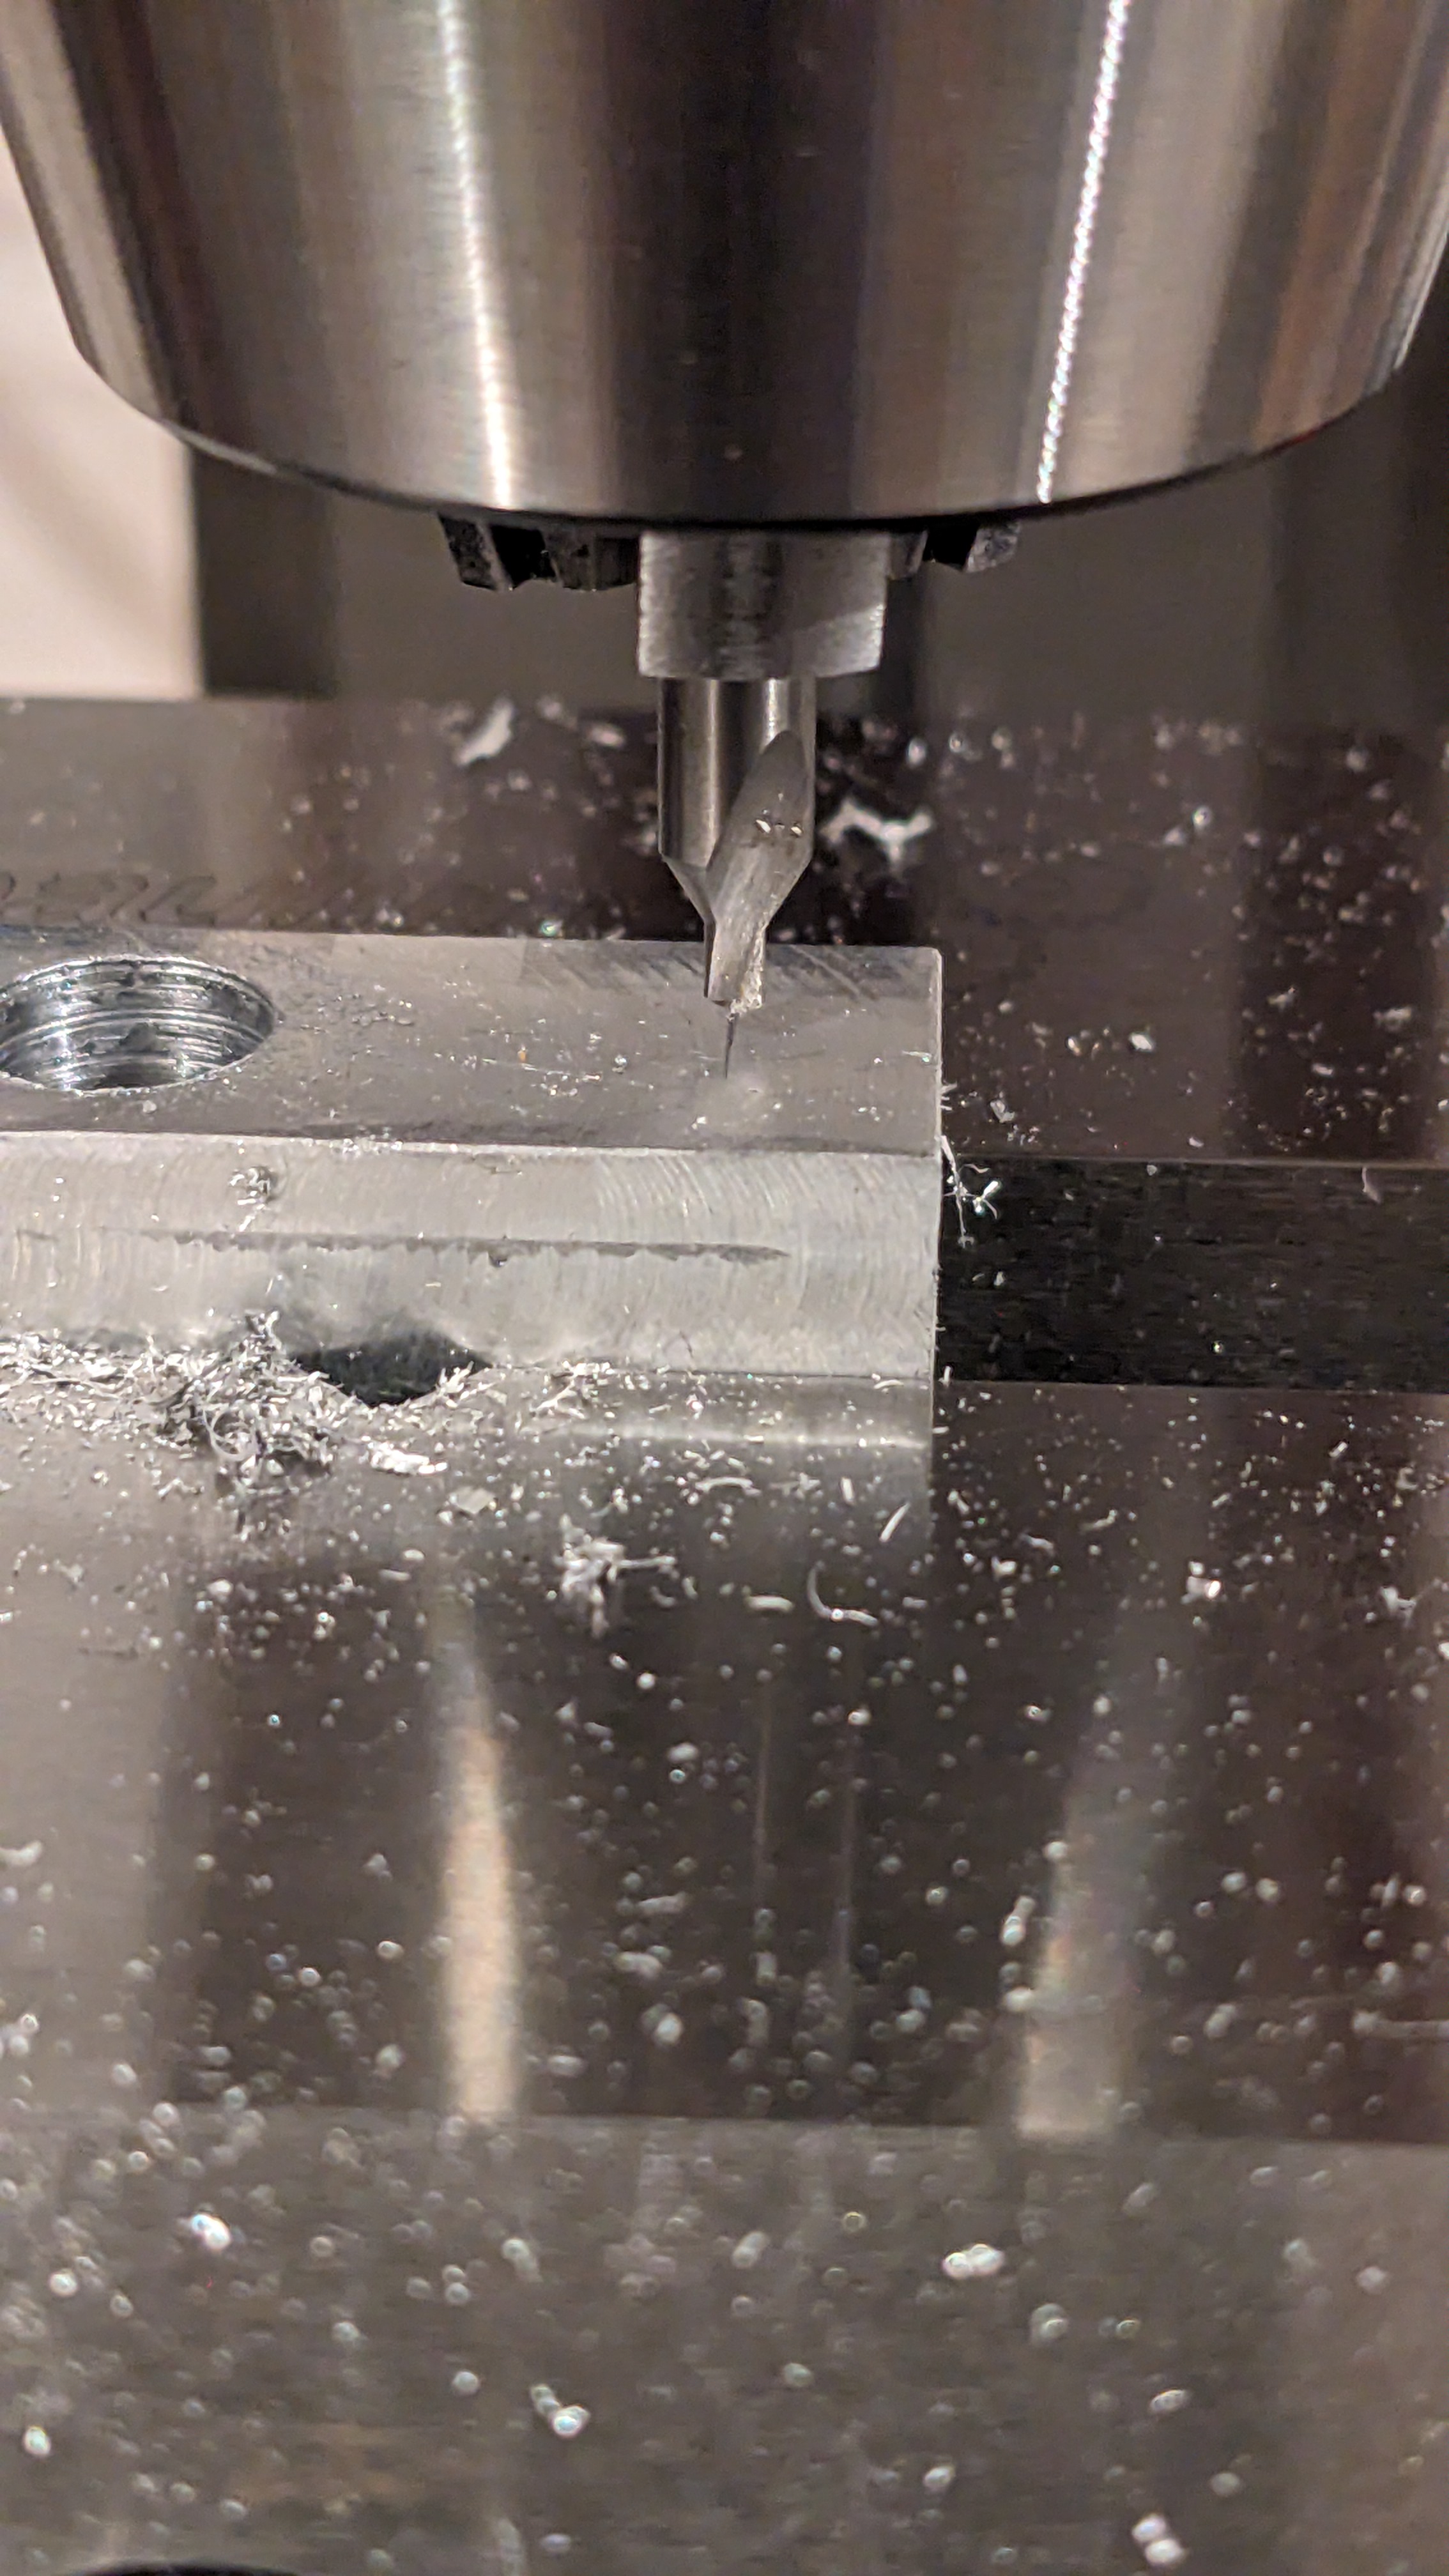
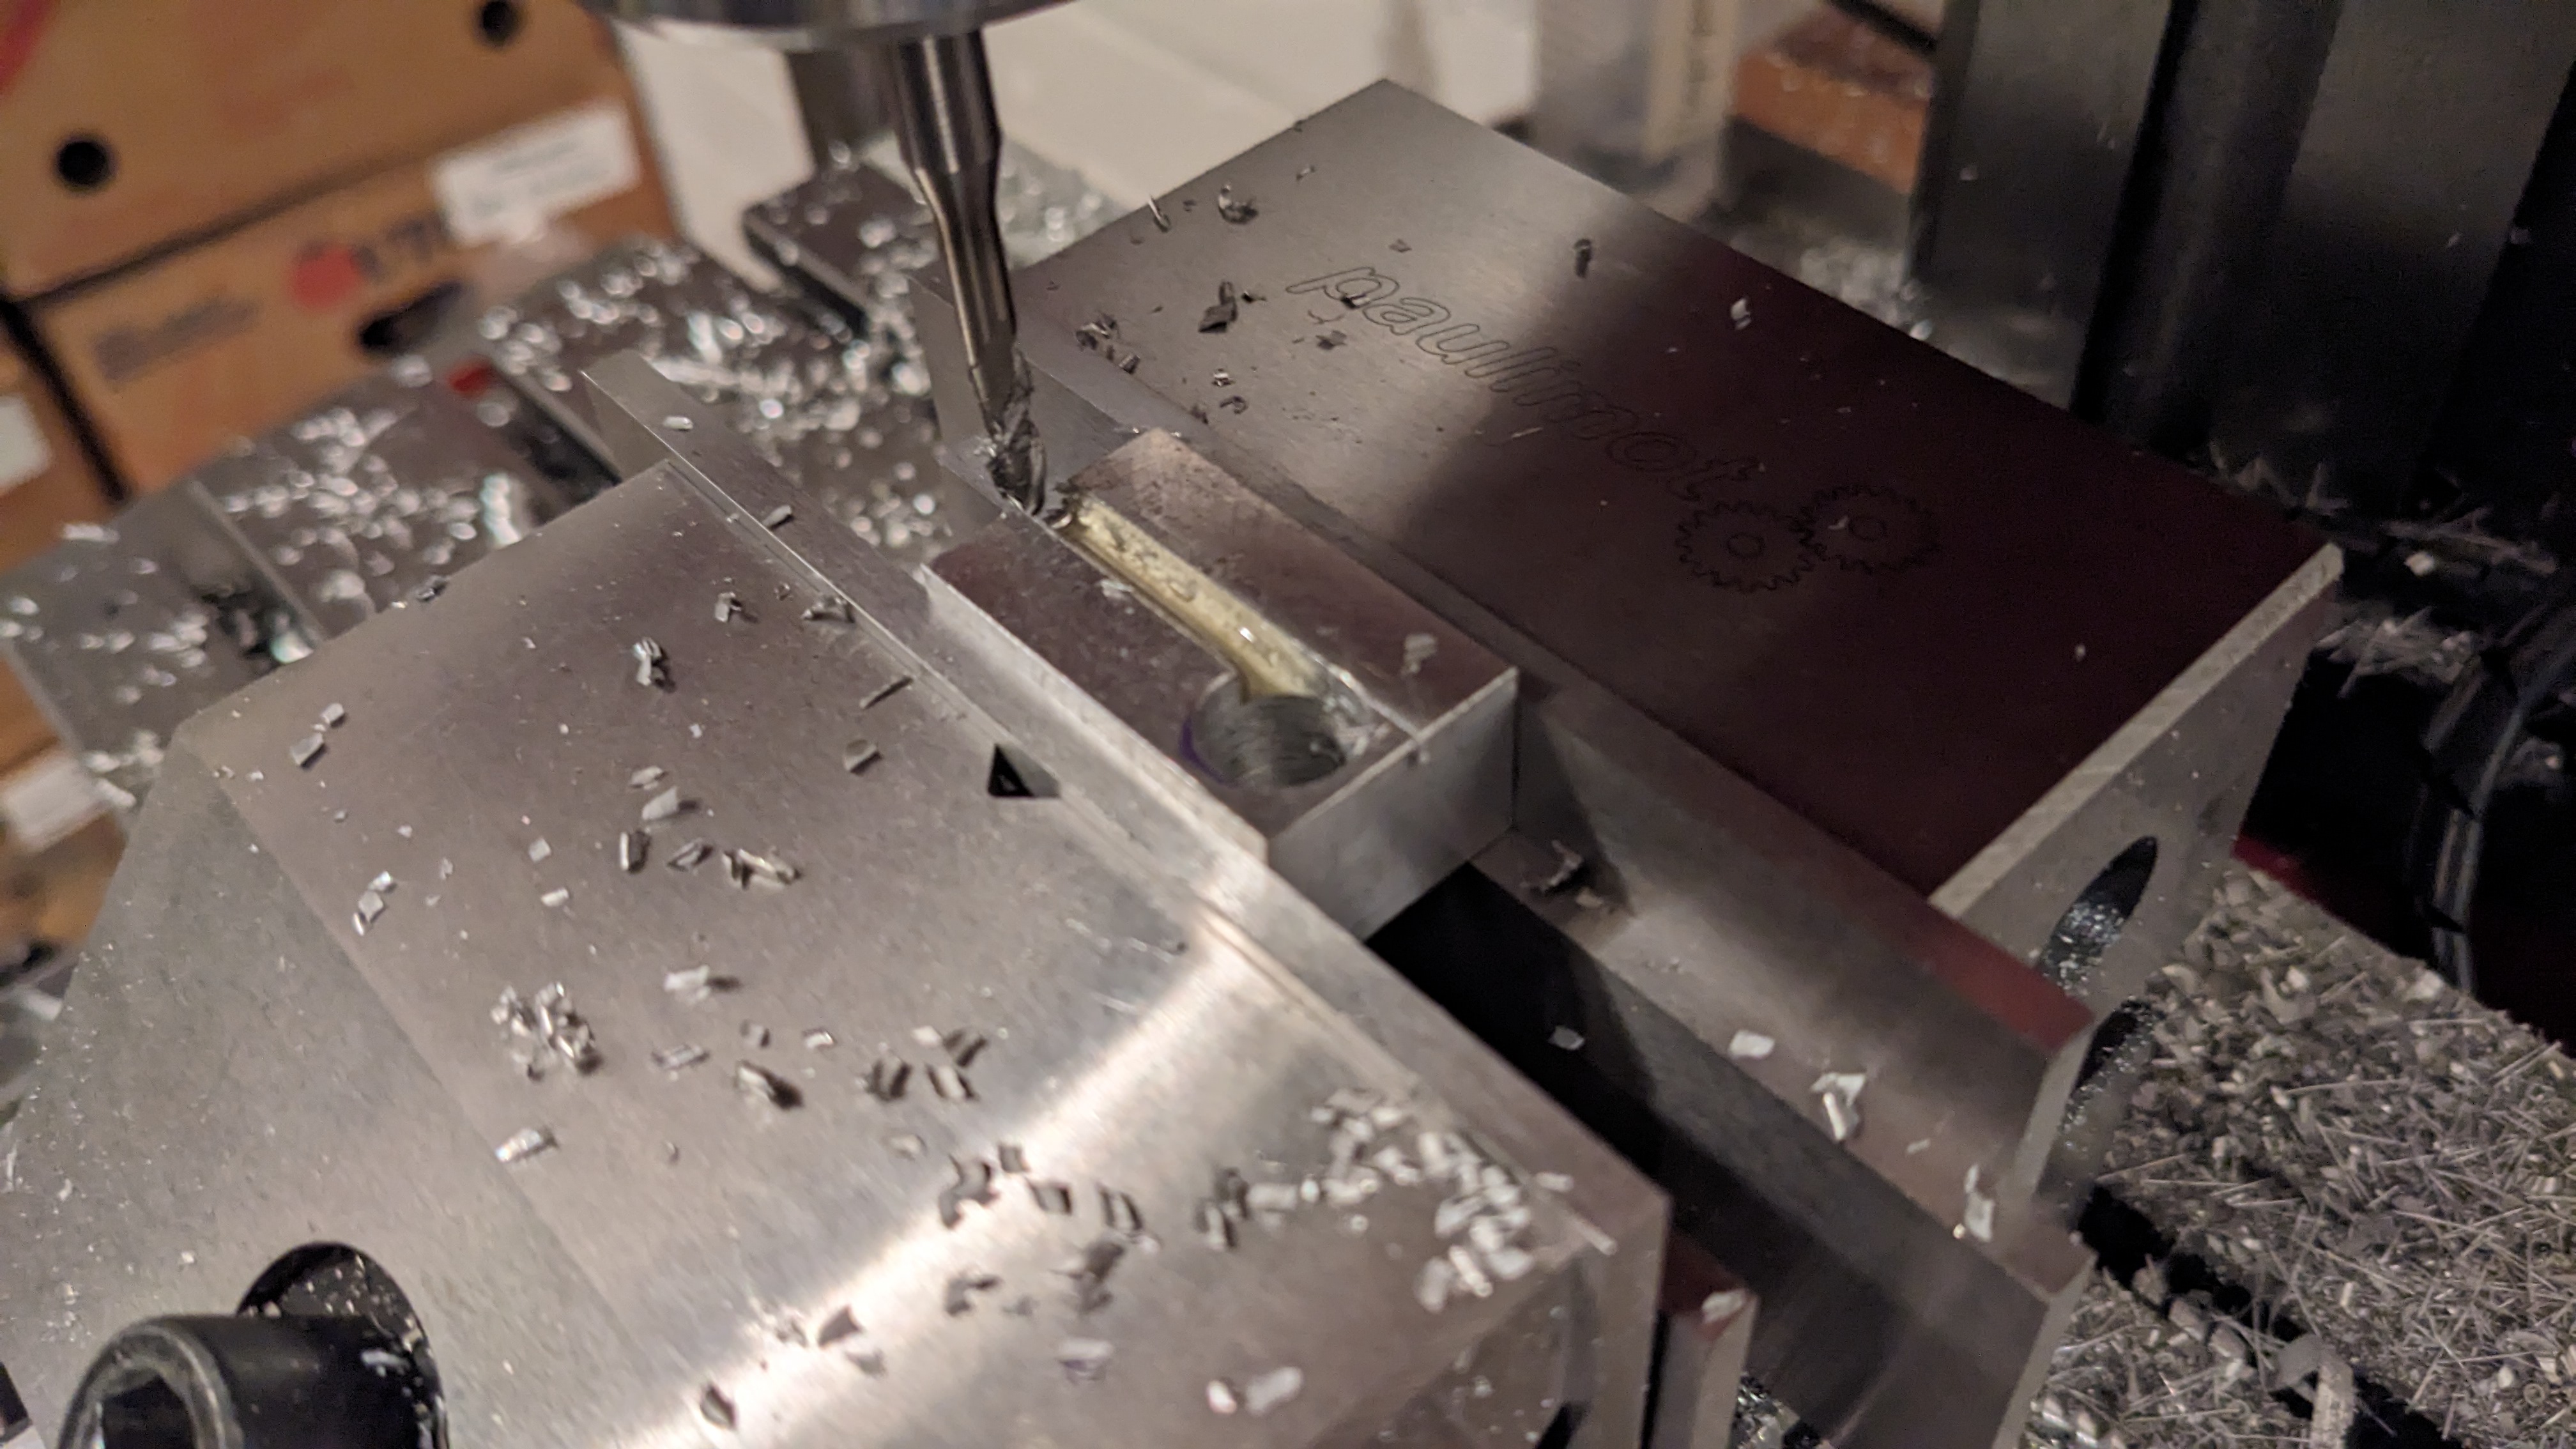
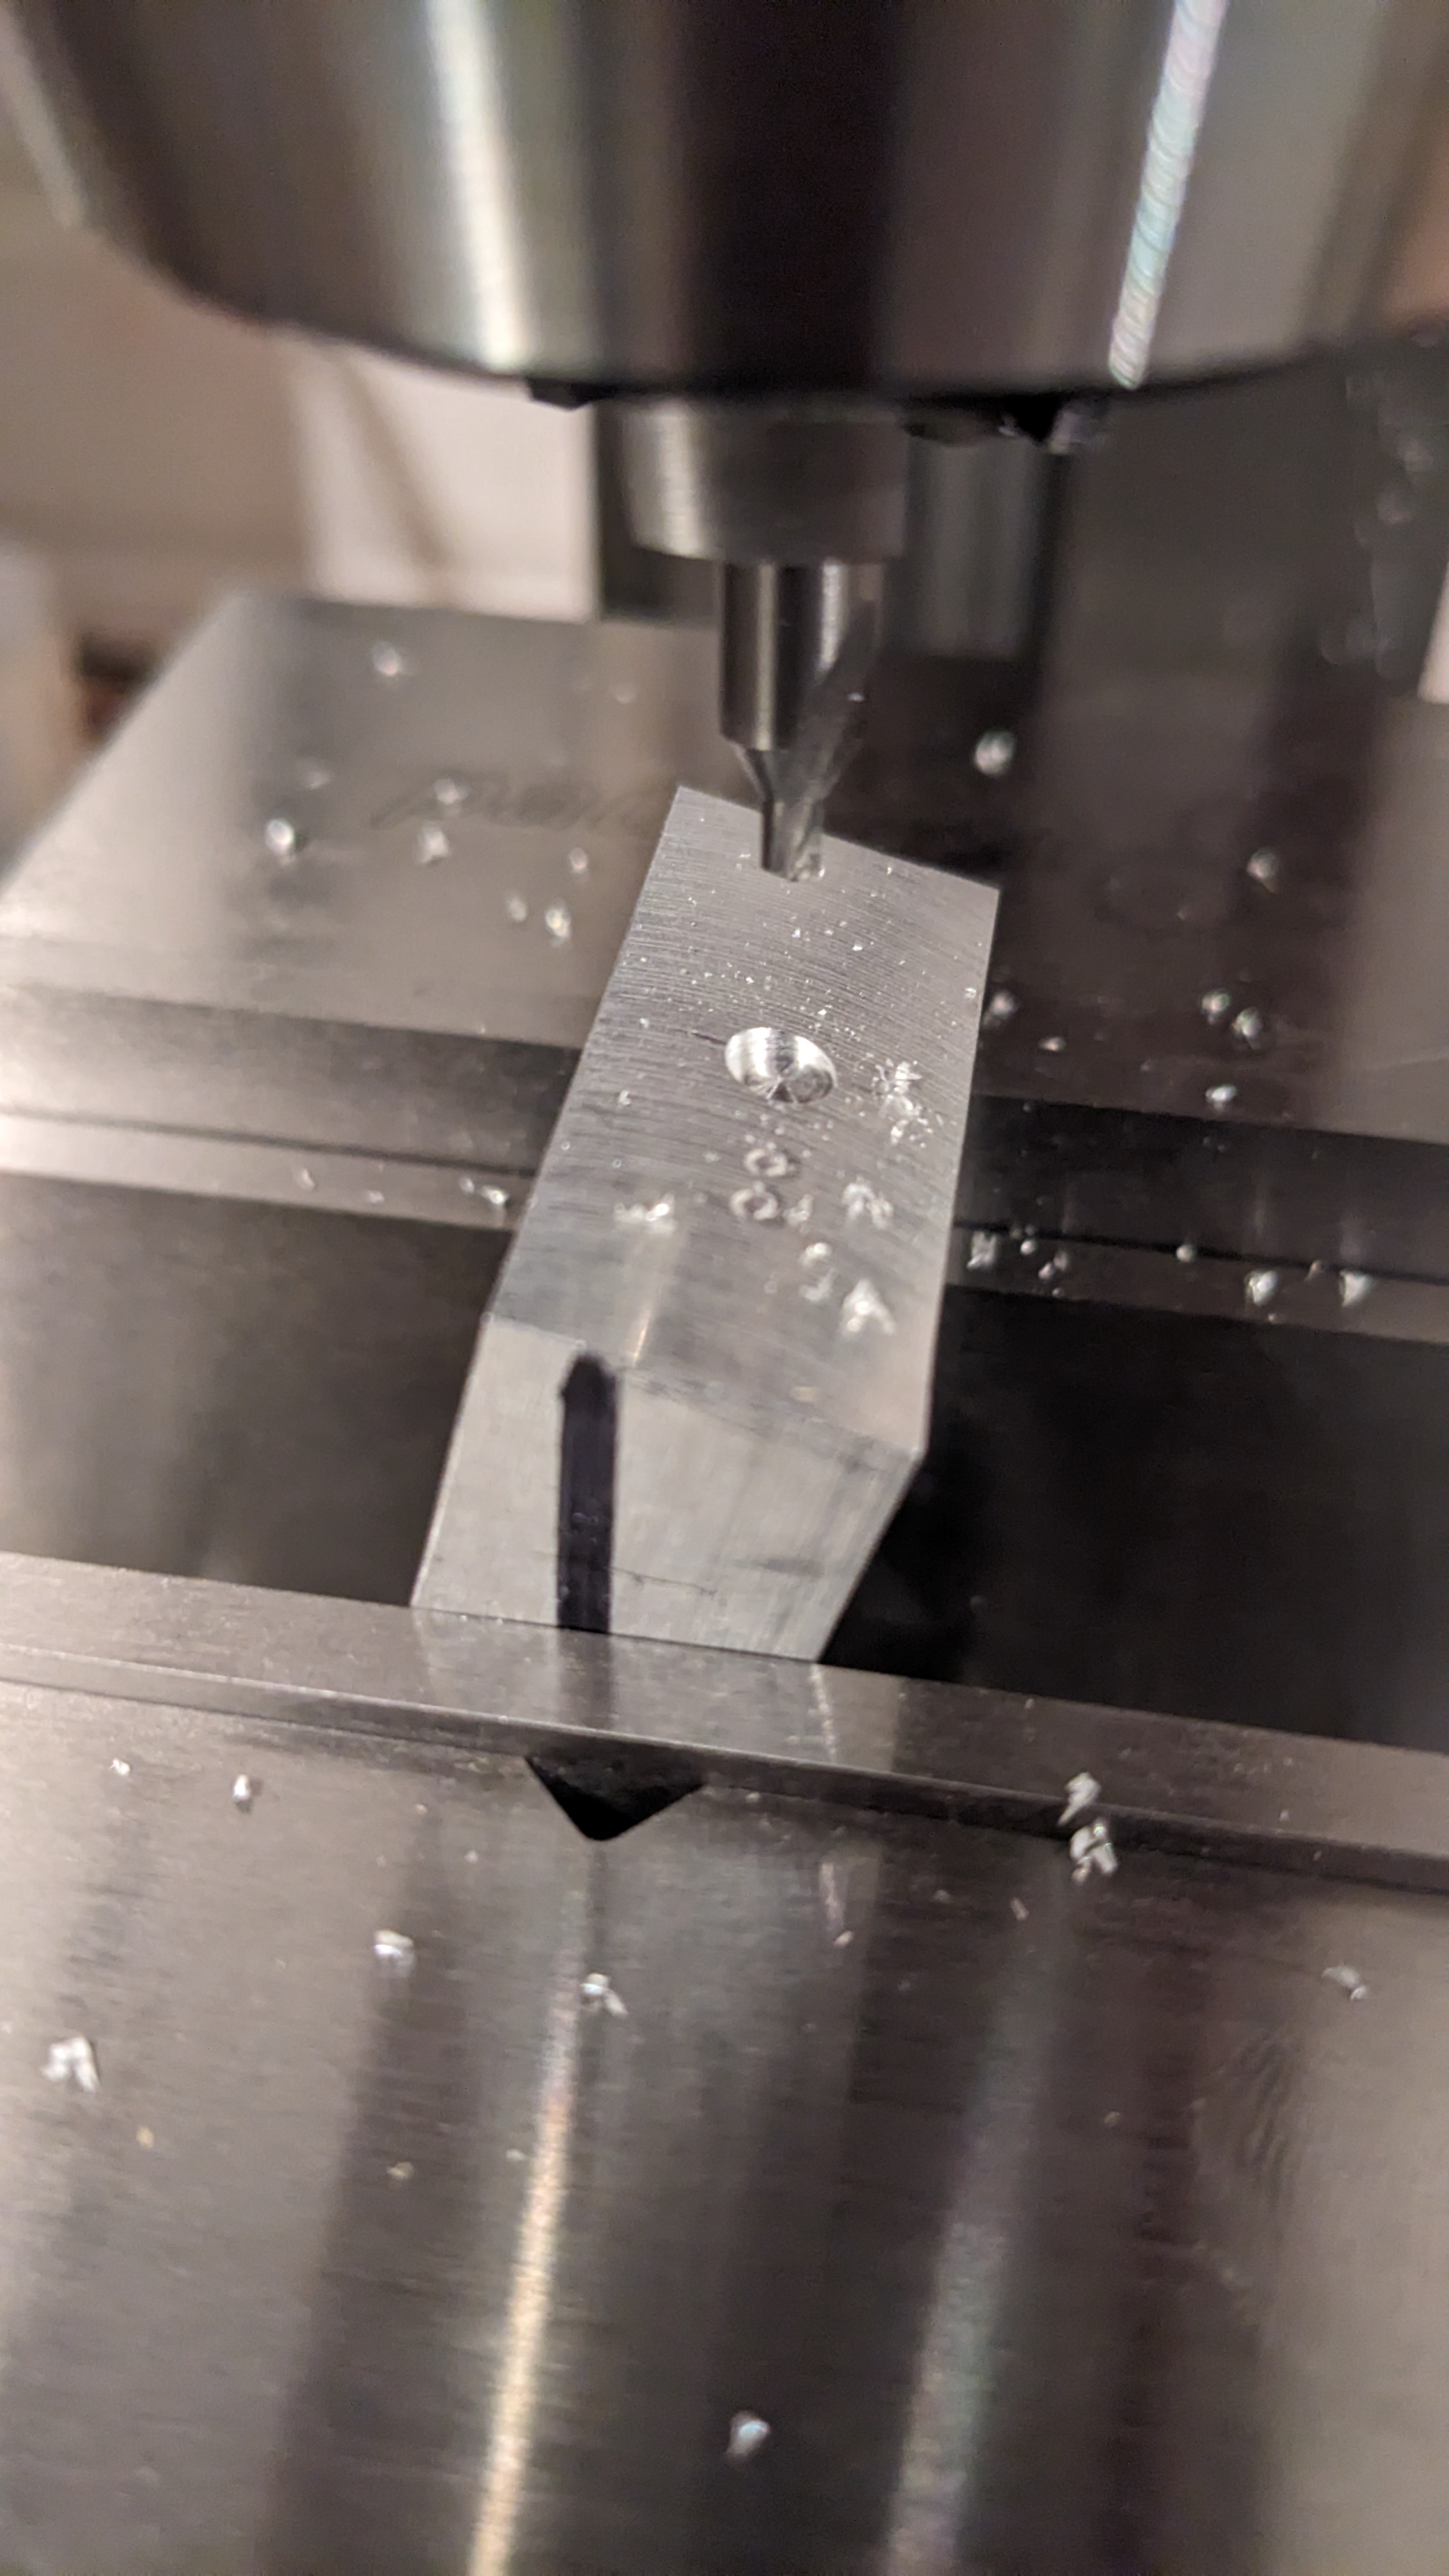
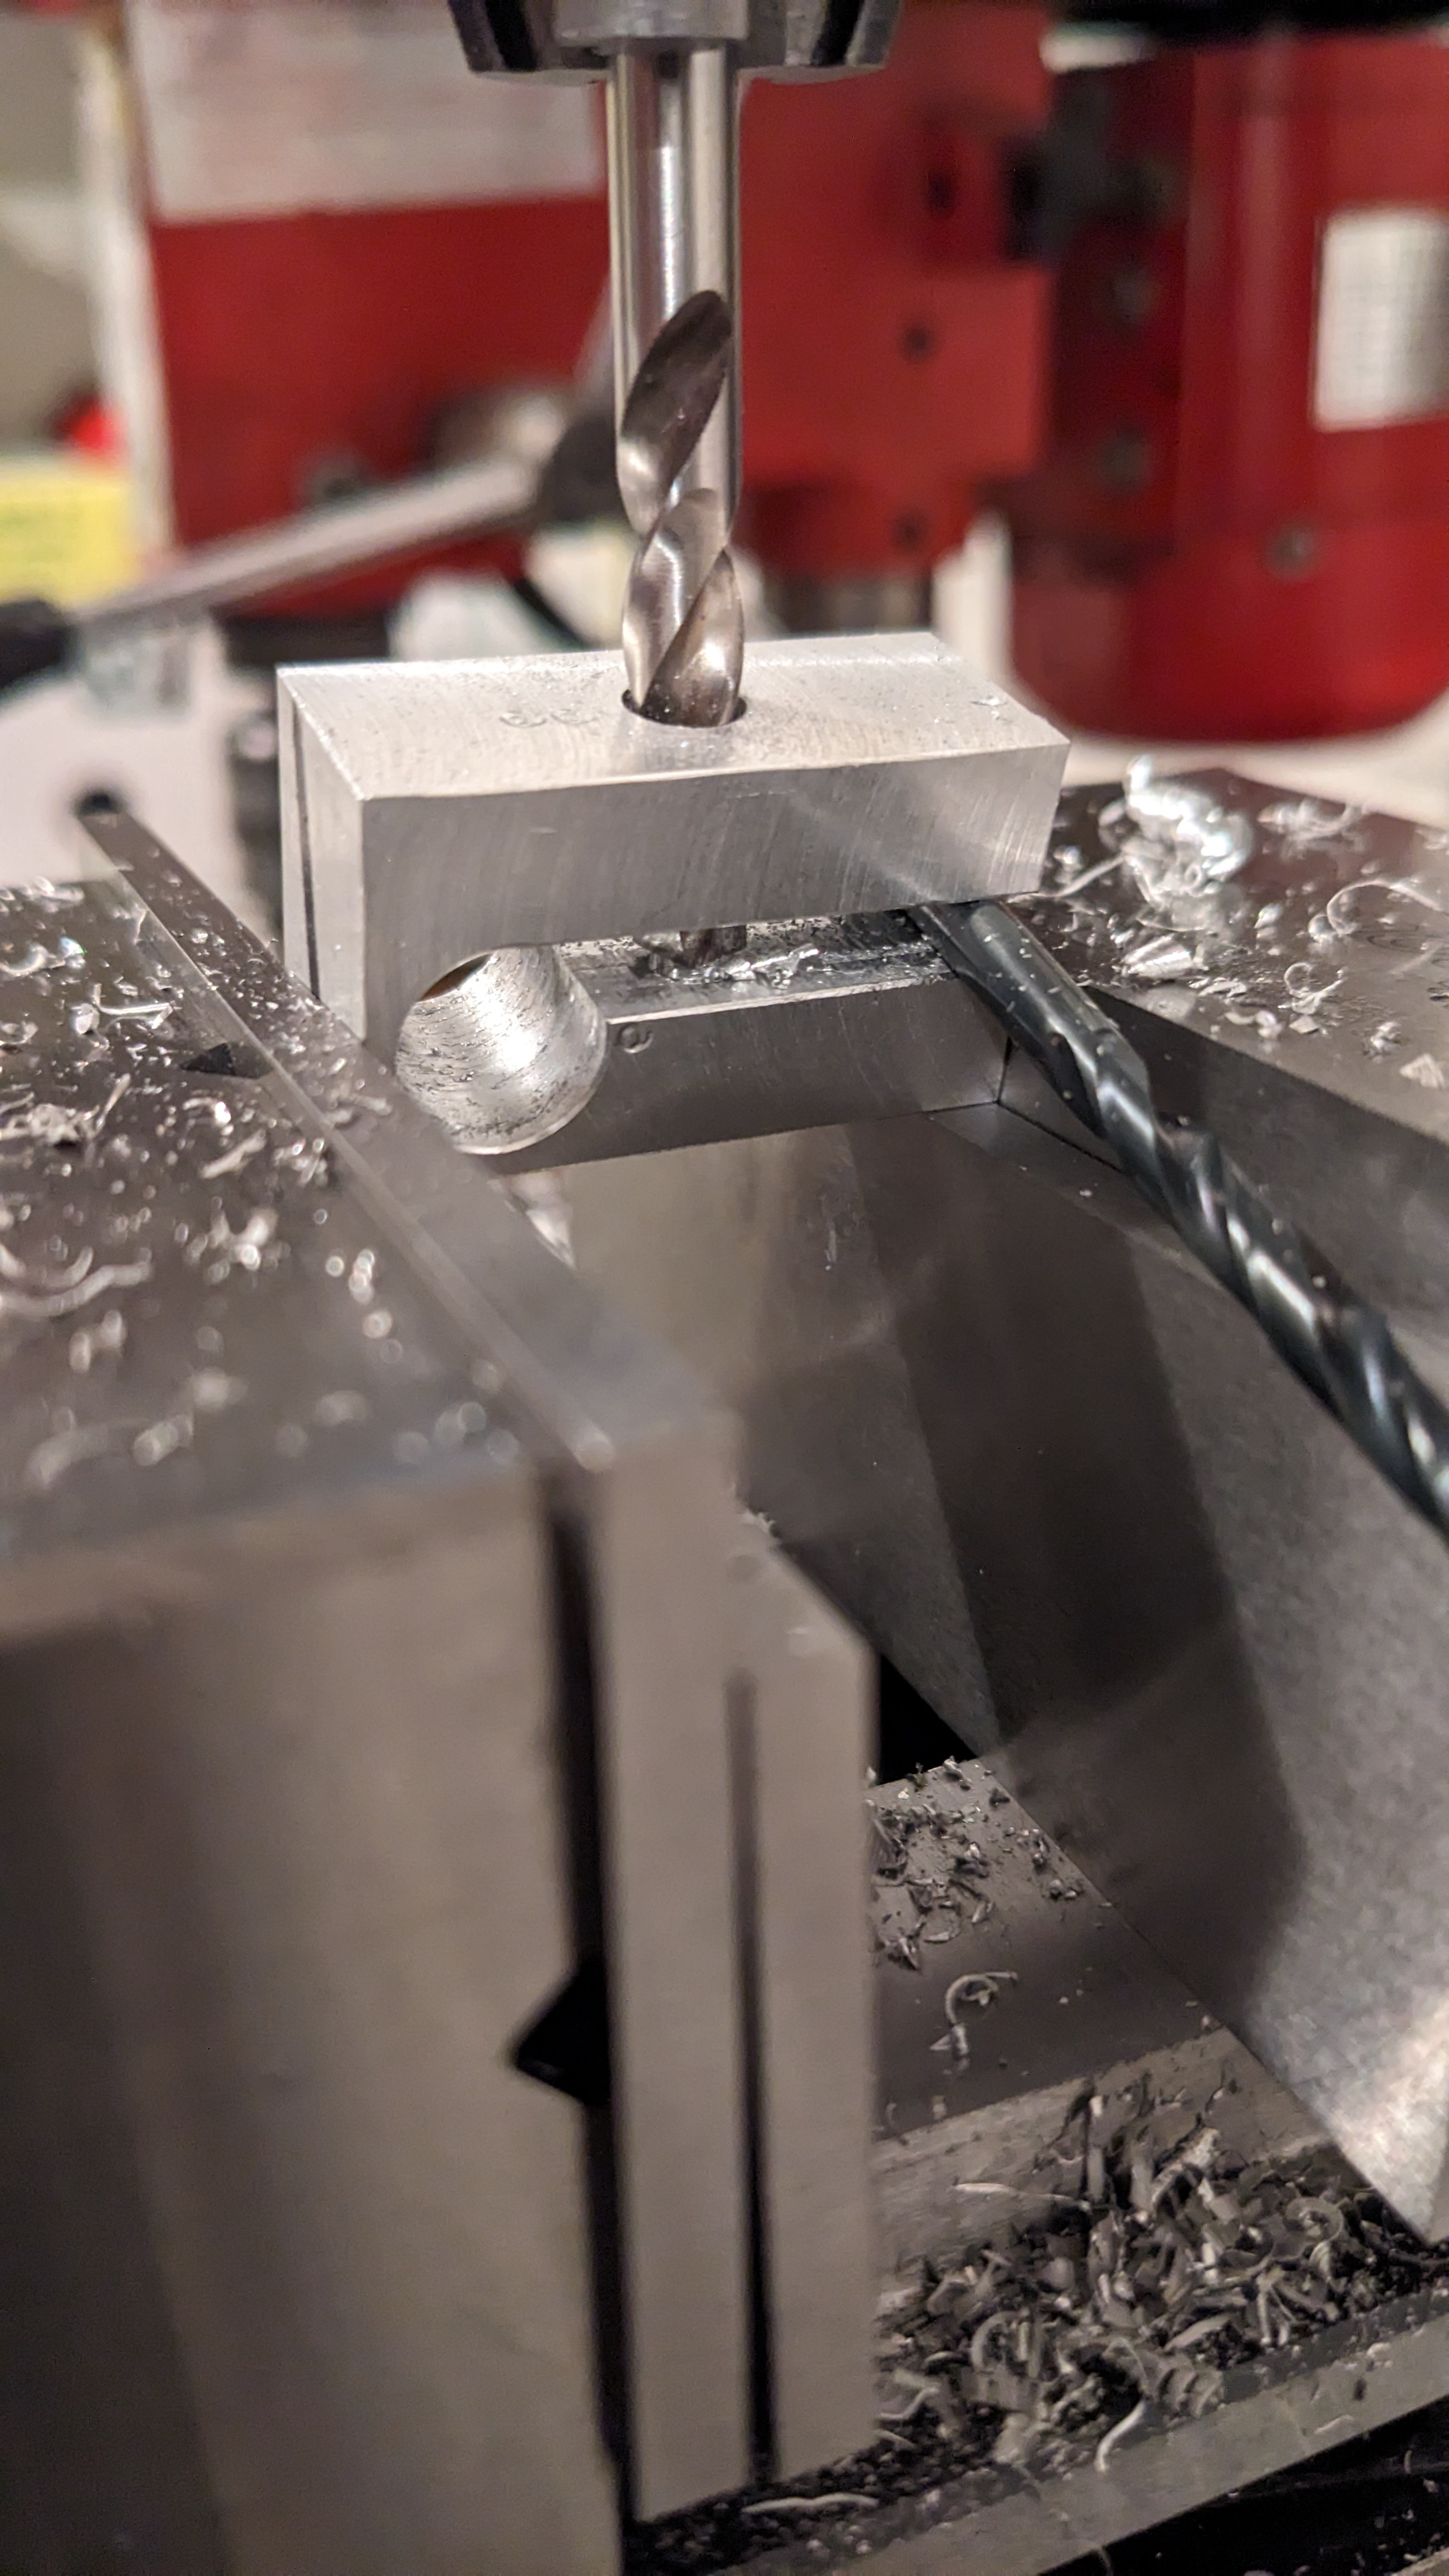
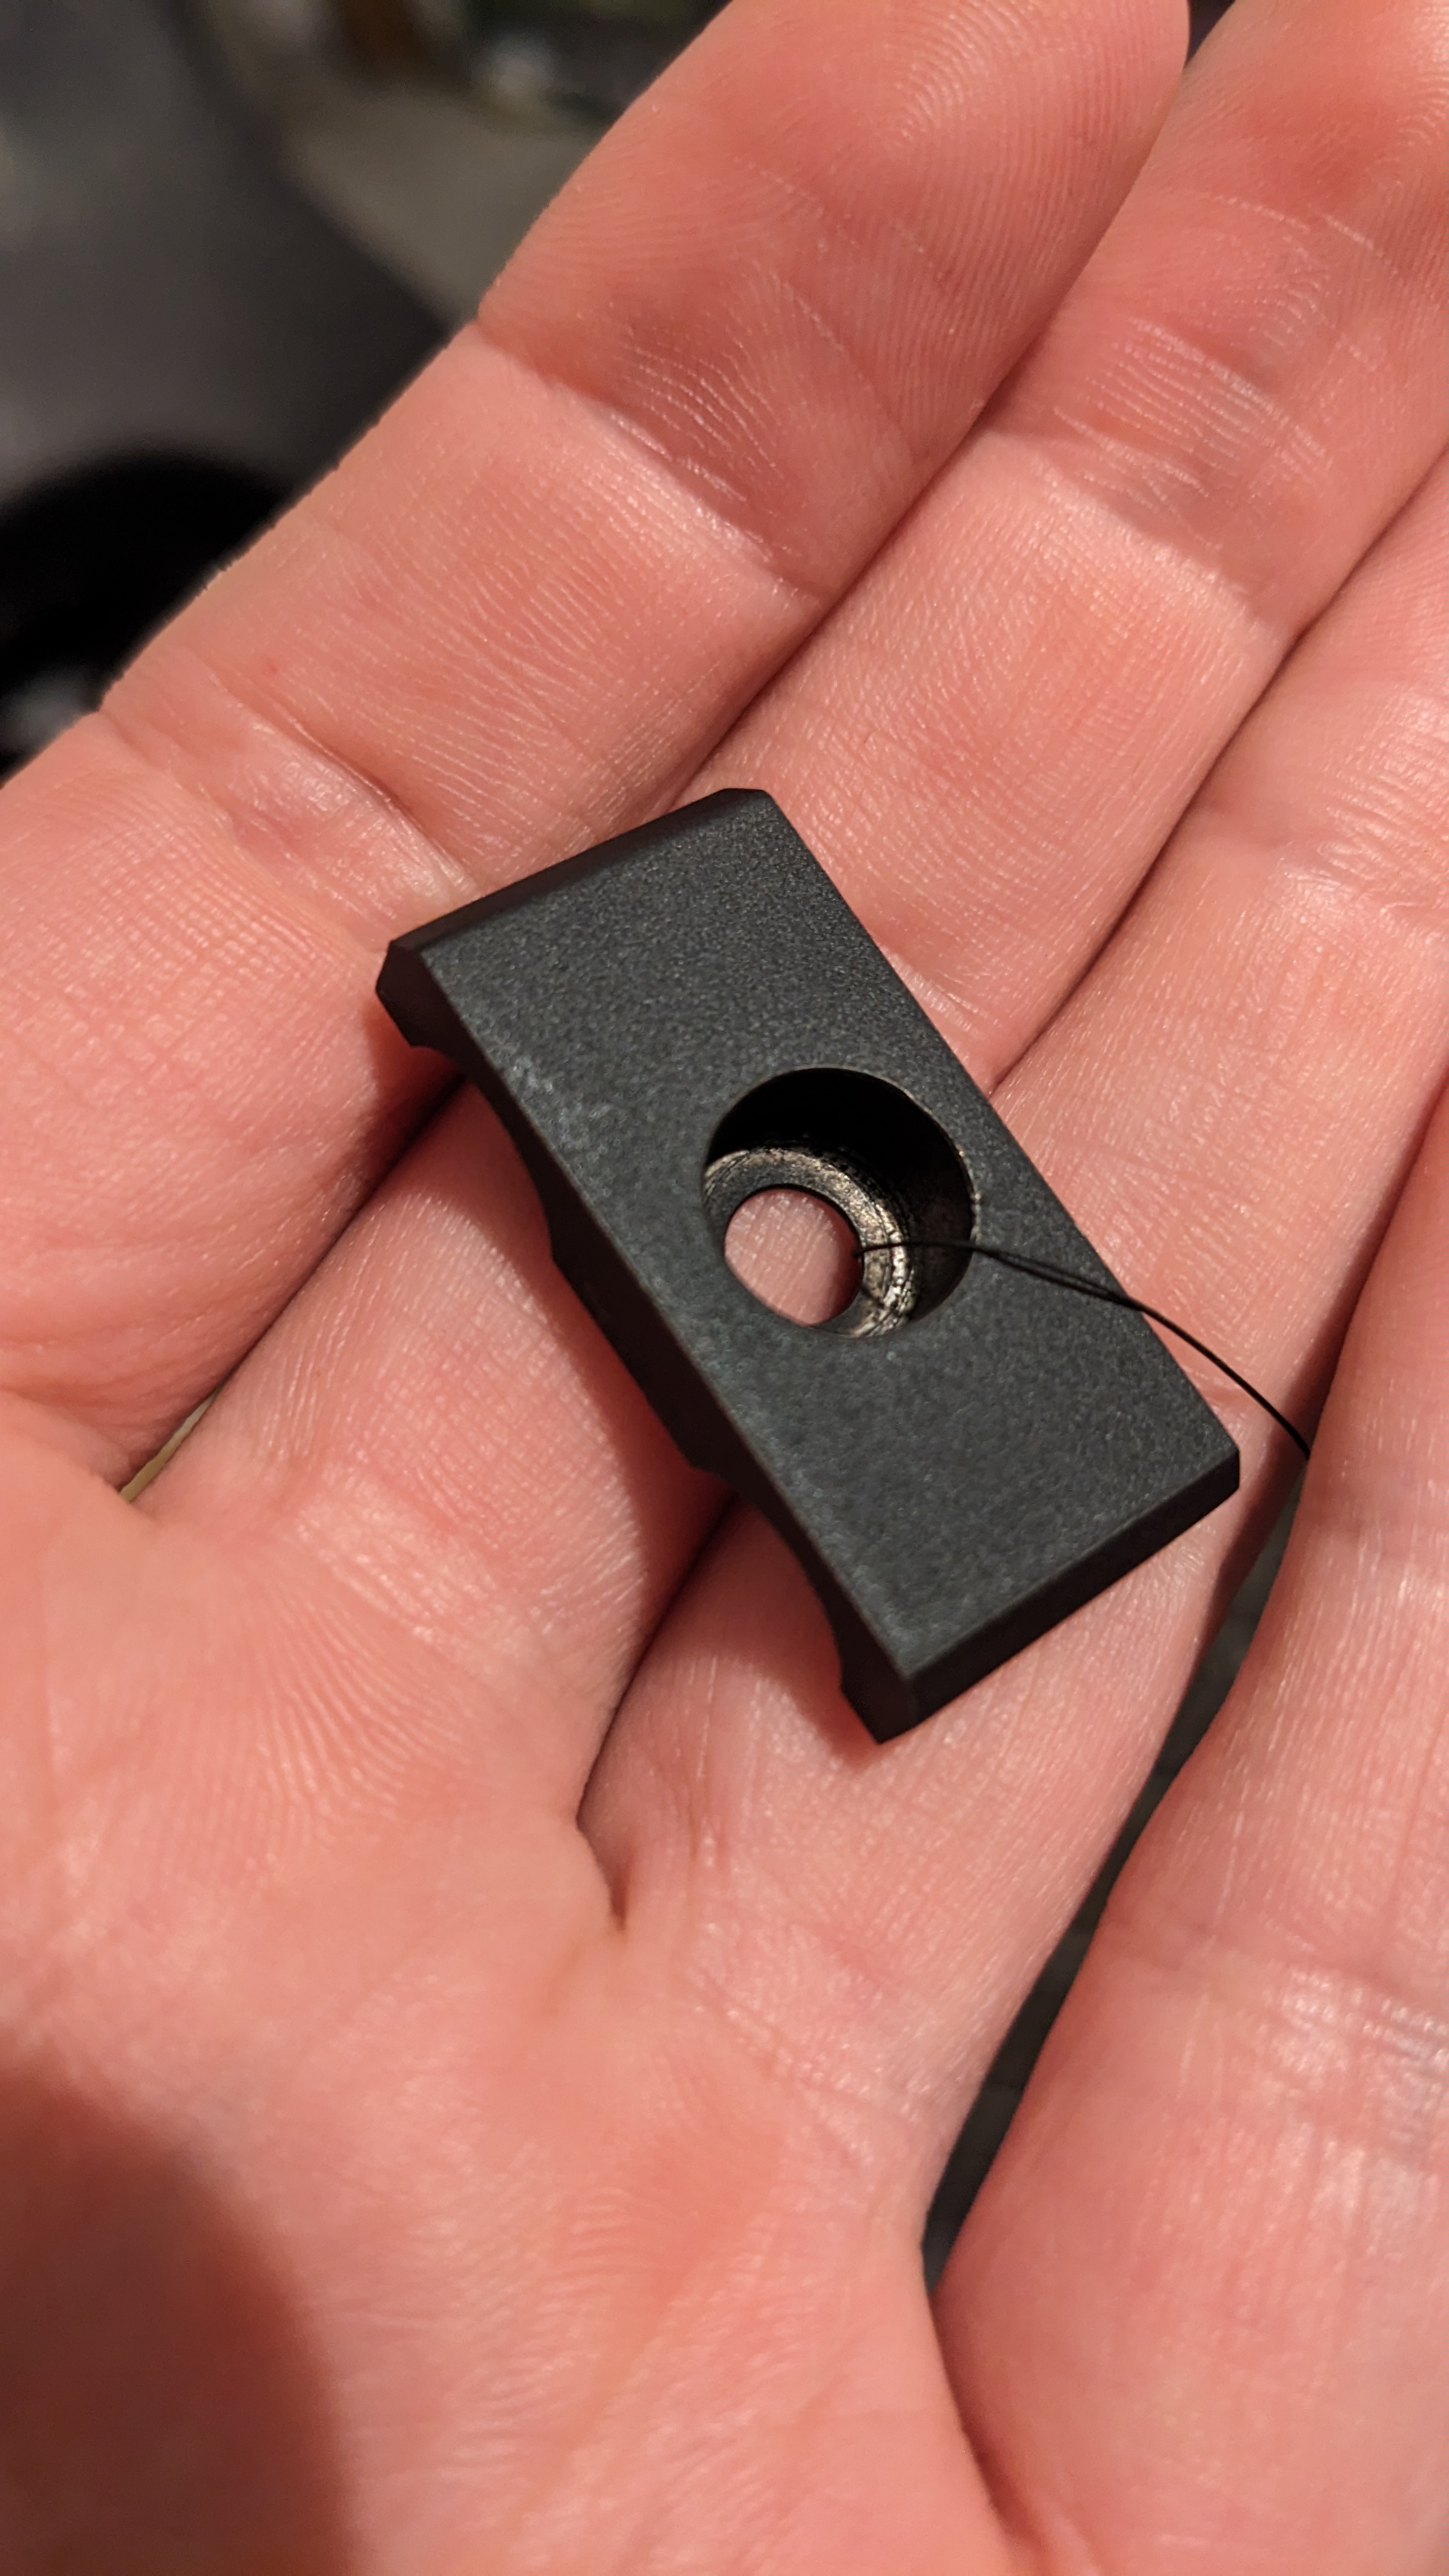
The stock had to be squared and brought to dimensions. After that they need to be drilled three times for all the mounting points.
Because one part should yield two finished parts, I had to saw them apart. (No pictures, because the manual sawing sucks).
Fit check looked good, but there was one unaccounted problem.
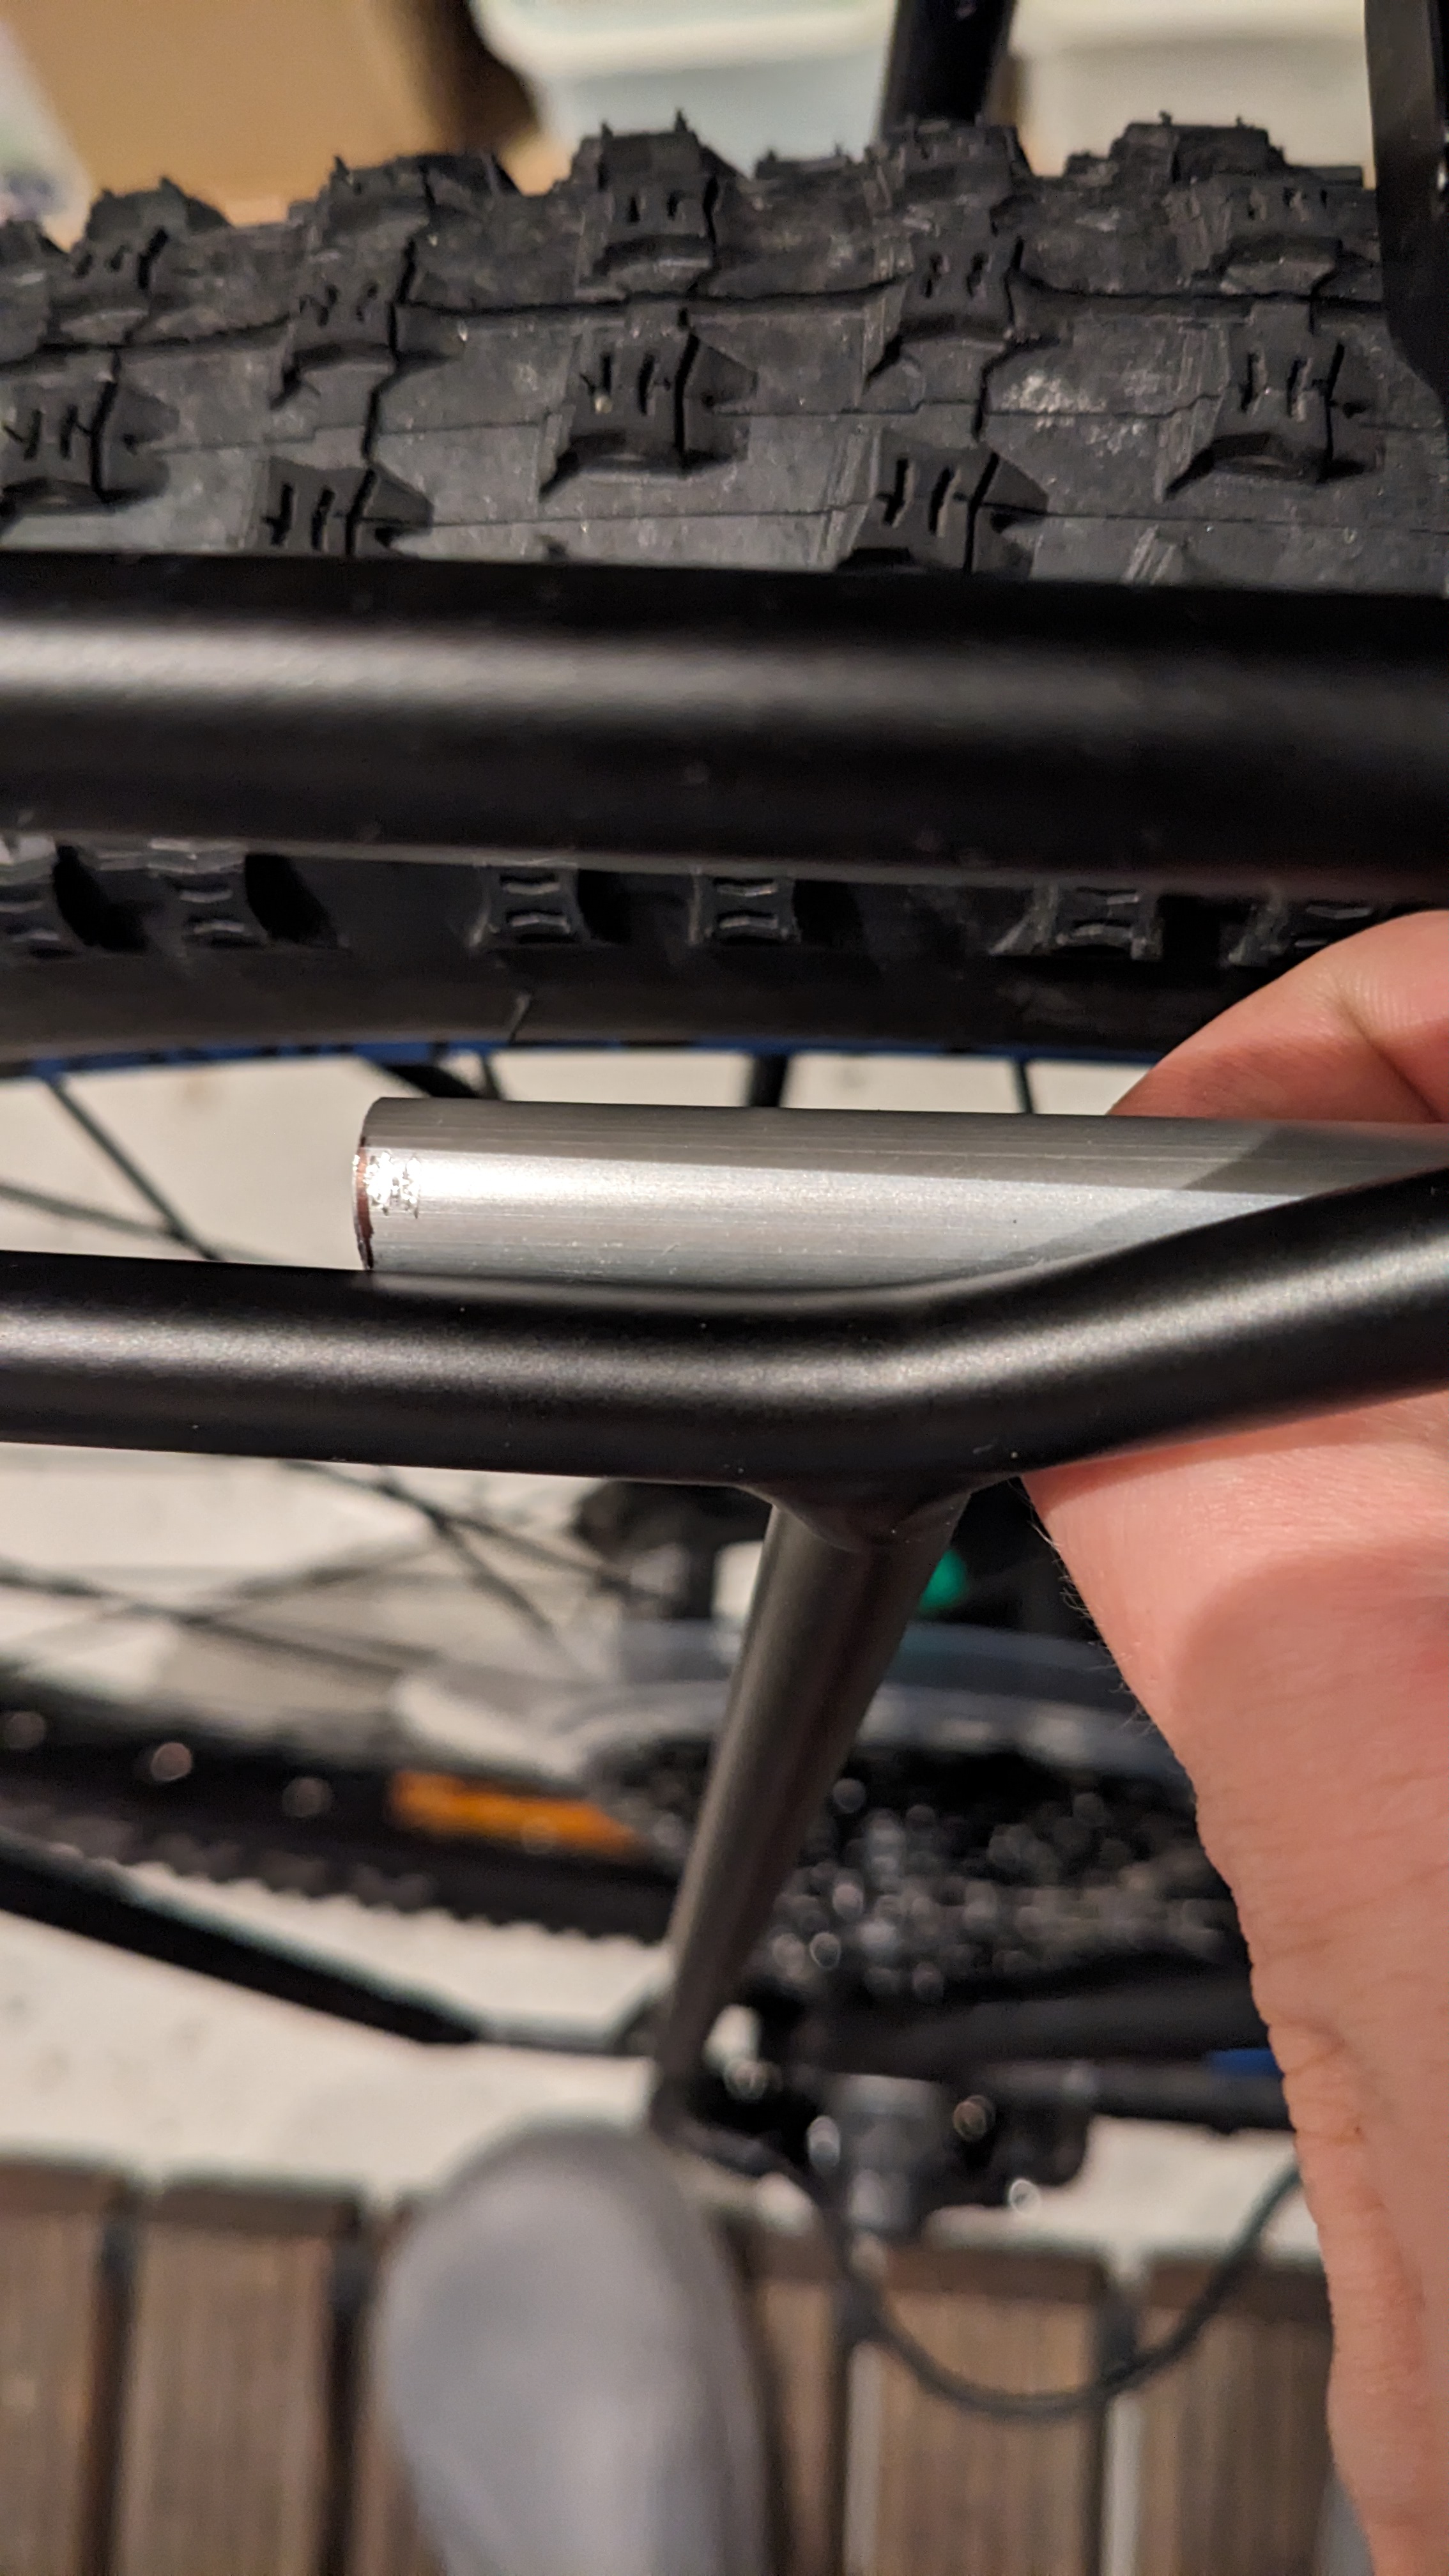
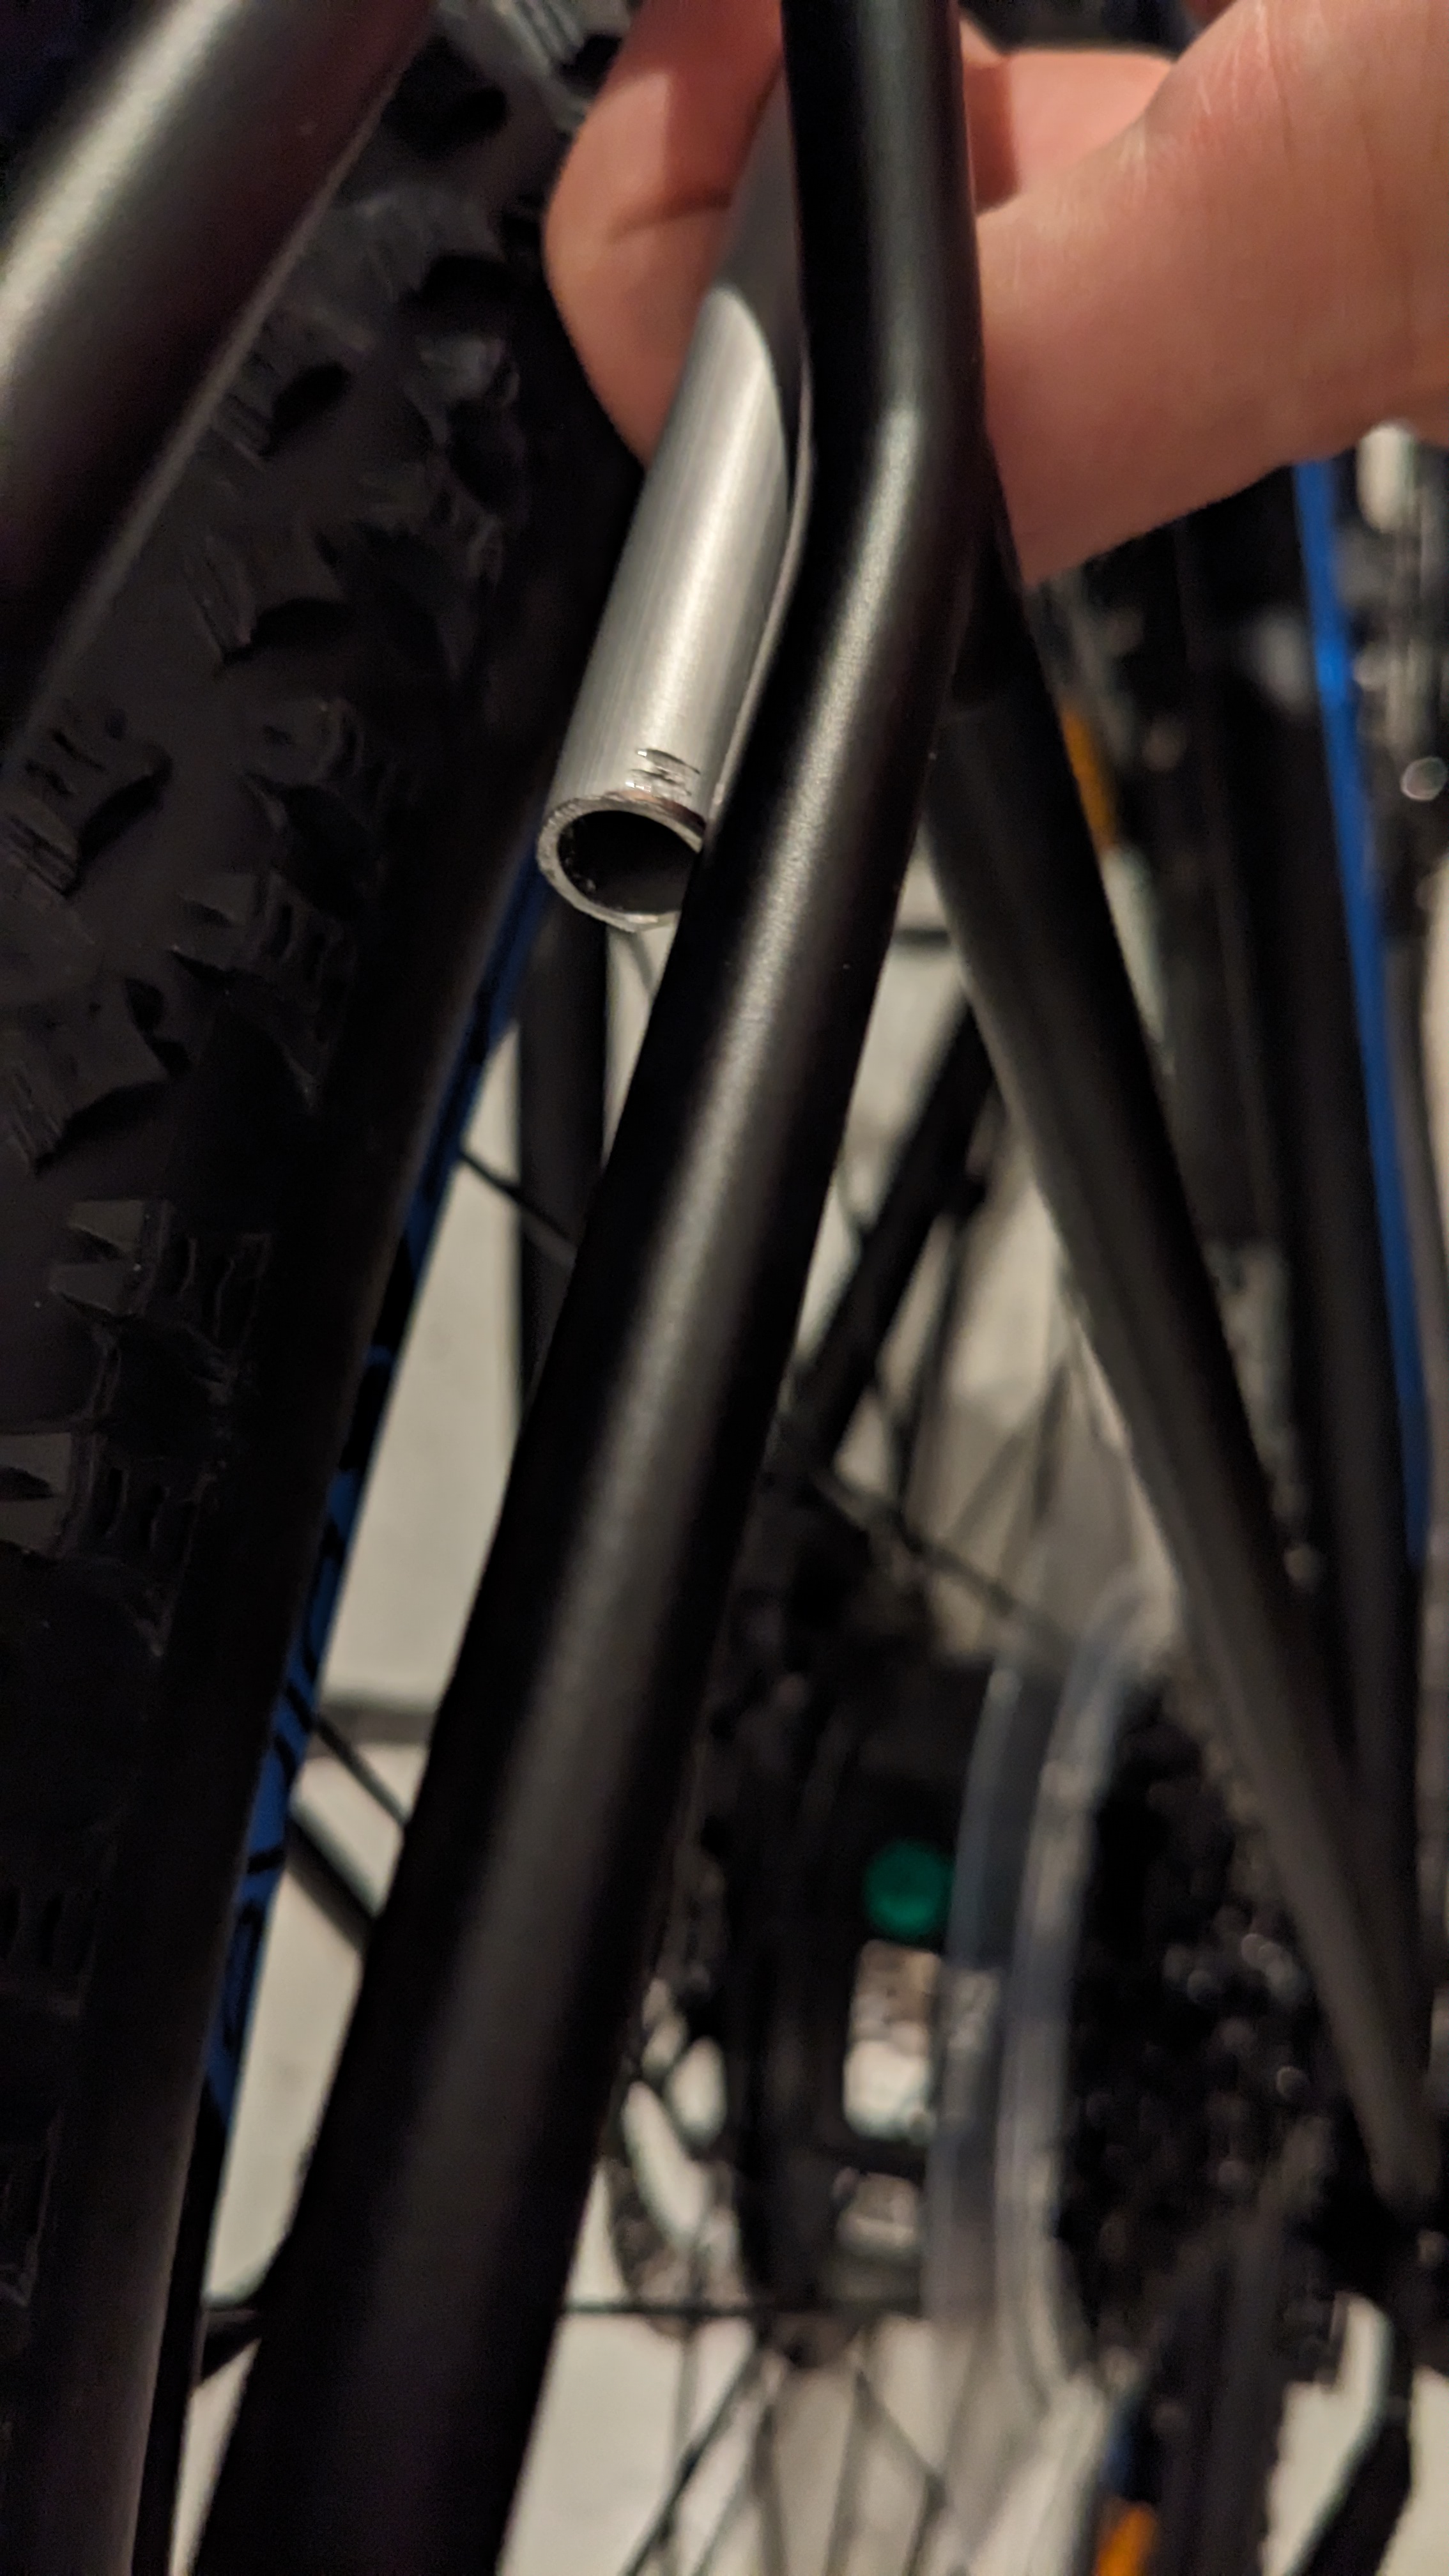
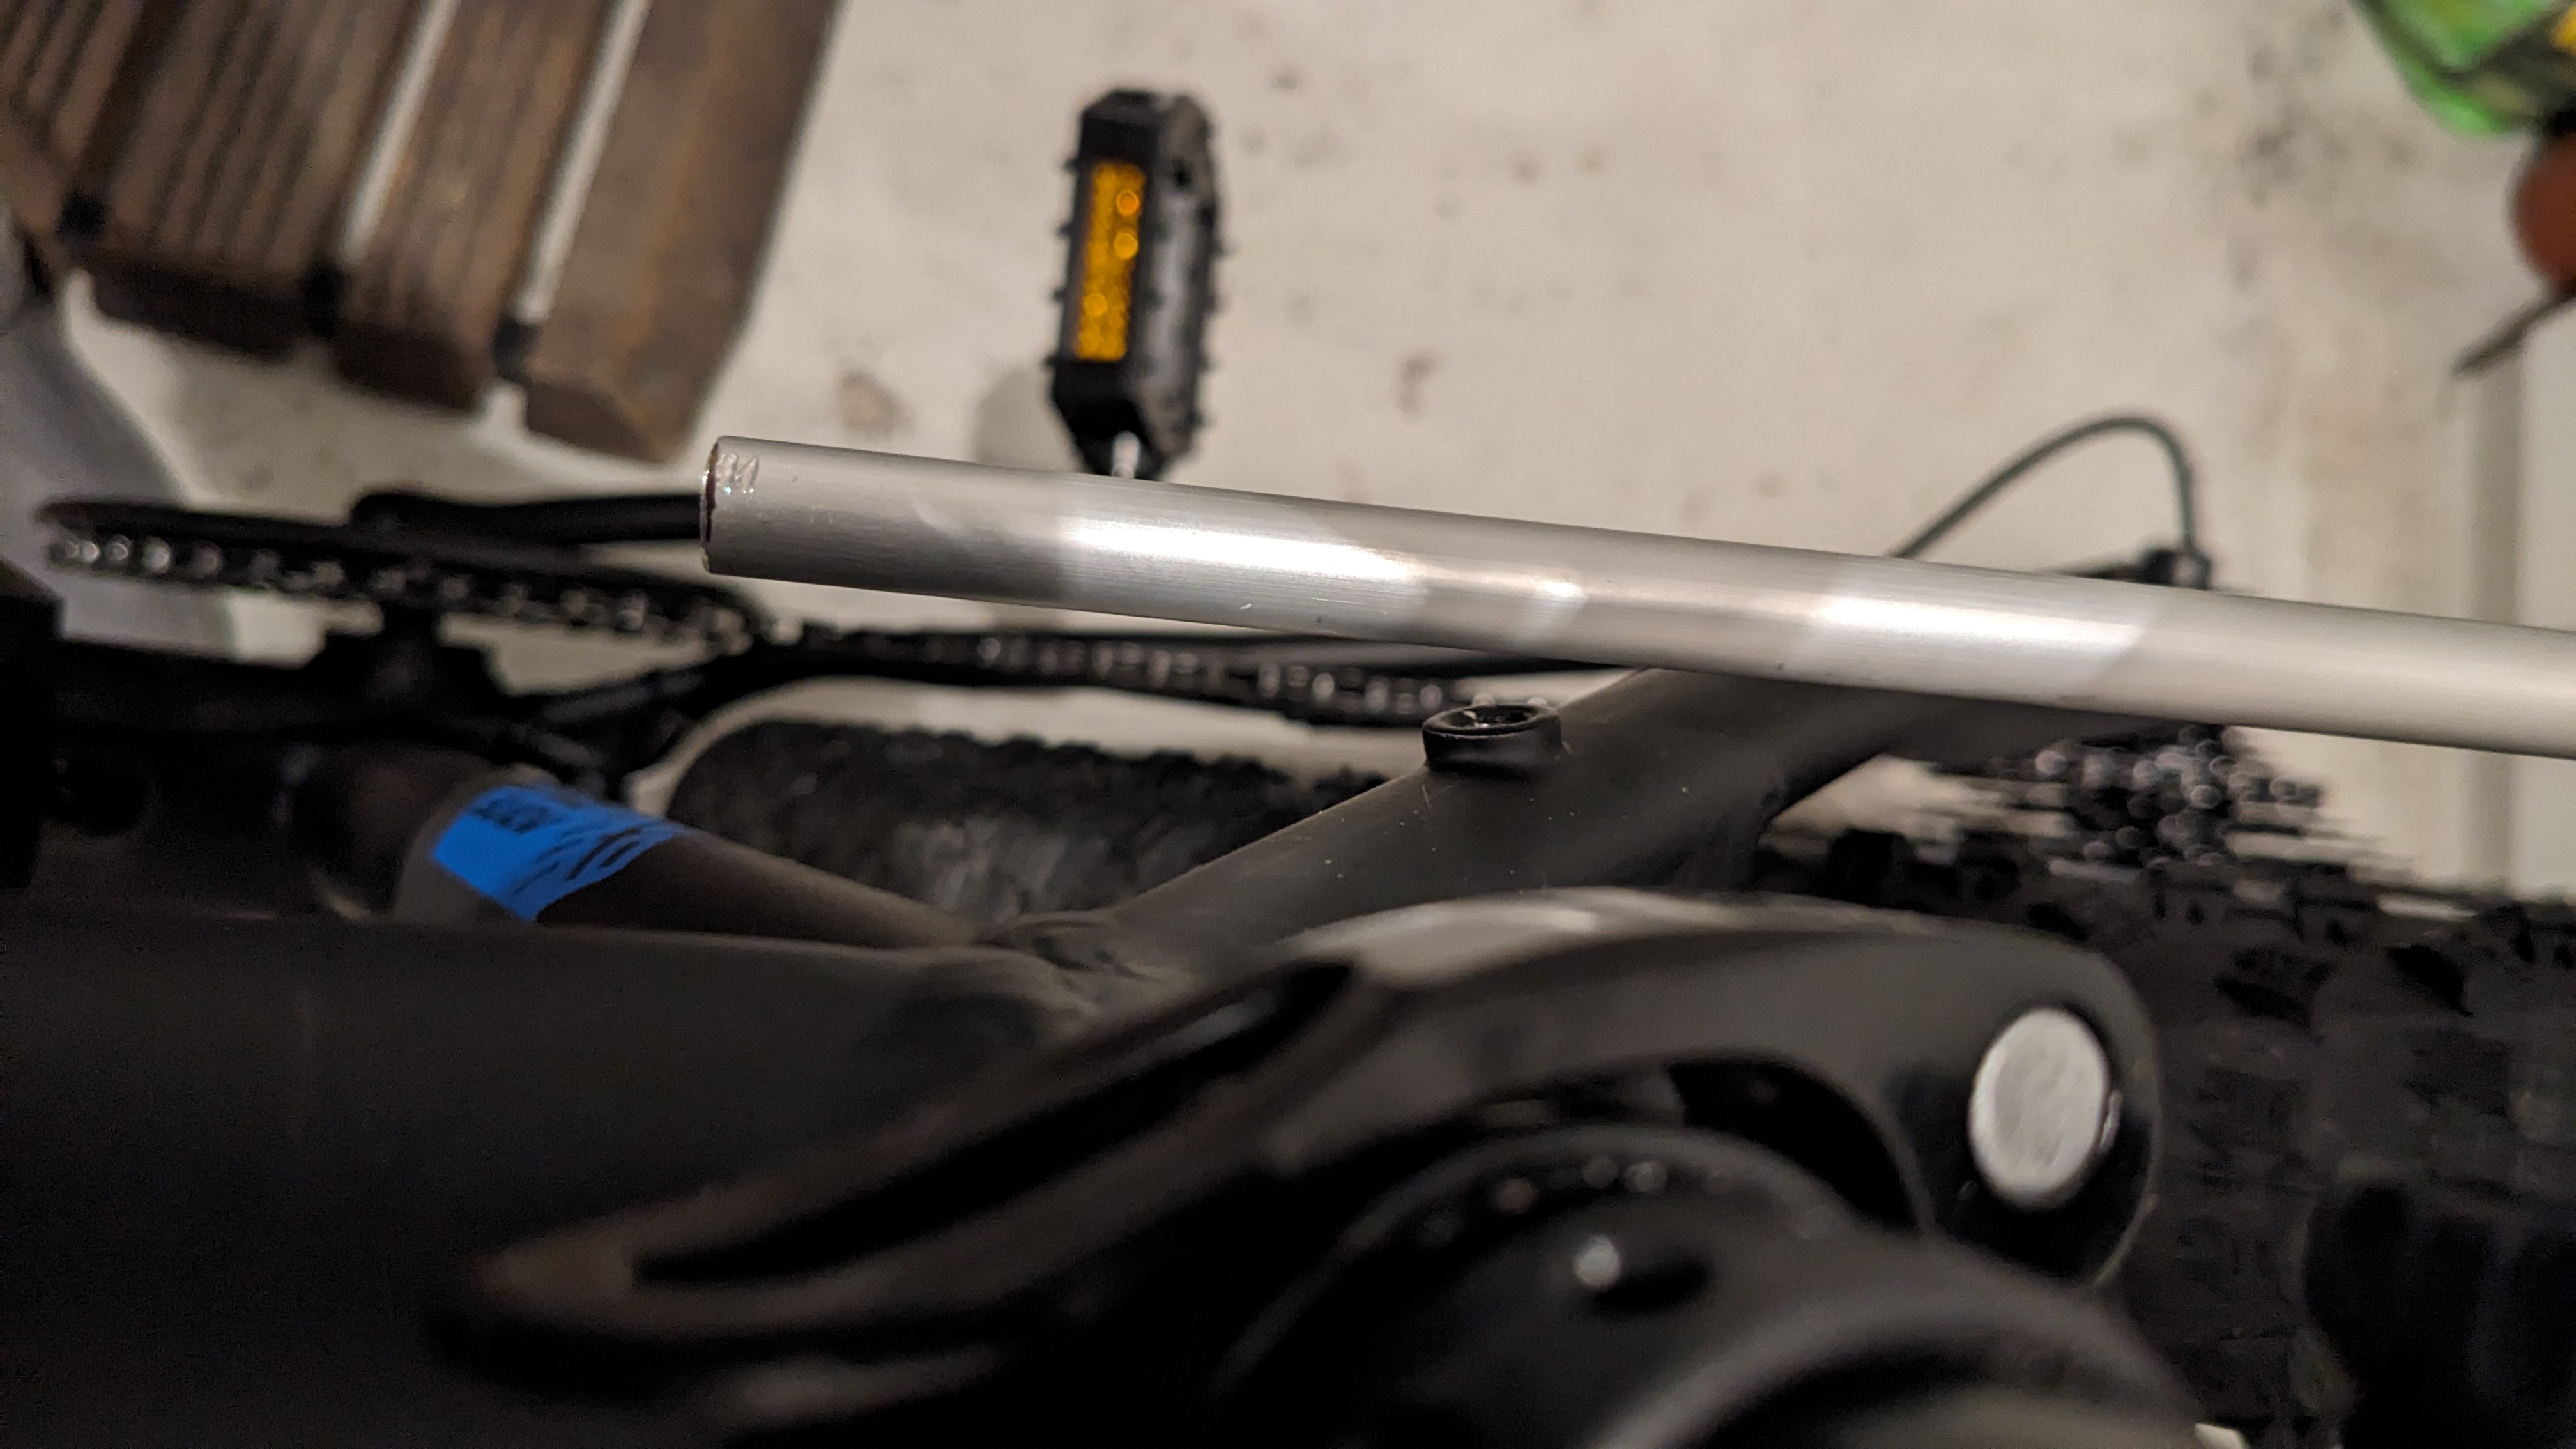
The aluminium tube did end way too high for the forward facing mounting points.
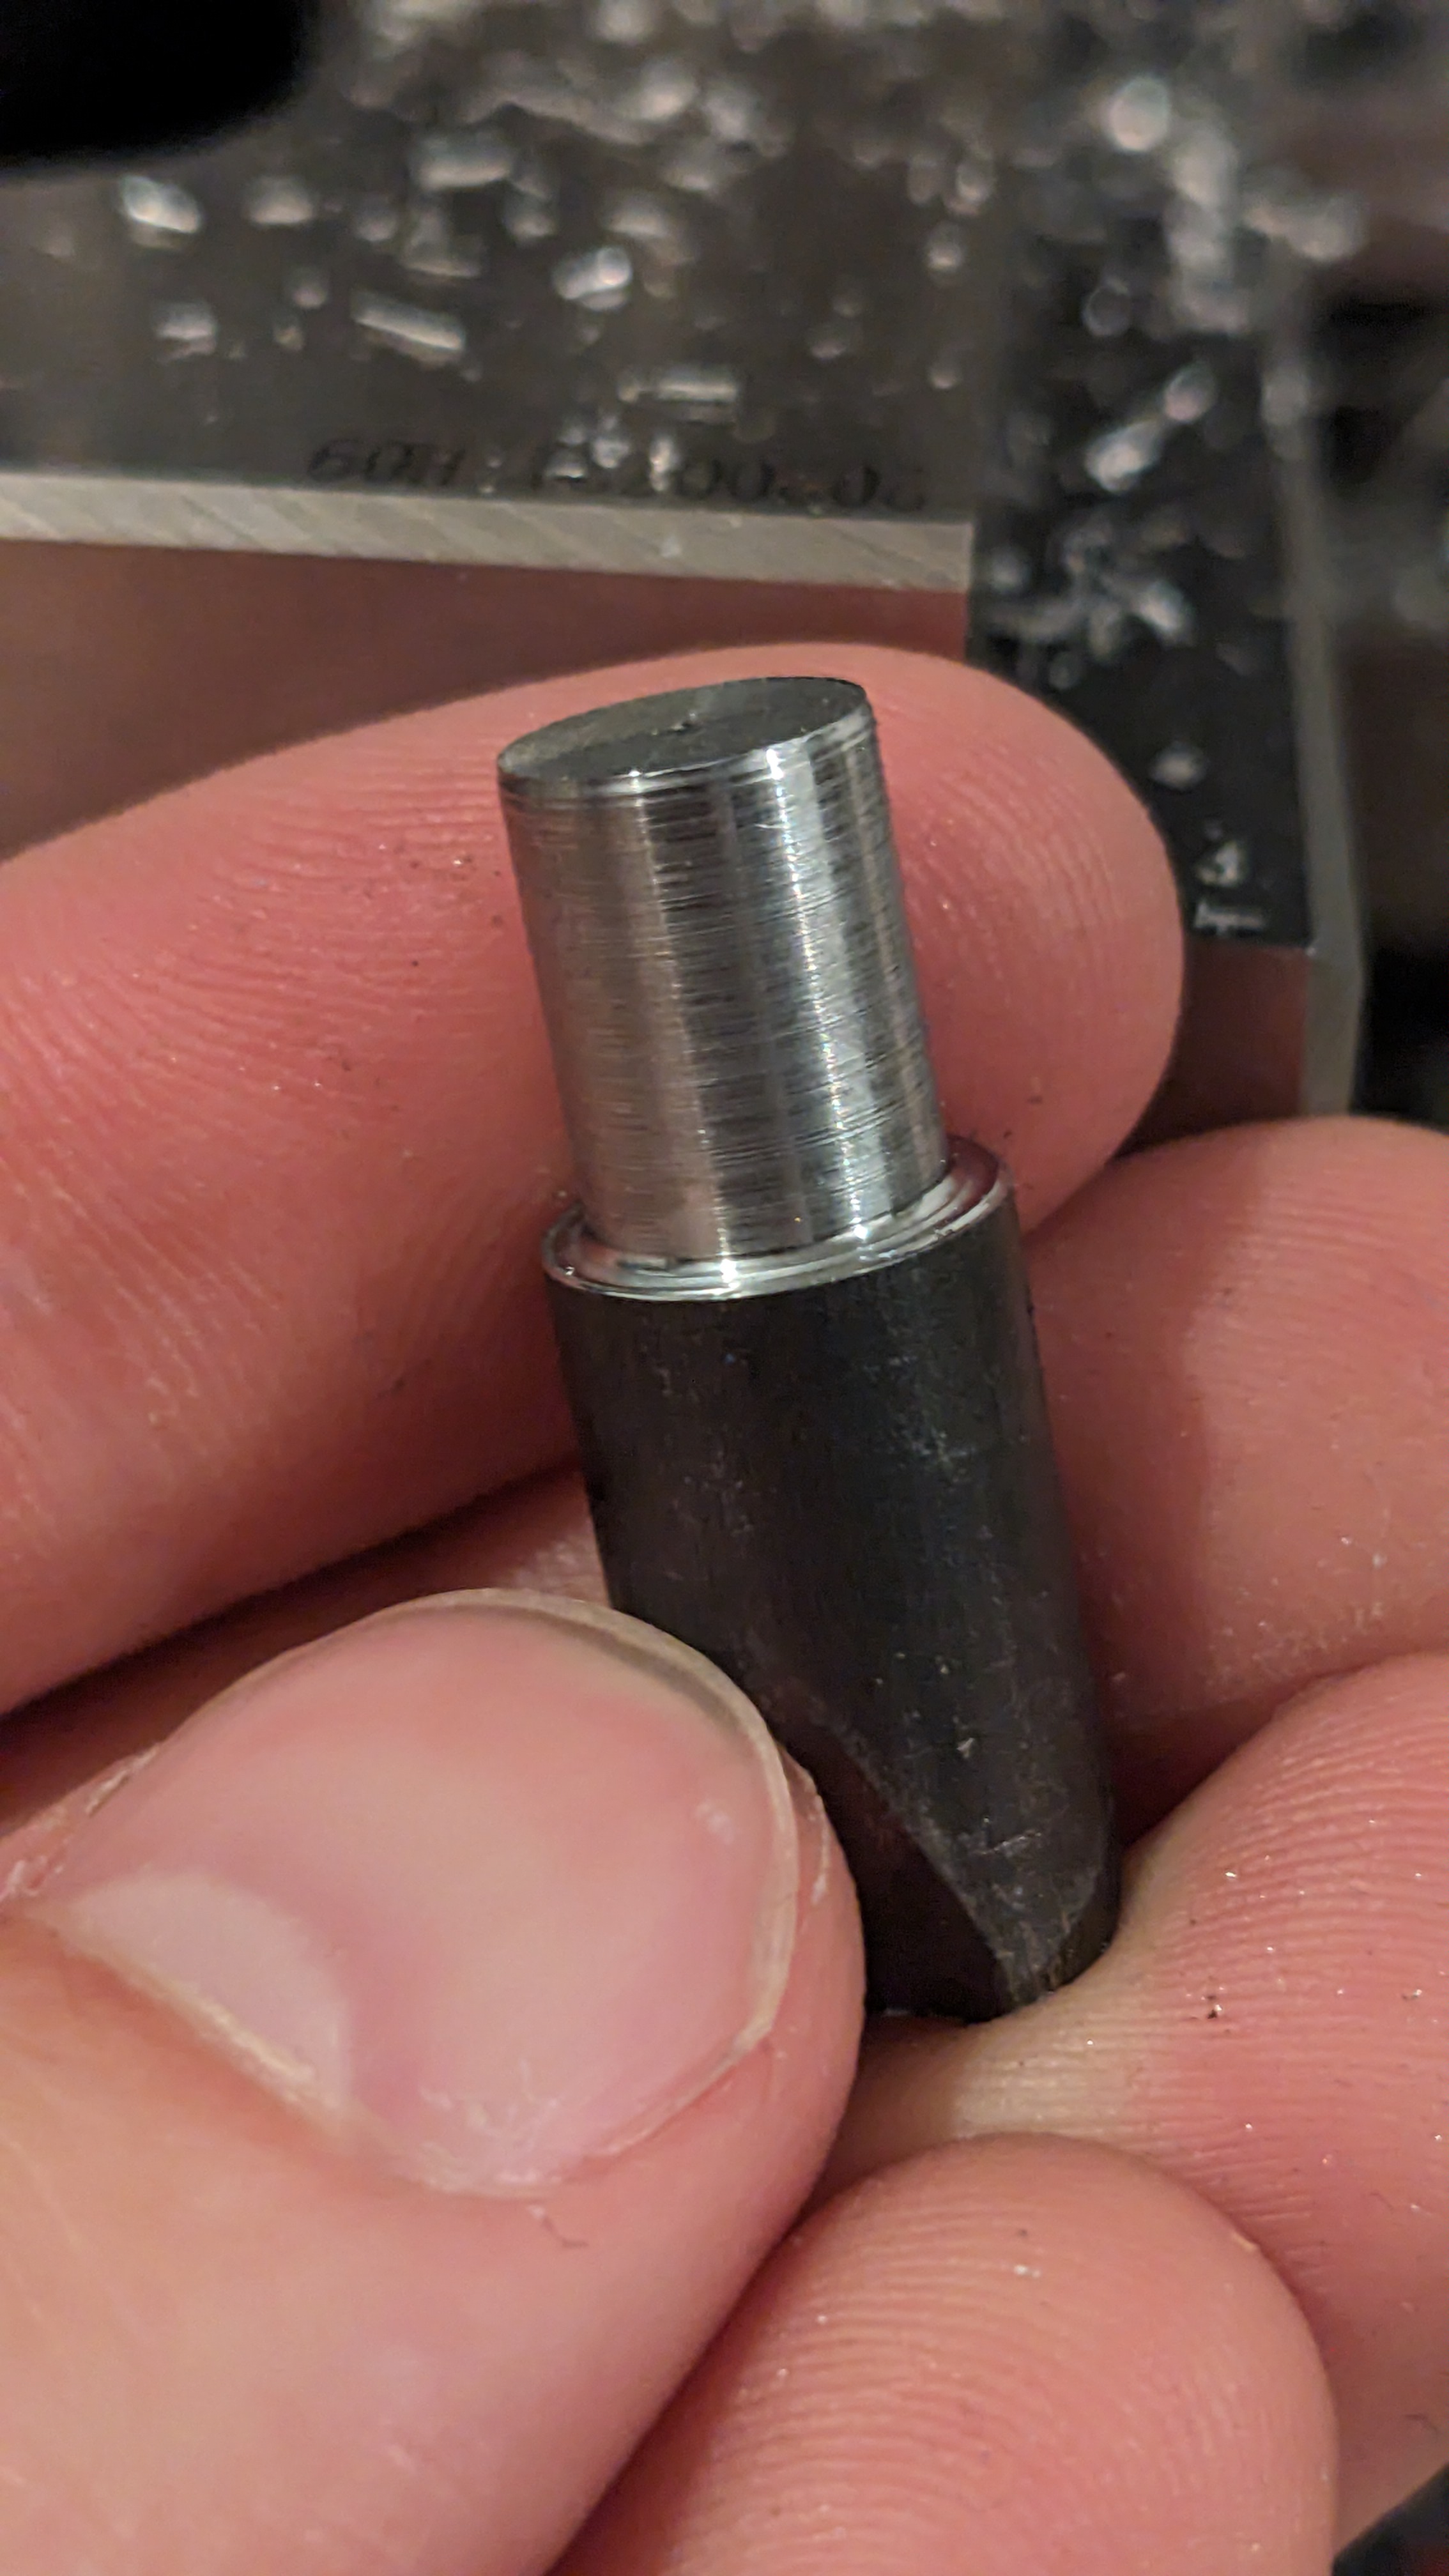
So I had to manufacture an angled adapter, which did fail horrible. As you can see on the last picture I used a drill bit as a spacer. It worked wondeful for the first part, and failed spectacular on the second part. (No pictures because I threw a small rage fit). I was not in the mood to mill the parts again, because they took way too long on my small hobby mill, and they were way too over engineered.
New plan: make the parts simpler.
Pro:
- can manufacture parts way faster.
Contra:
- aluminum bar is bent a little bit in final mounting position
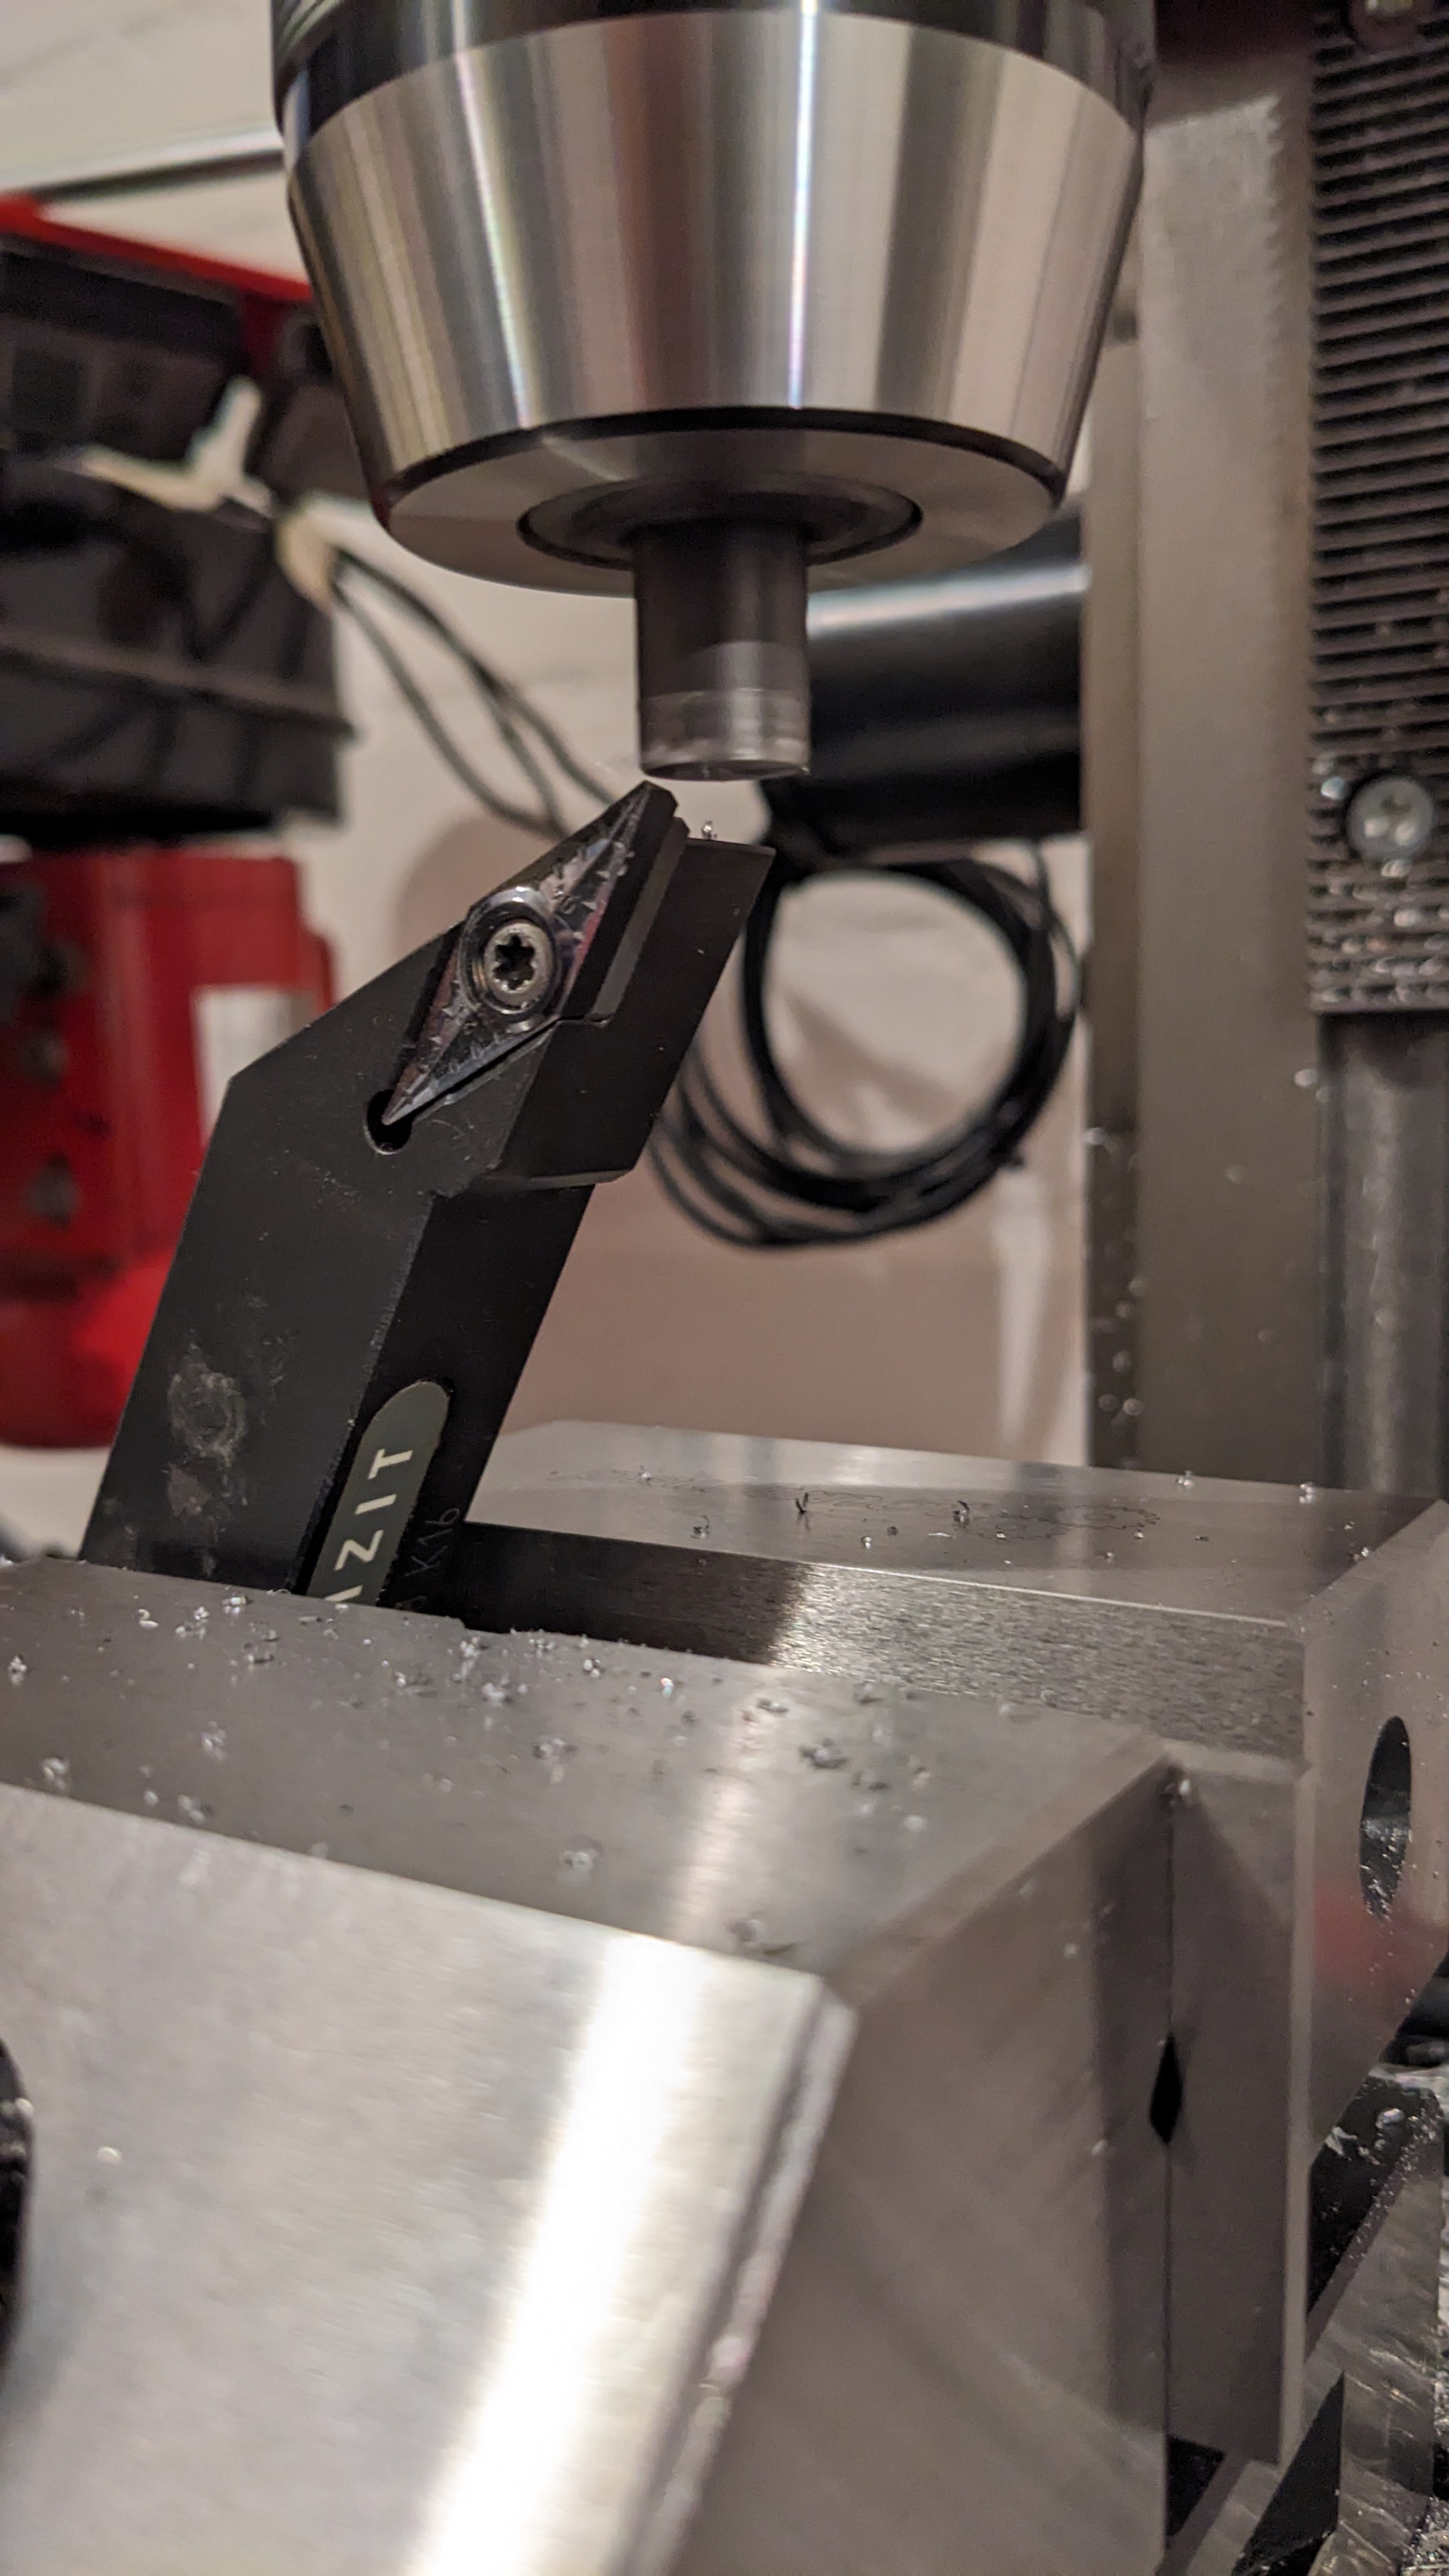
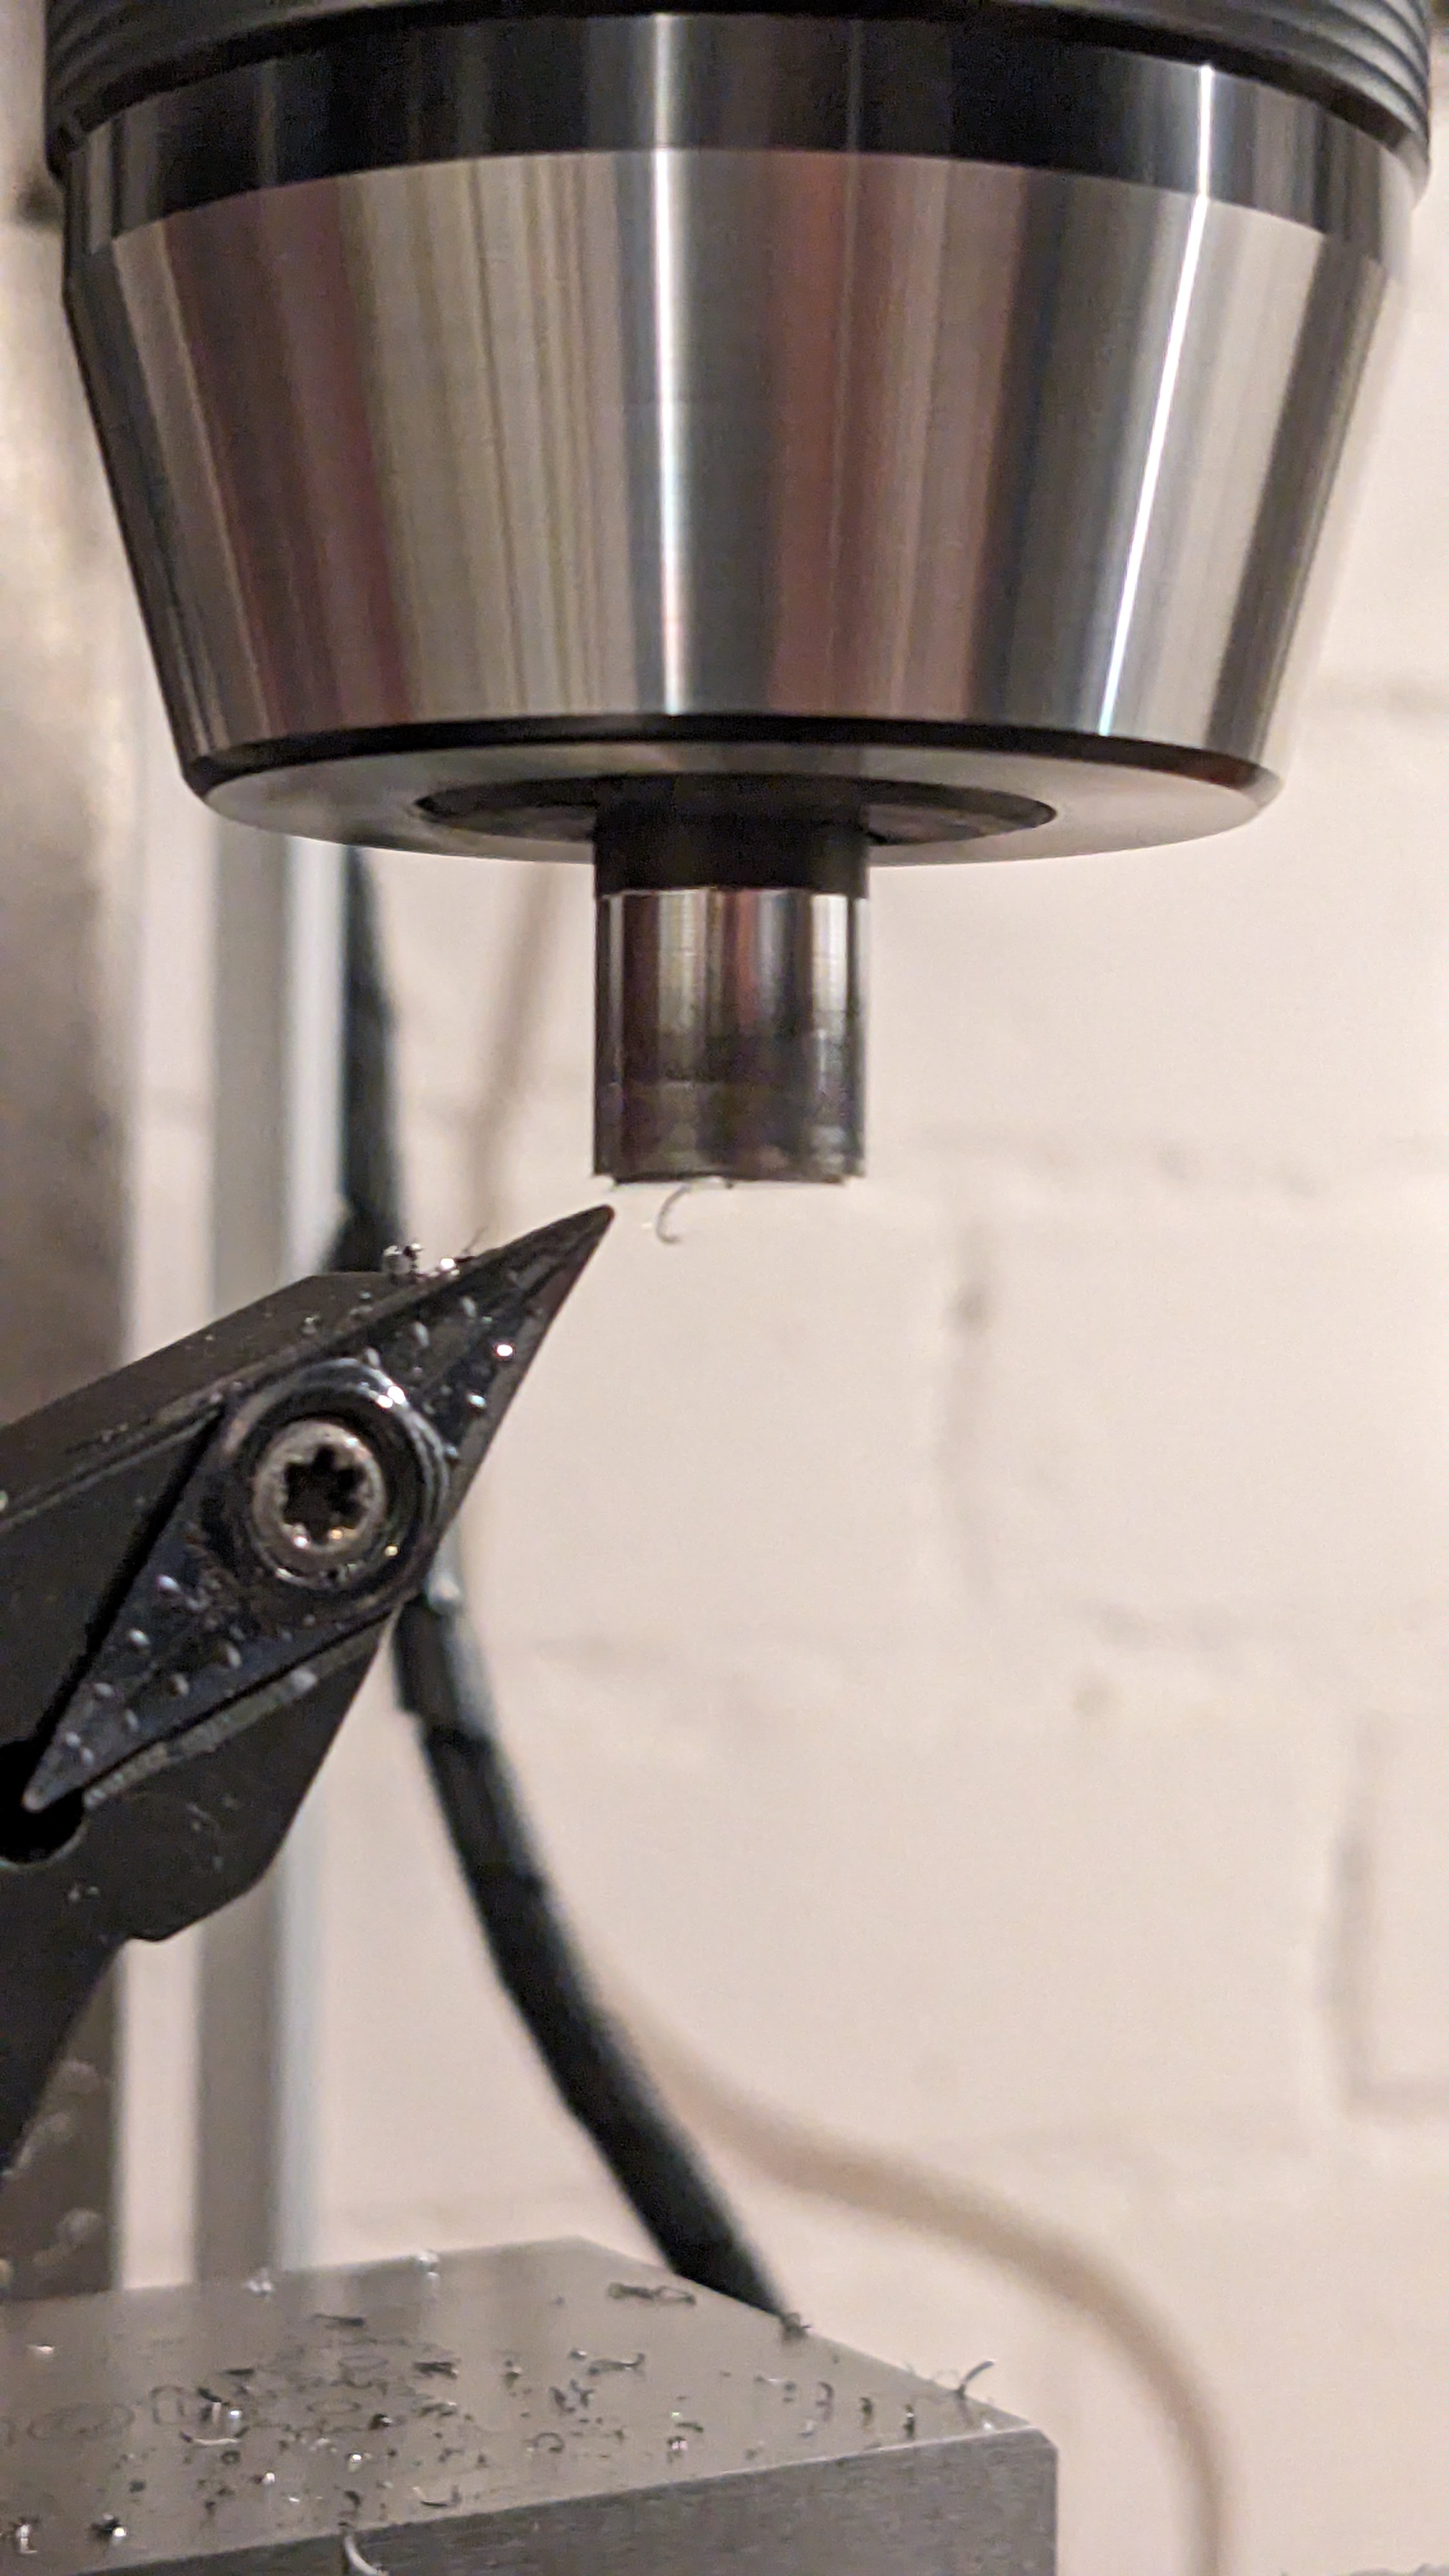
Because I dont have a lathe I had to mount my tool in the vice, and my part in the spindle. Dont judge me. It worked.
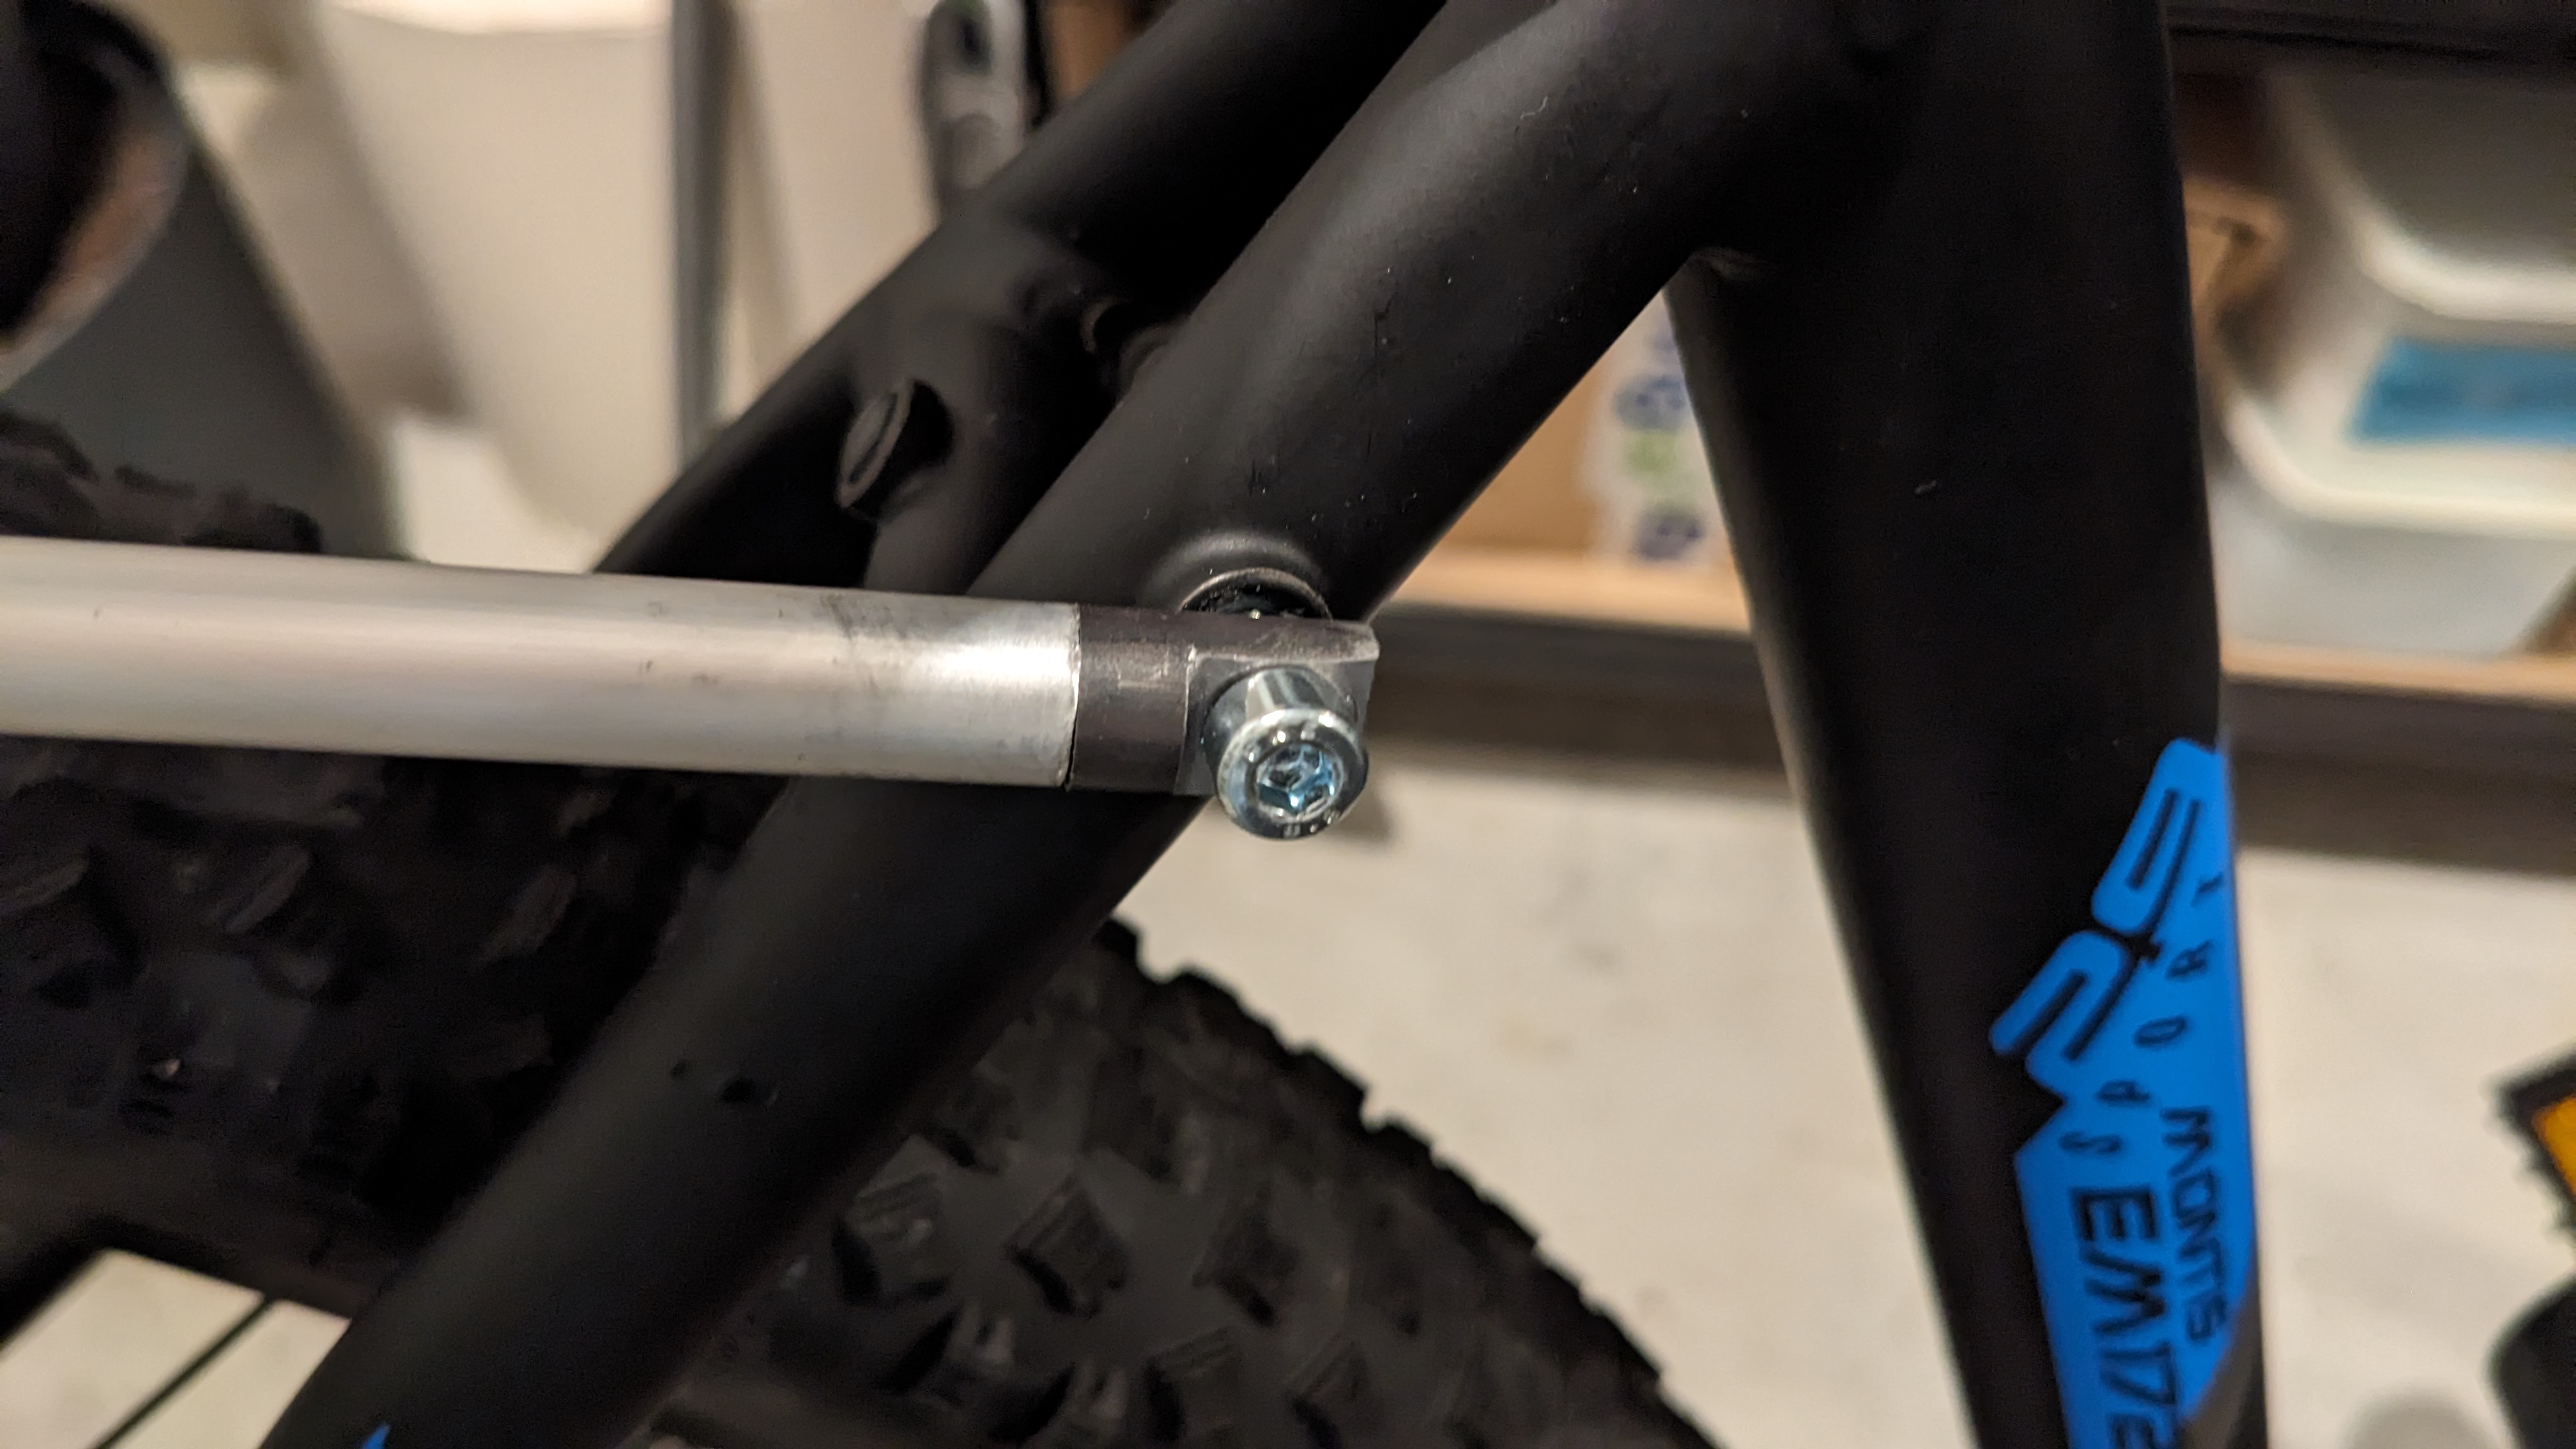
Assemble time.
For a prototype it looks good, but im not happy with it. Im waiting for my mudguards to see how they fit my my carrier. Maybe I have to rethink the whole mounting options. But thats a problem for another time.
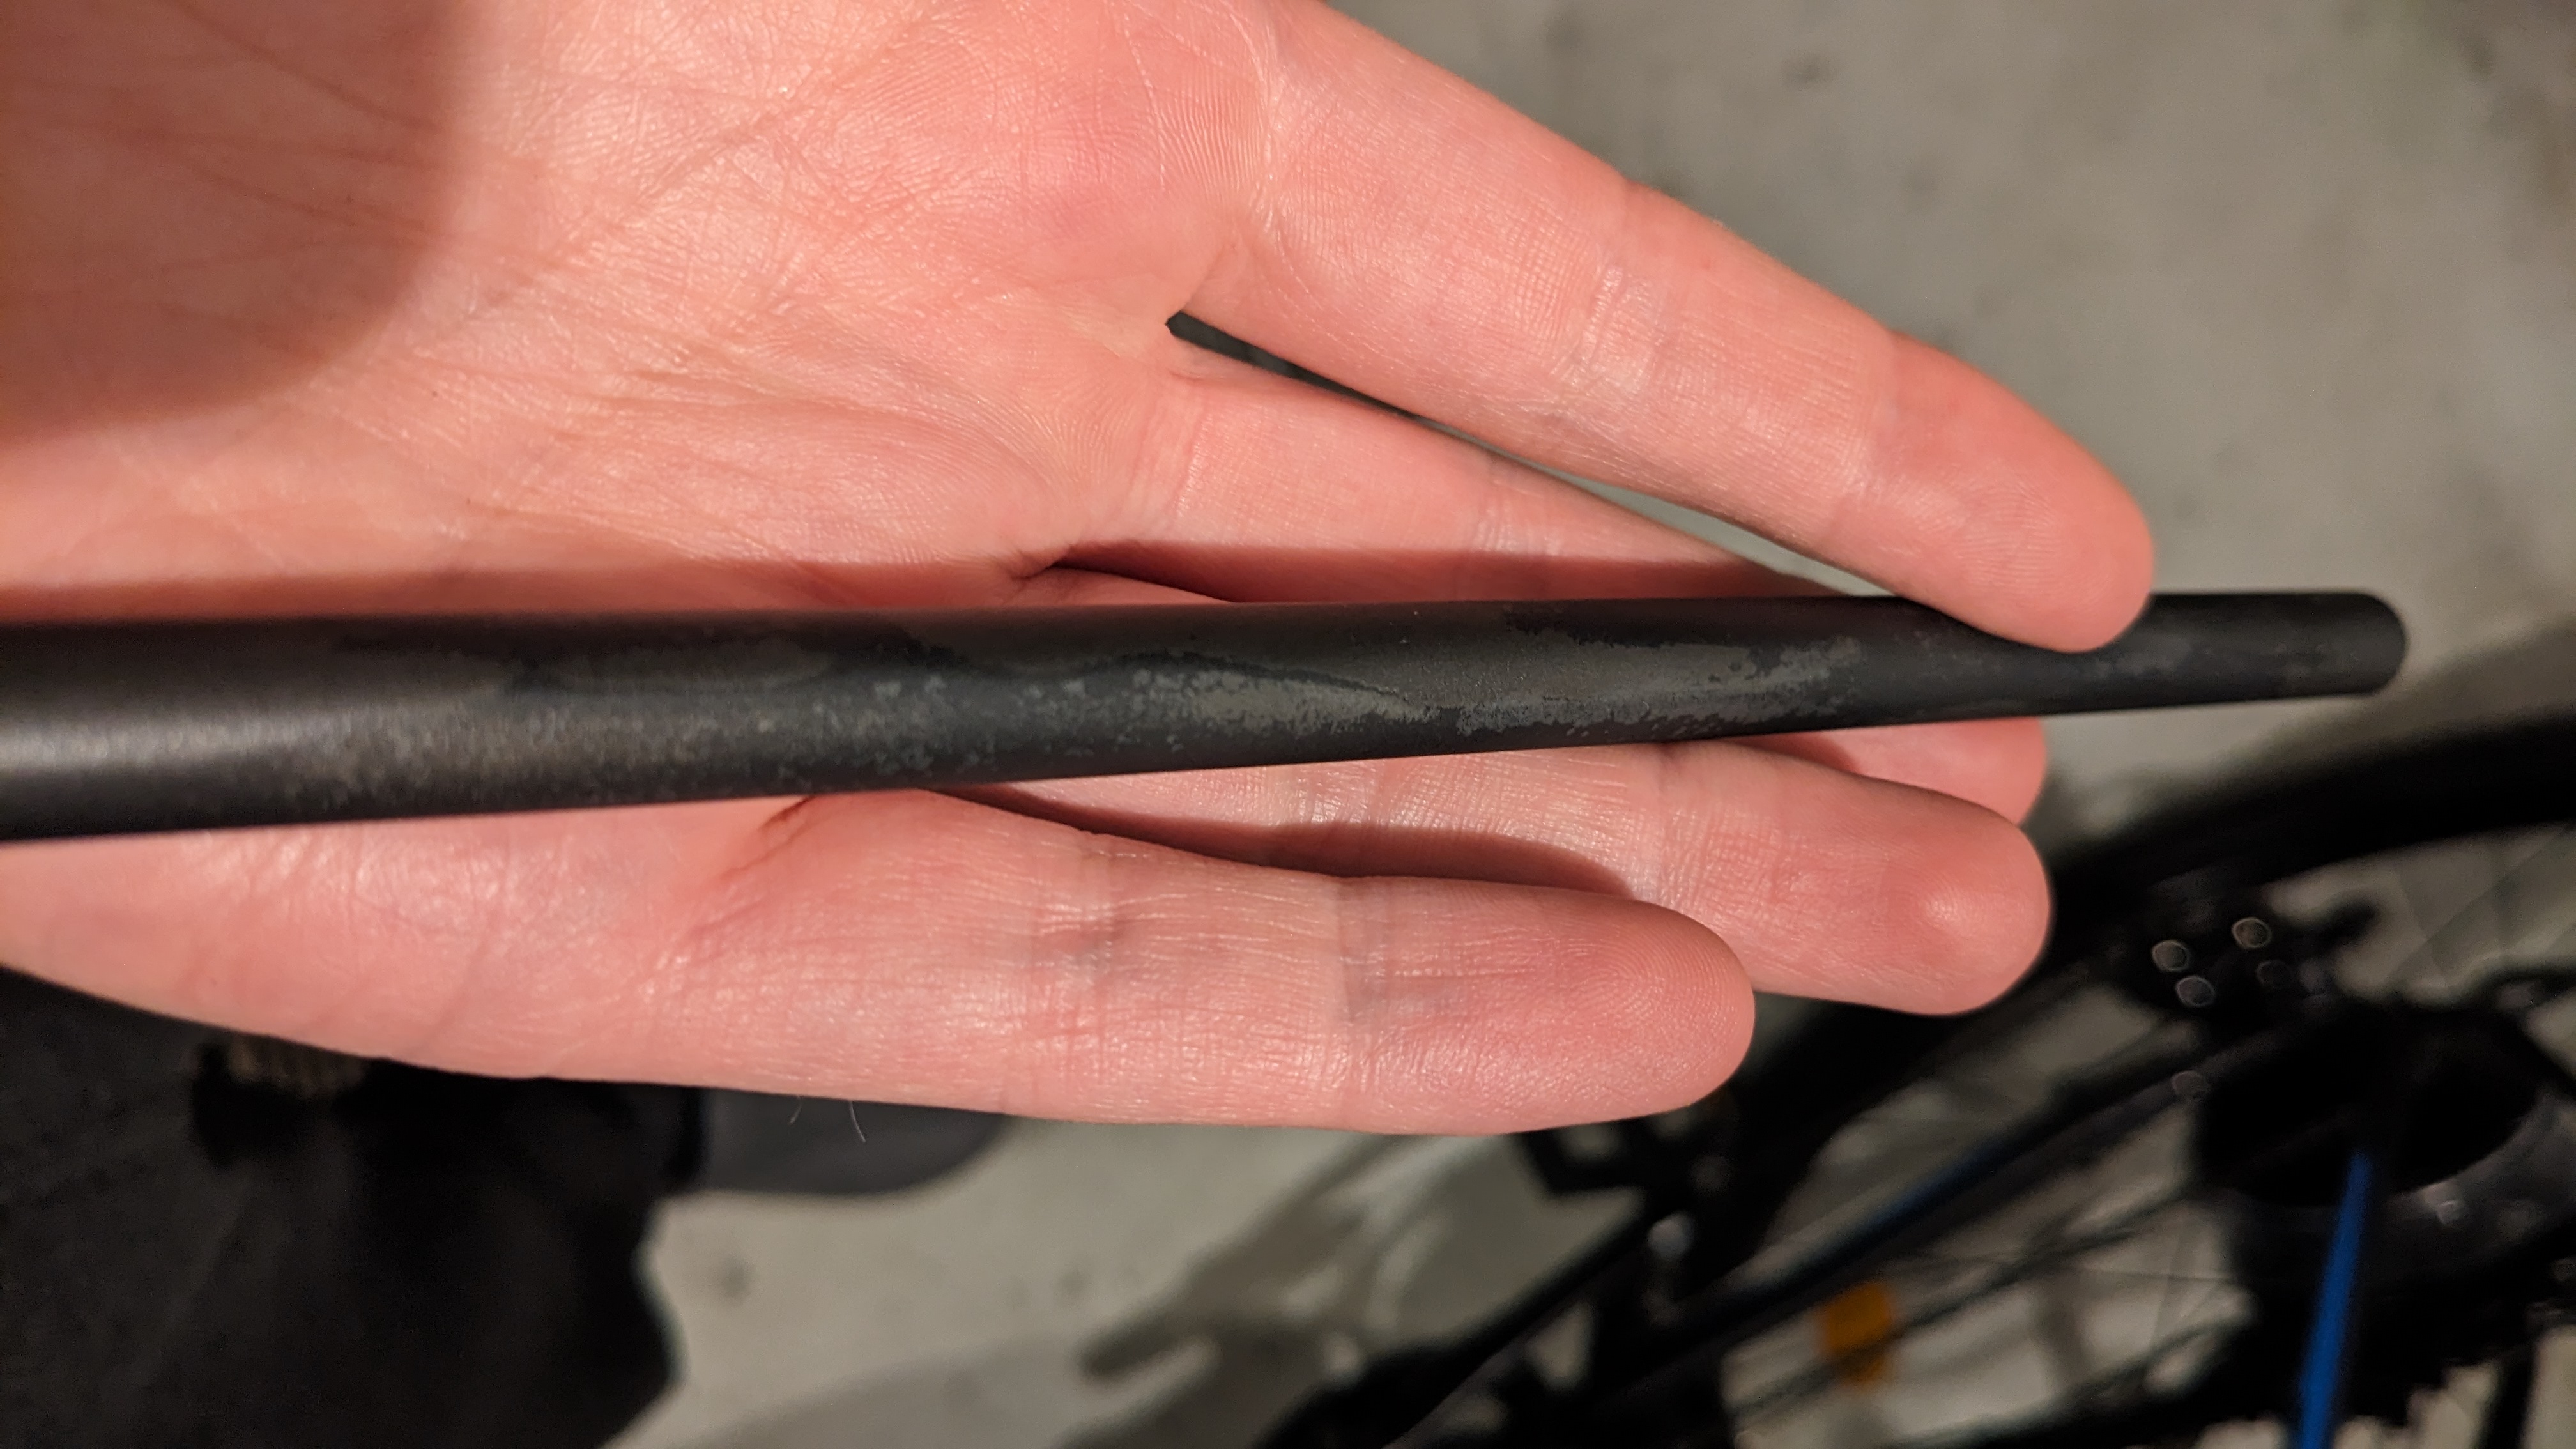
Last step was painting, which did not work really well. It was windy and I wanted to finish the project. Thats why I rushed the paint job.Its a prototype.
Finished assembly:
