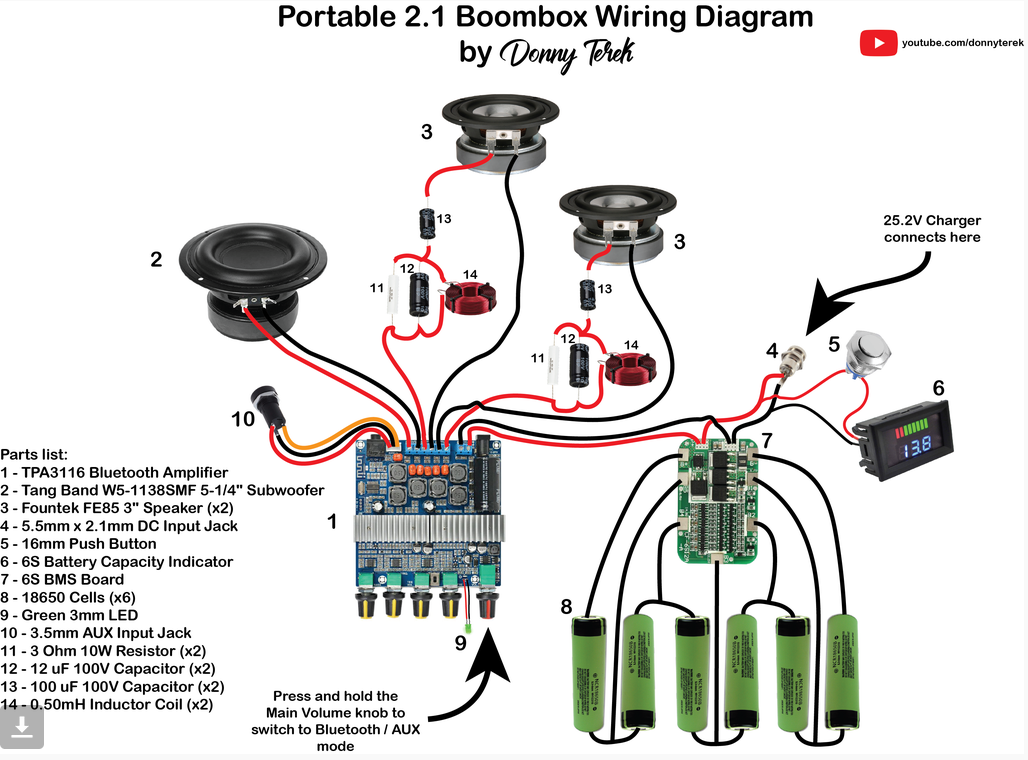
Credit where credit is due. I got the basic design and the wiring diagram from Donny Terek over at Instructables. You can find the wiring diagram with the needed BOM lower down in this post. This is no "how to" post, rather more a build log.
Bill of Materials
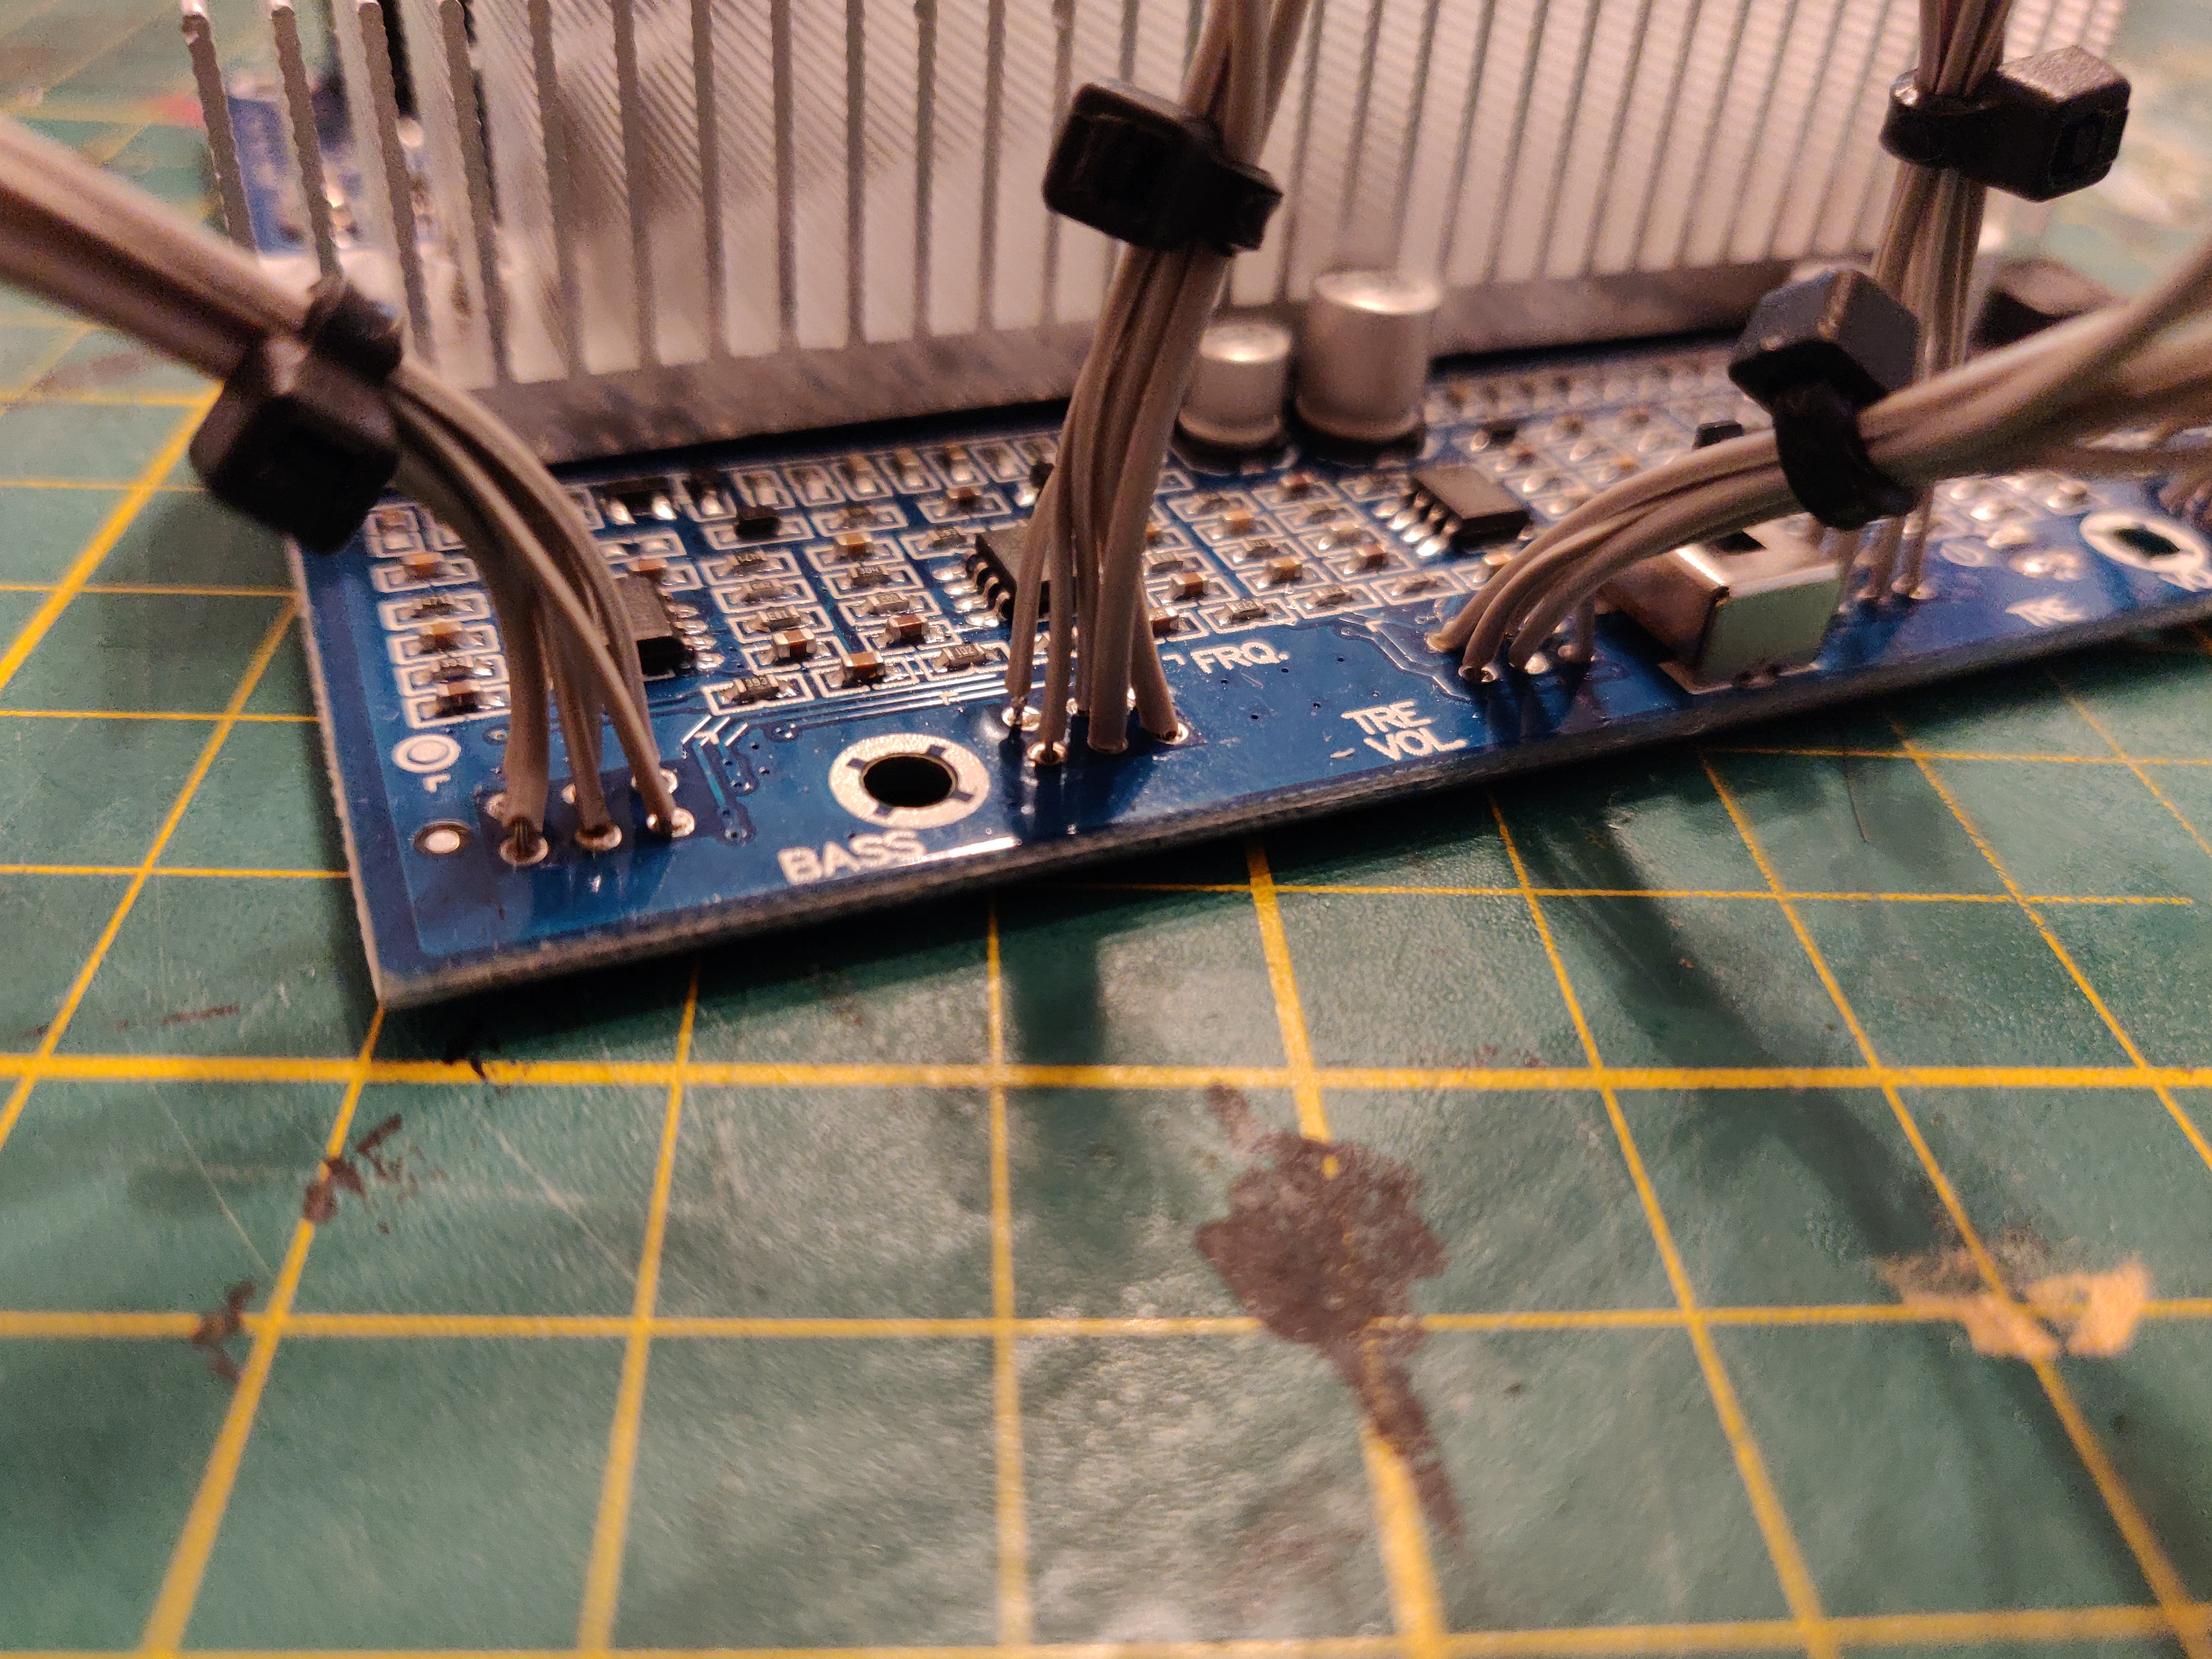
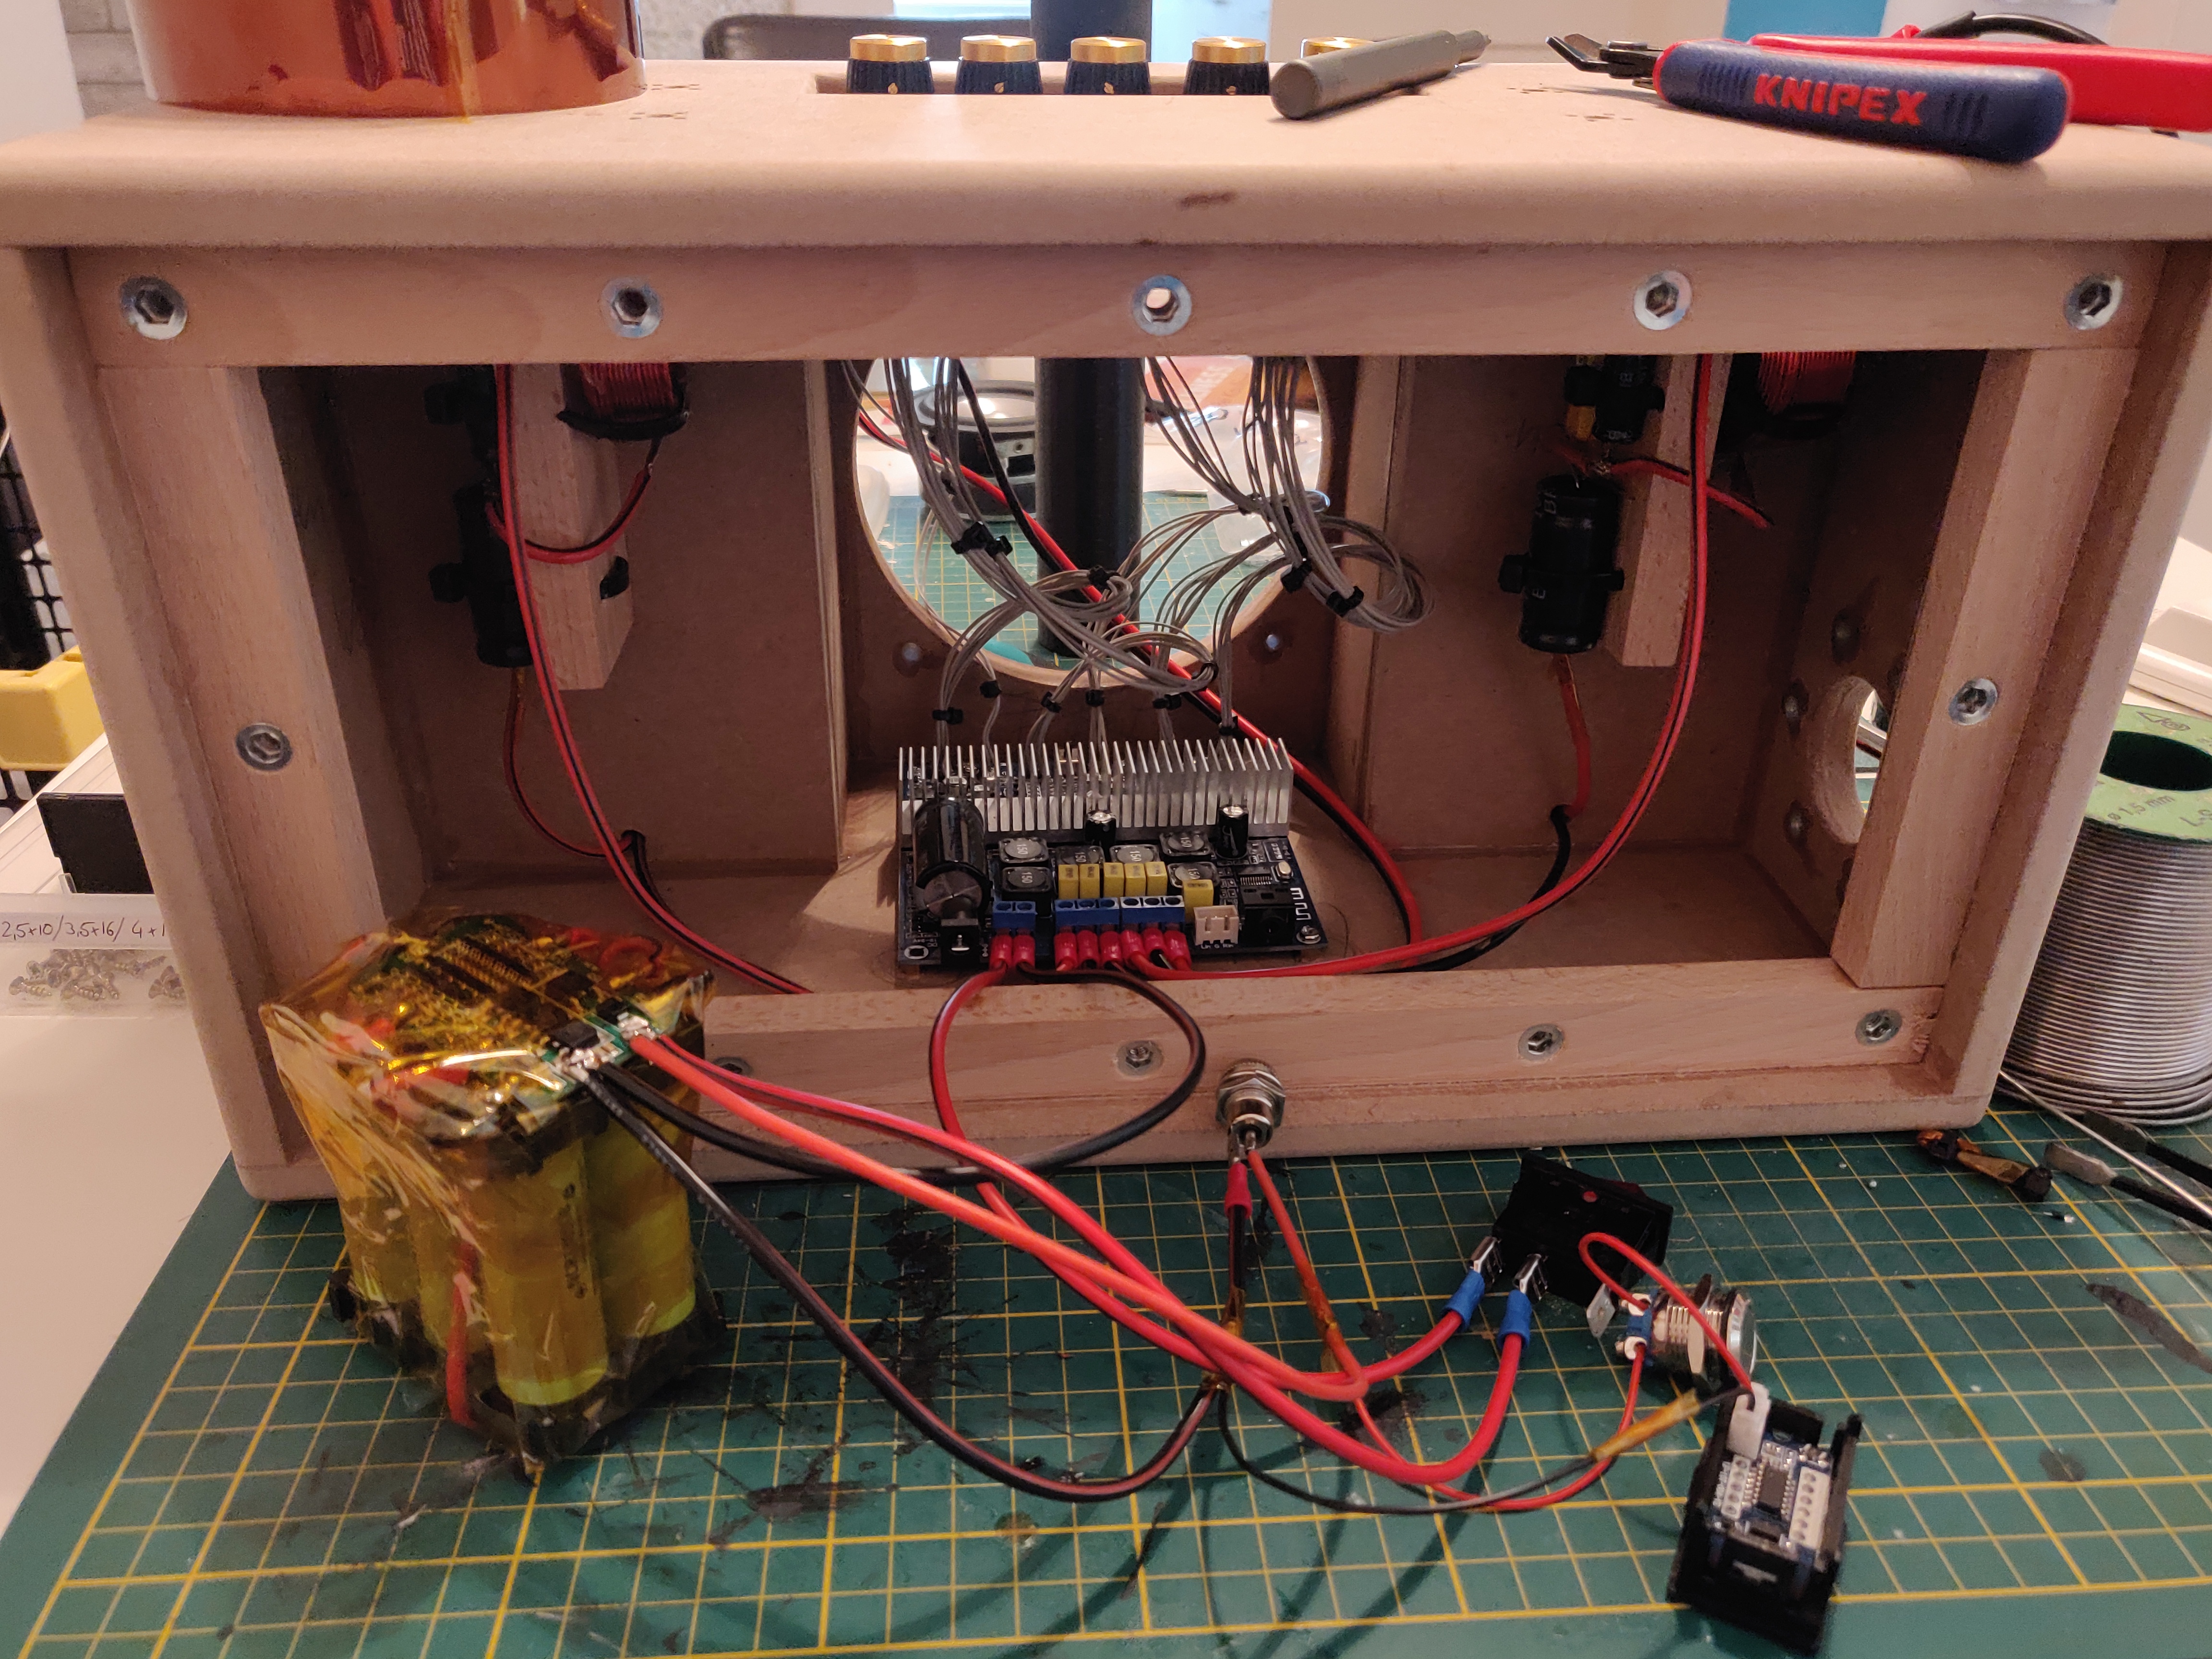
- TPA3116 Bluetooth Amplifier
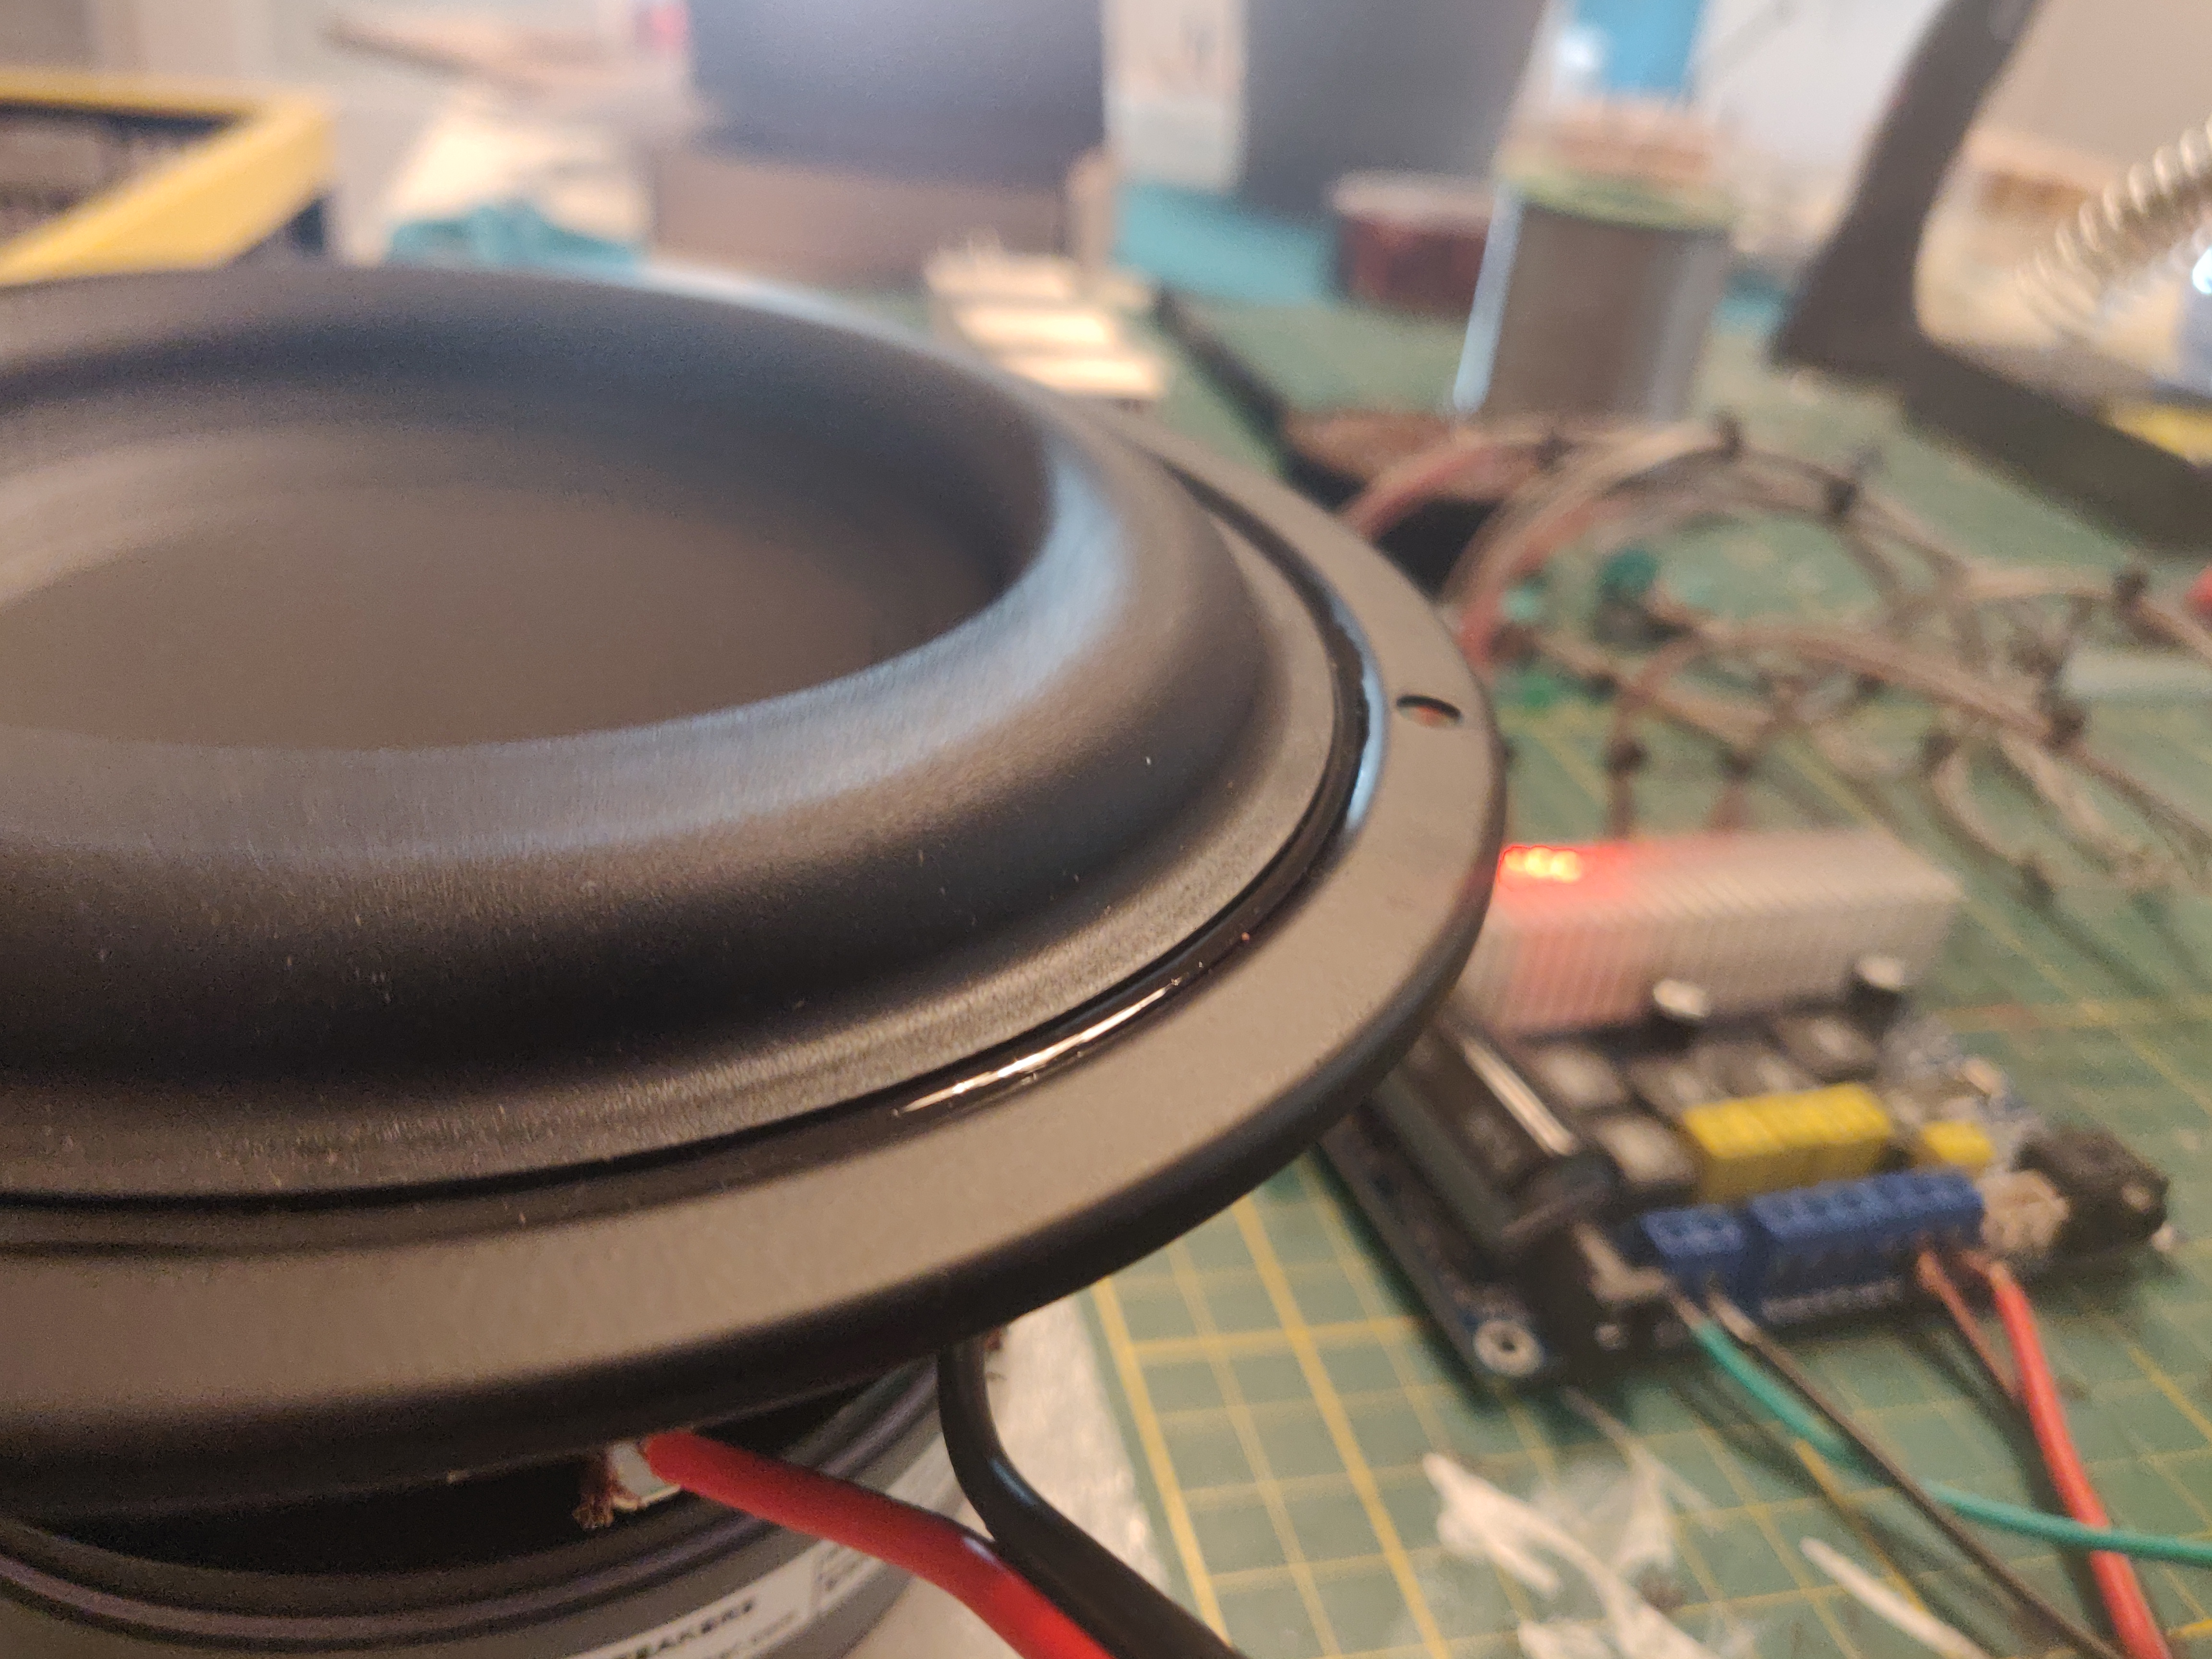
- Tang Bang W5-1138SMF 5-1/4" Subwoofer
- Fountek FE85 3" Speaker (2EA)
- 5.5 mm x 2.1 mm DC Input Jack
- 16 mm Push Button
- 6S Battery Capacity Indicator
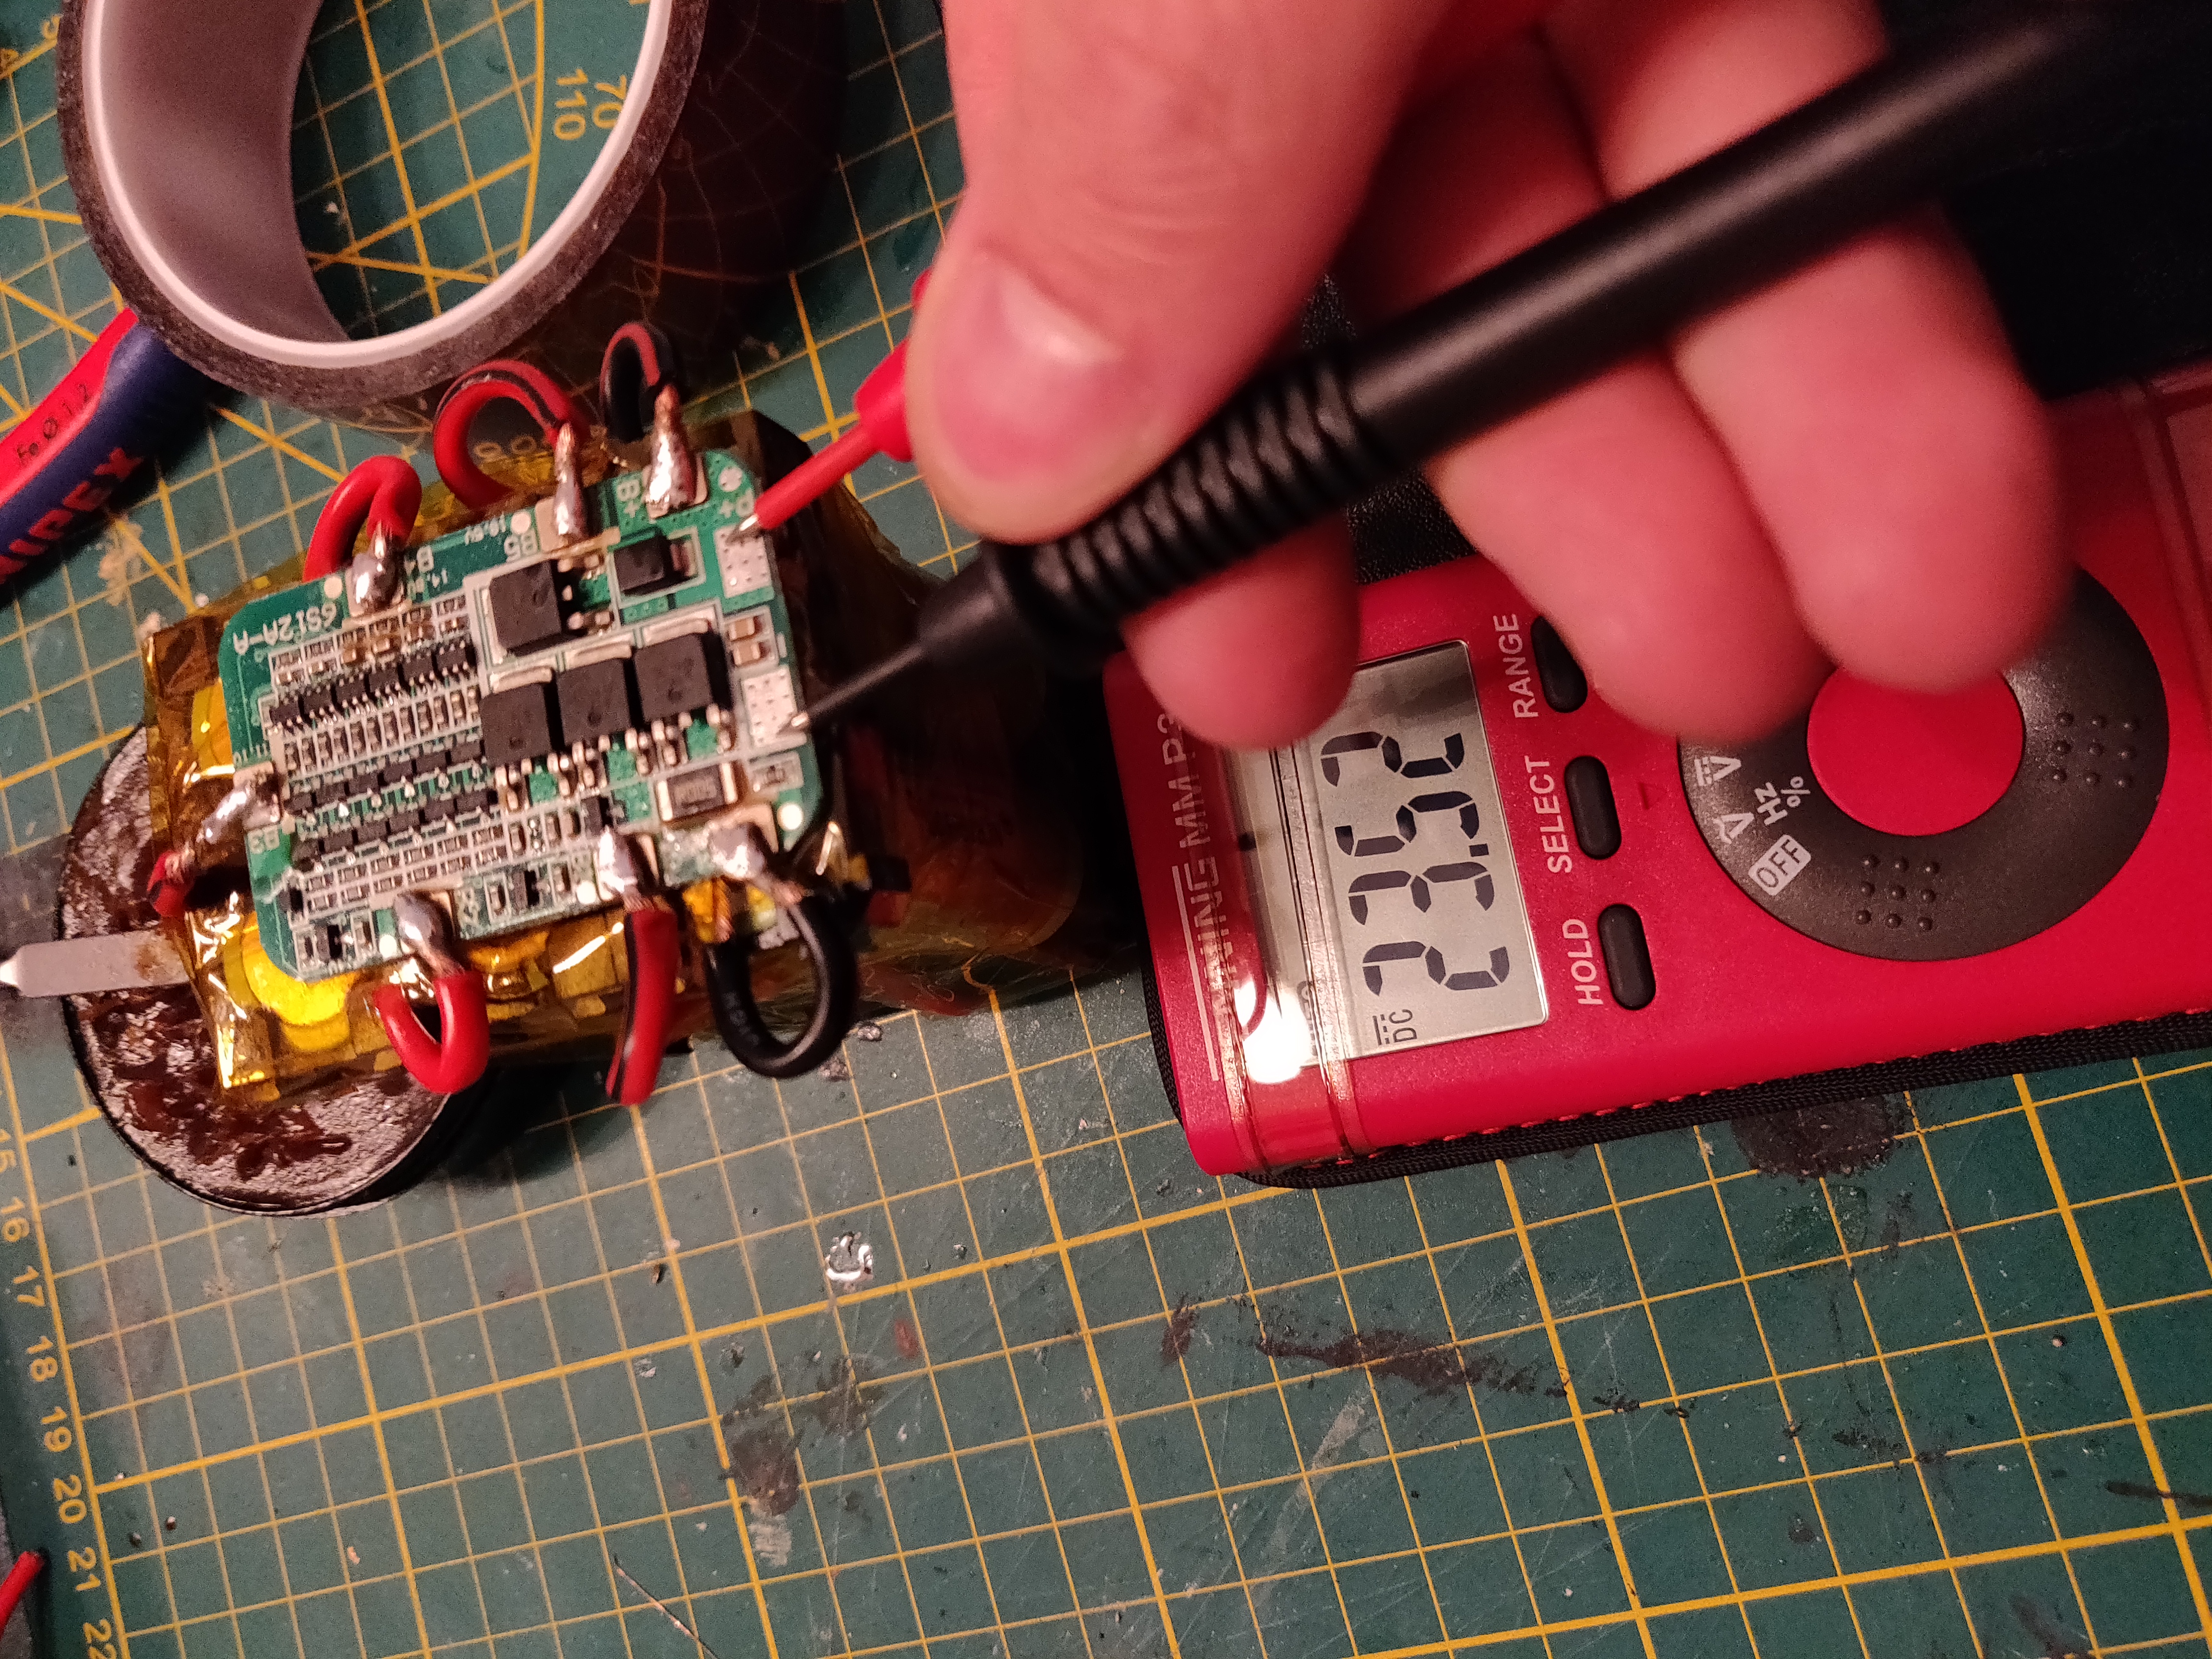
- 6S BMS Board
- 18650 Cells (6EA)
- Green 3 mm LED
- 3.5 mm AUX Input Jack (additional info down below [*])
- 3 Ohm 10W Resistor (2EA)
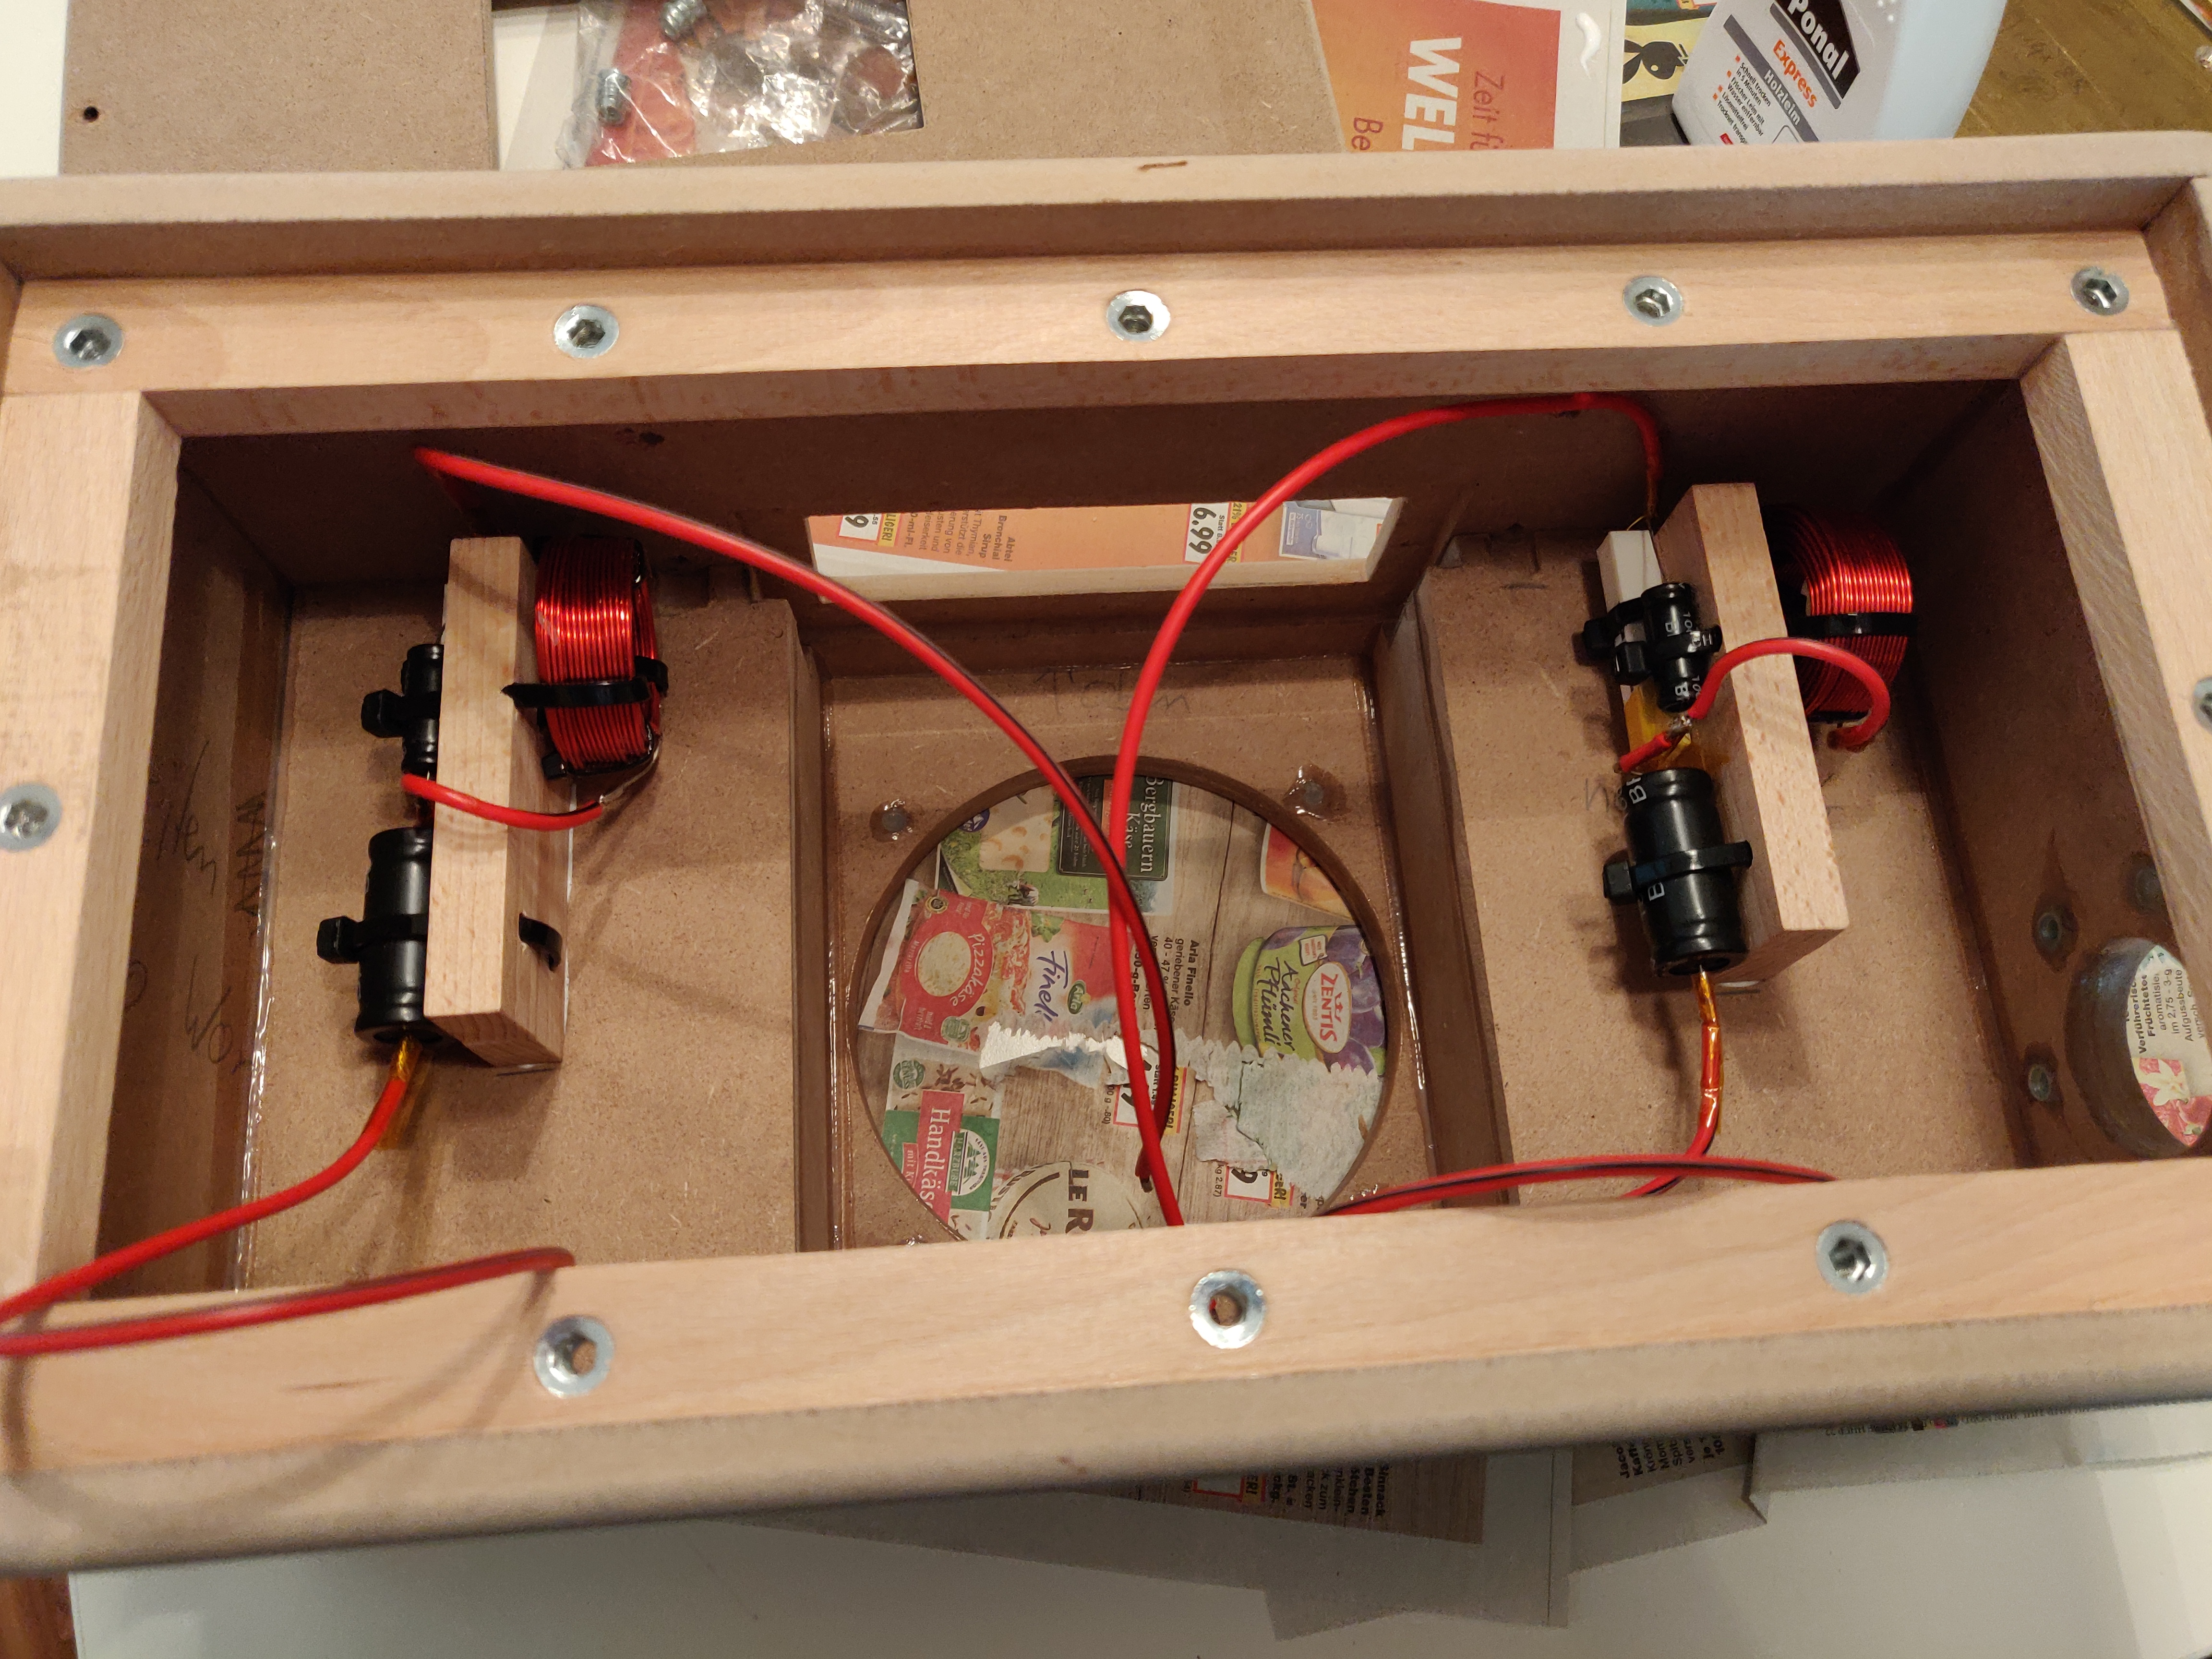
- 12uF 100V Capacitor (2EA)
- 100 uF 100V Capacitor (2EA)
- 0.50 mH Inductor Coil (2EA)
Woodworking Part
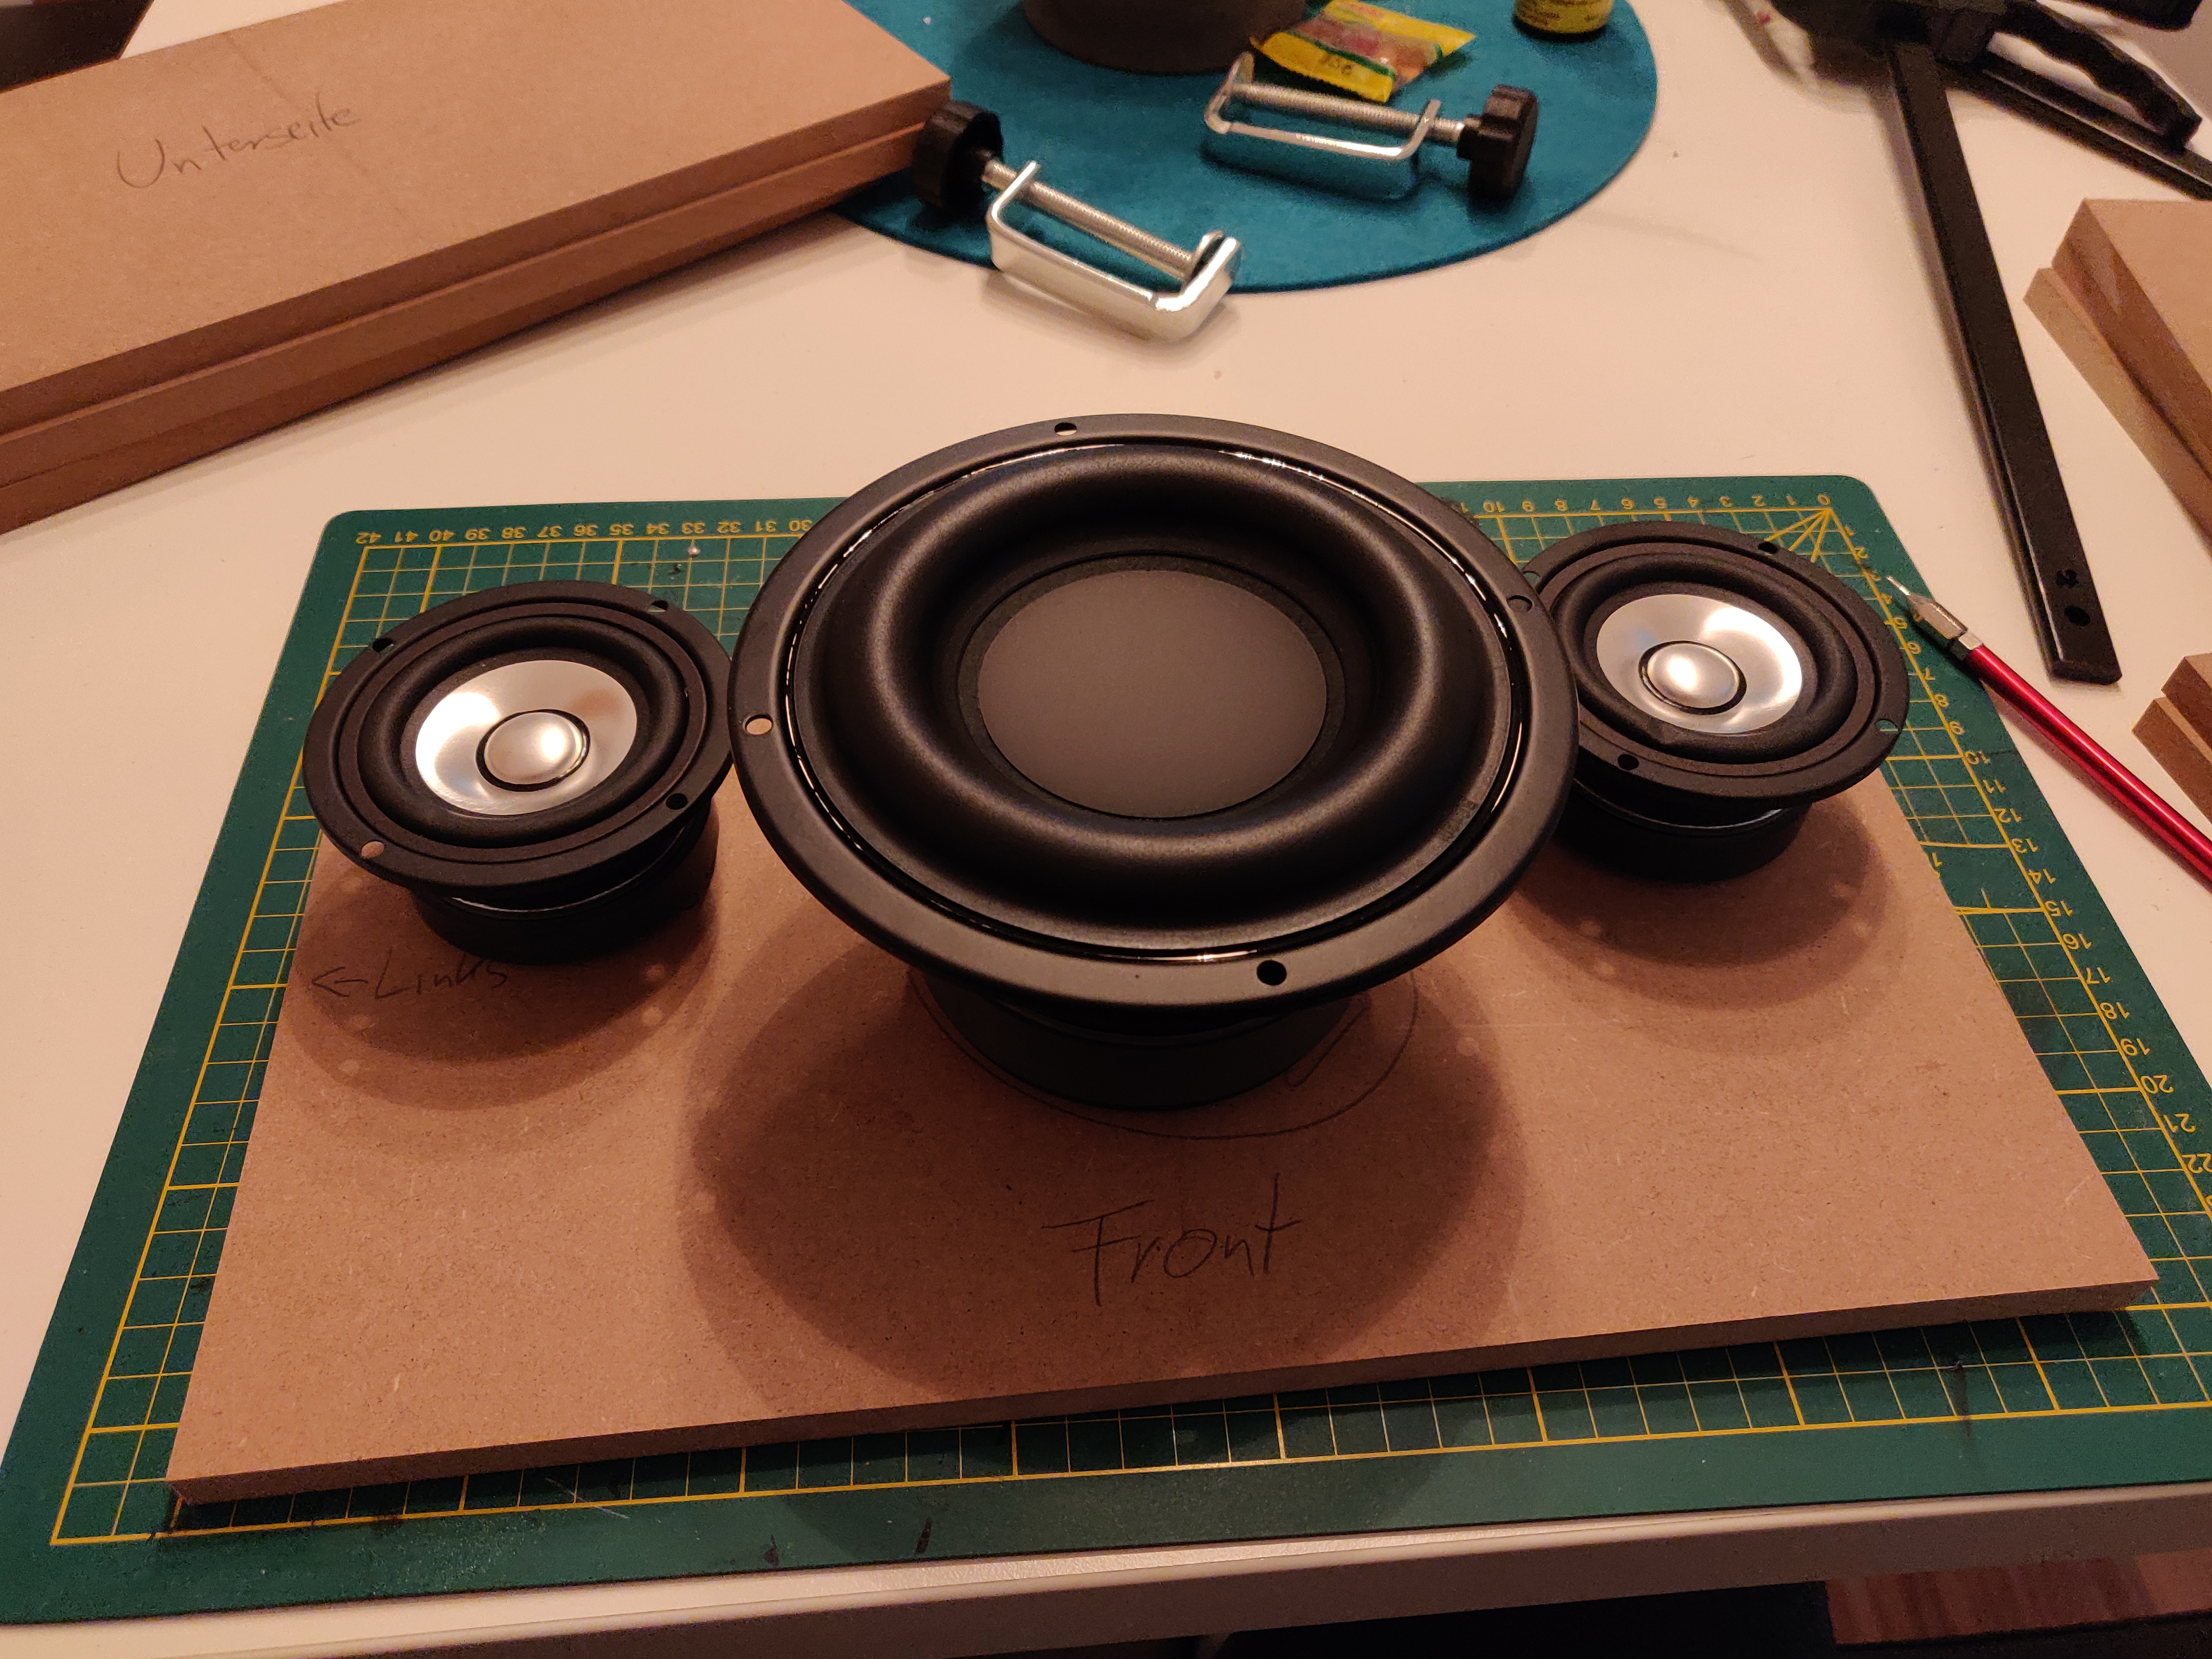
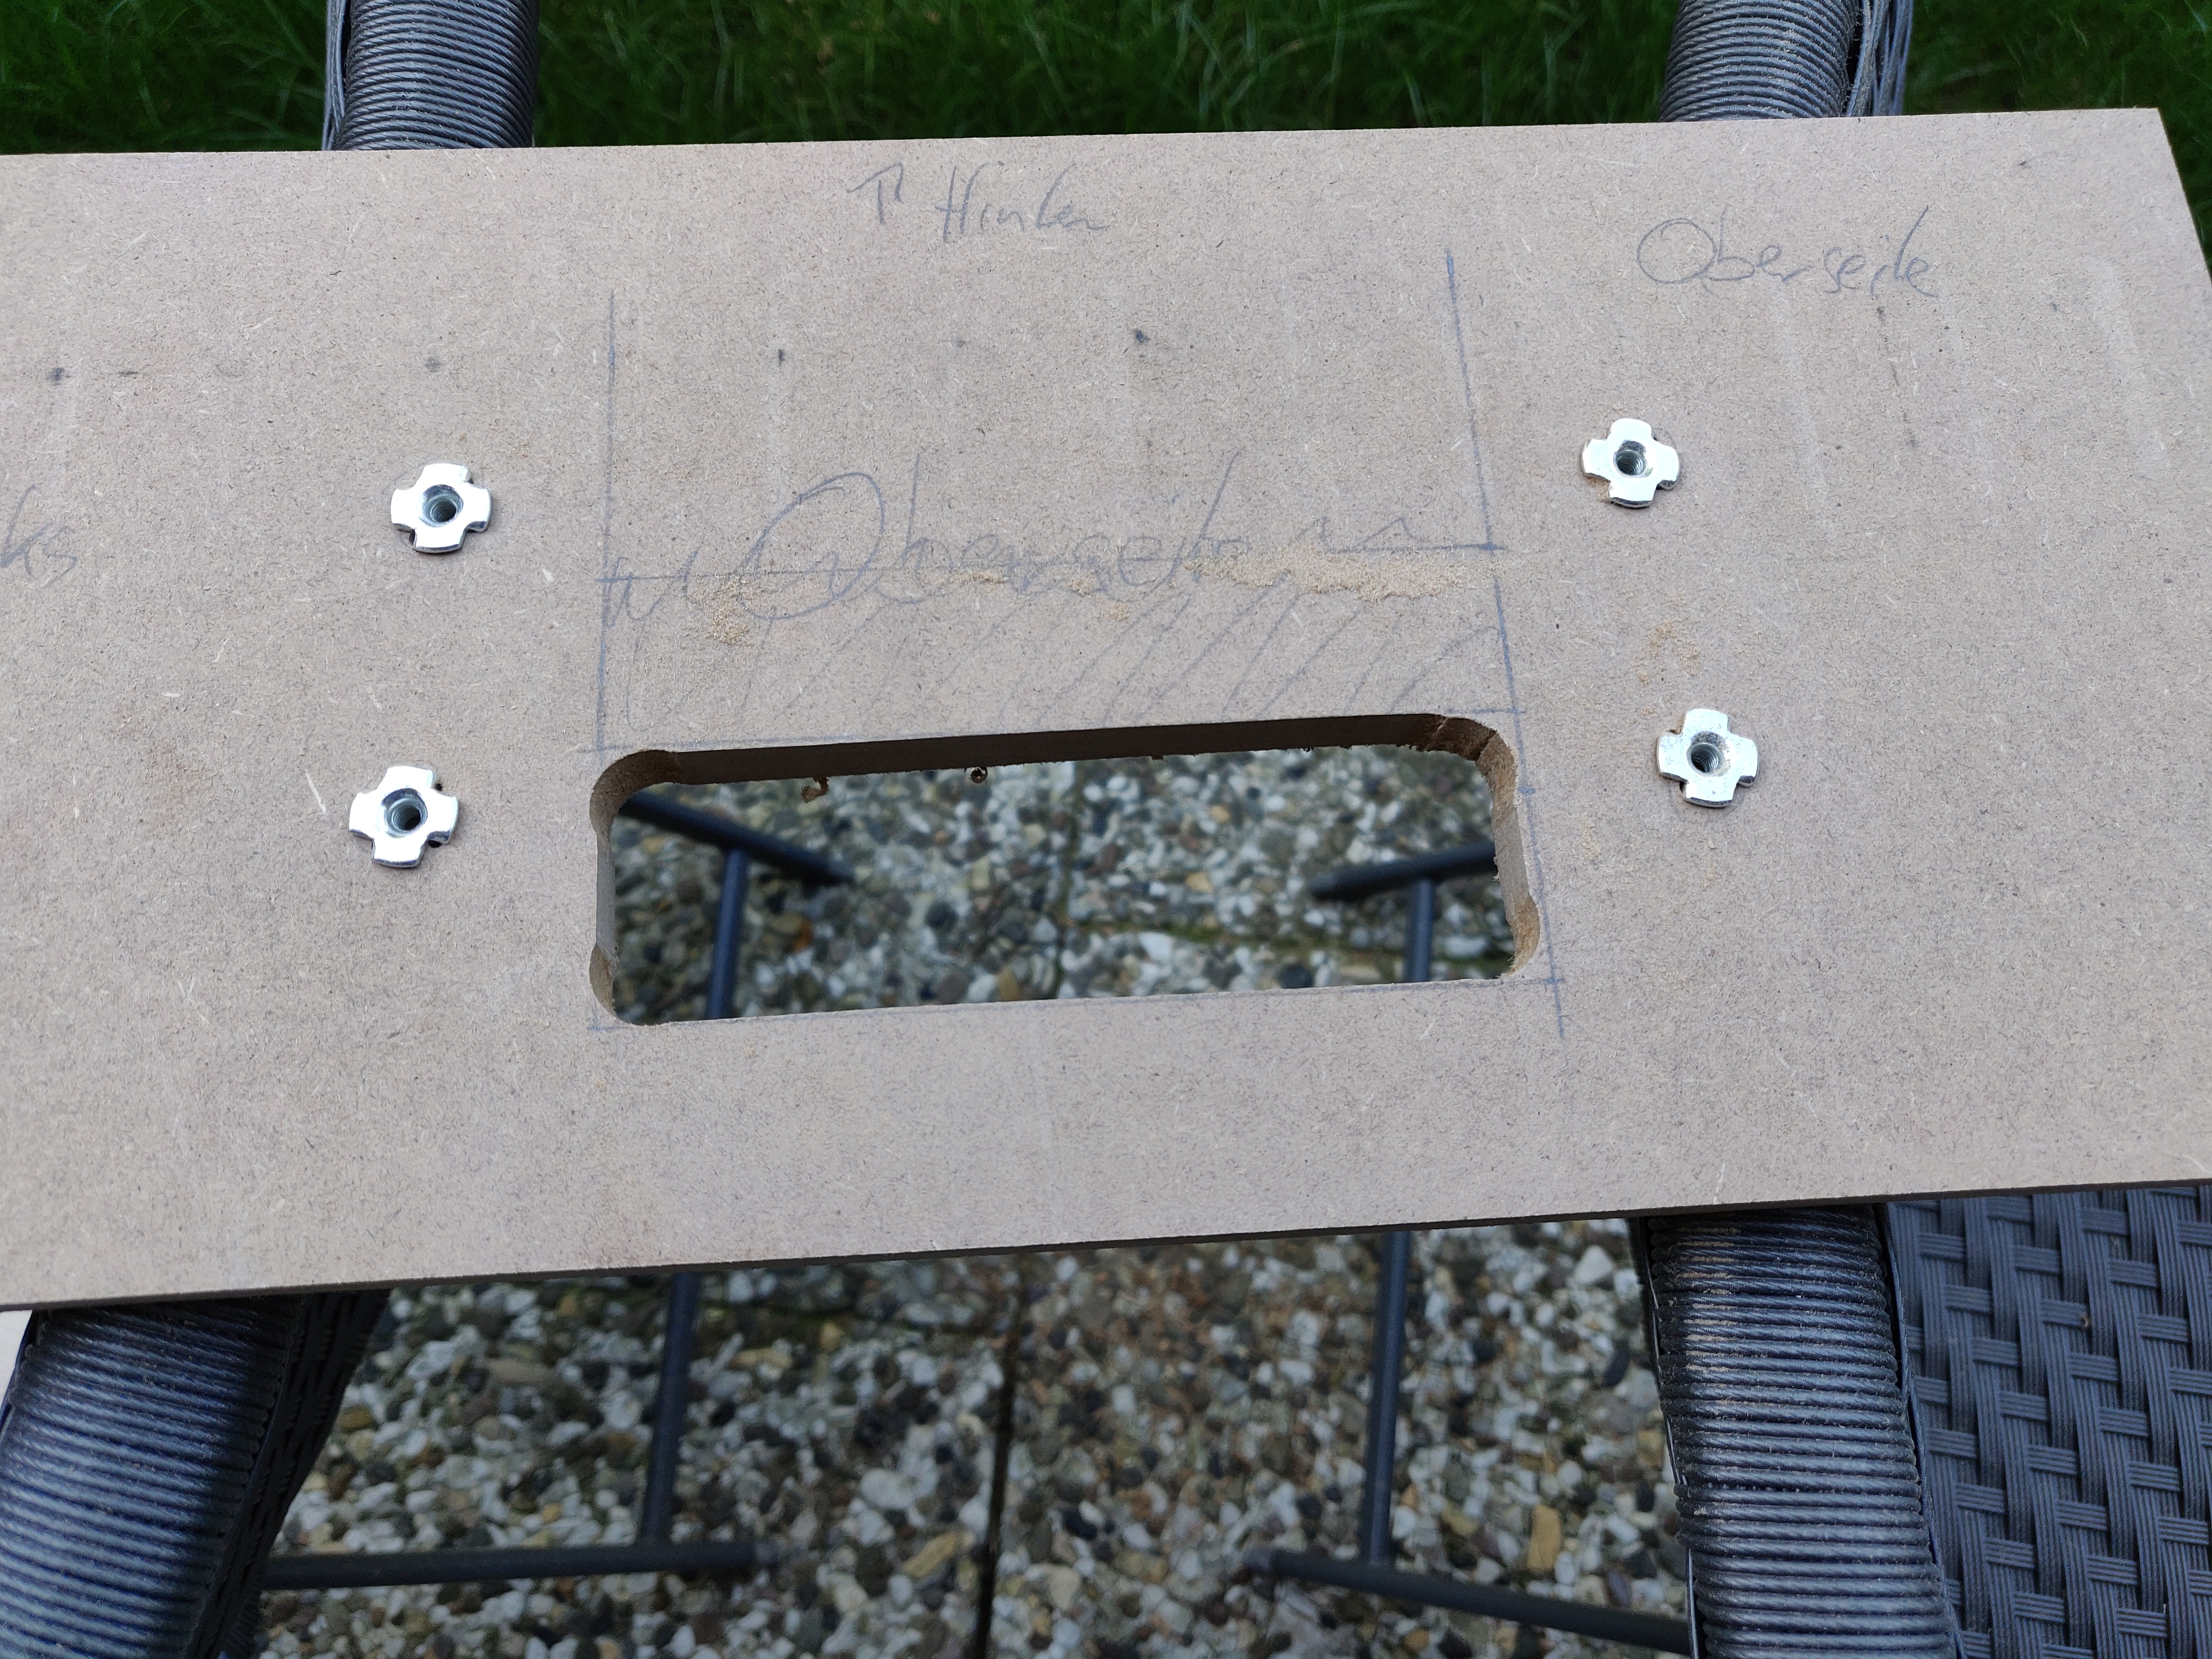
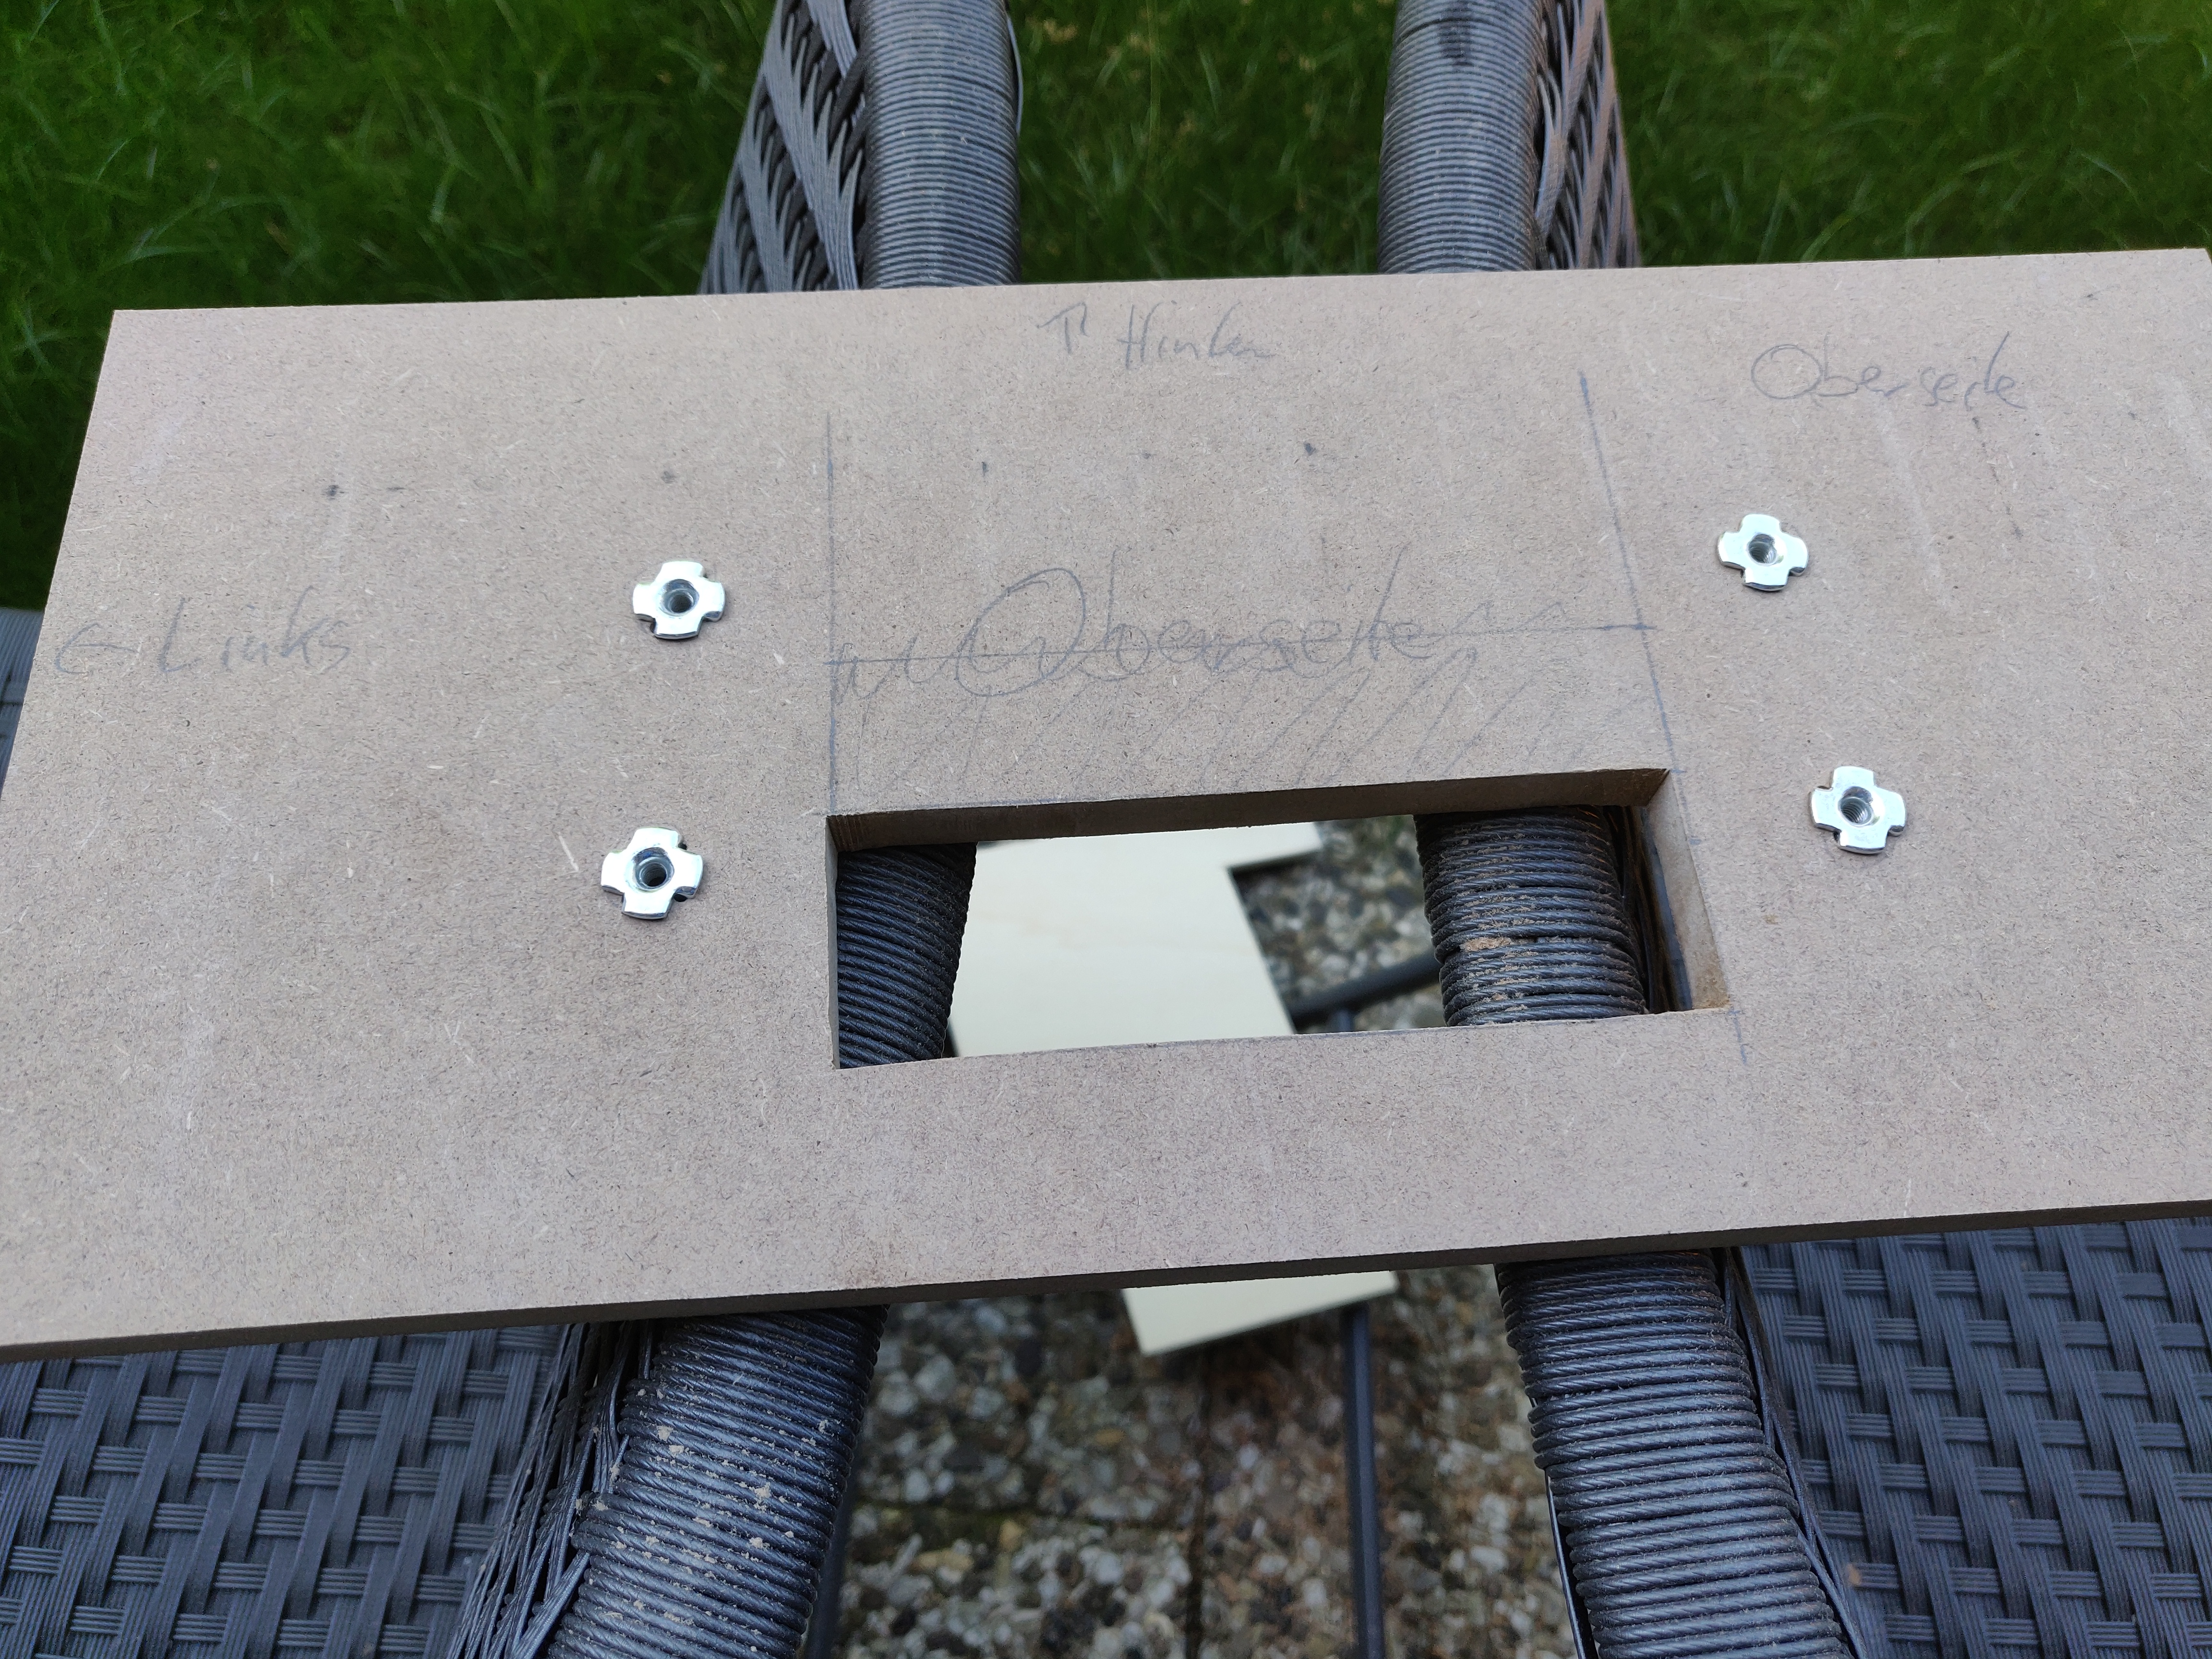
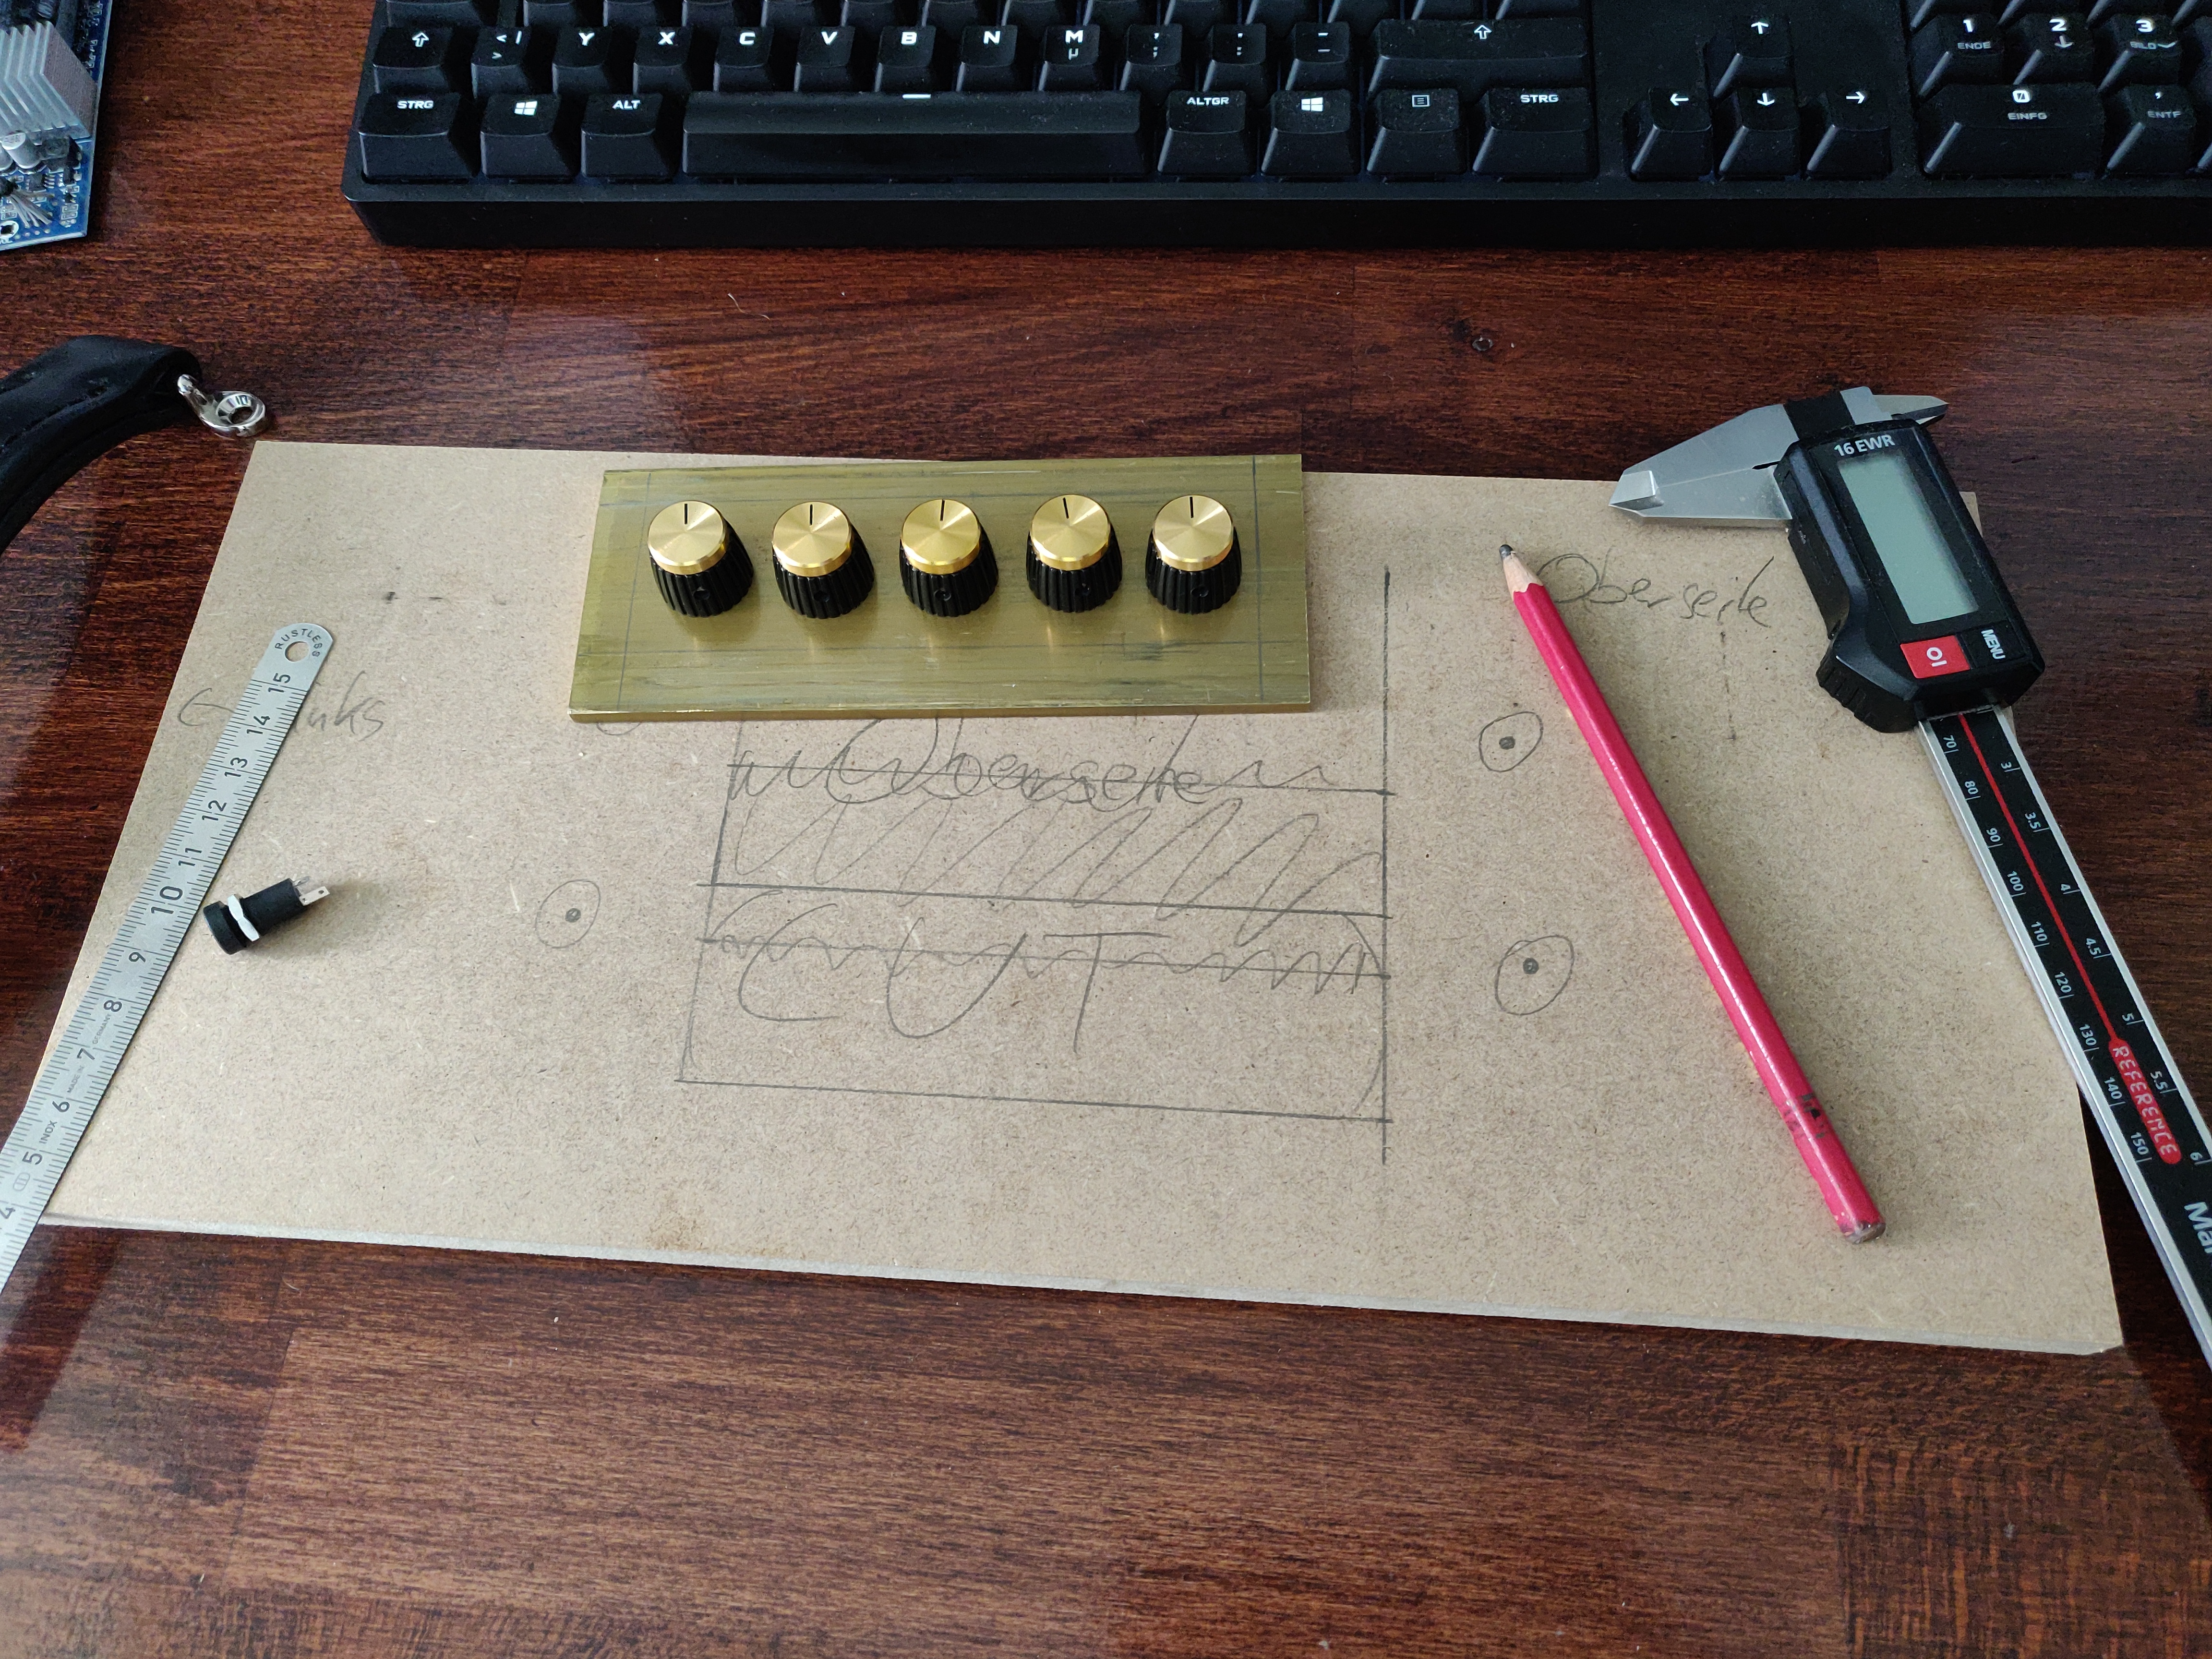
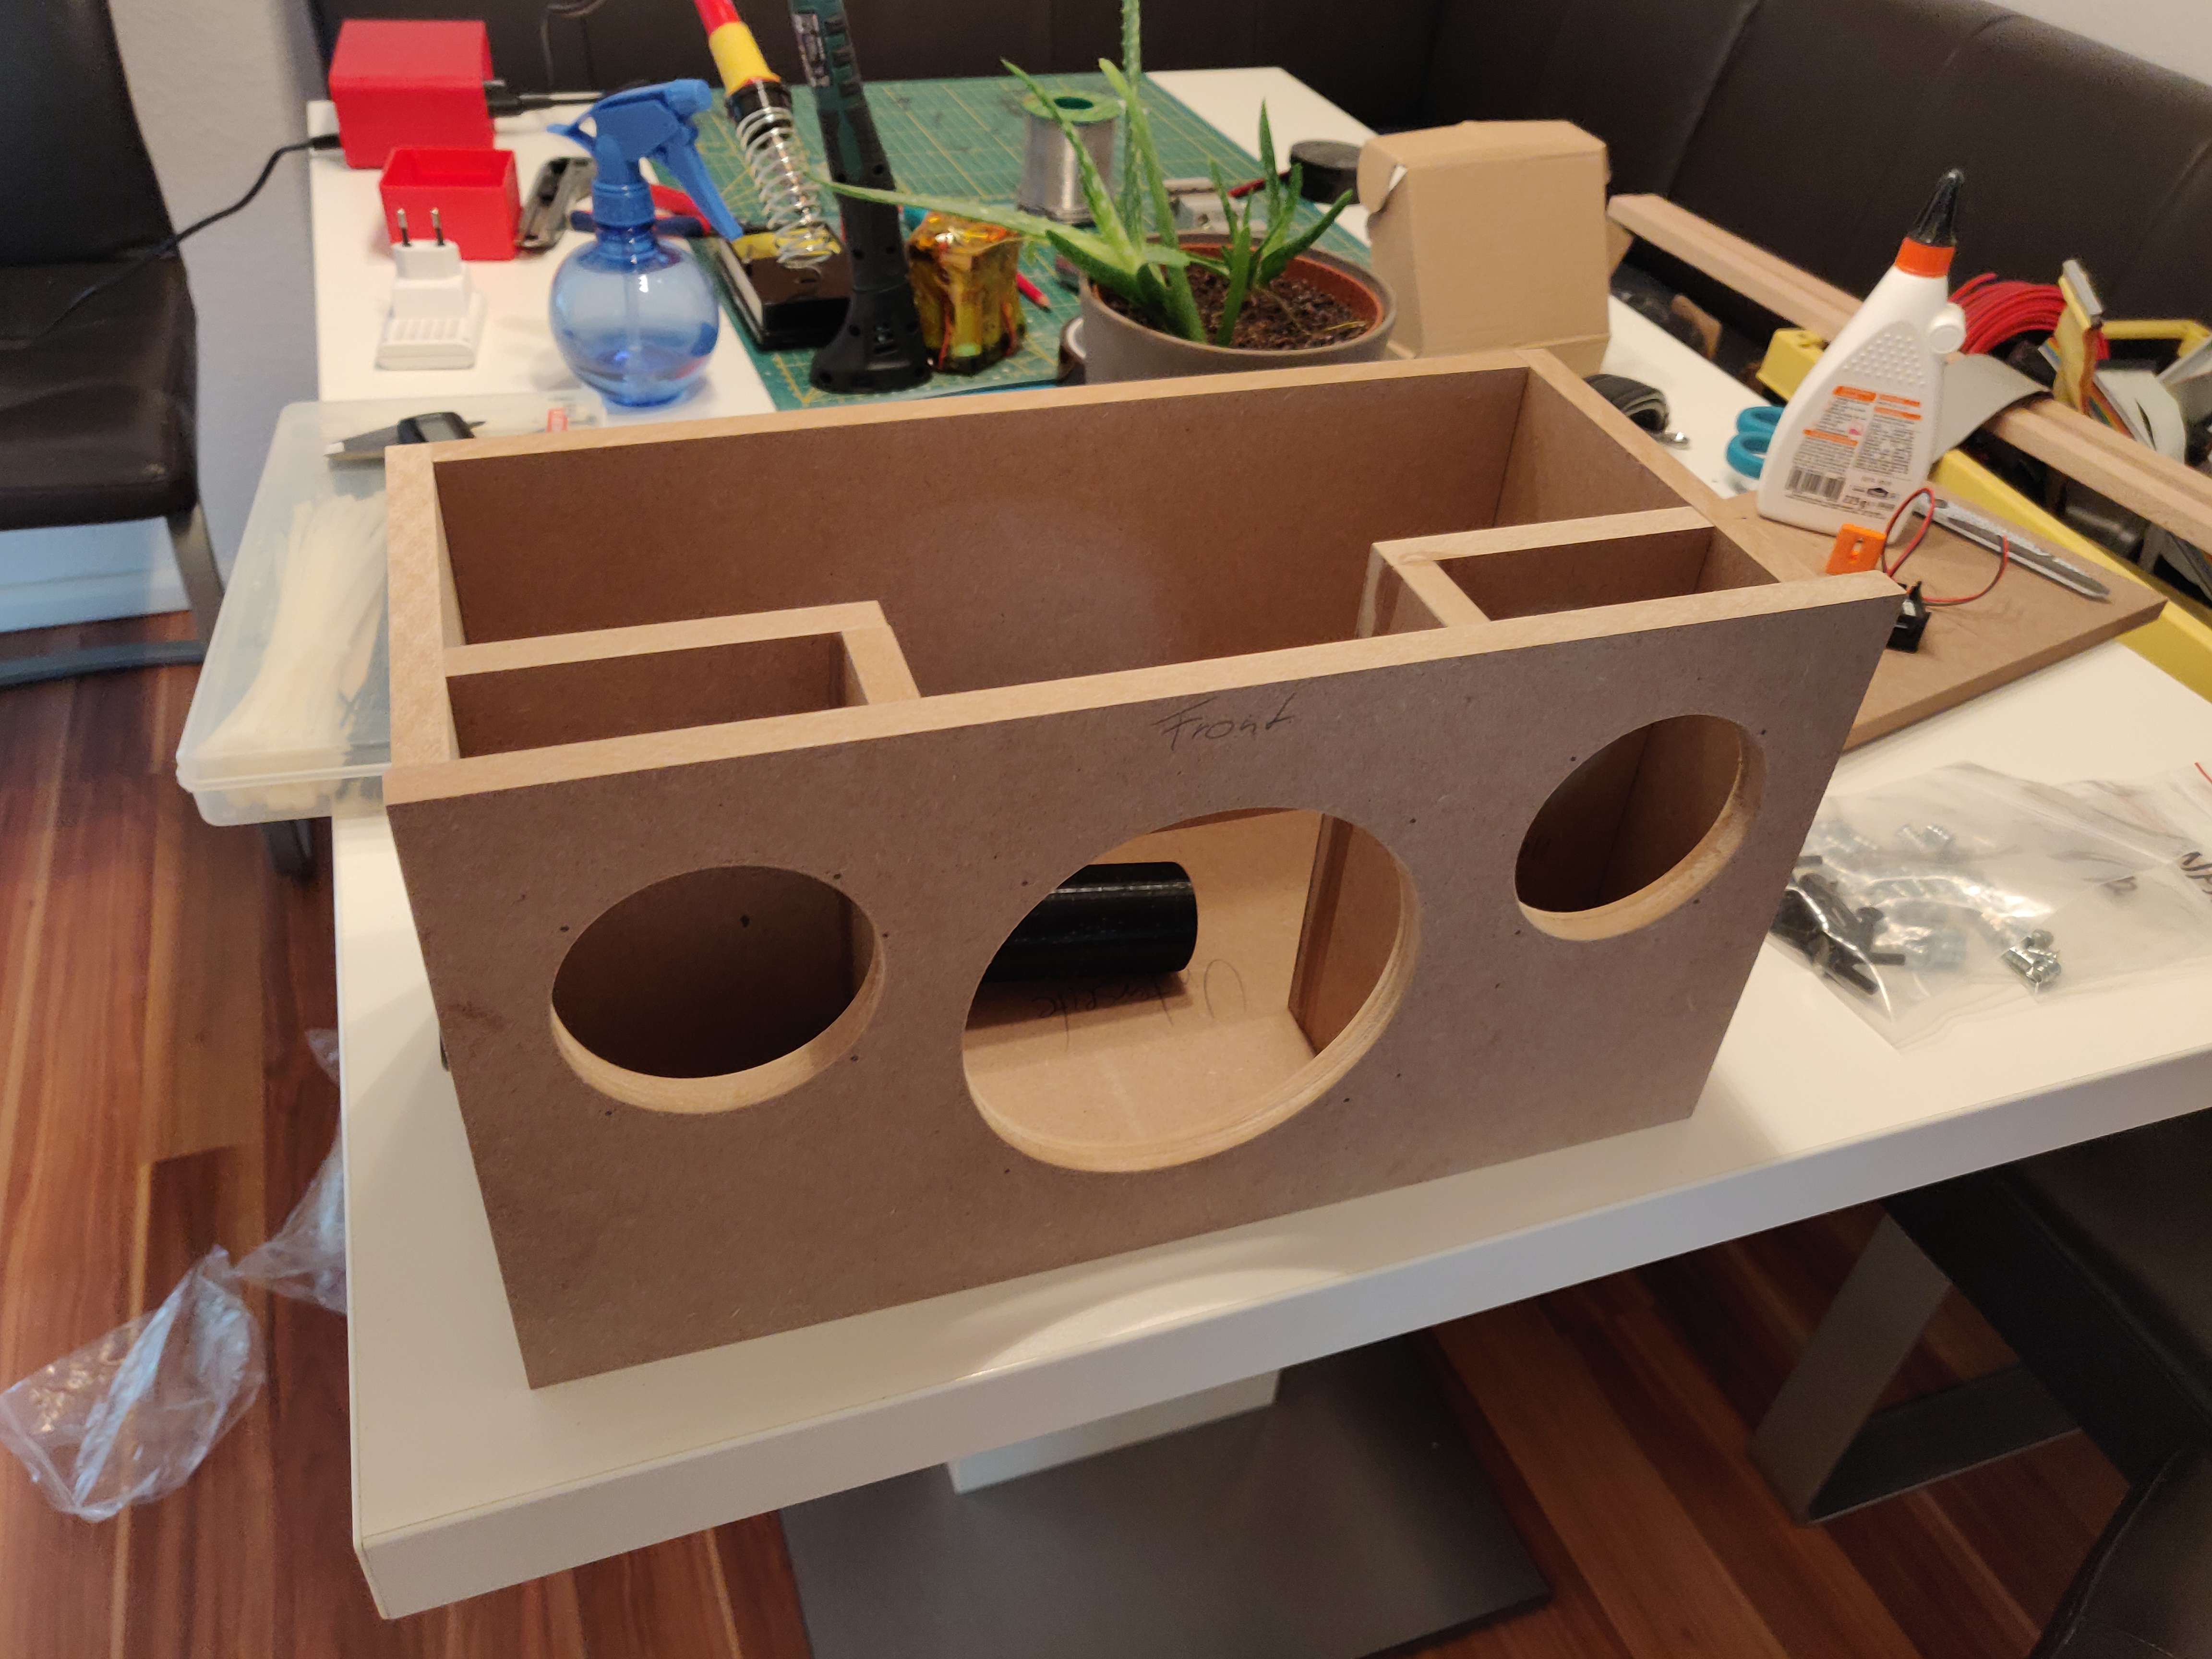
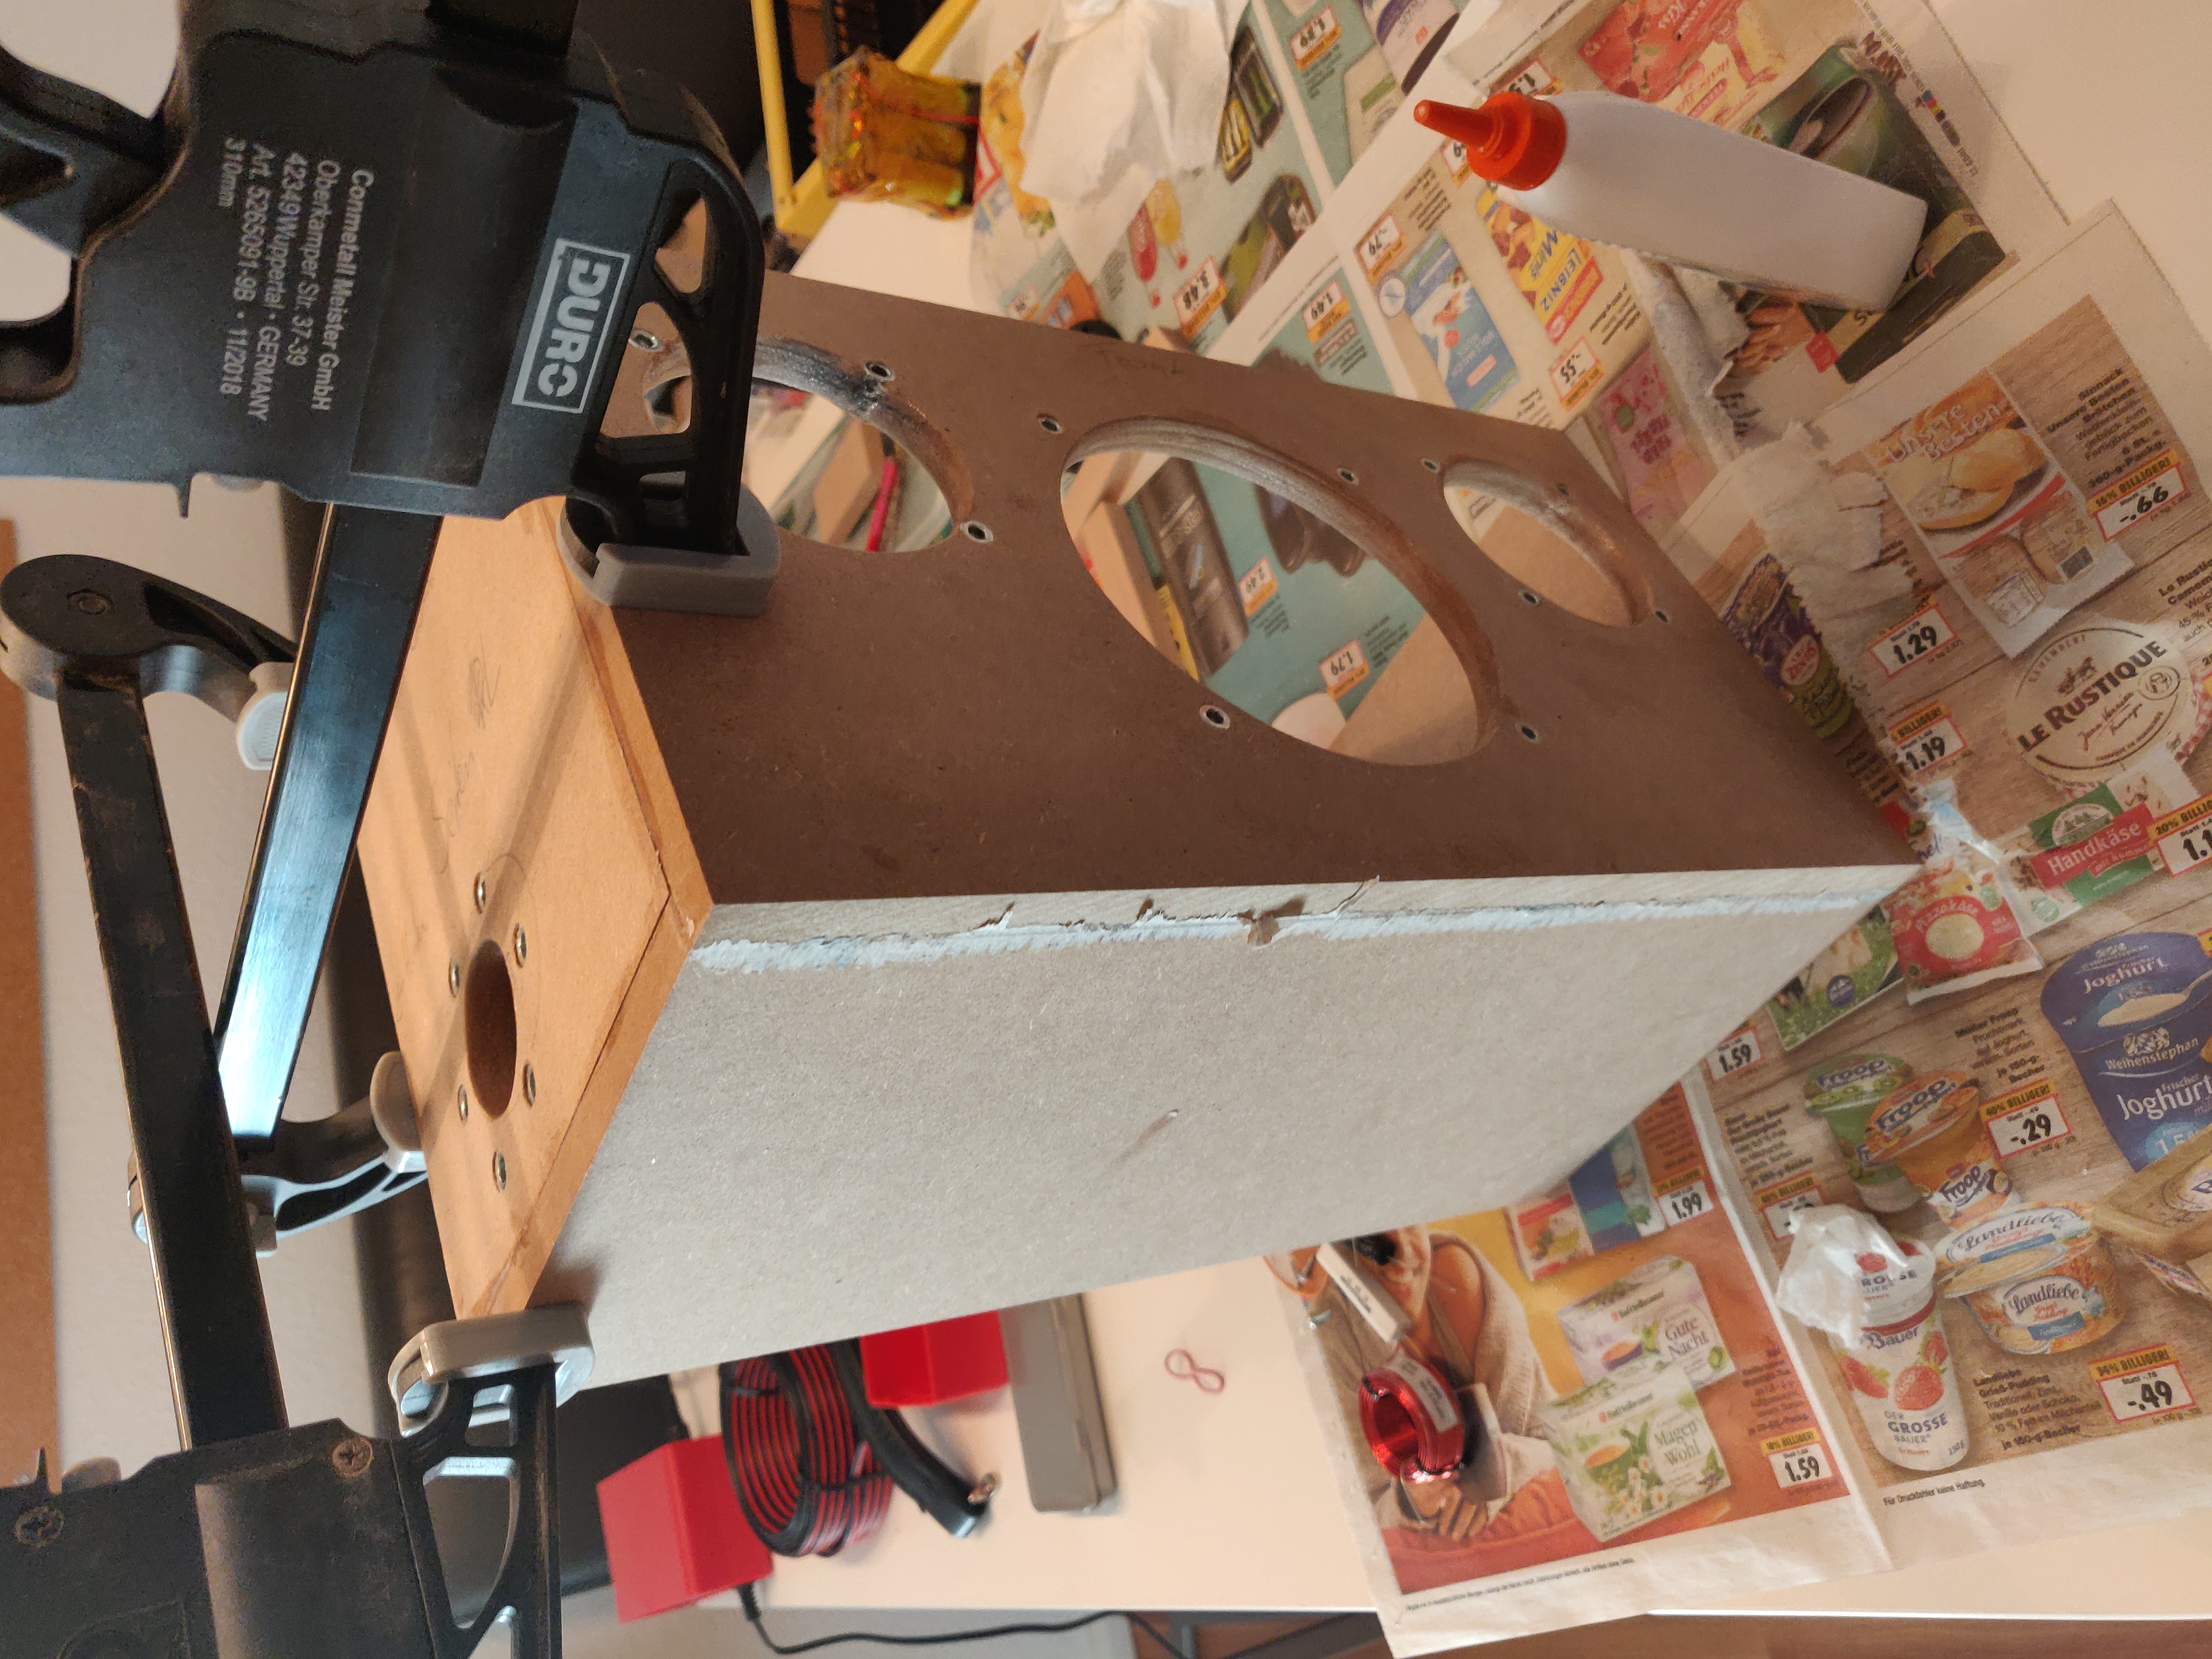
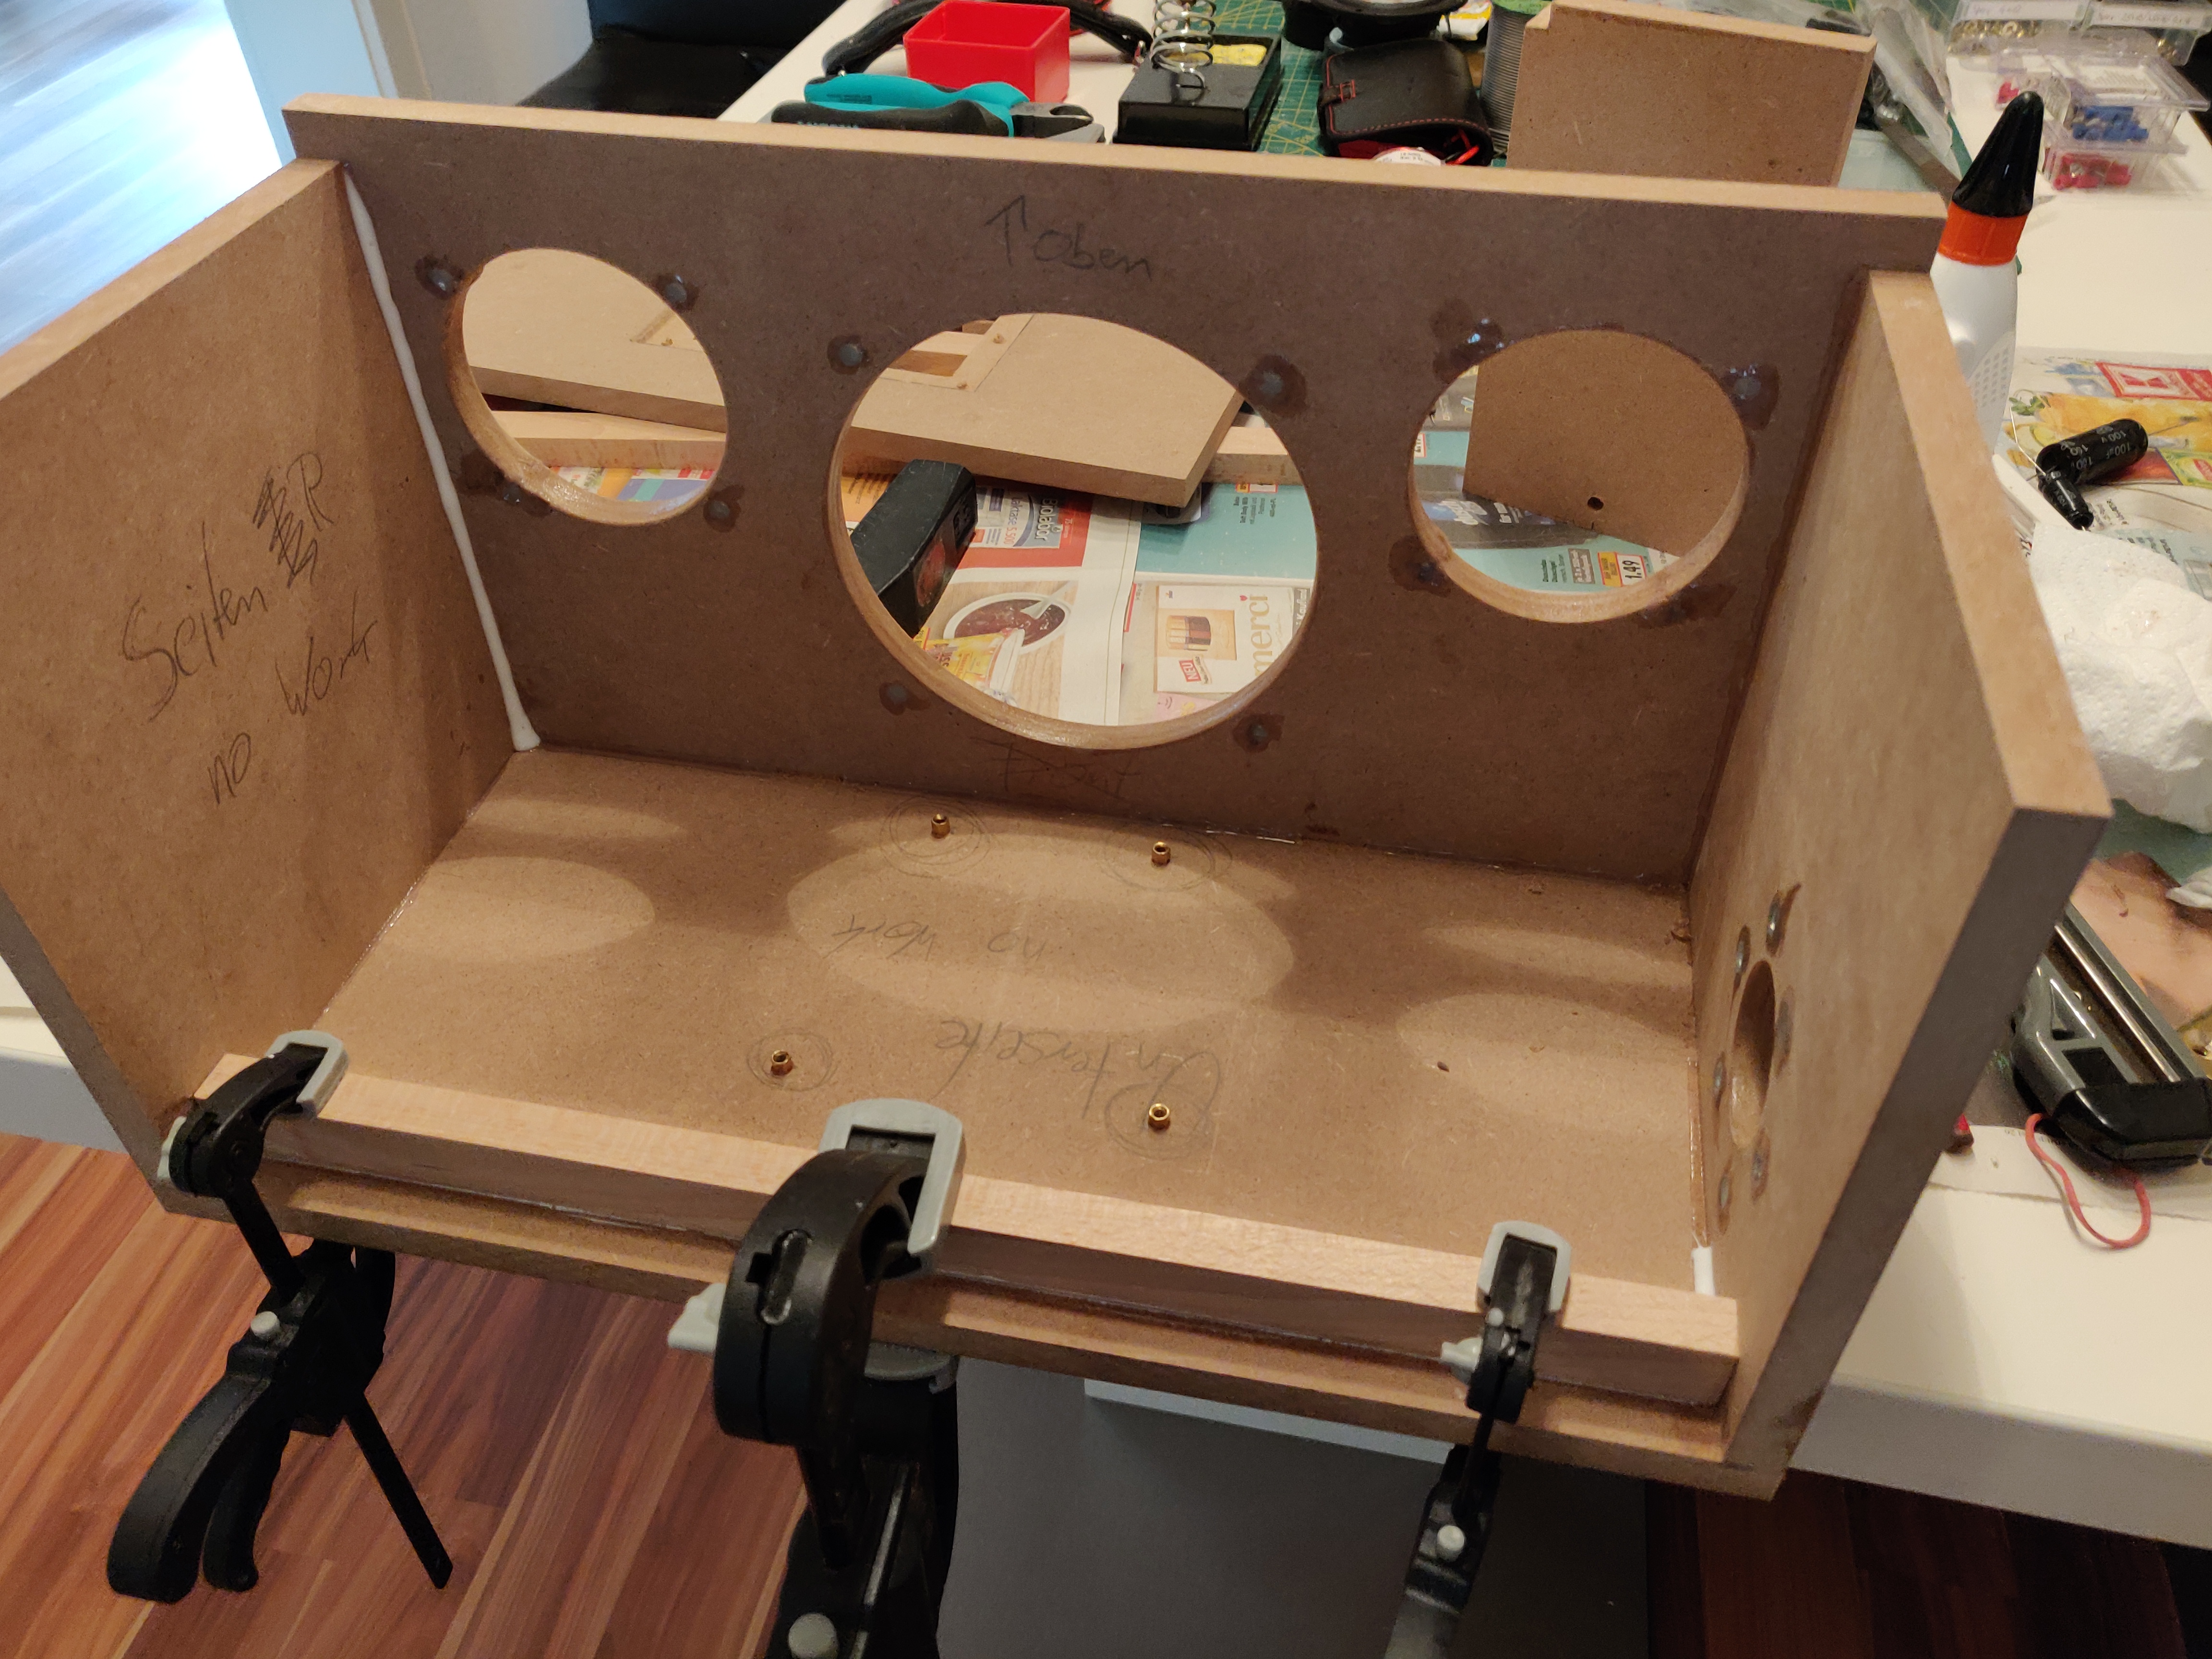
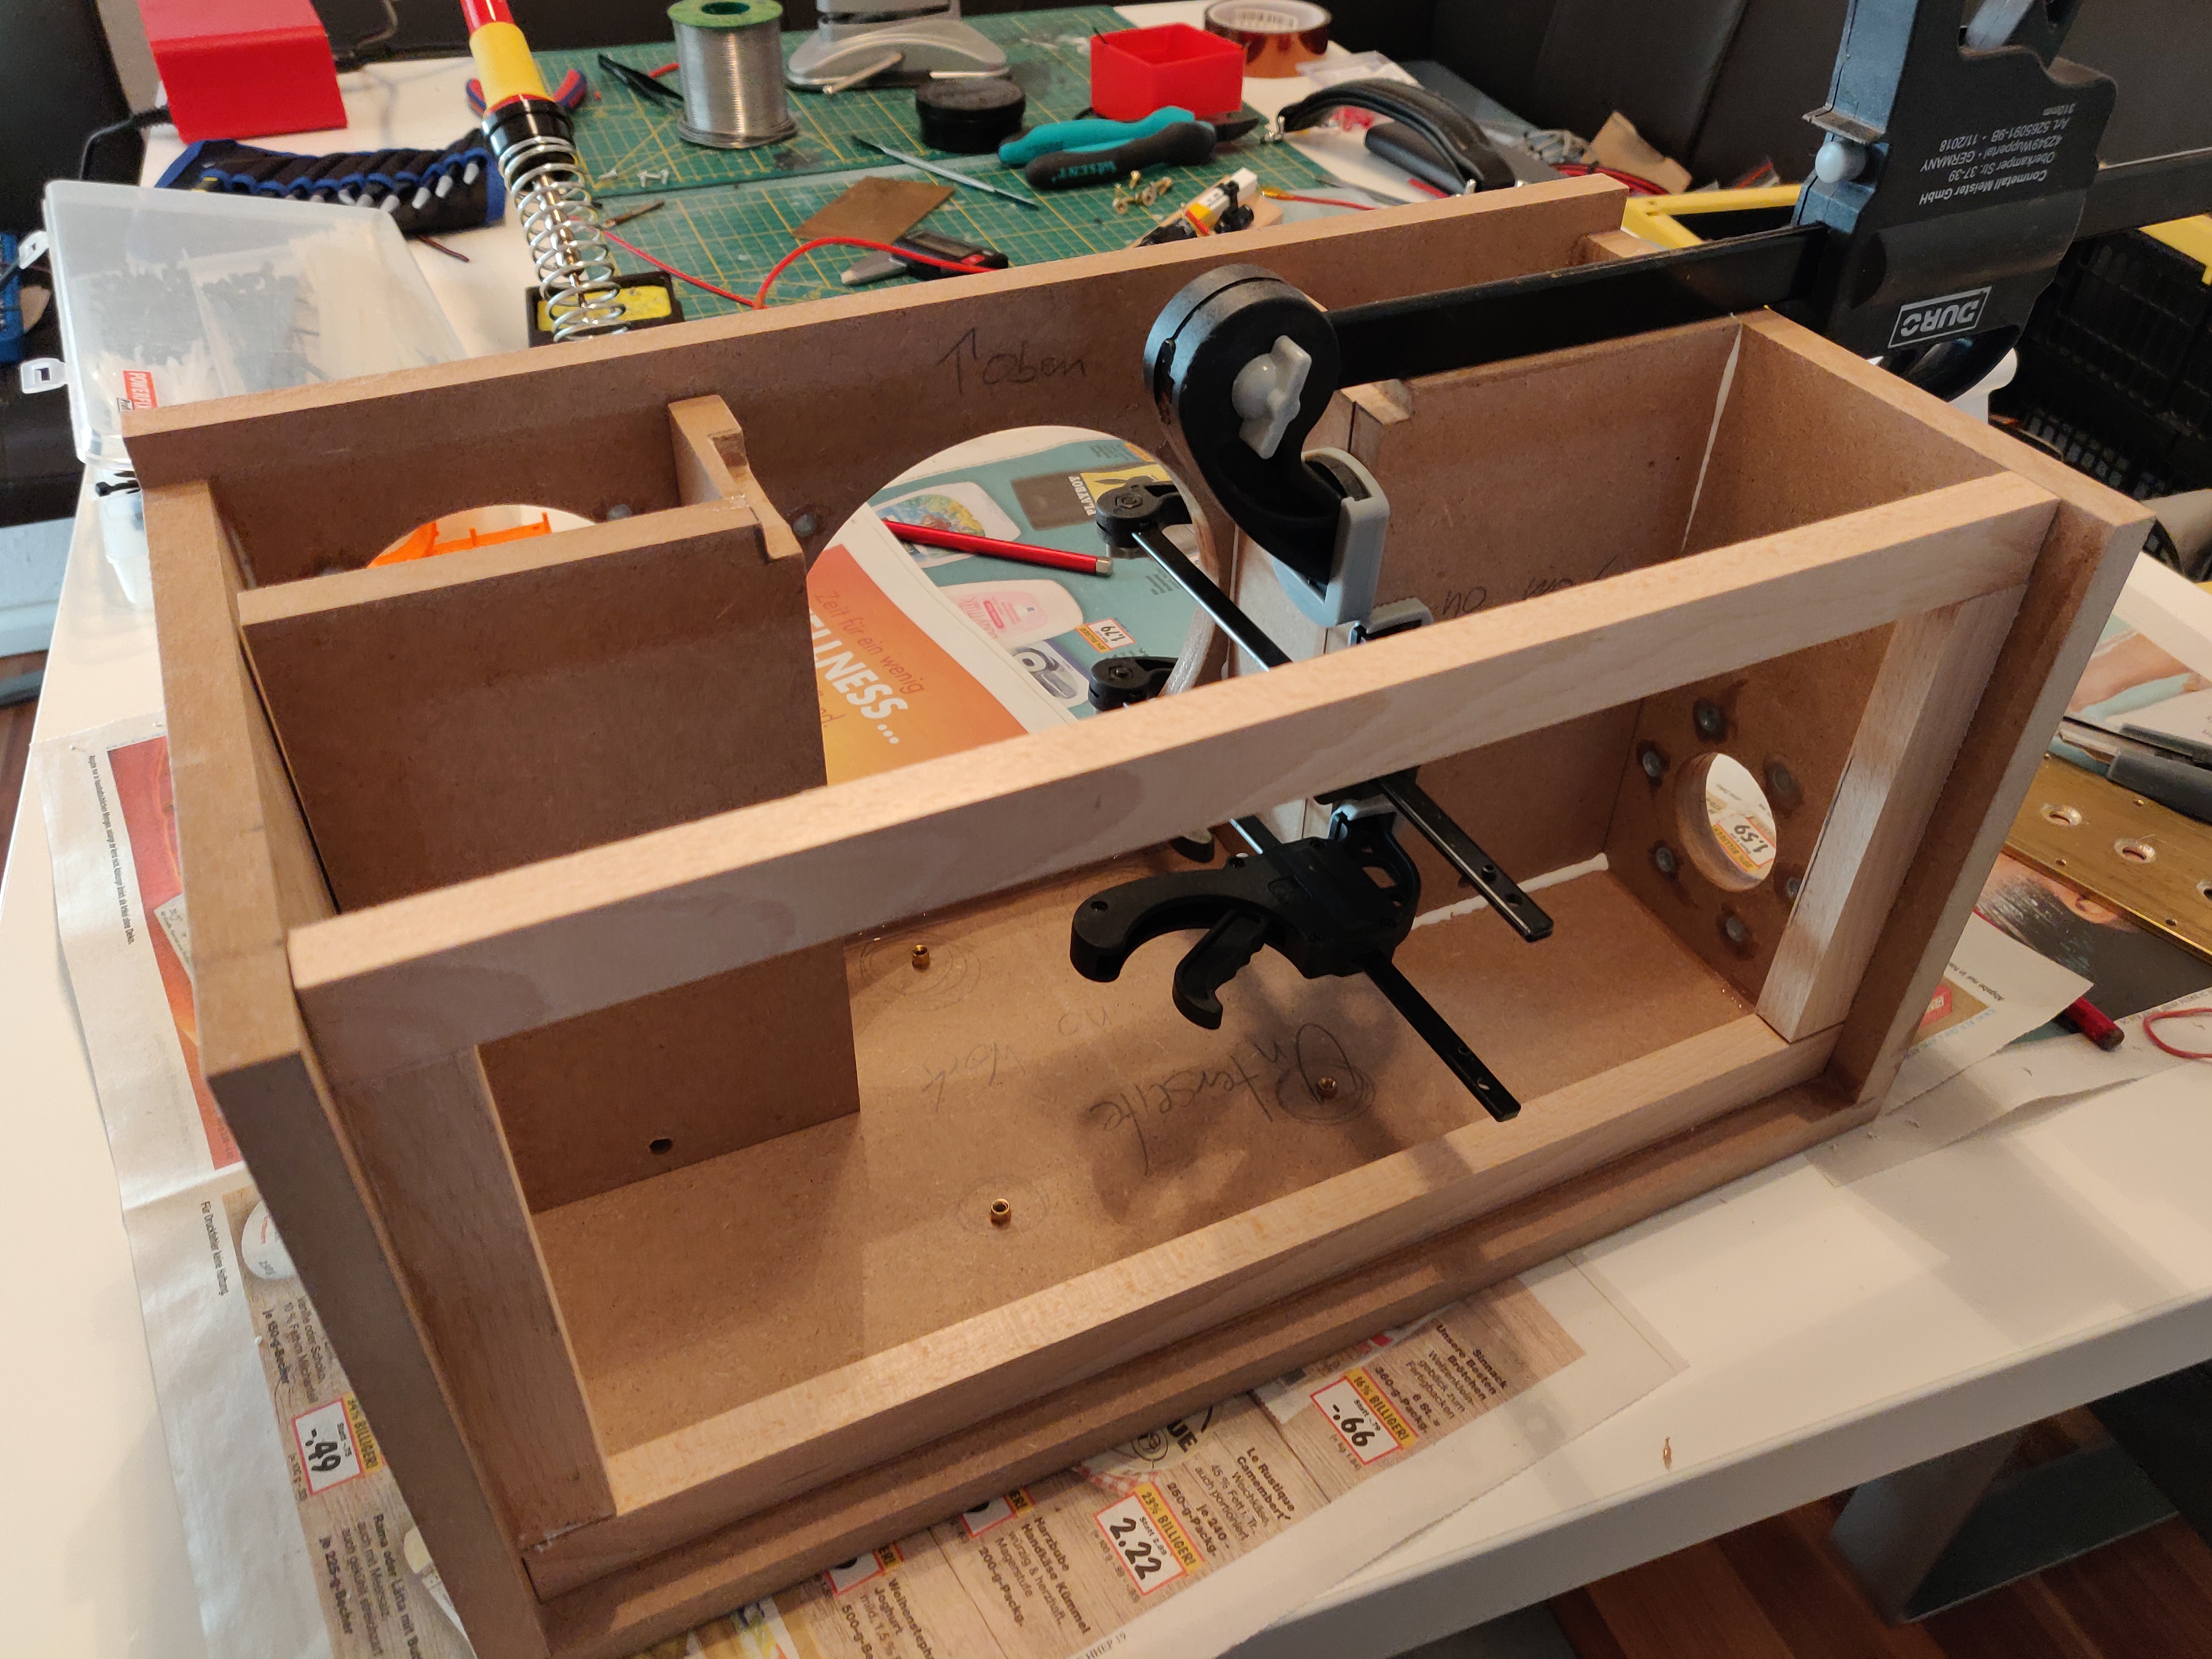
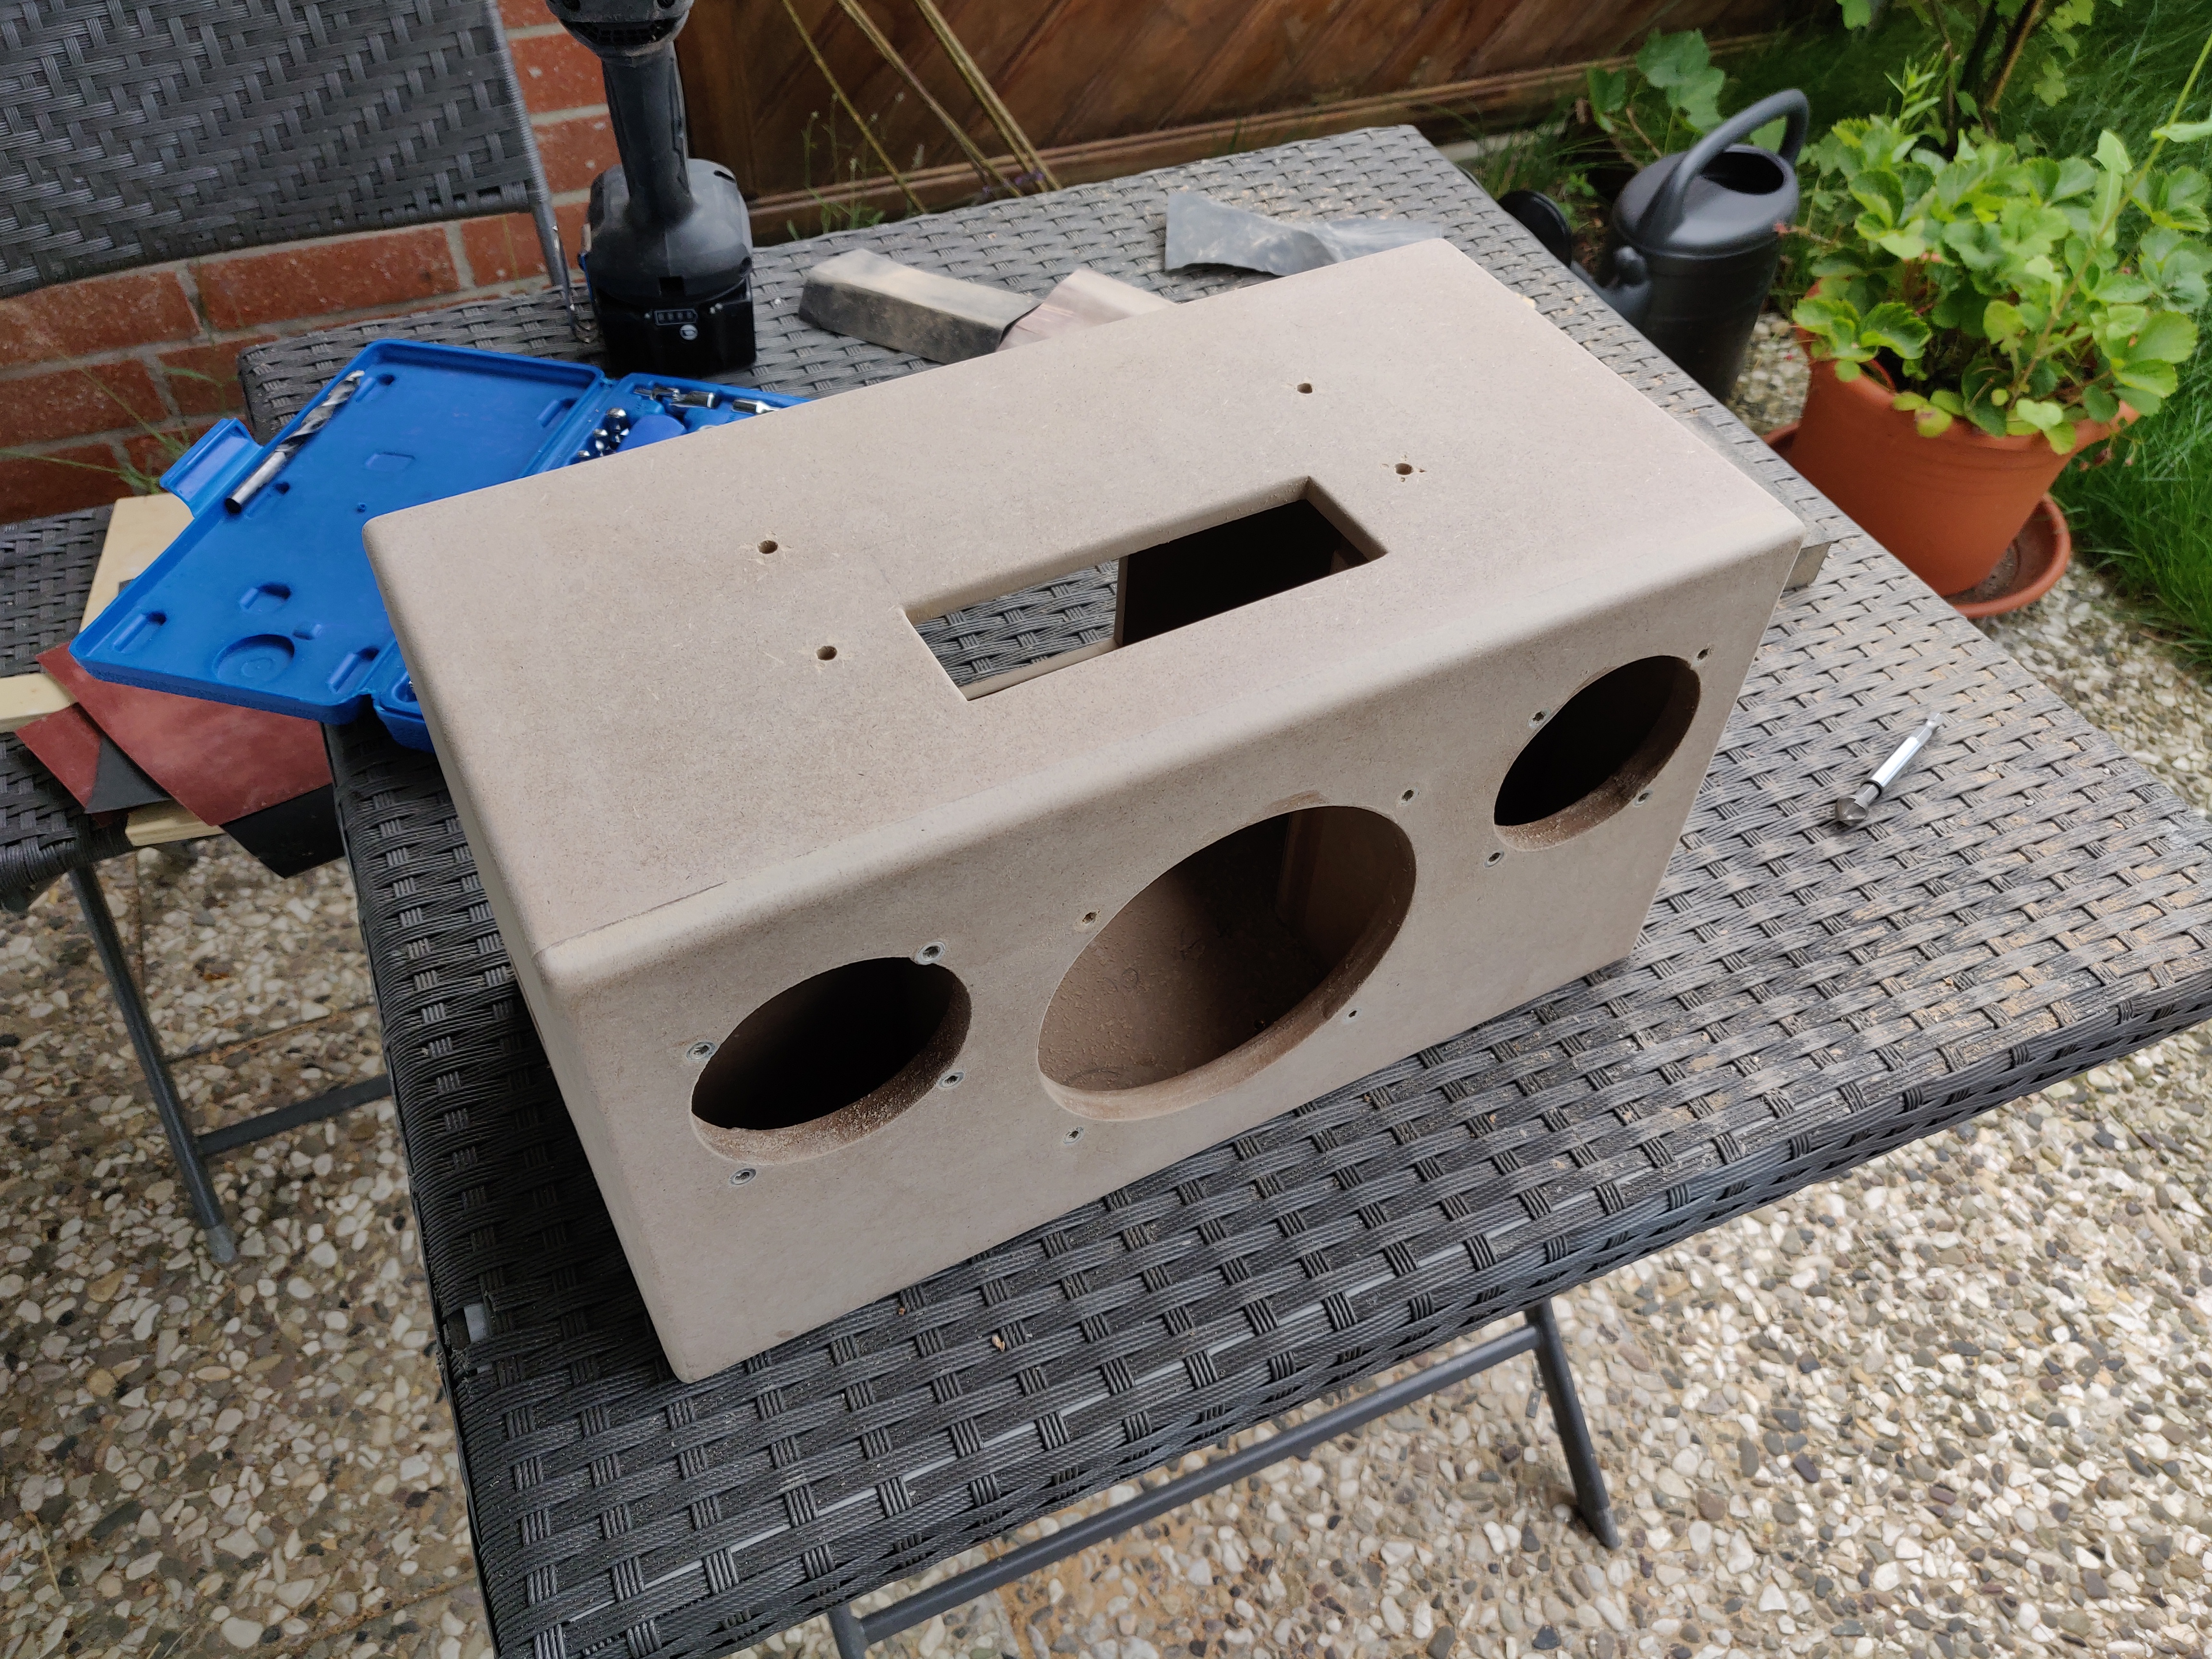
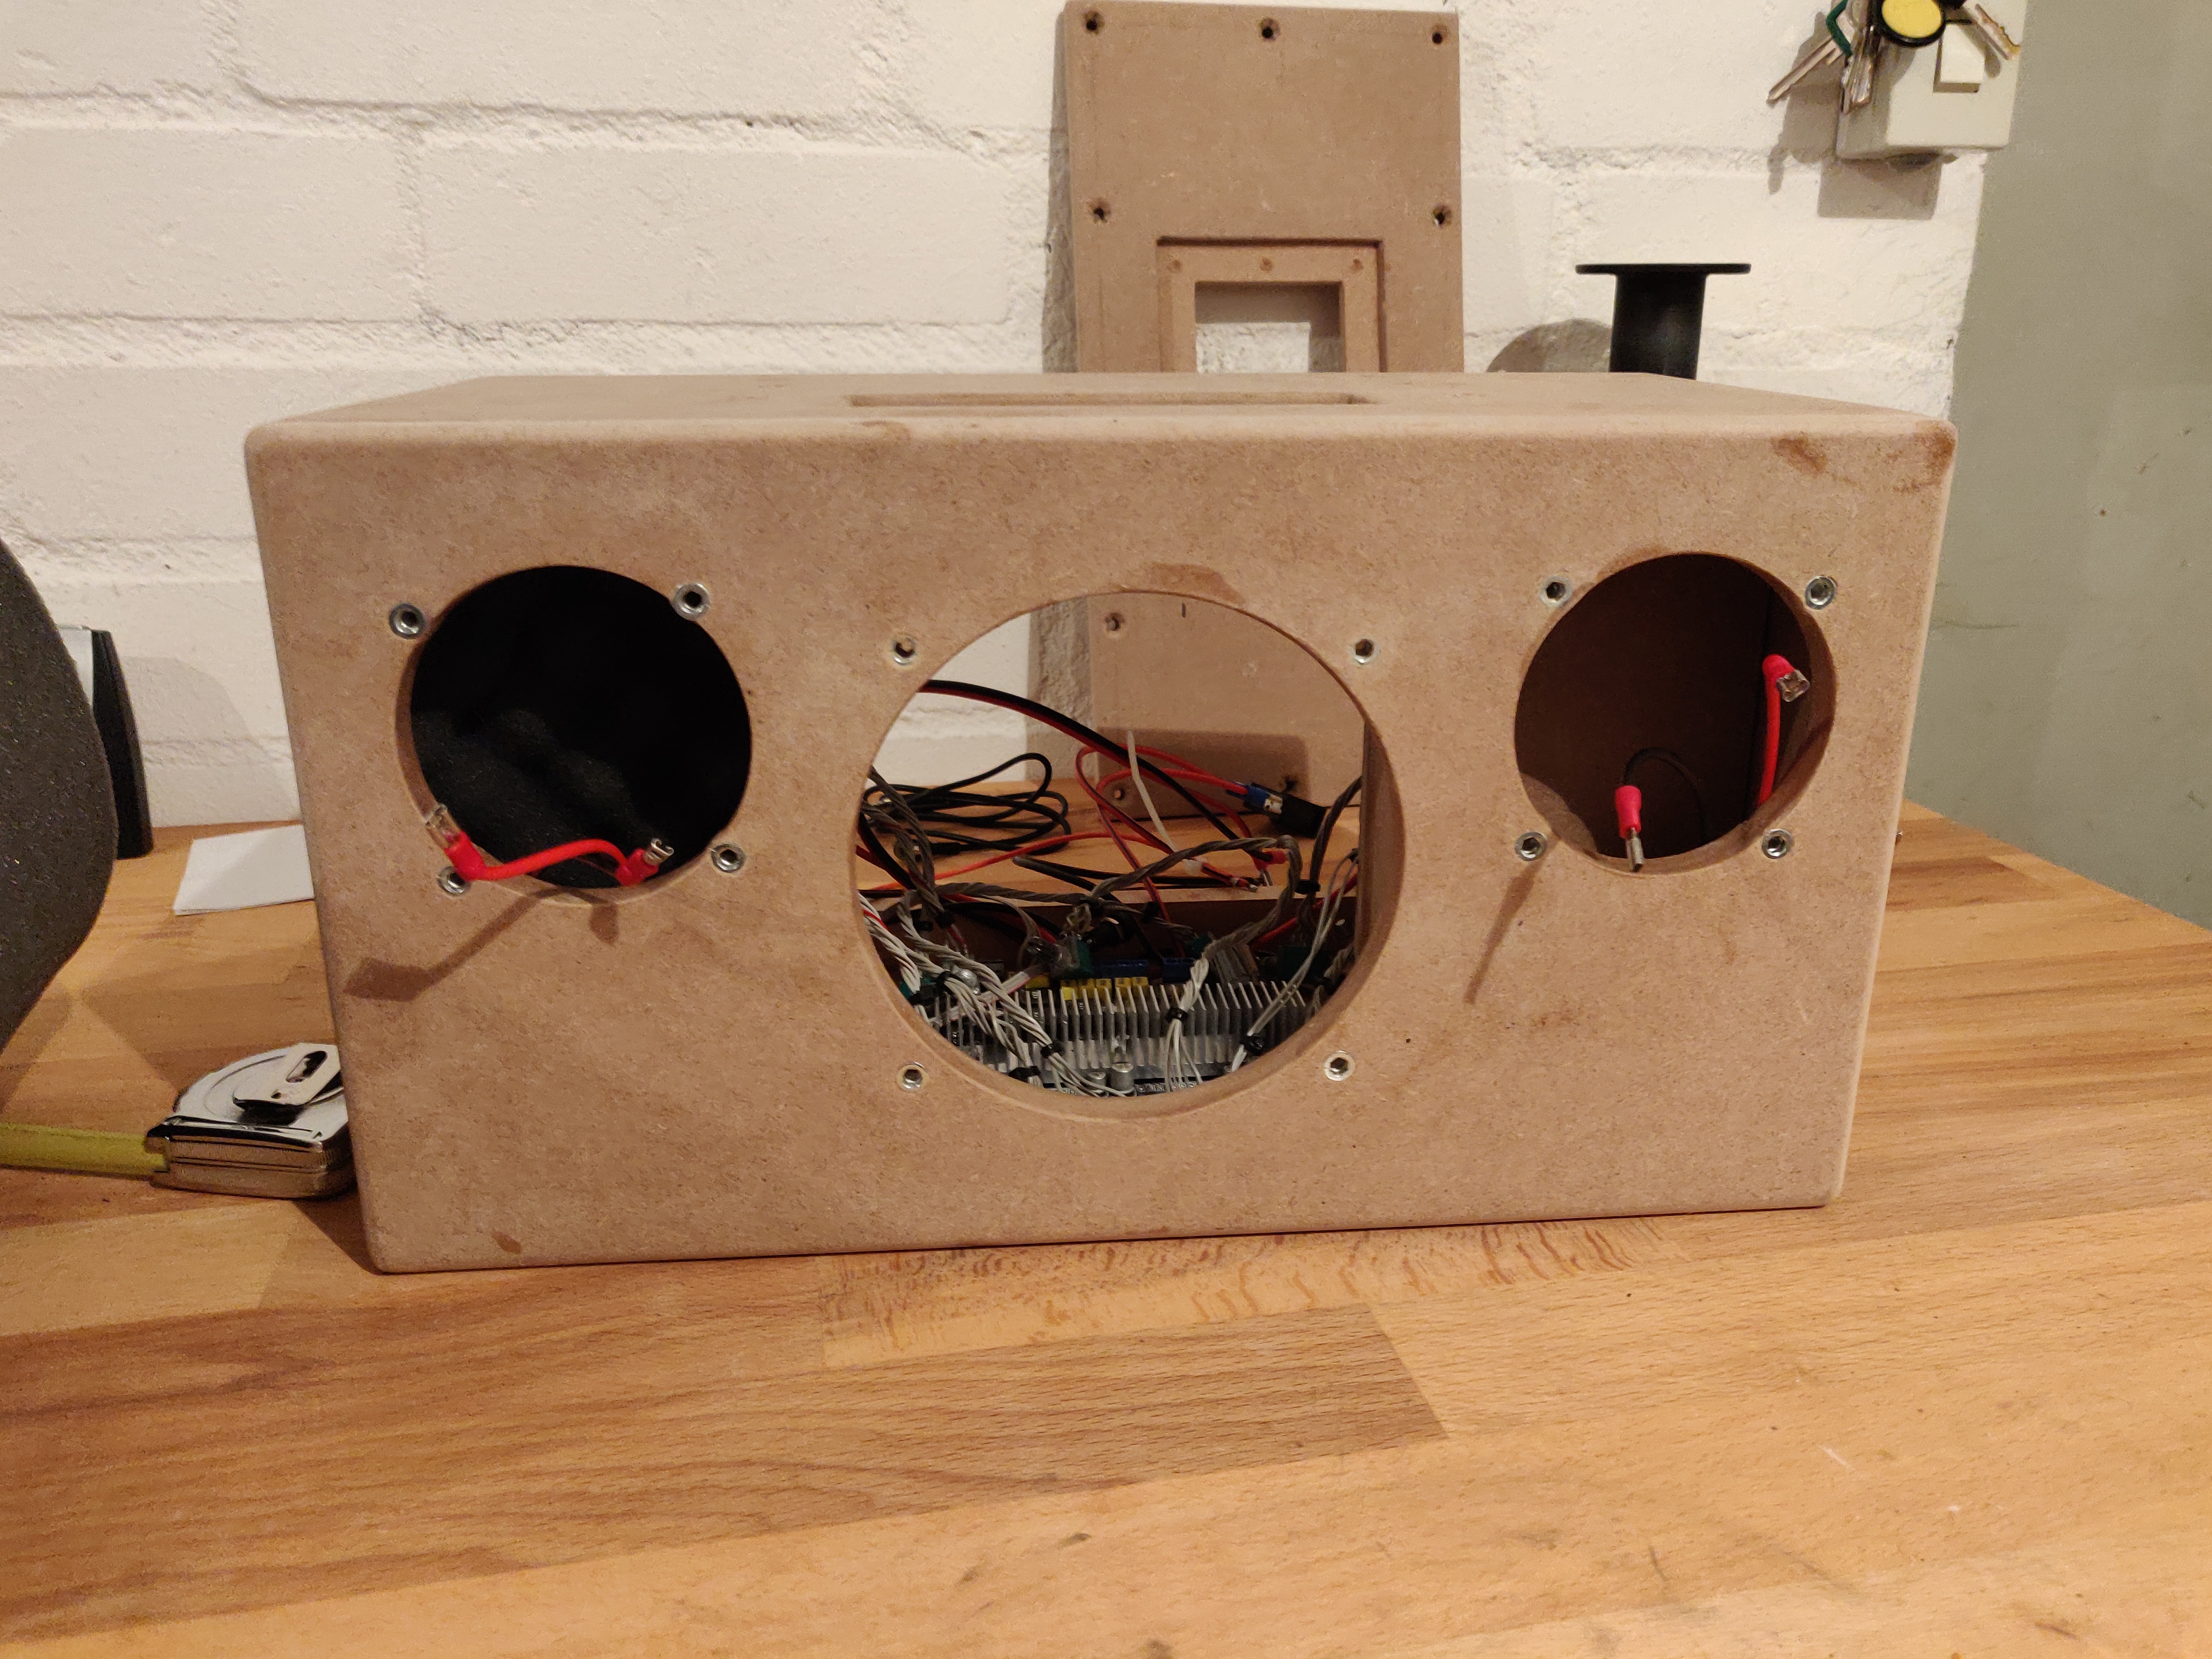
I assembled the outer shell/box from 12 mm MDF Wood. Before gluing everything together, I went ahead and layouted every side of the speaker box.
-
Front Side:
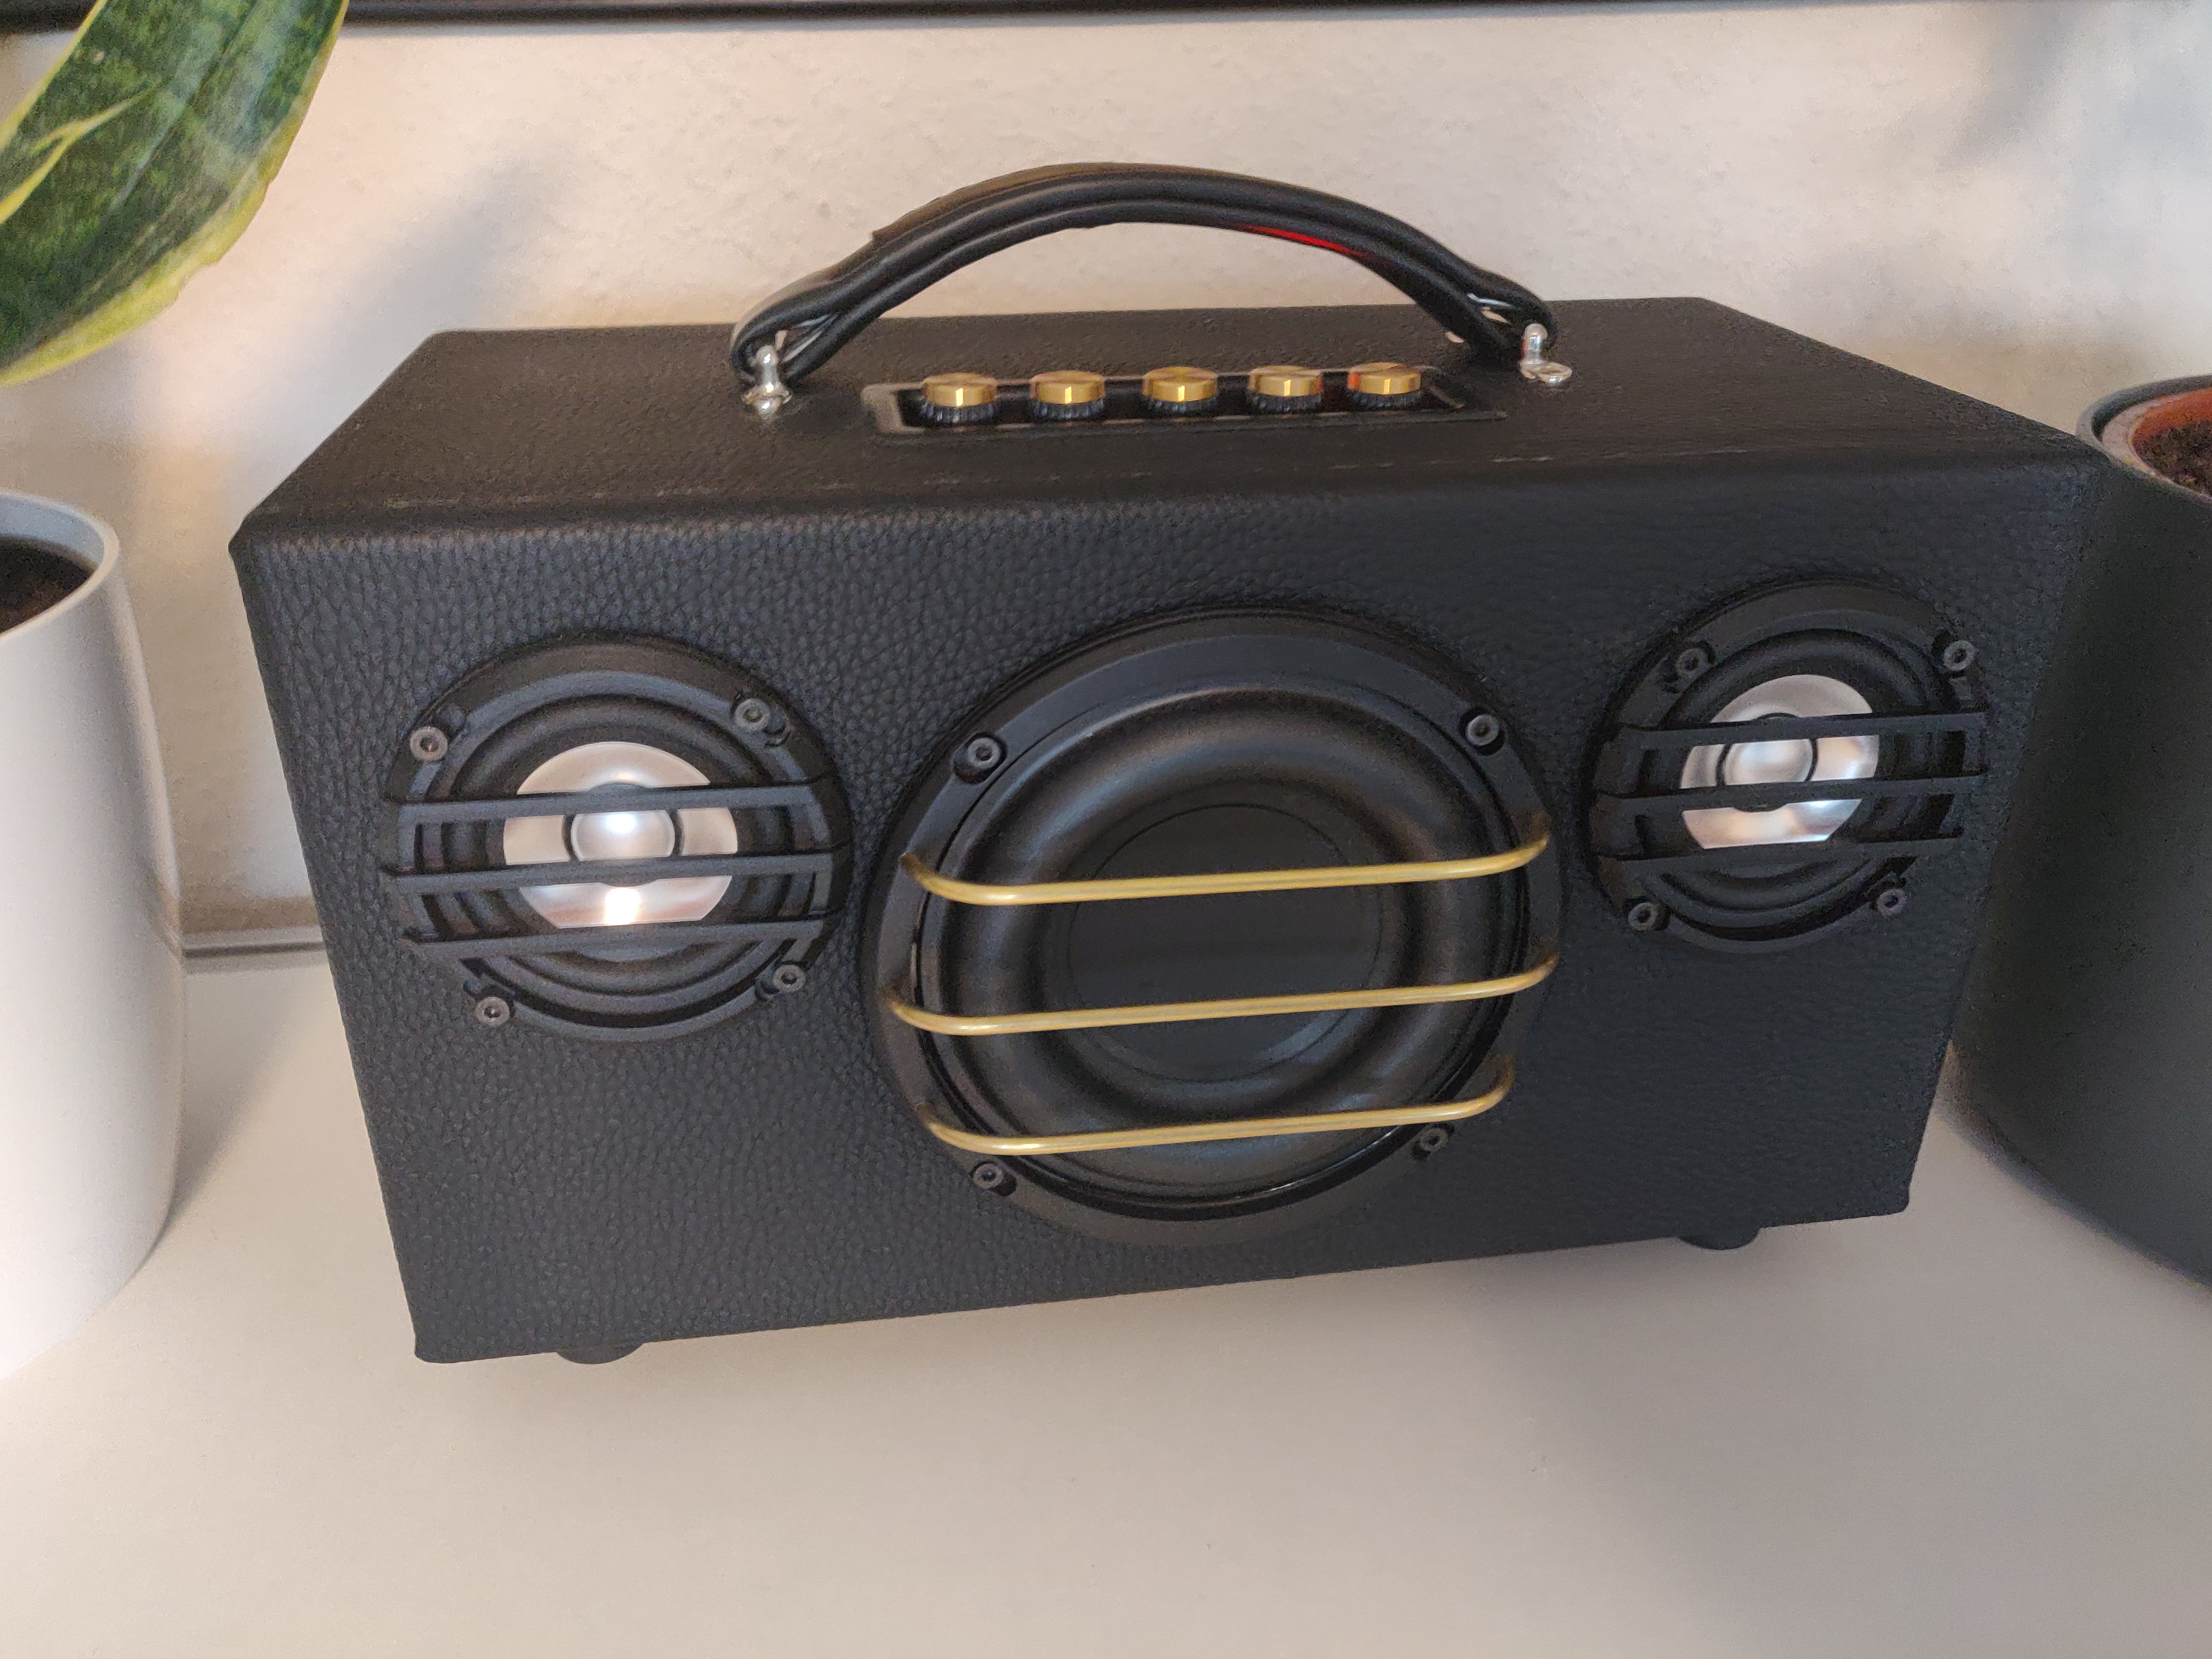
Hosts all three speakers - the subwoofer ind the middle, and the two toners in either corner of the panel. -
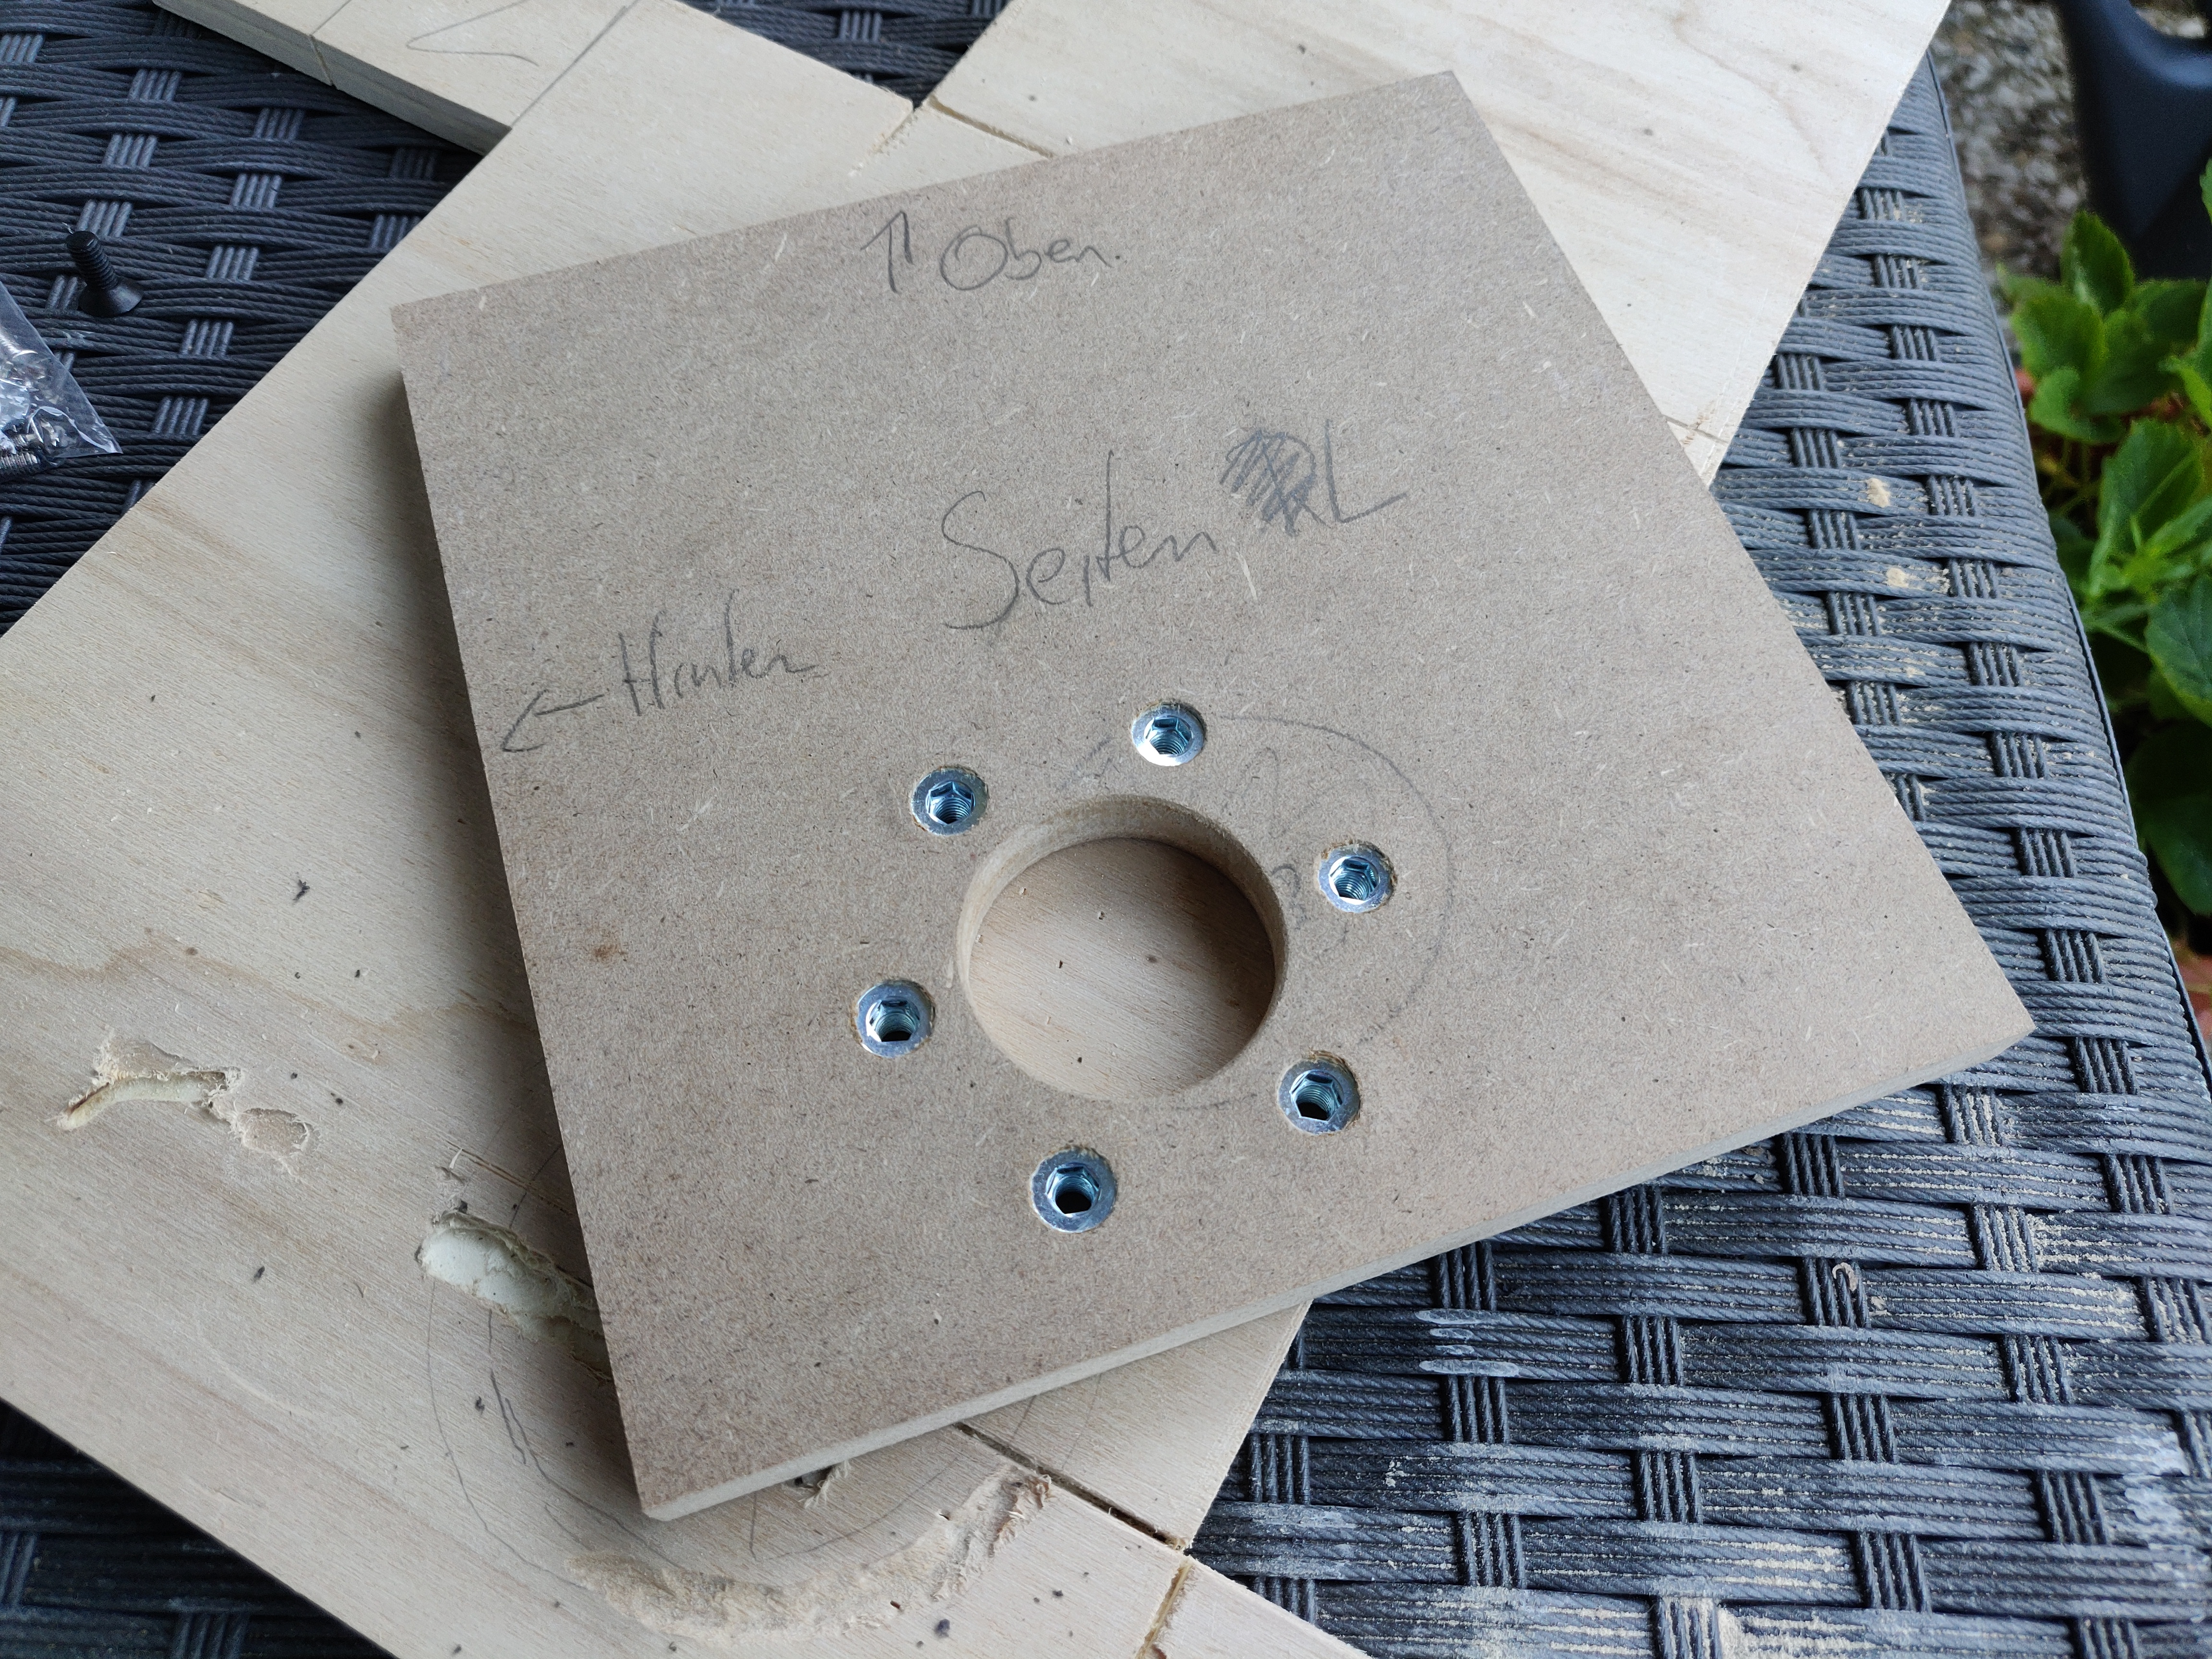
Right Side:
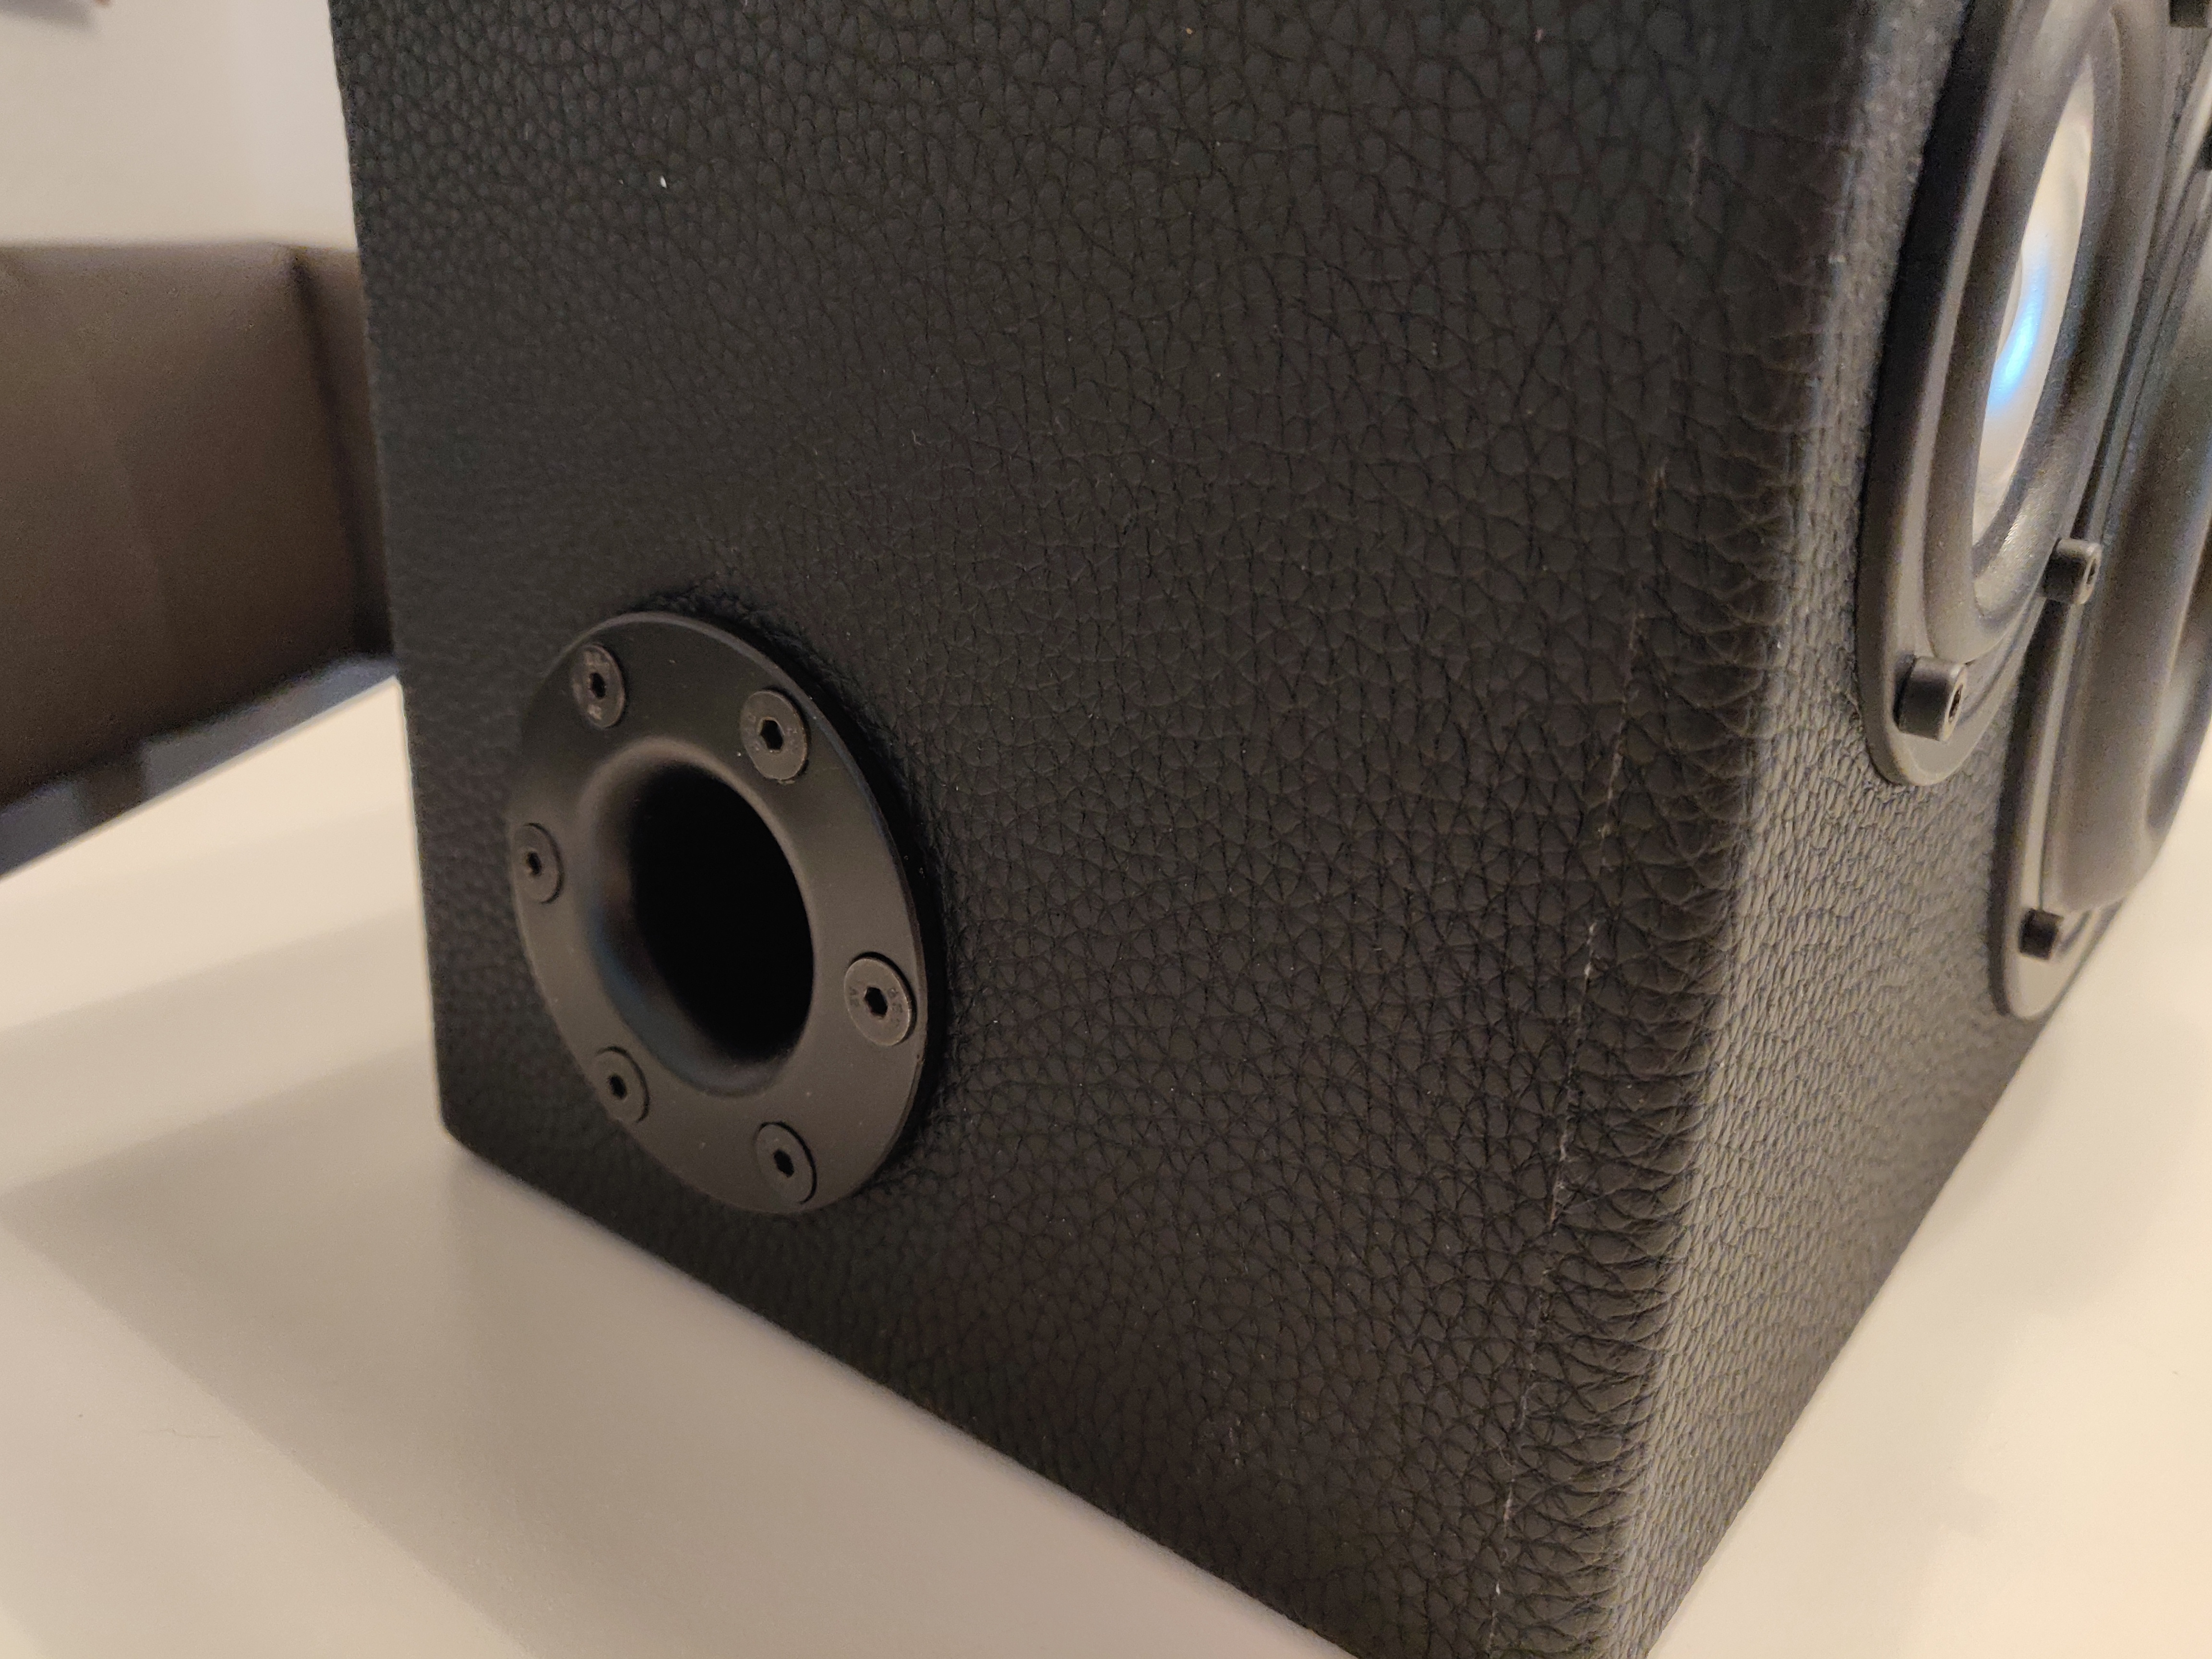
fits the sub pipe, nothing more -
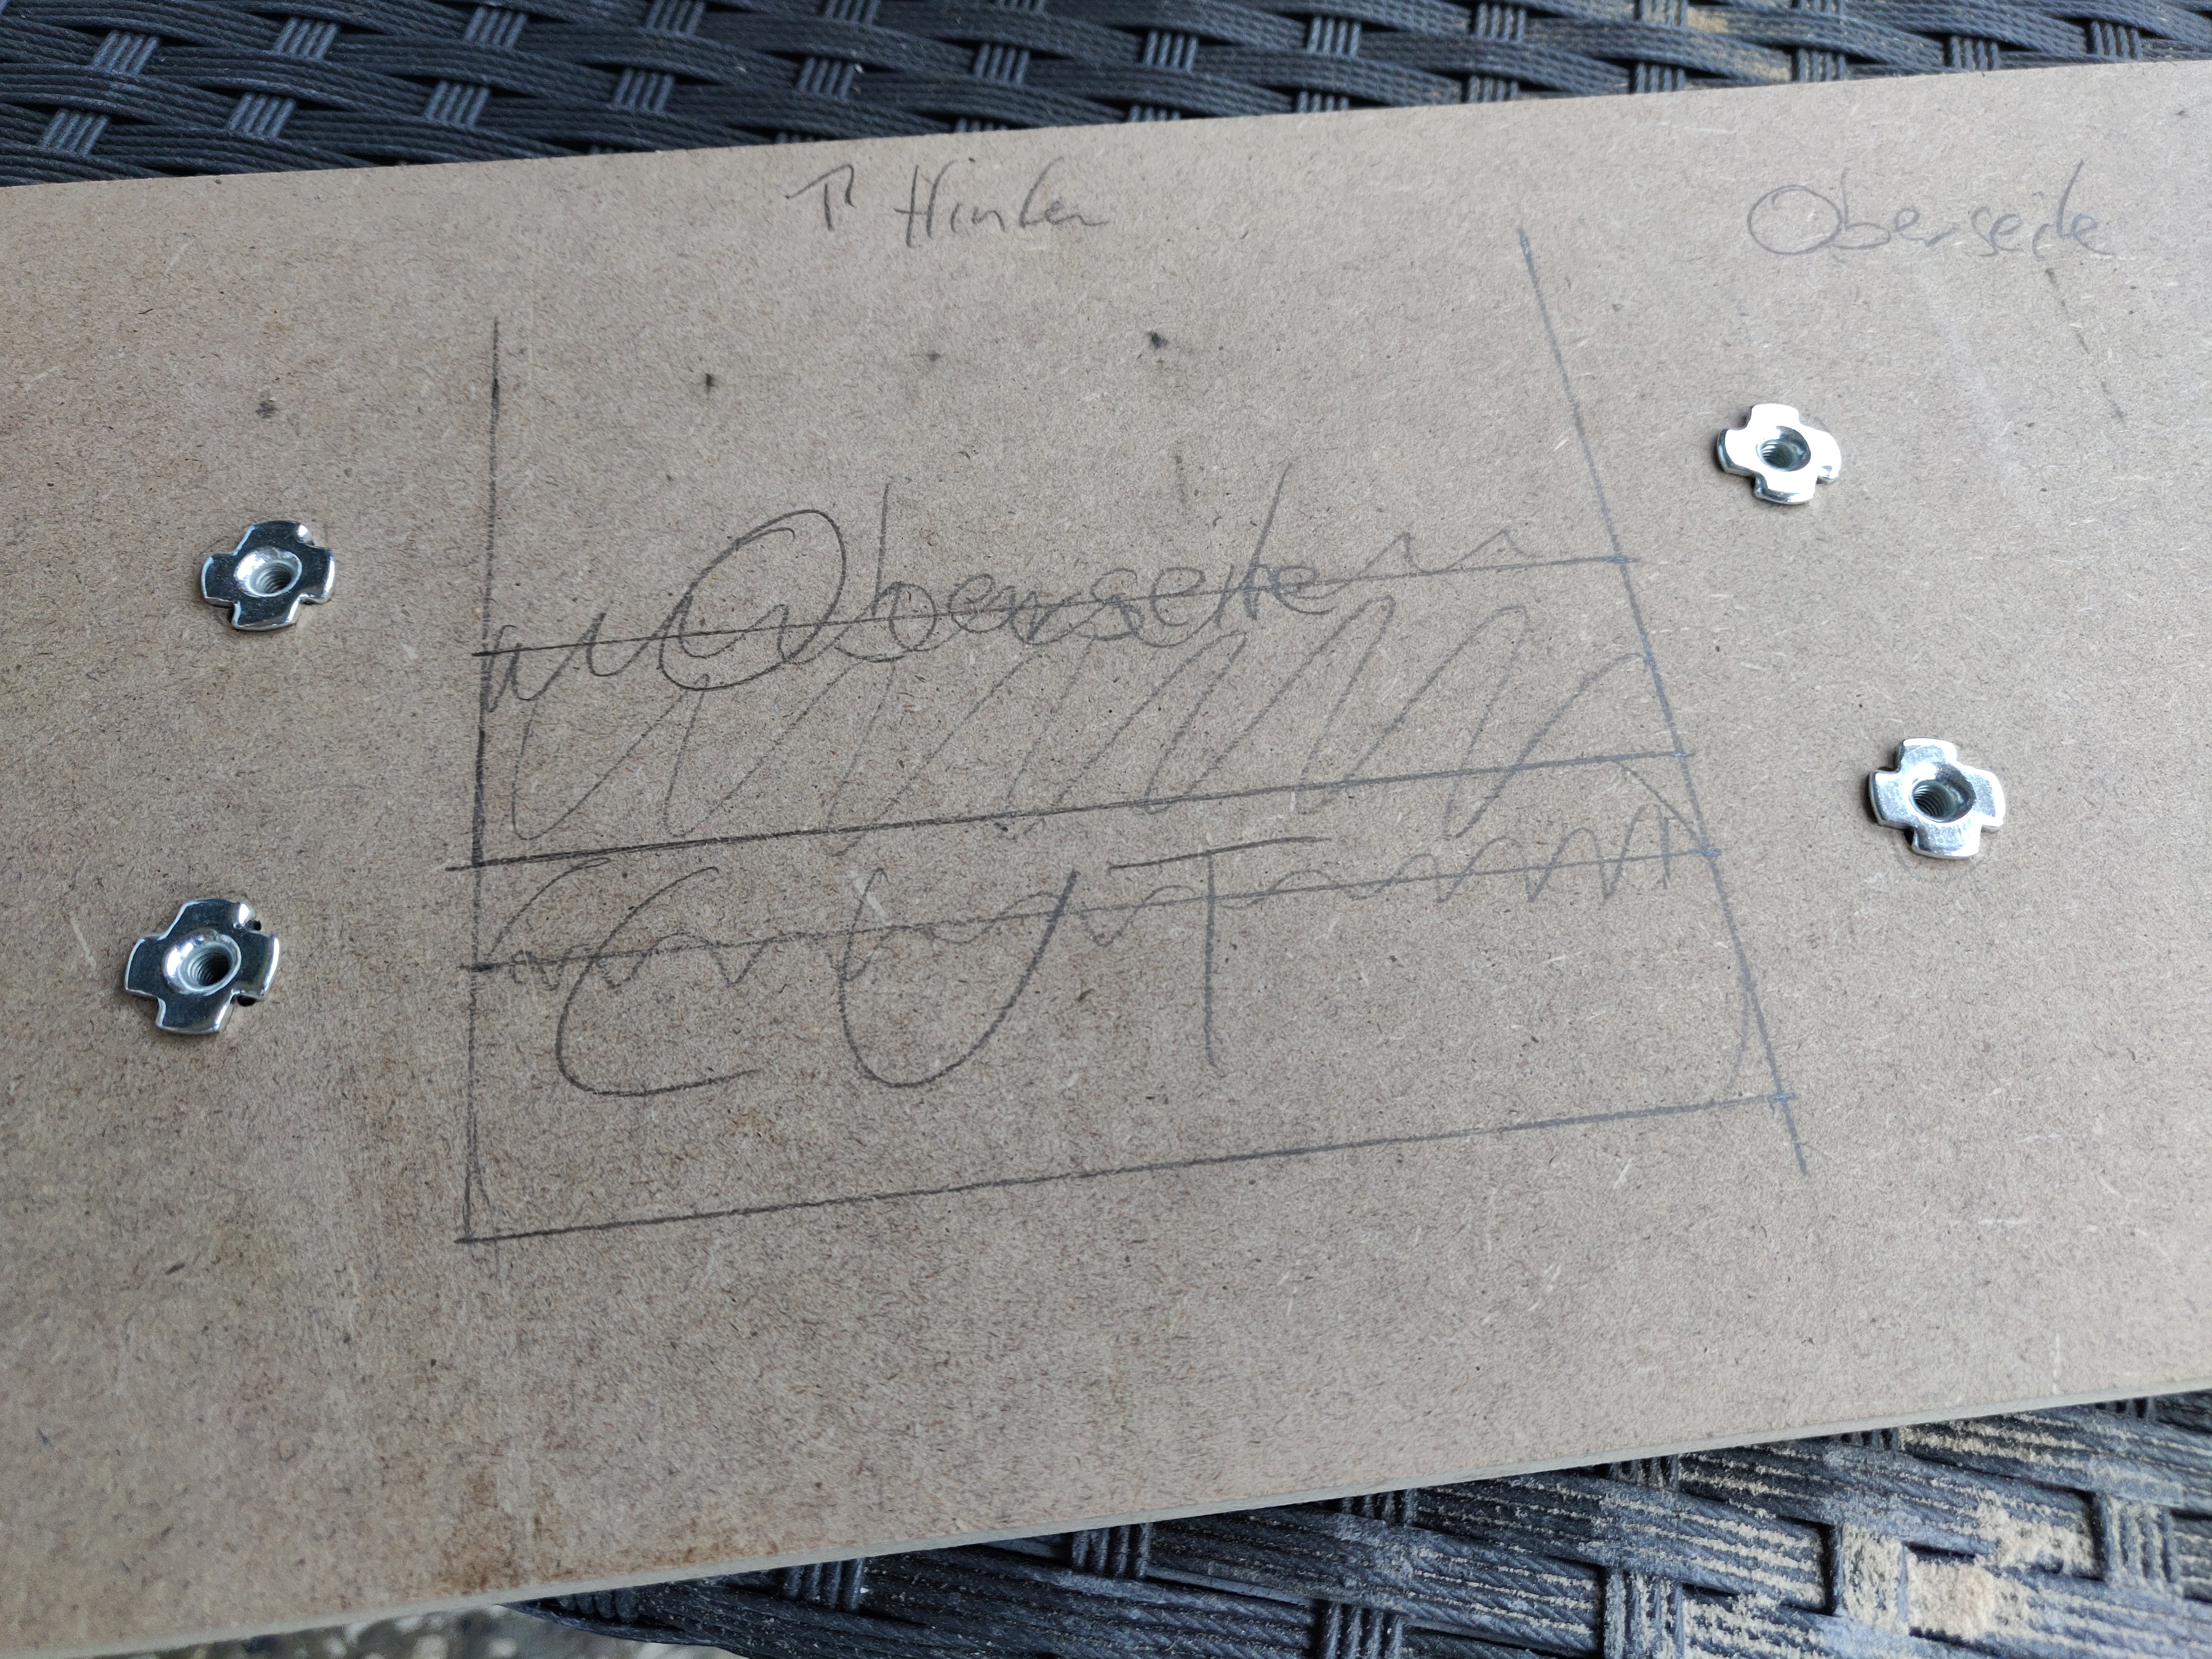
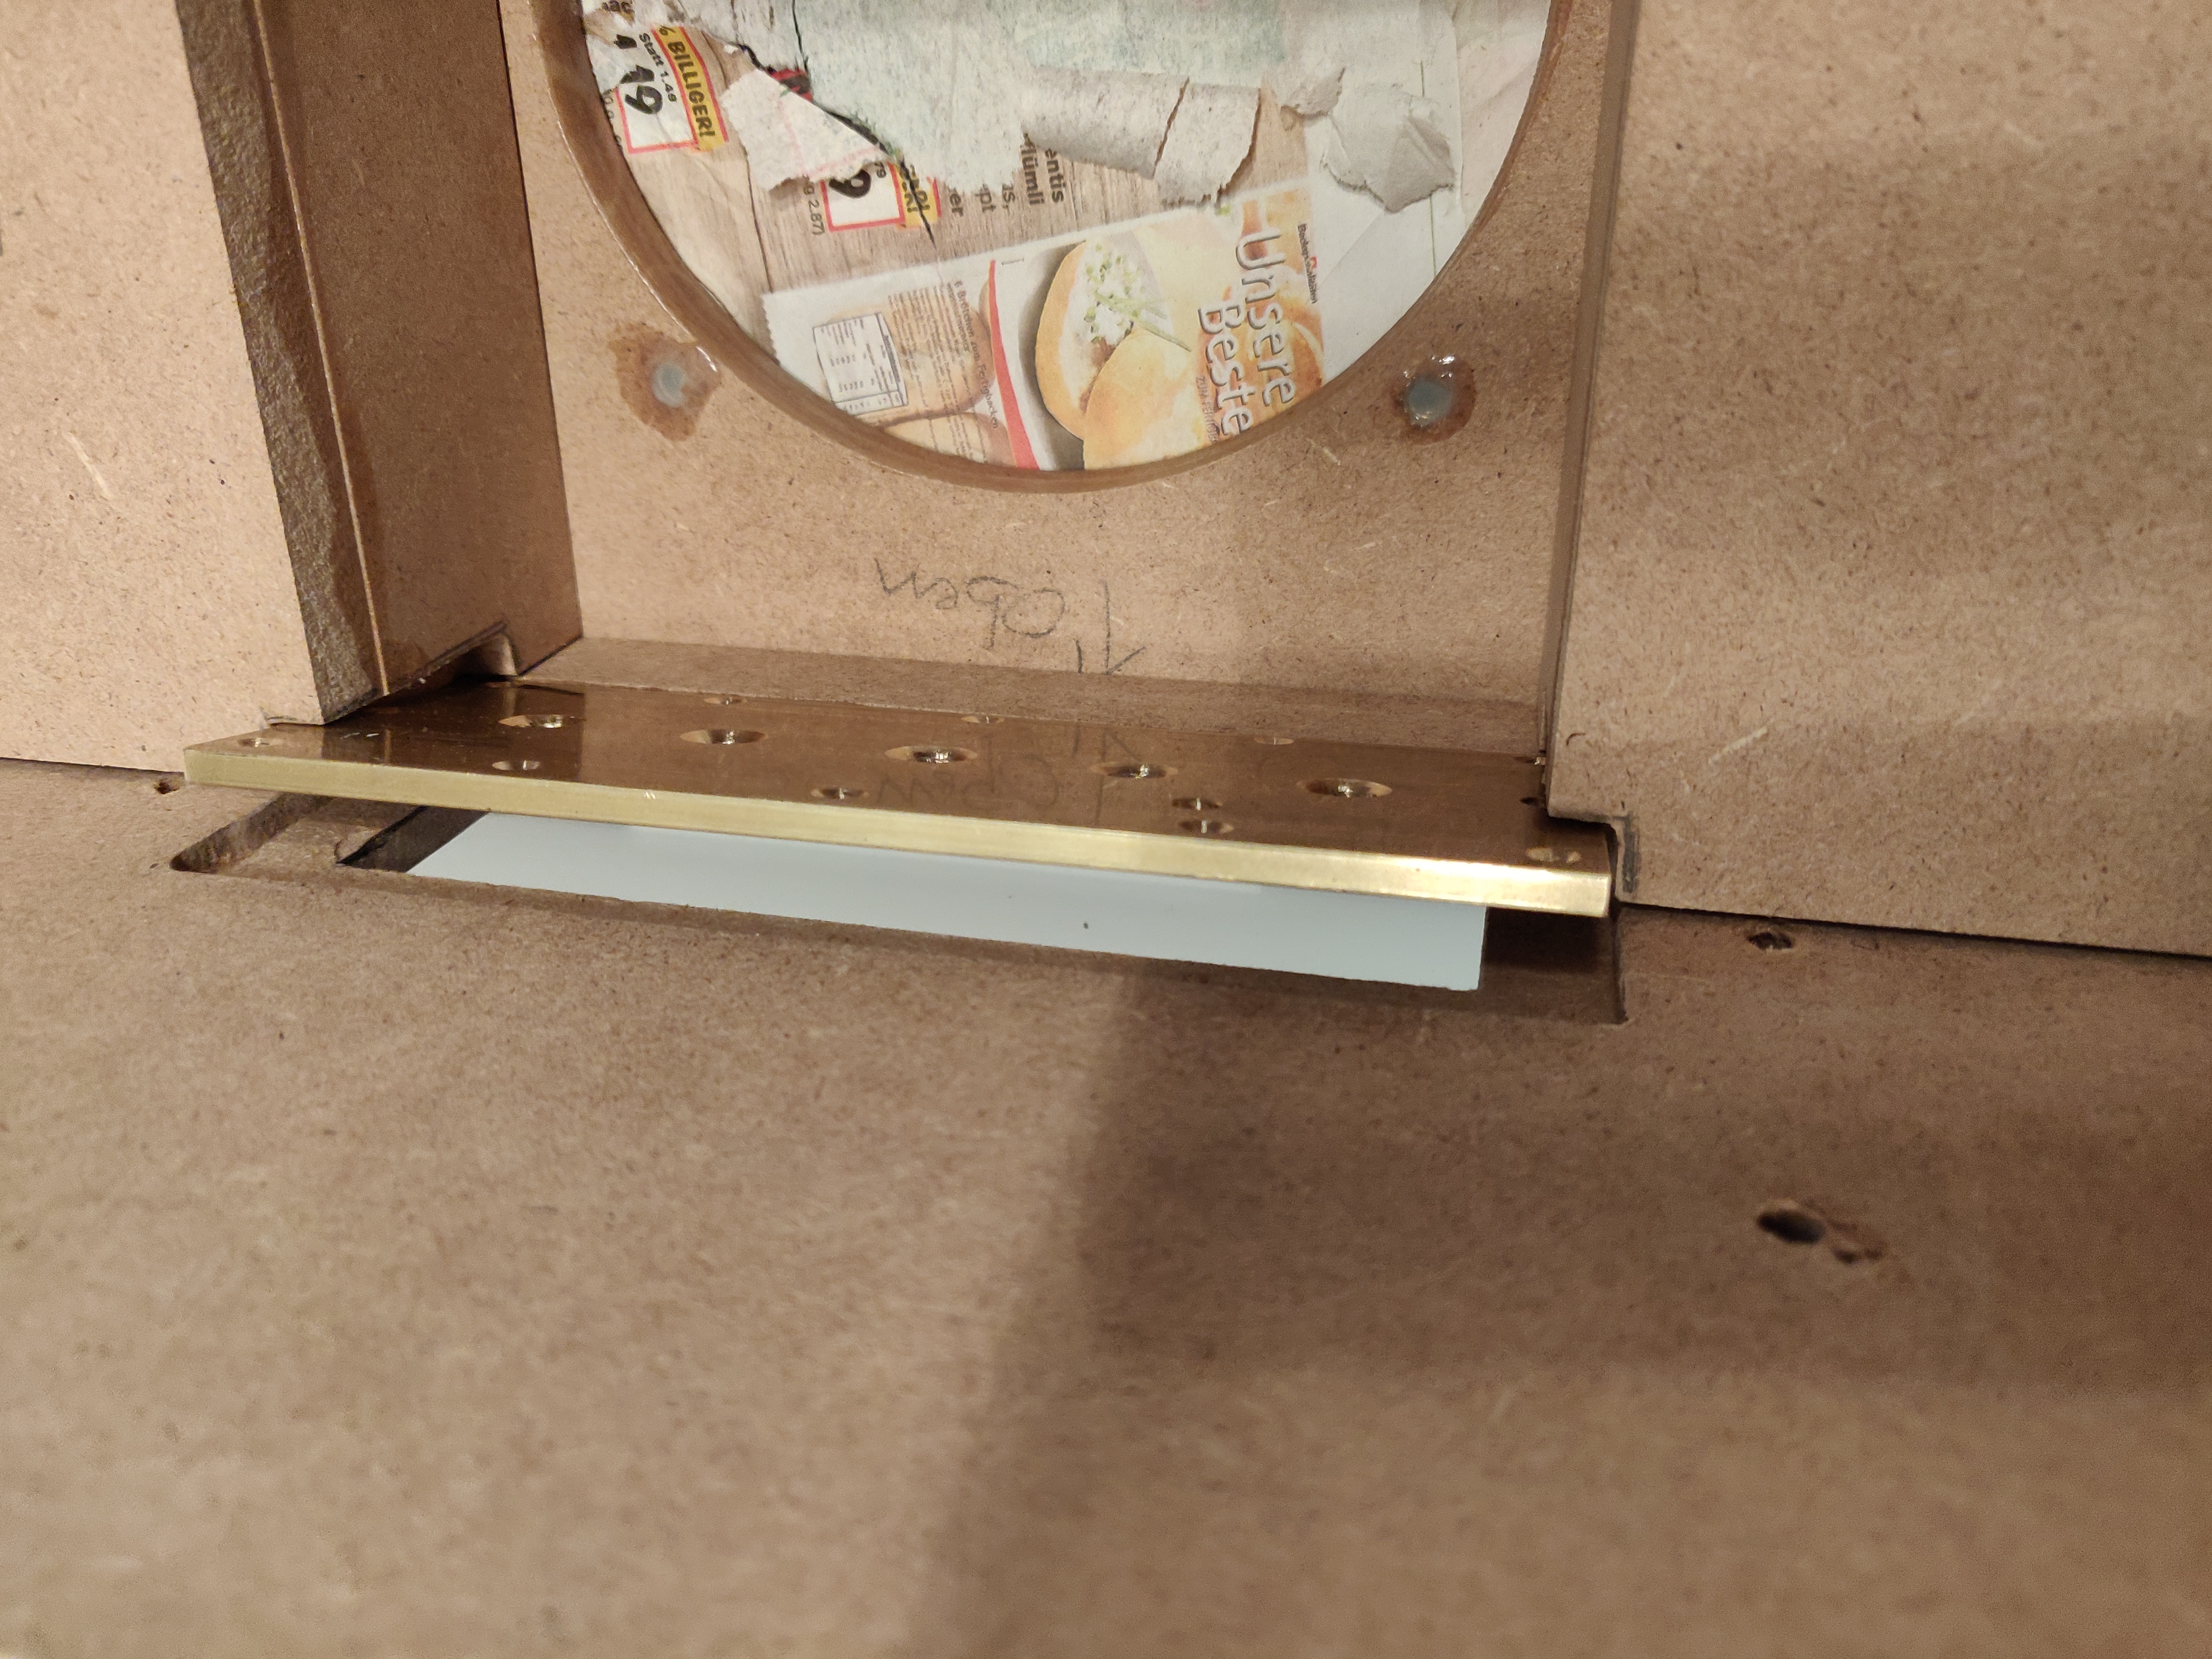
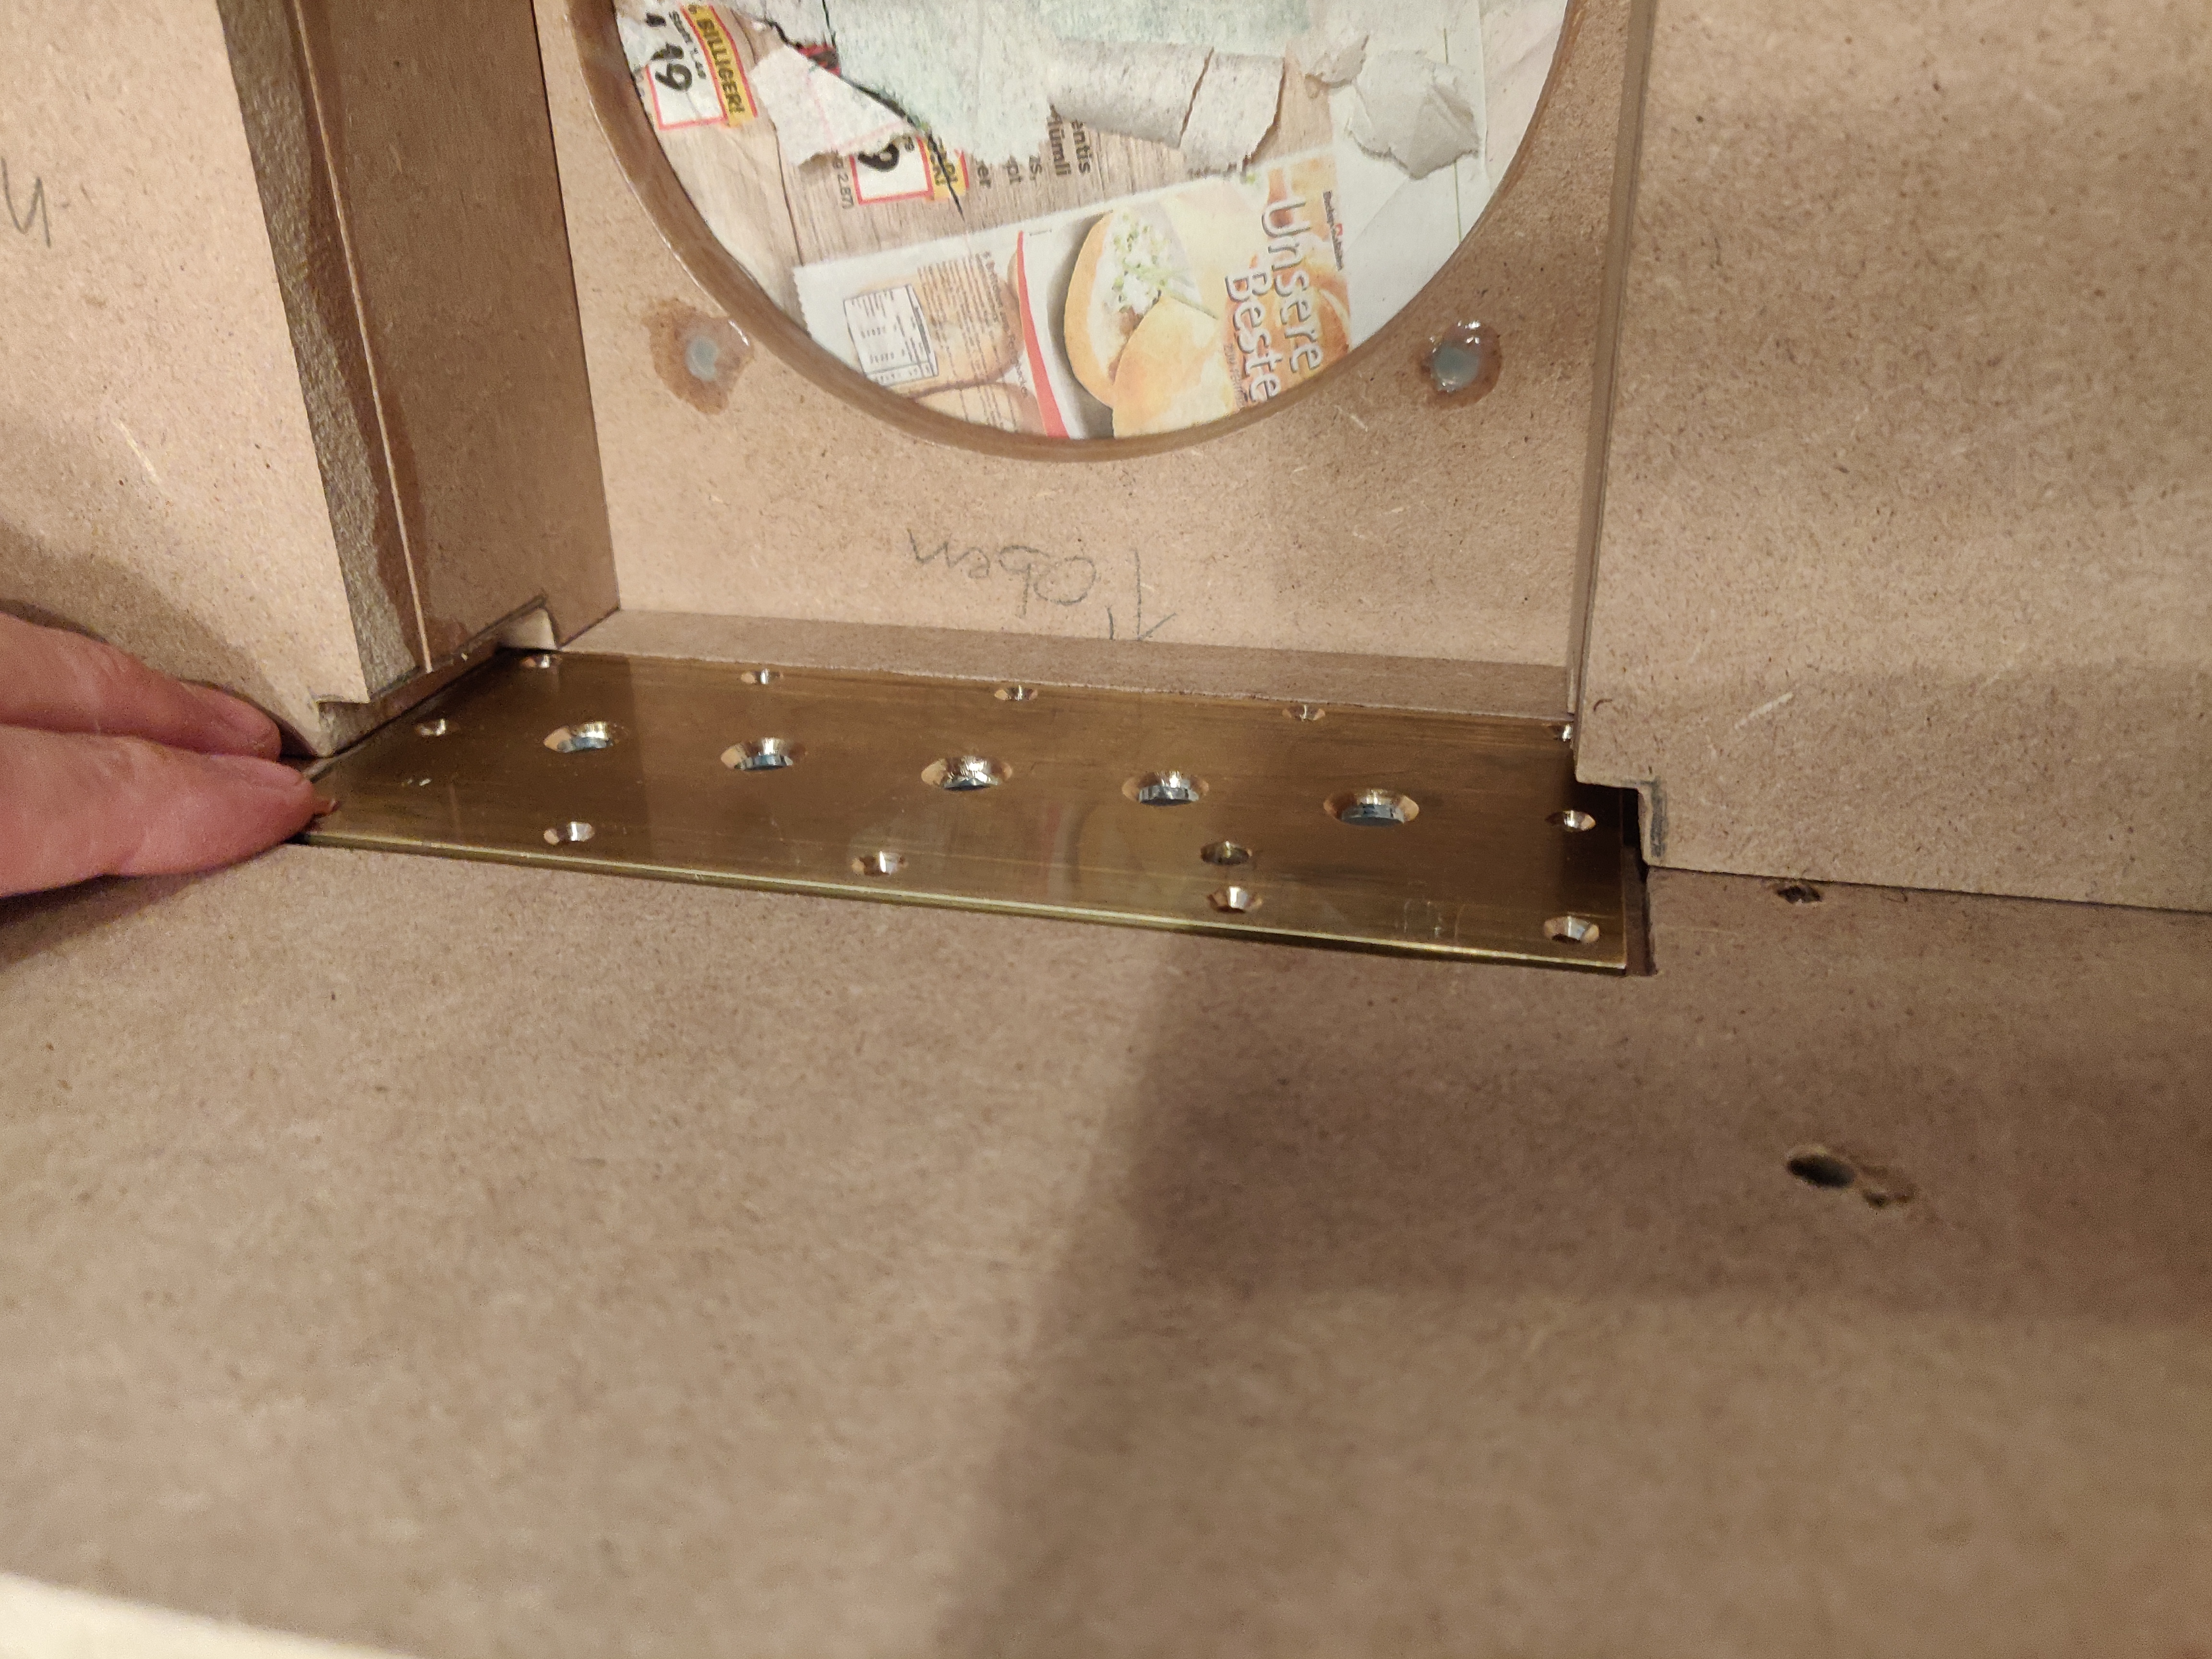
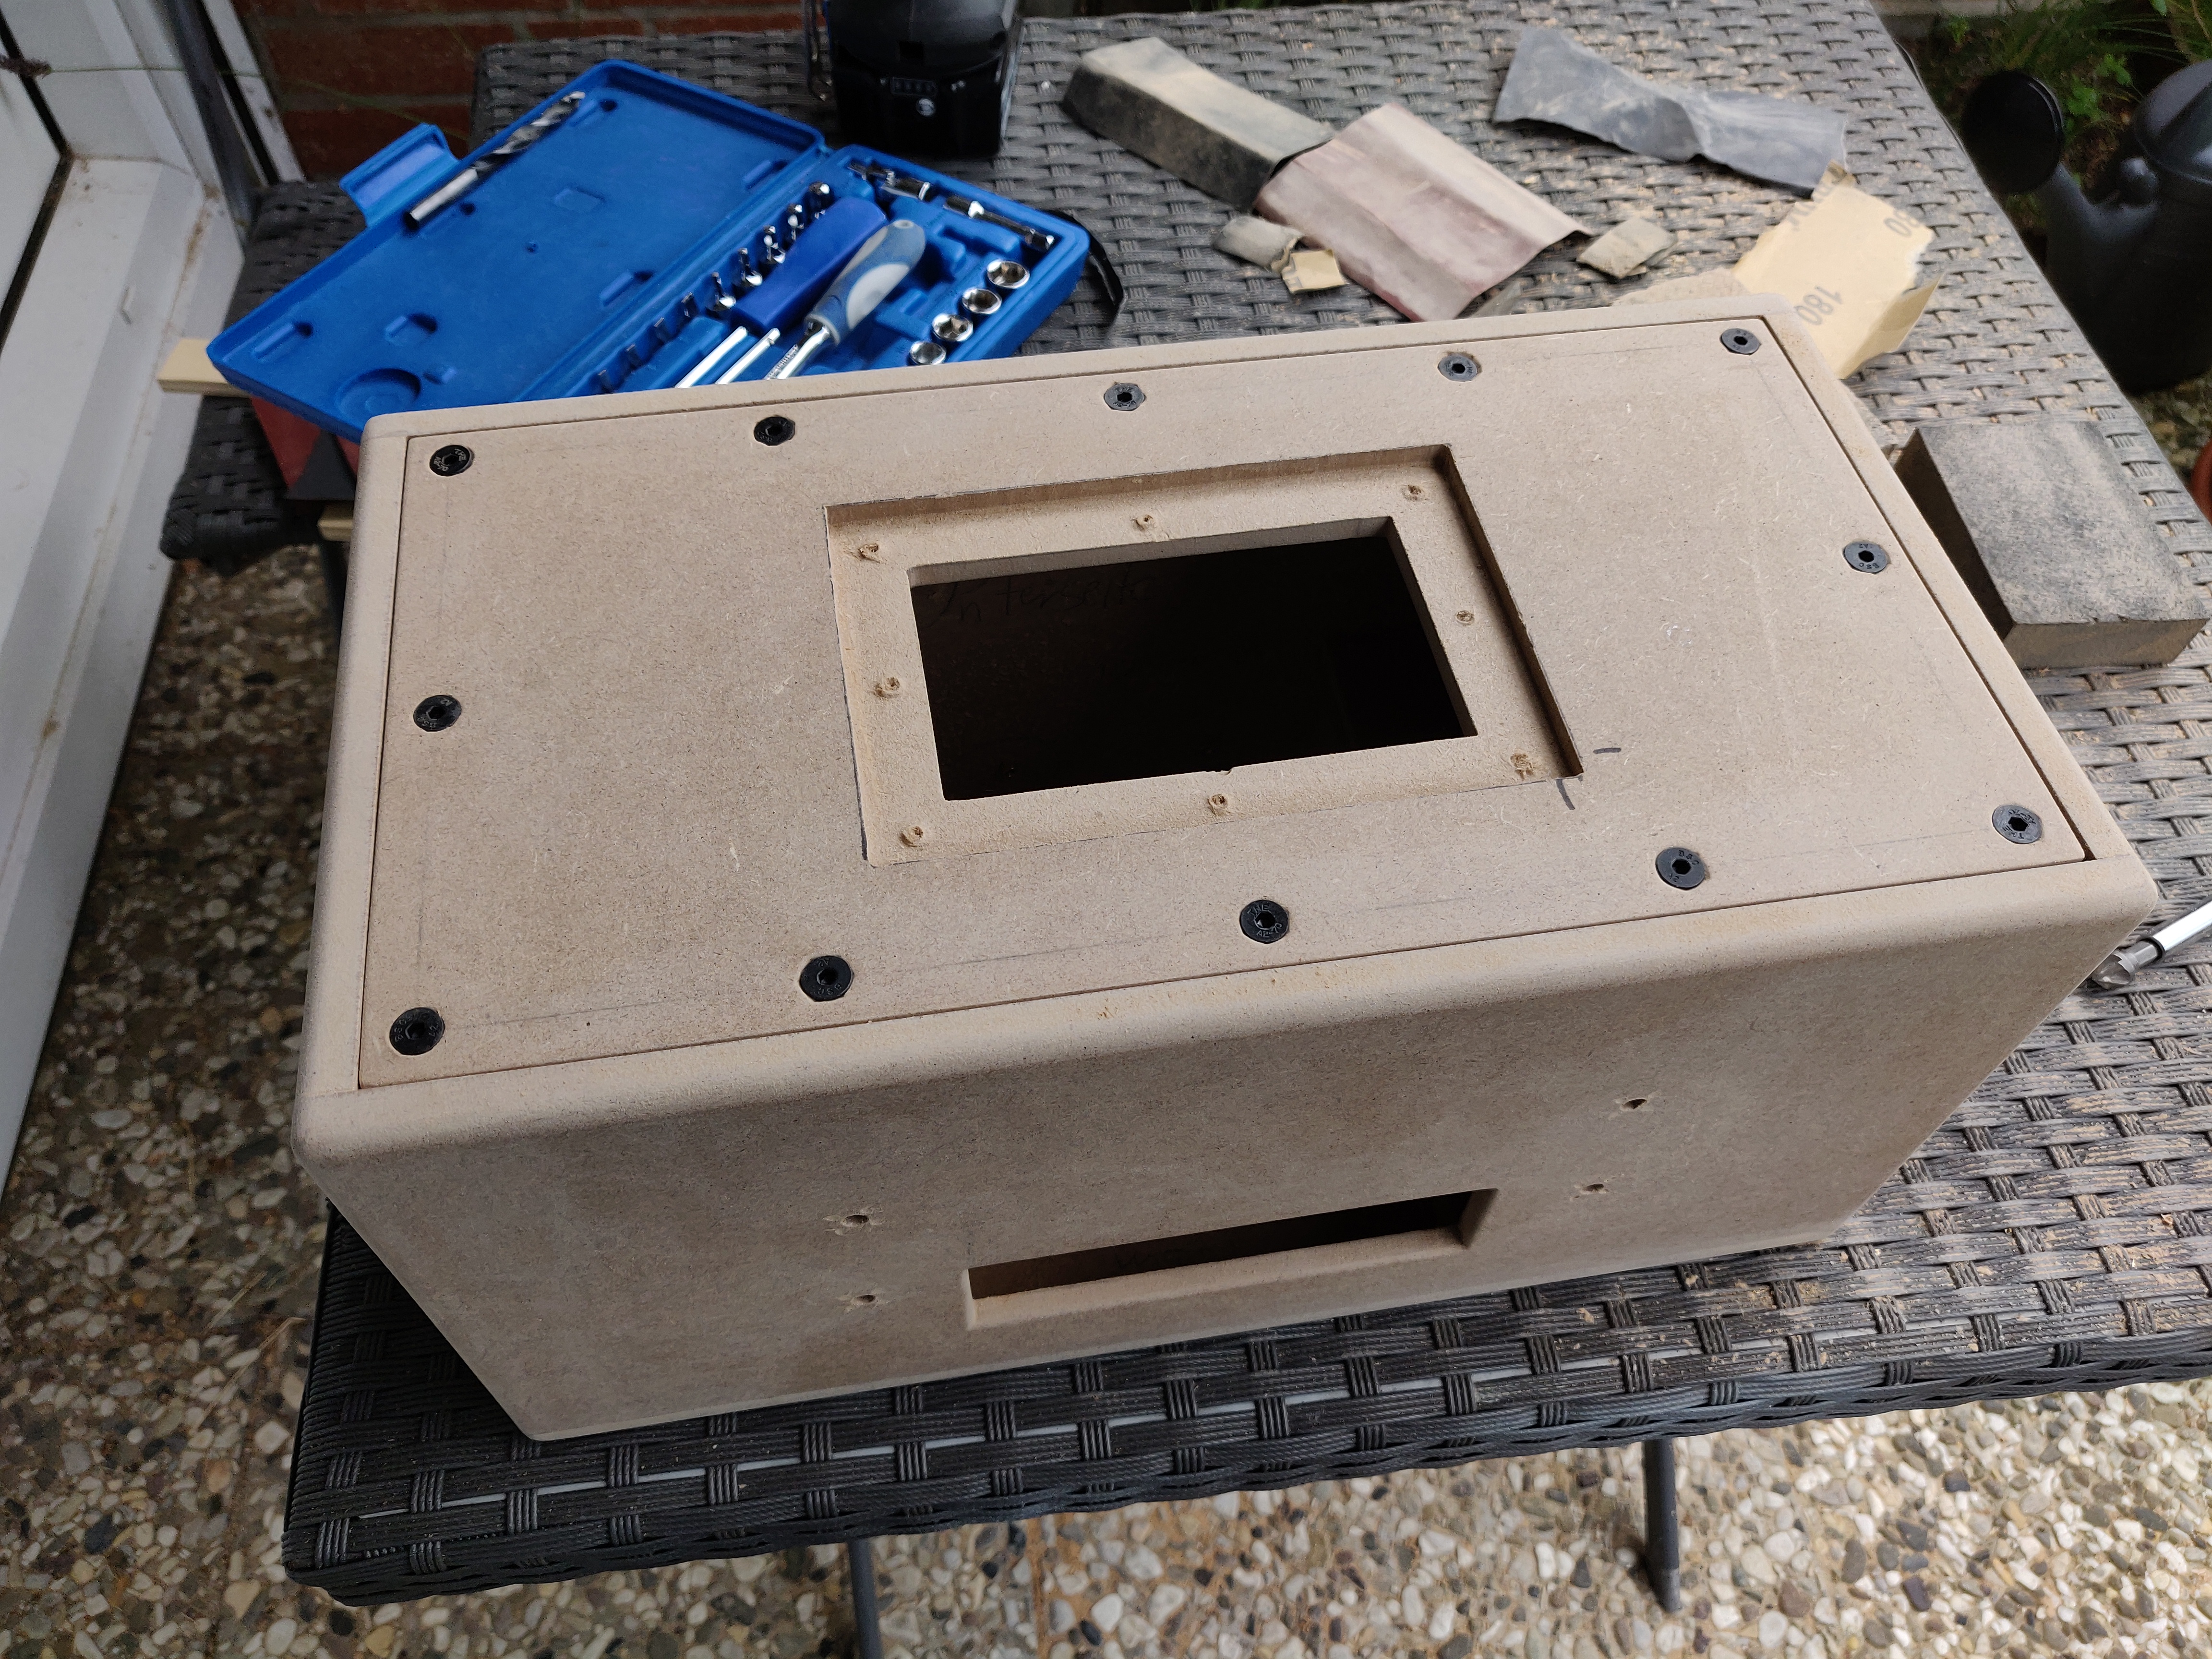
Top Side:
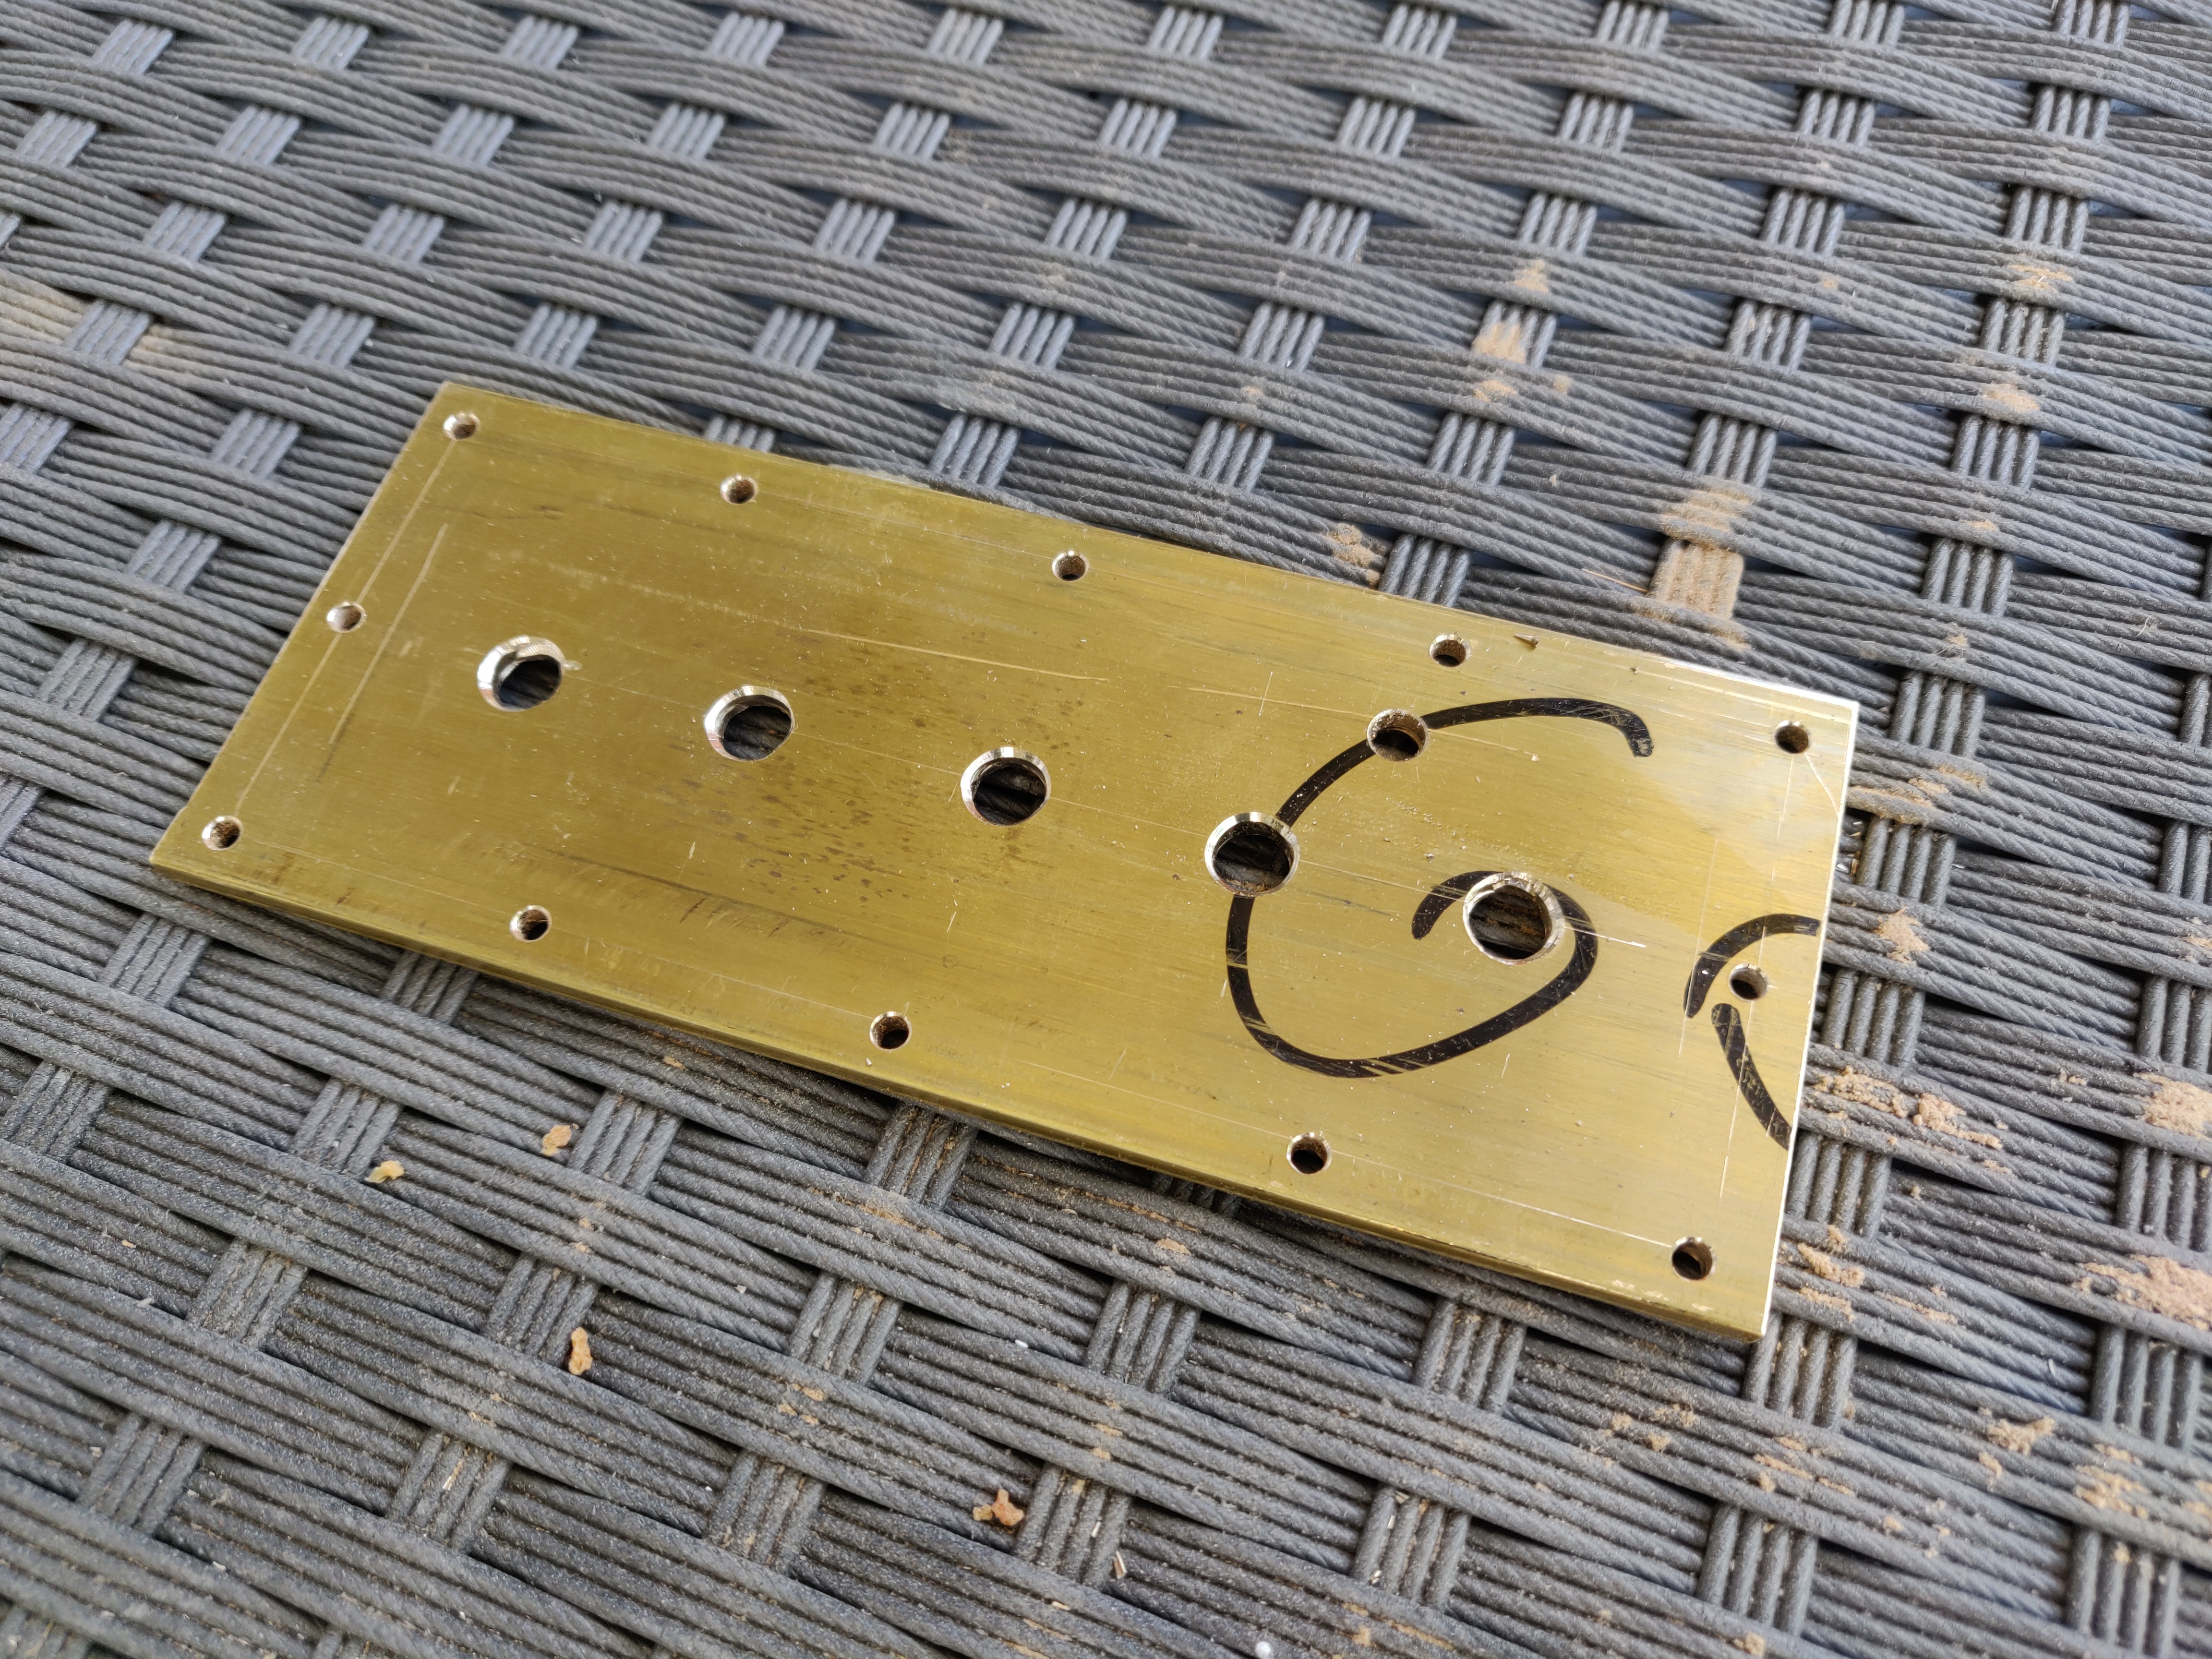
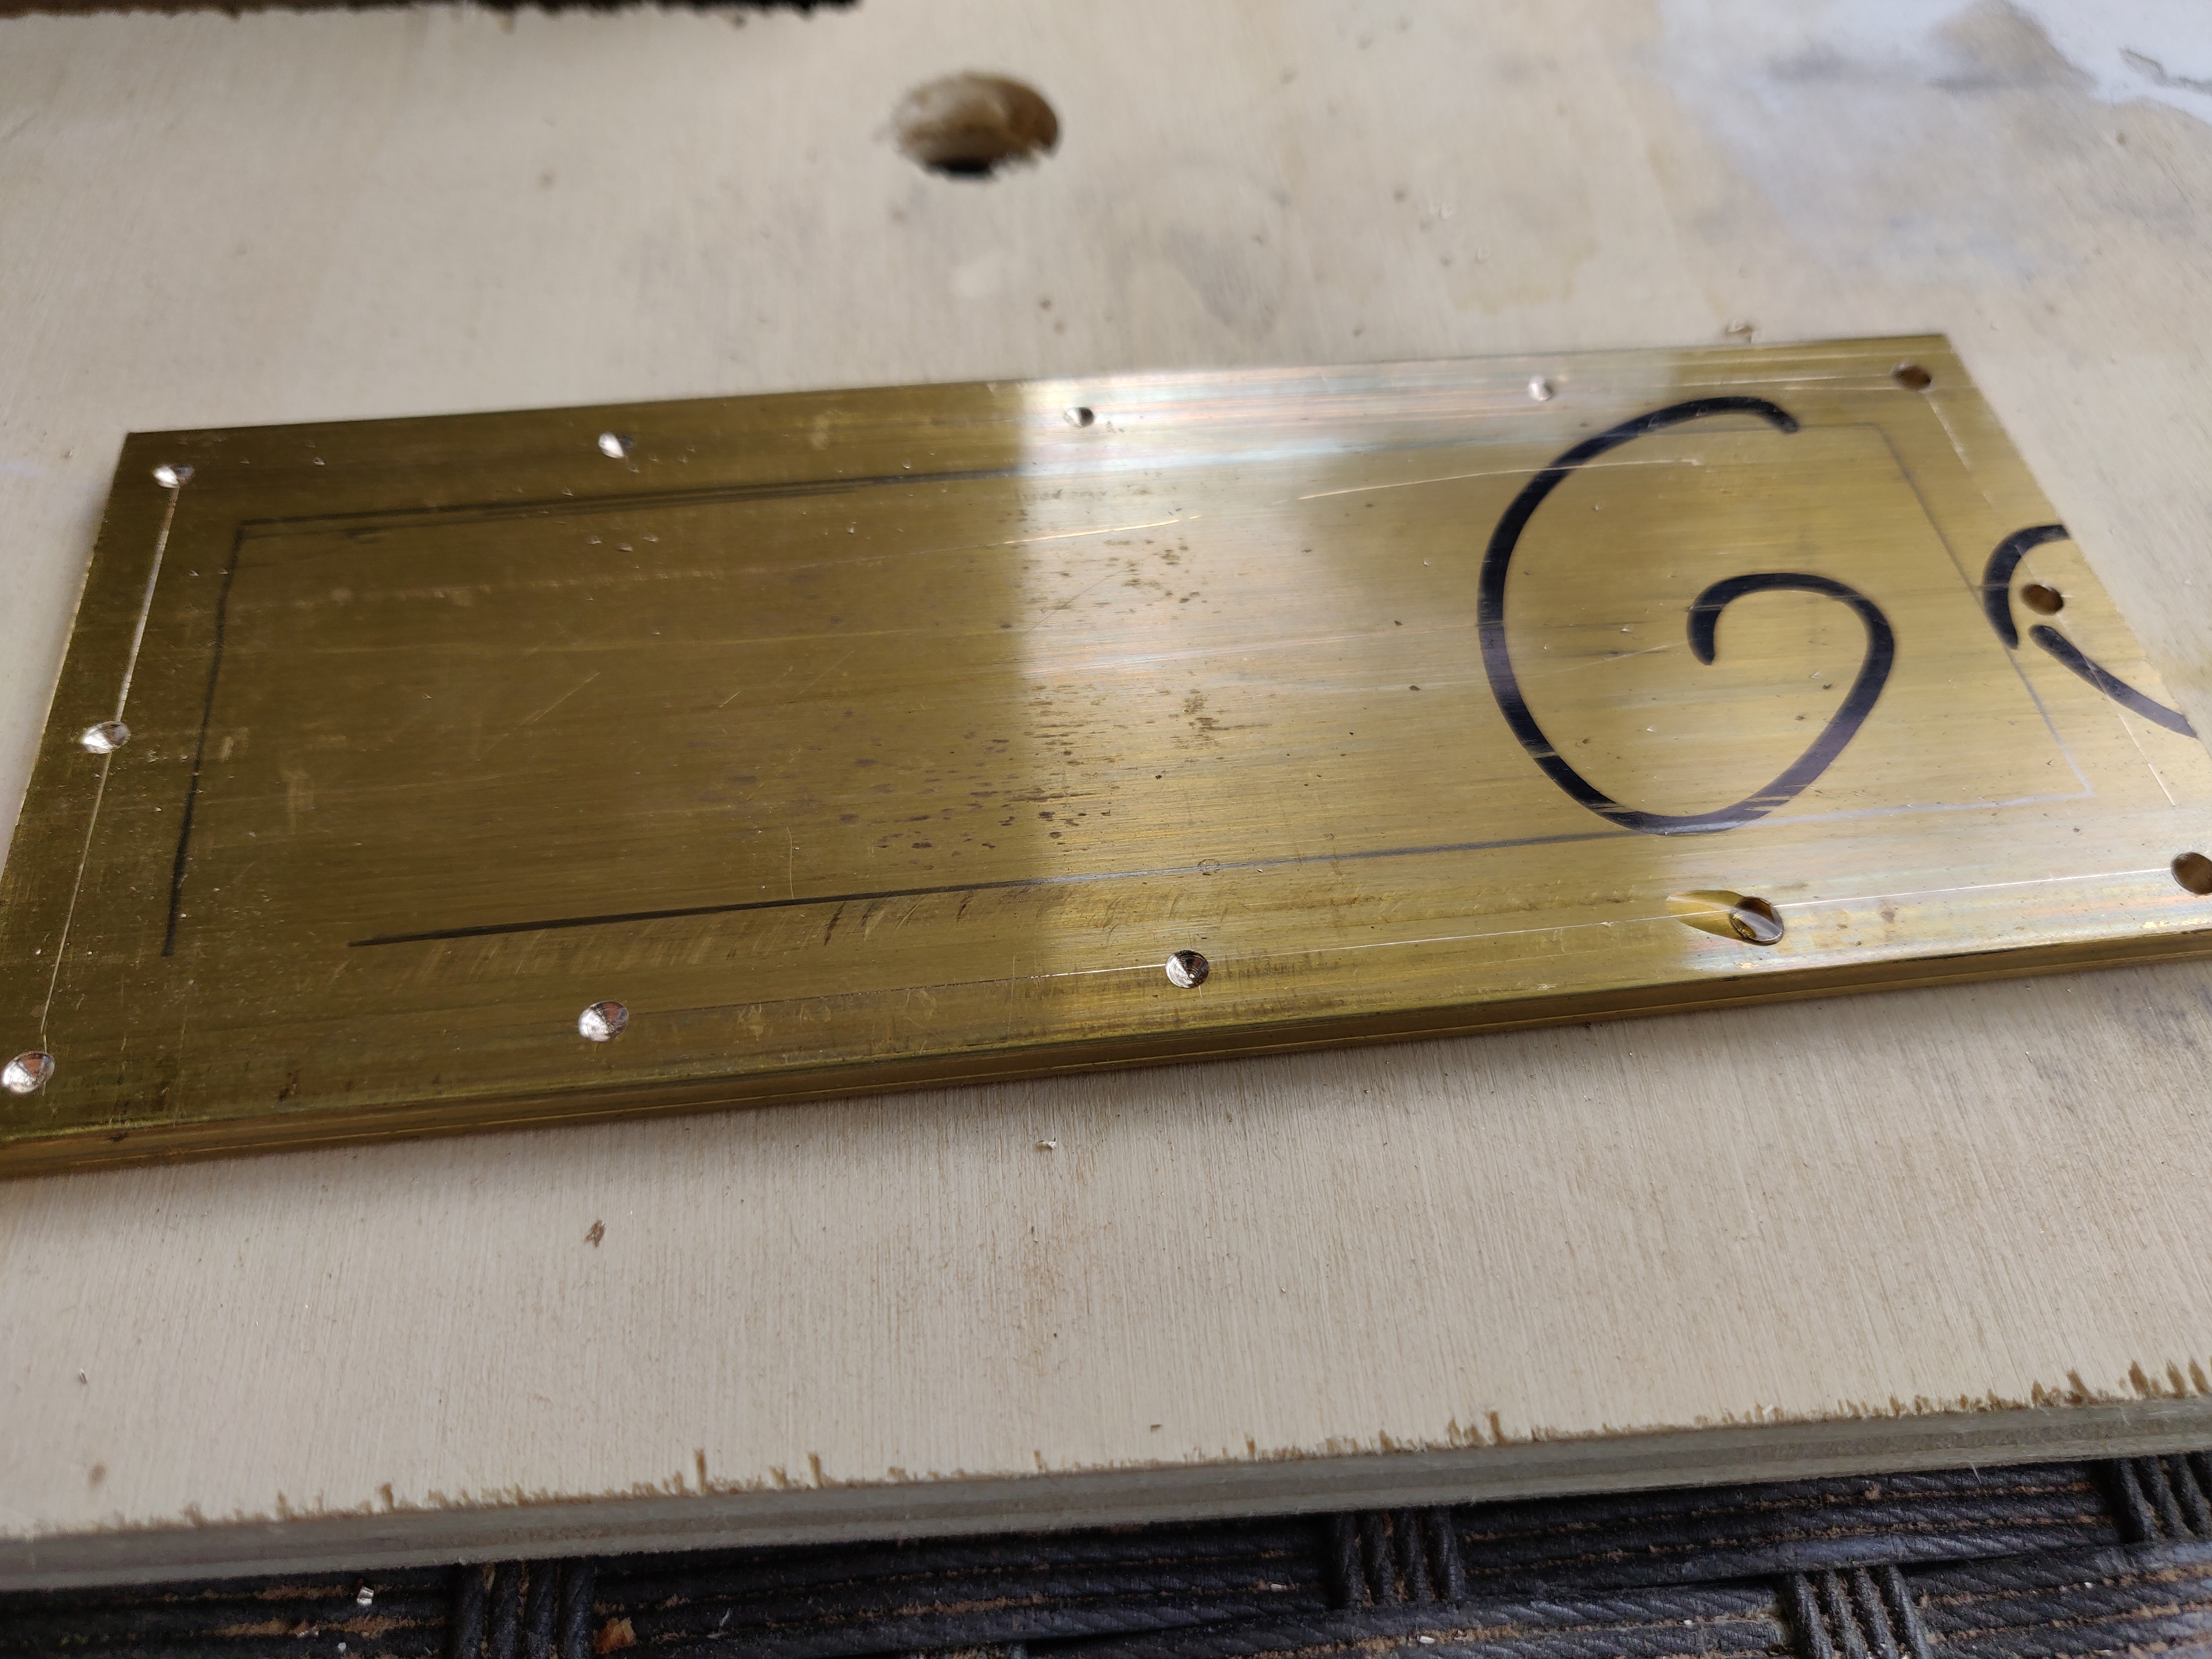
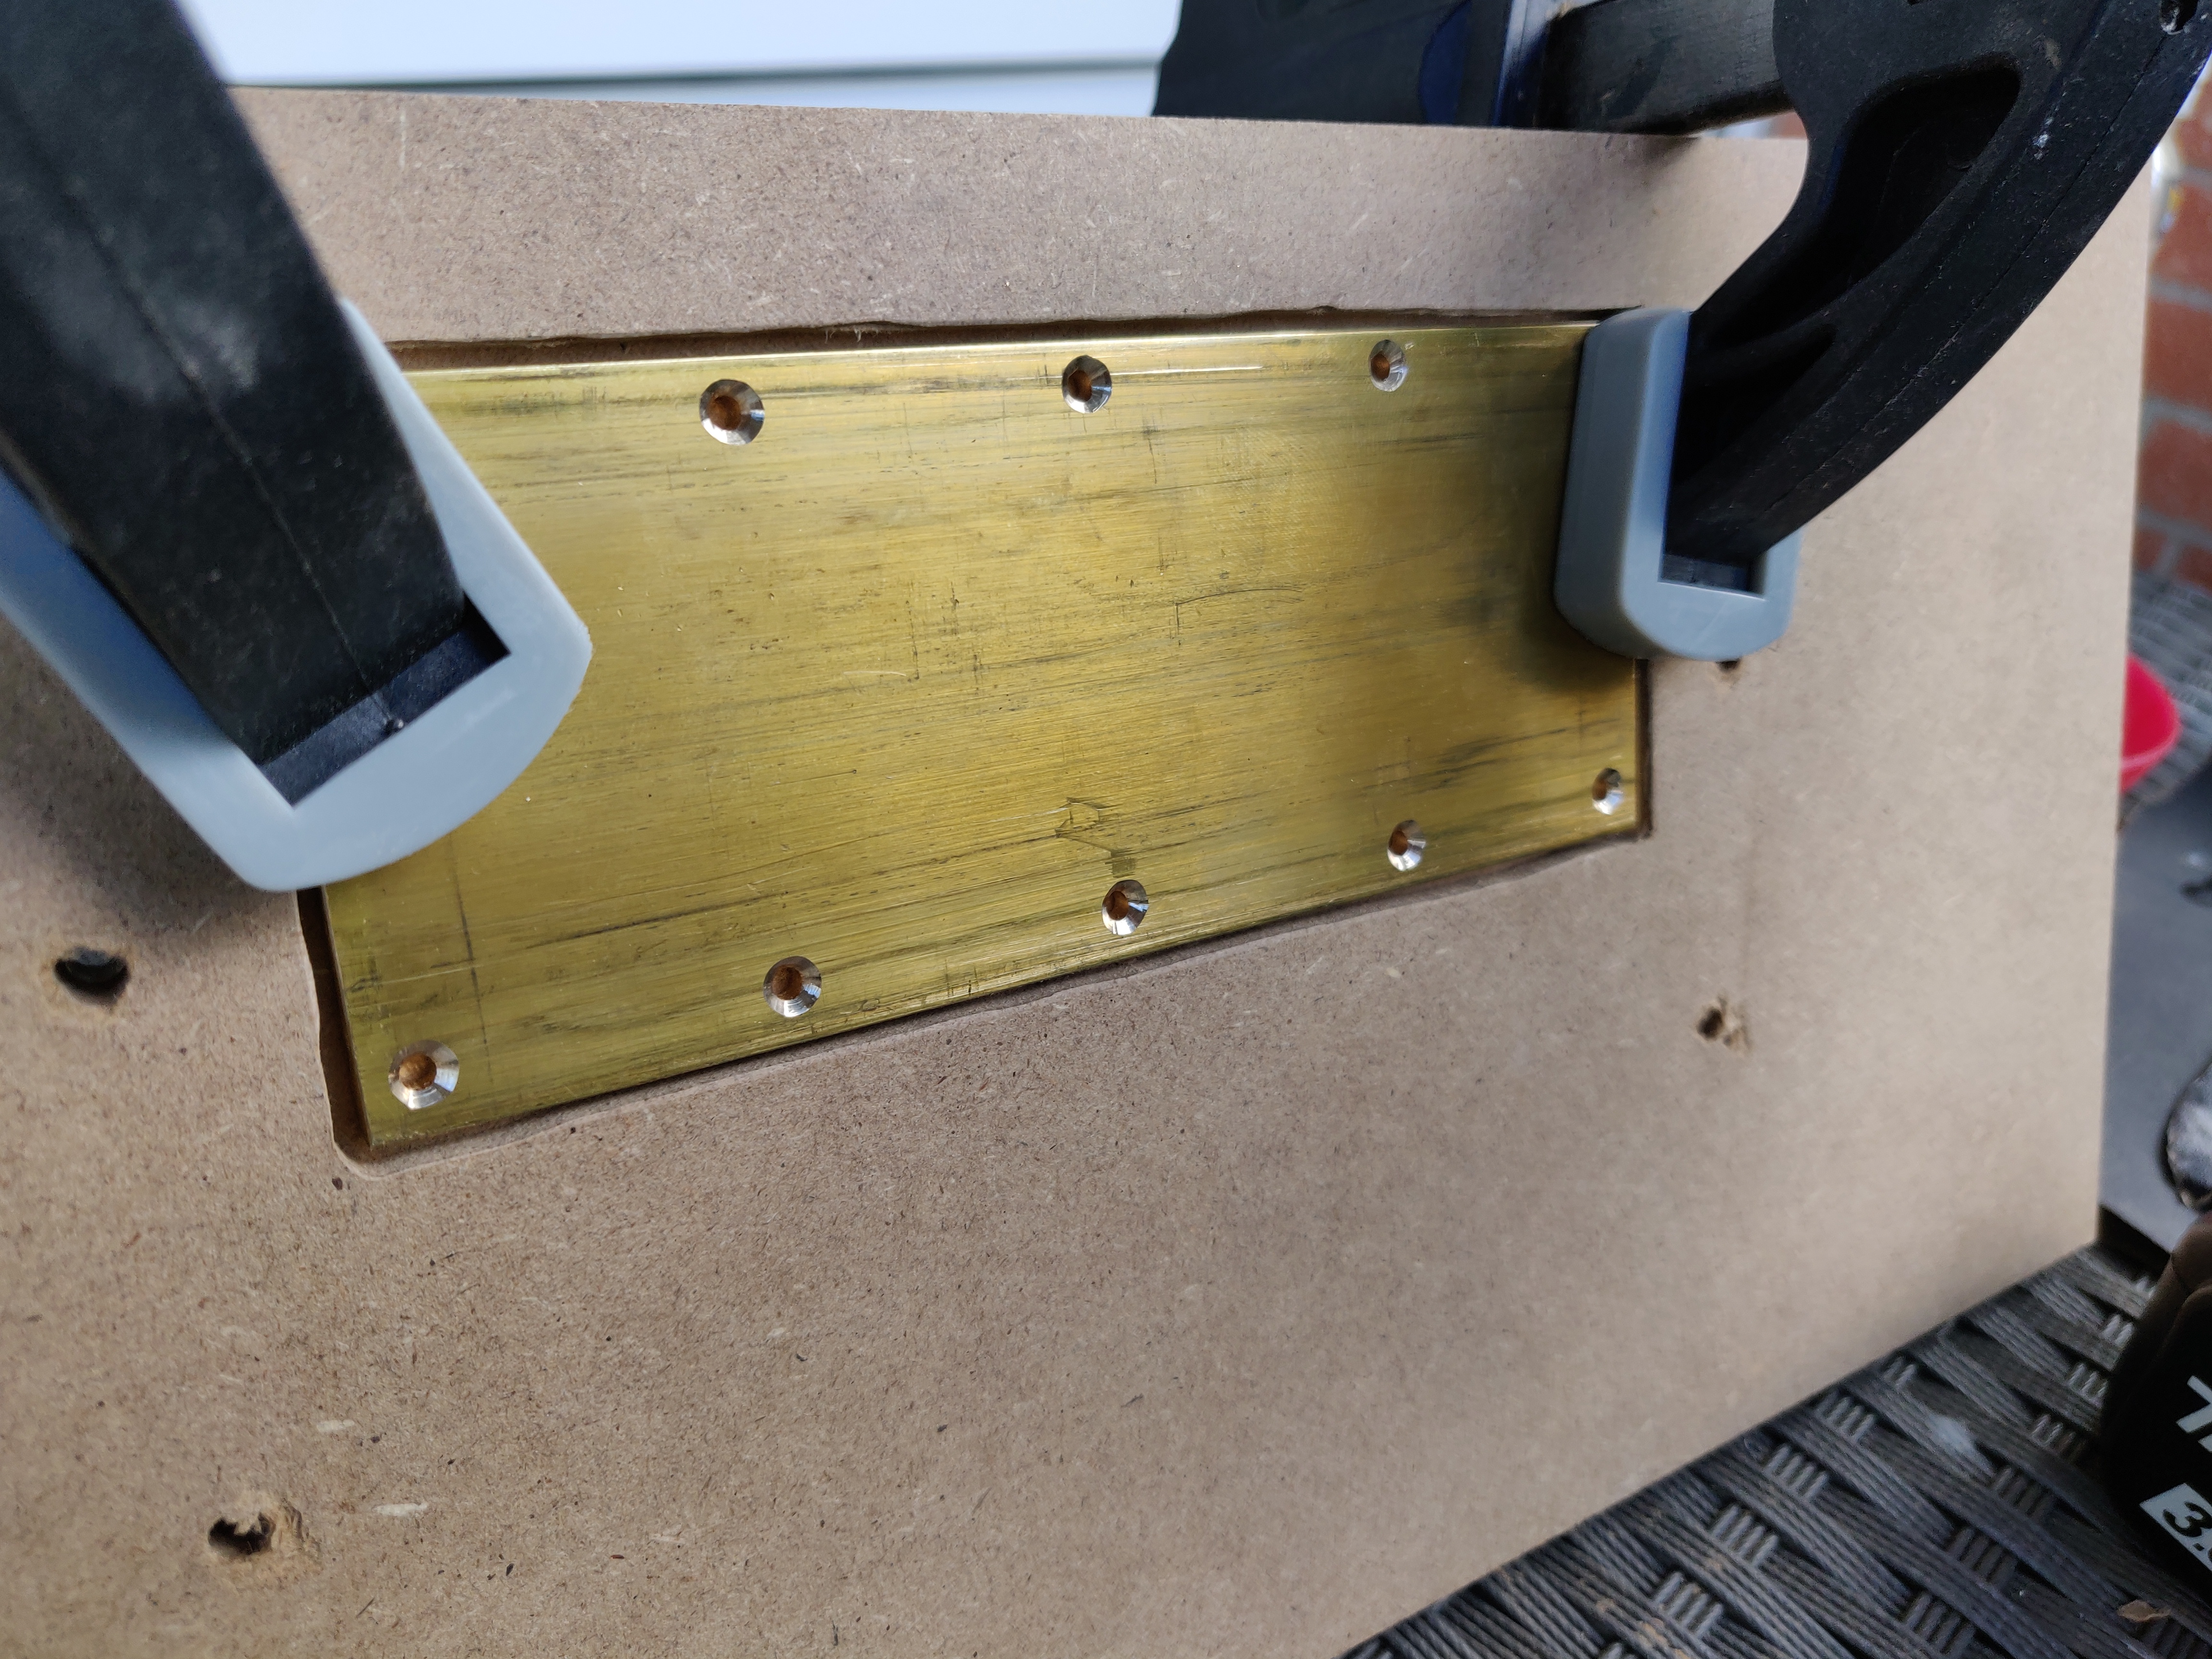
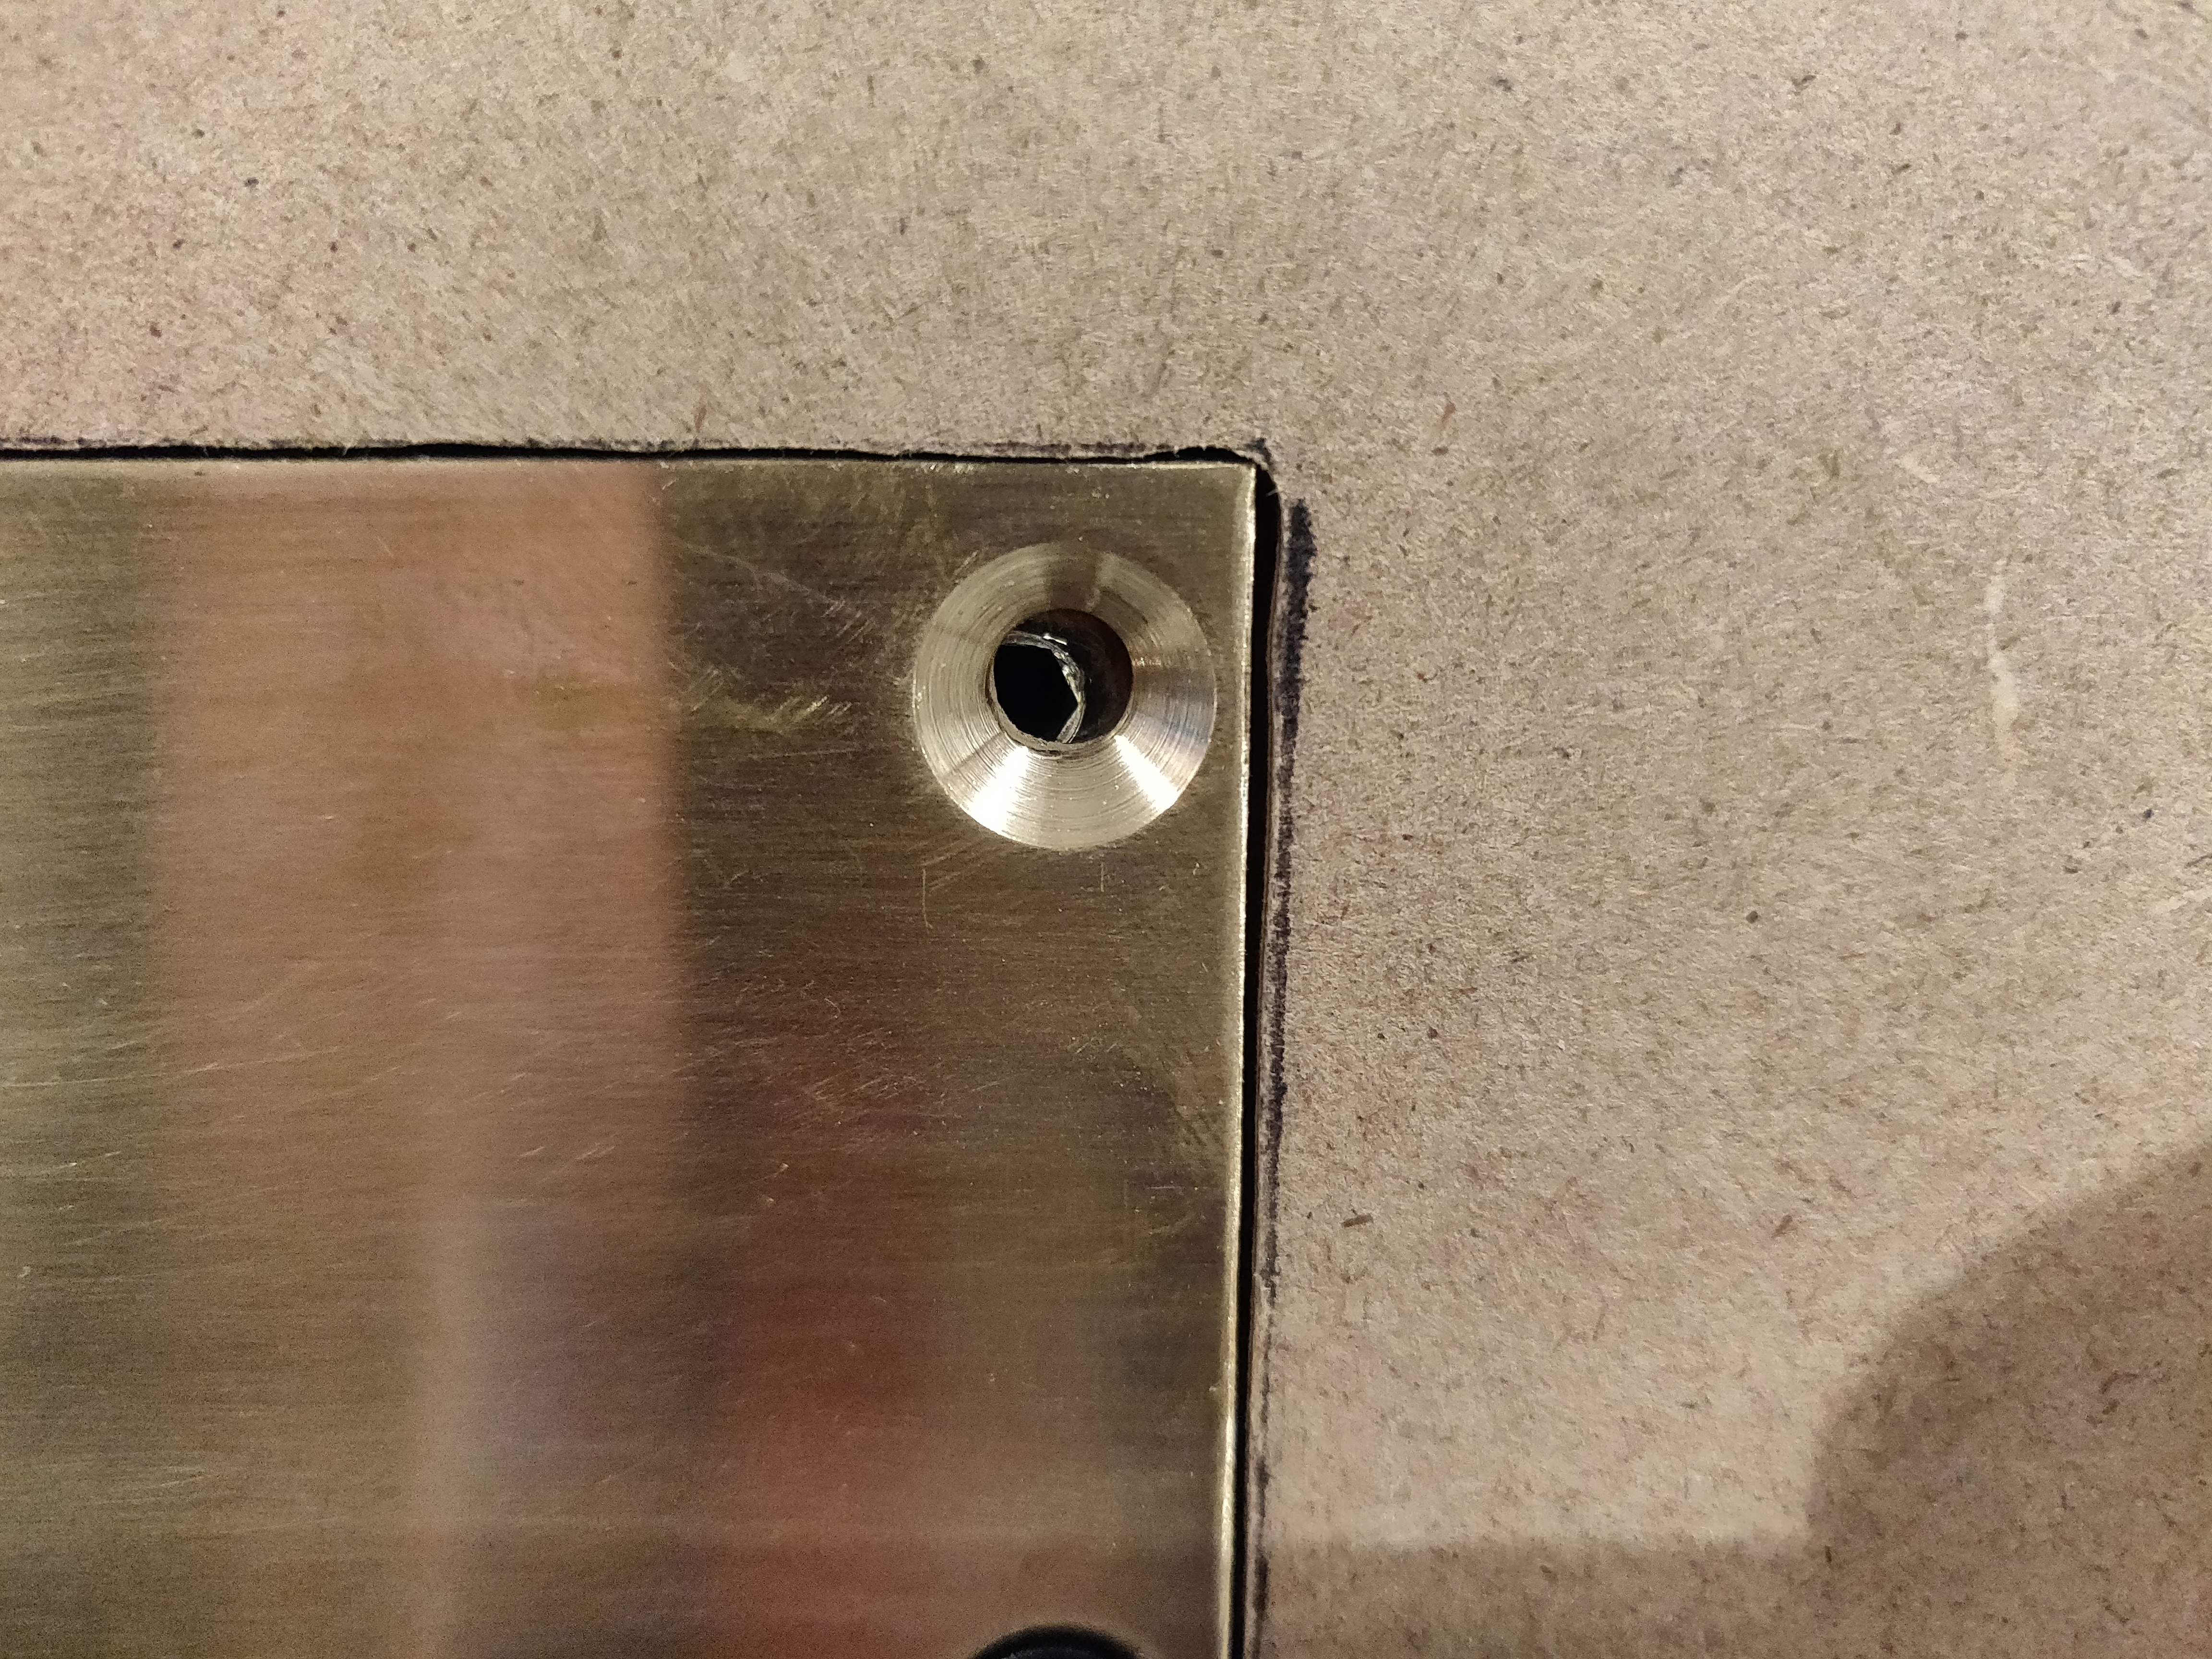
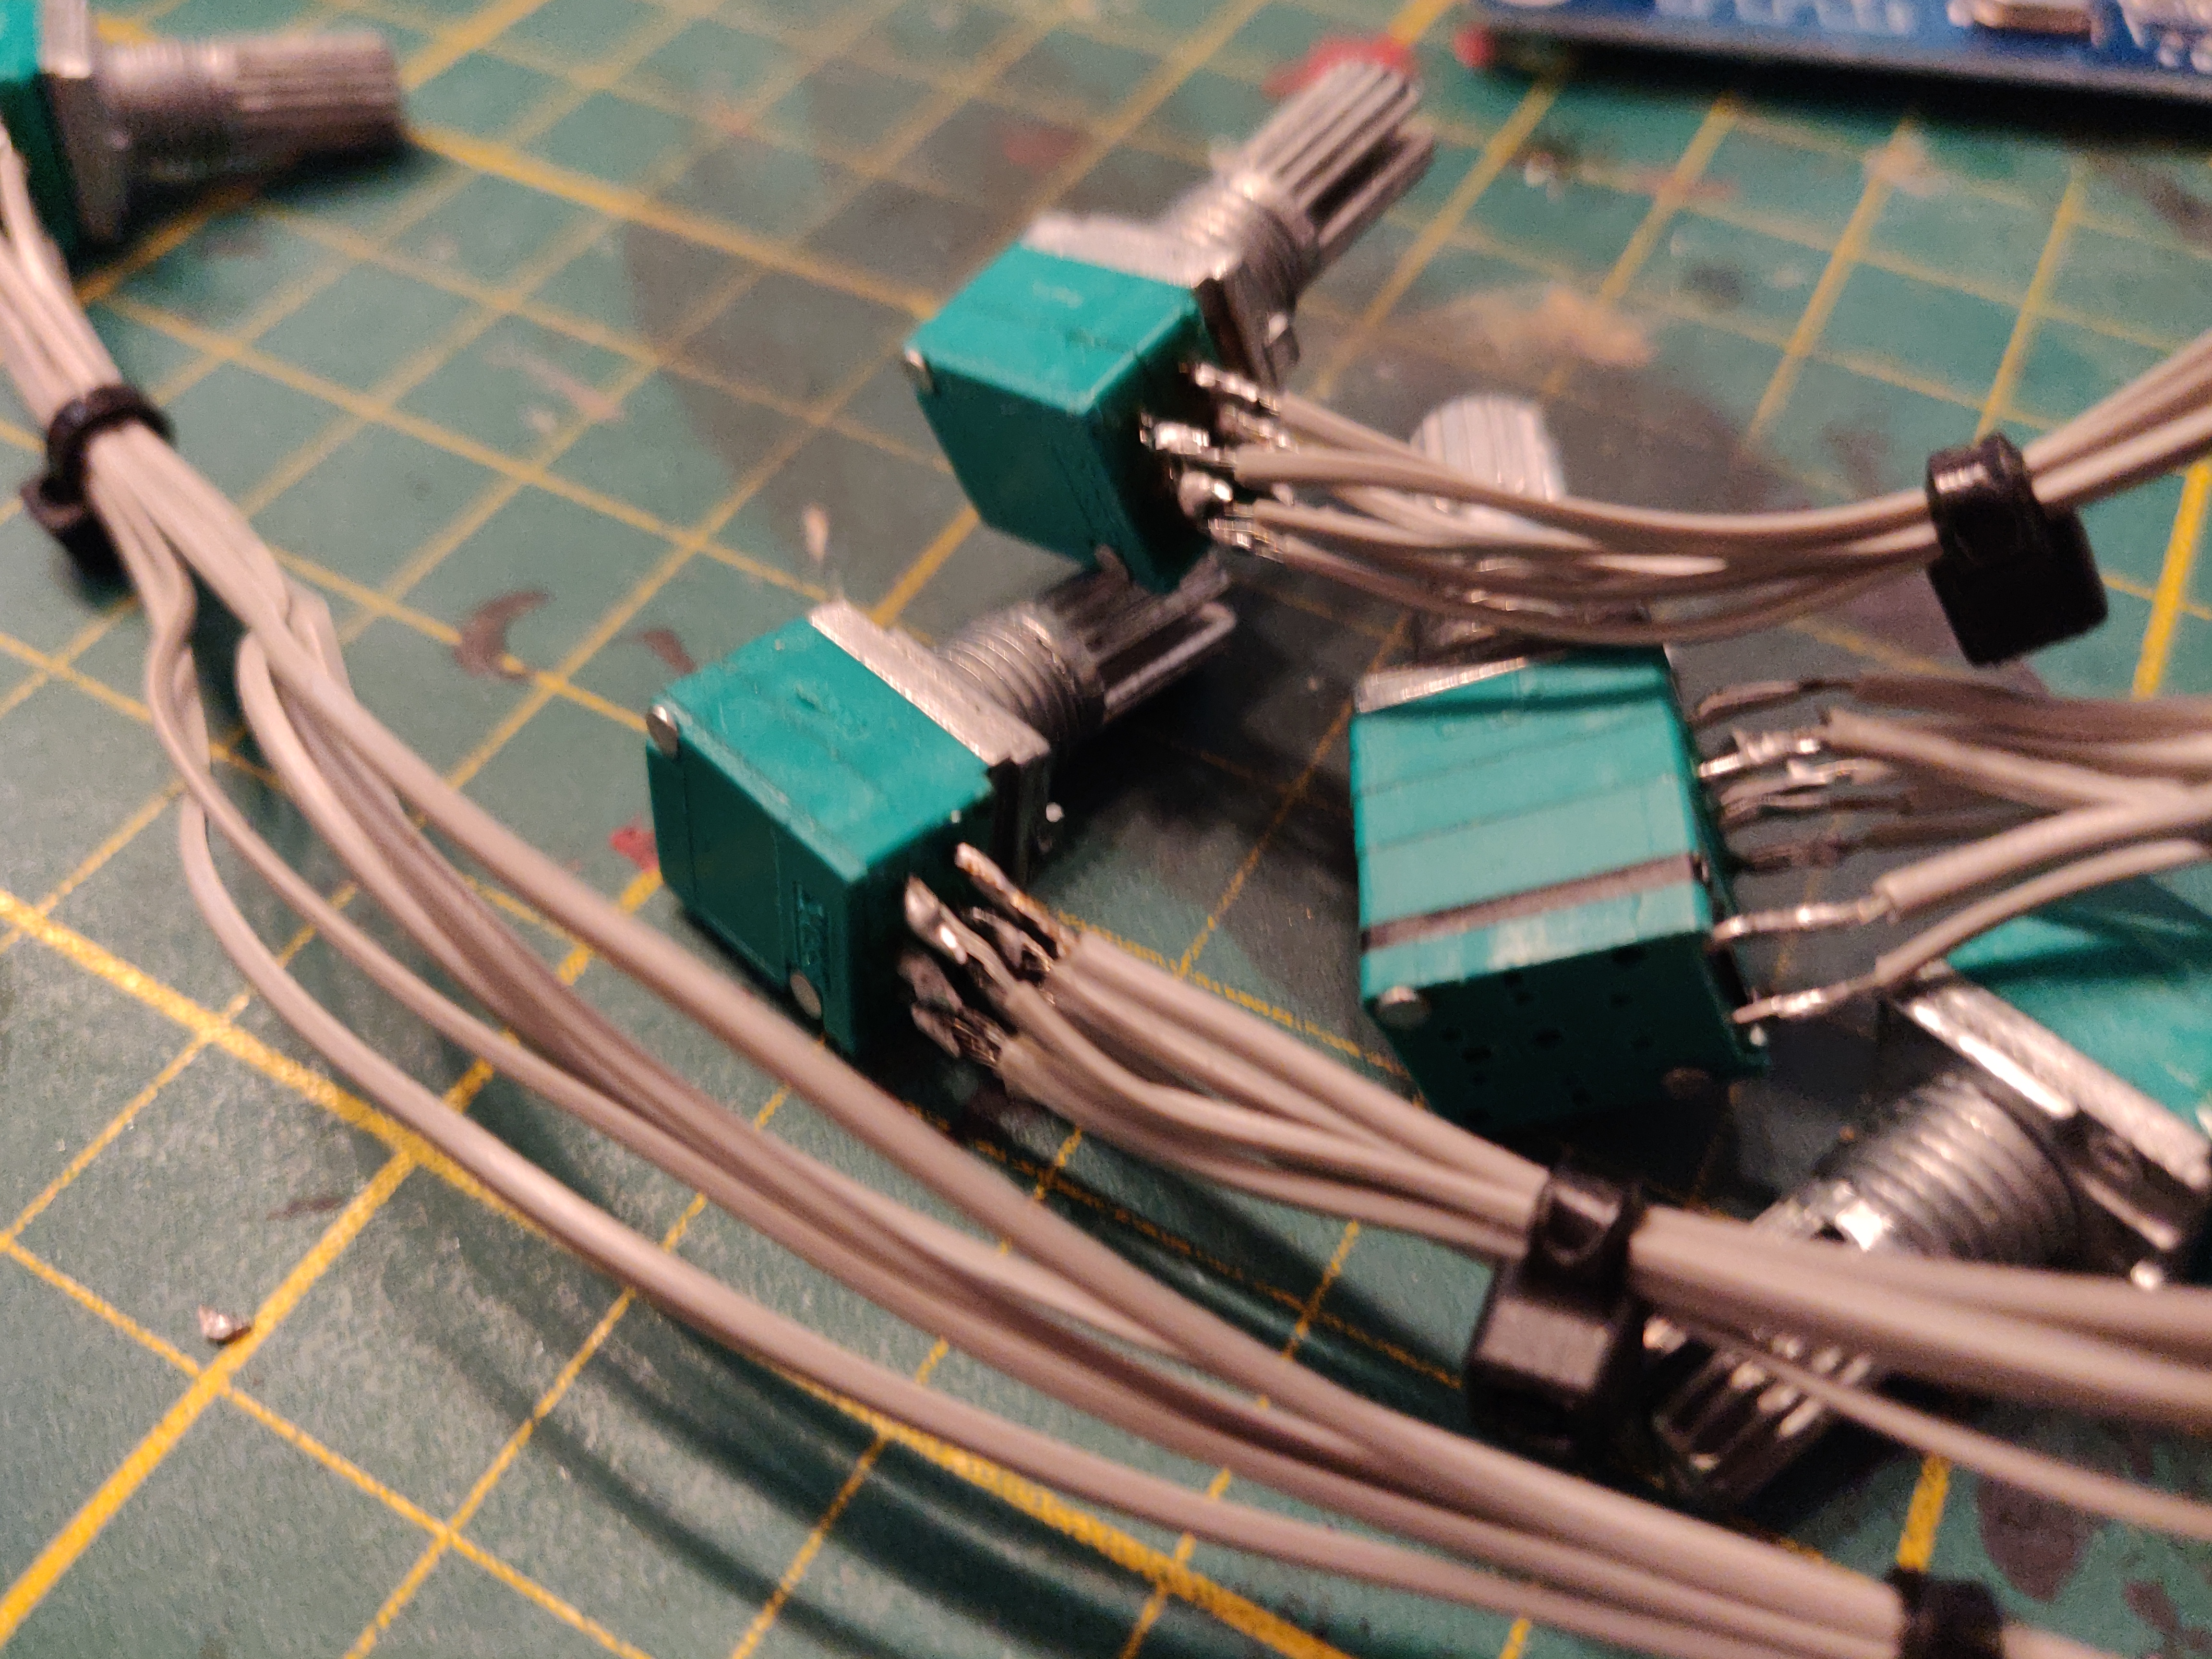
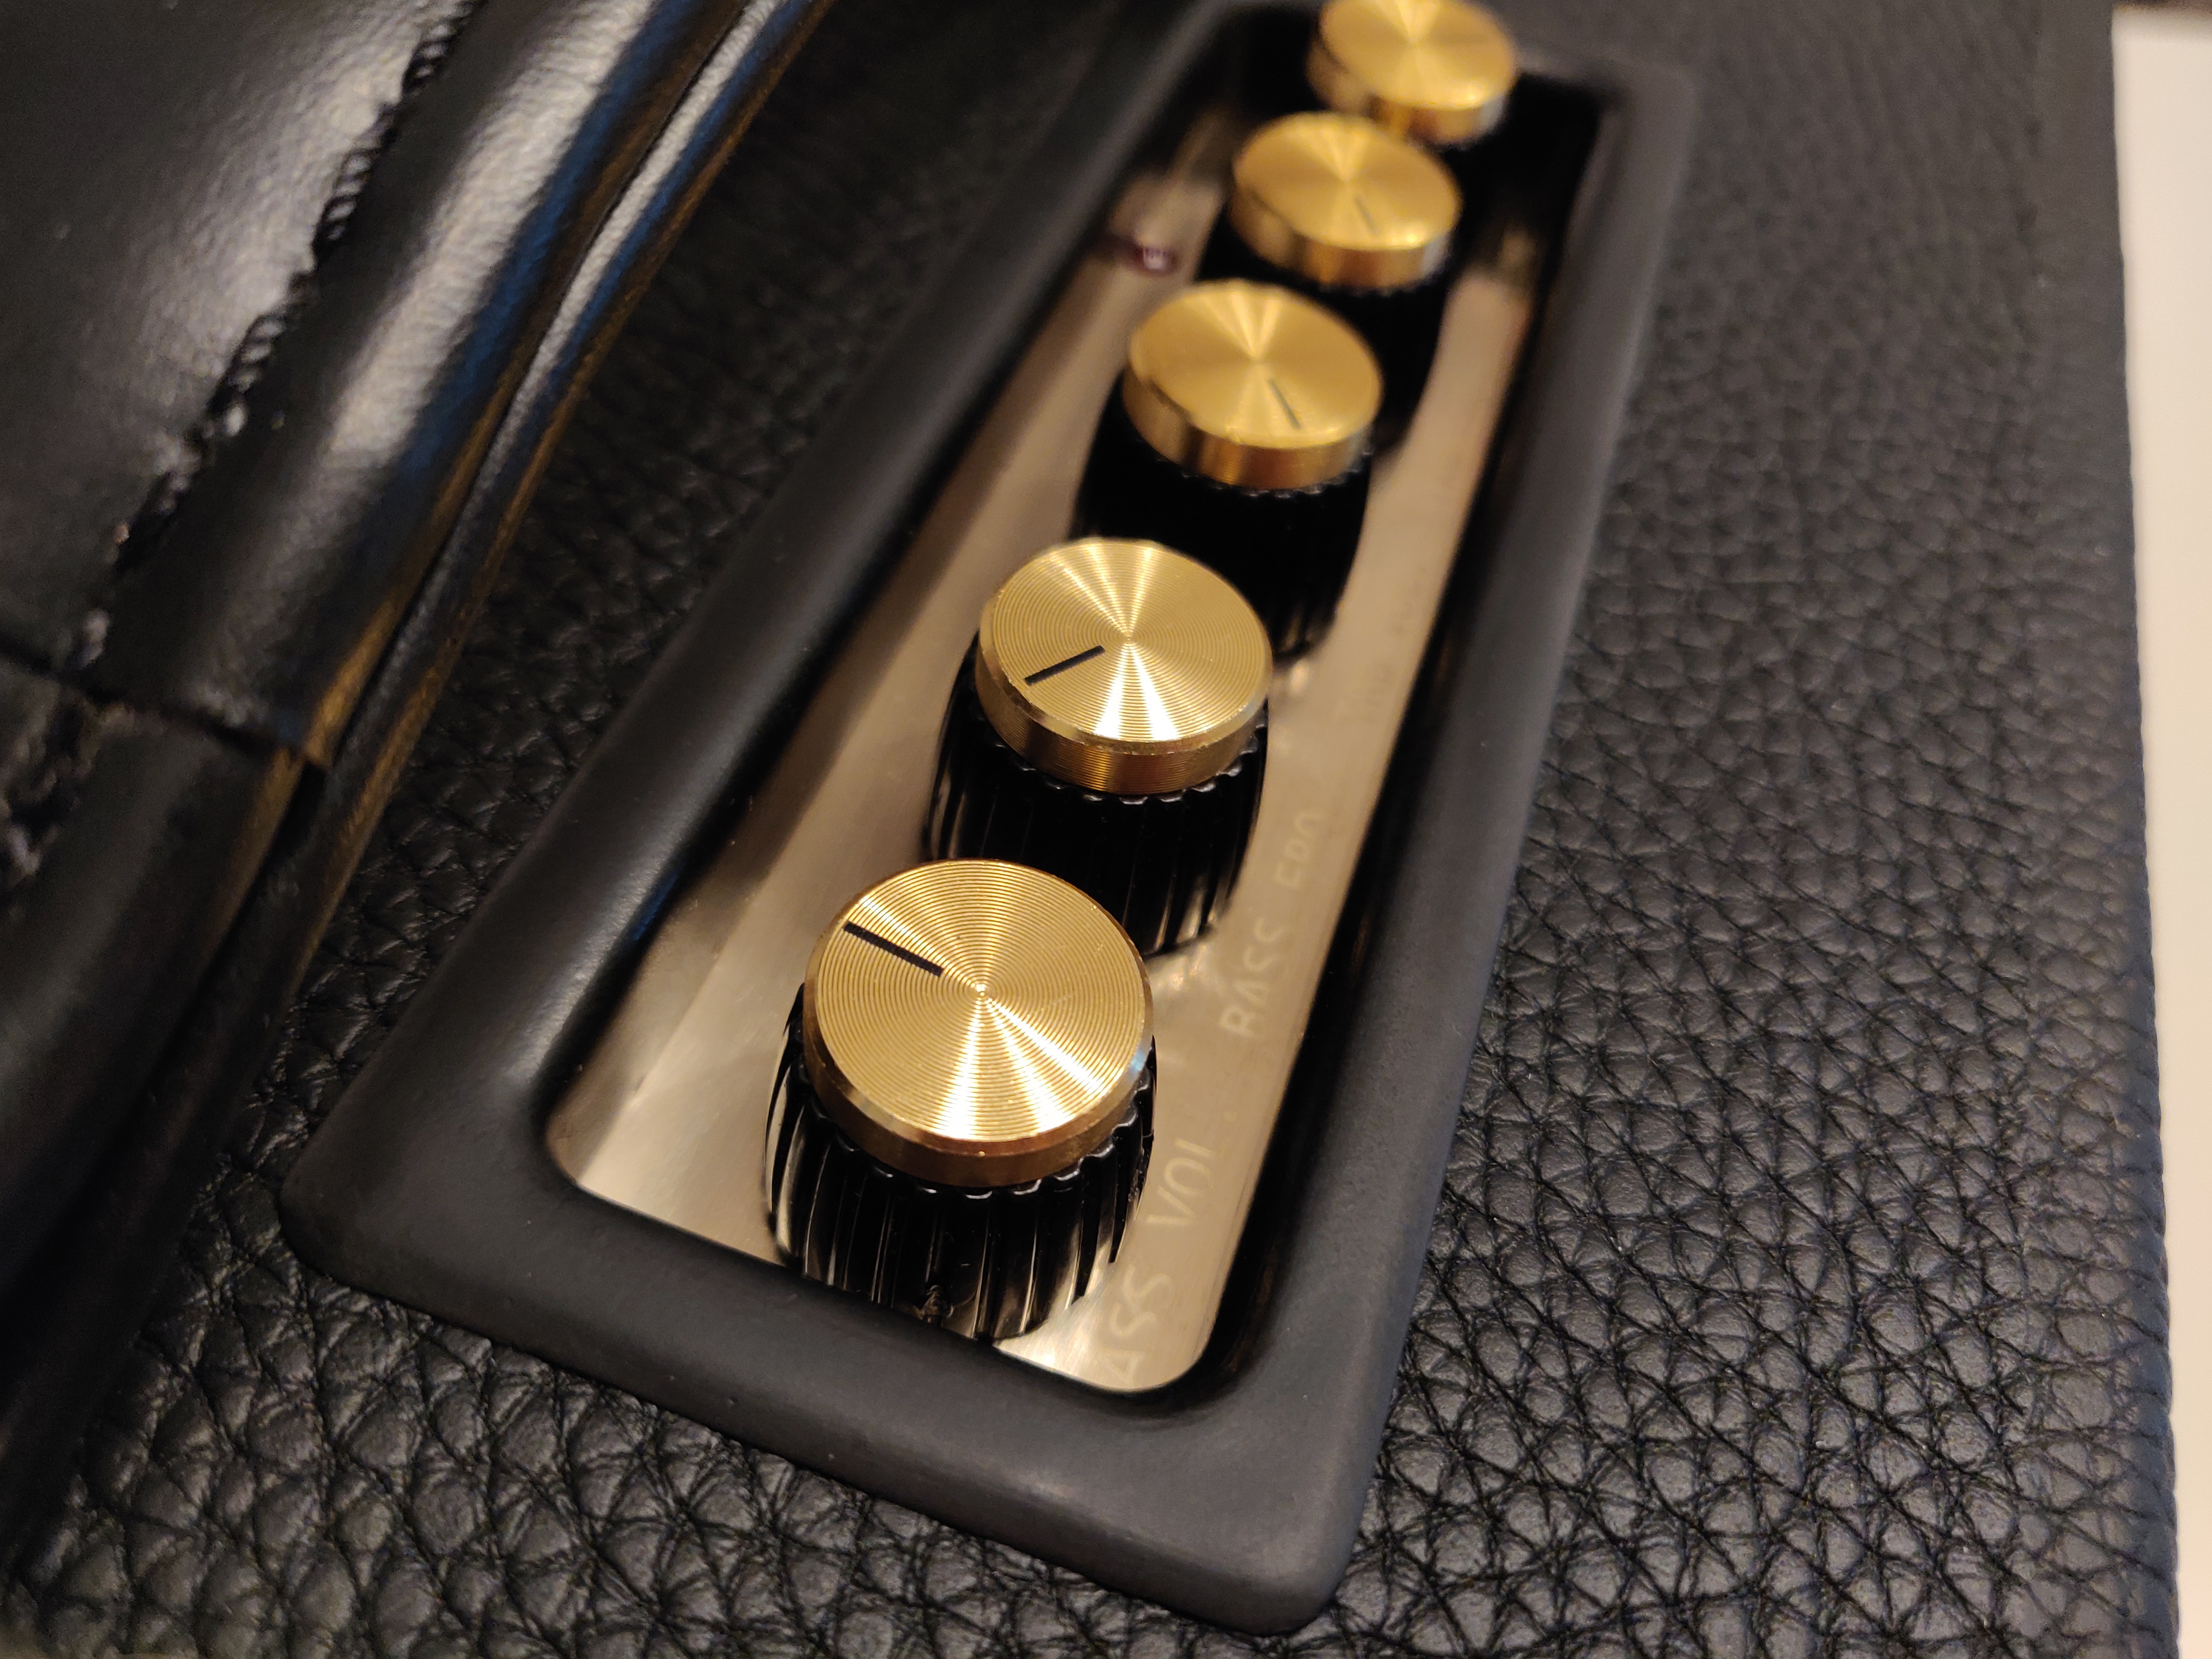
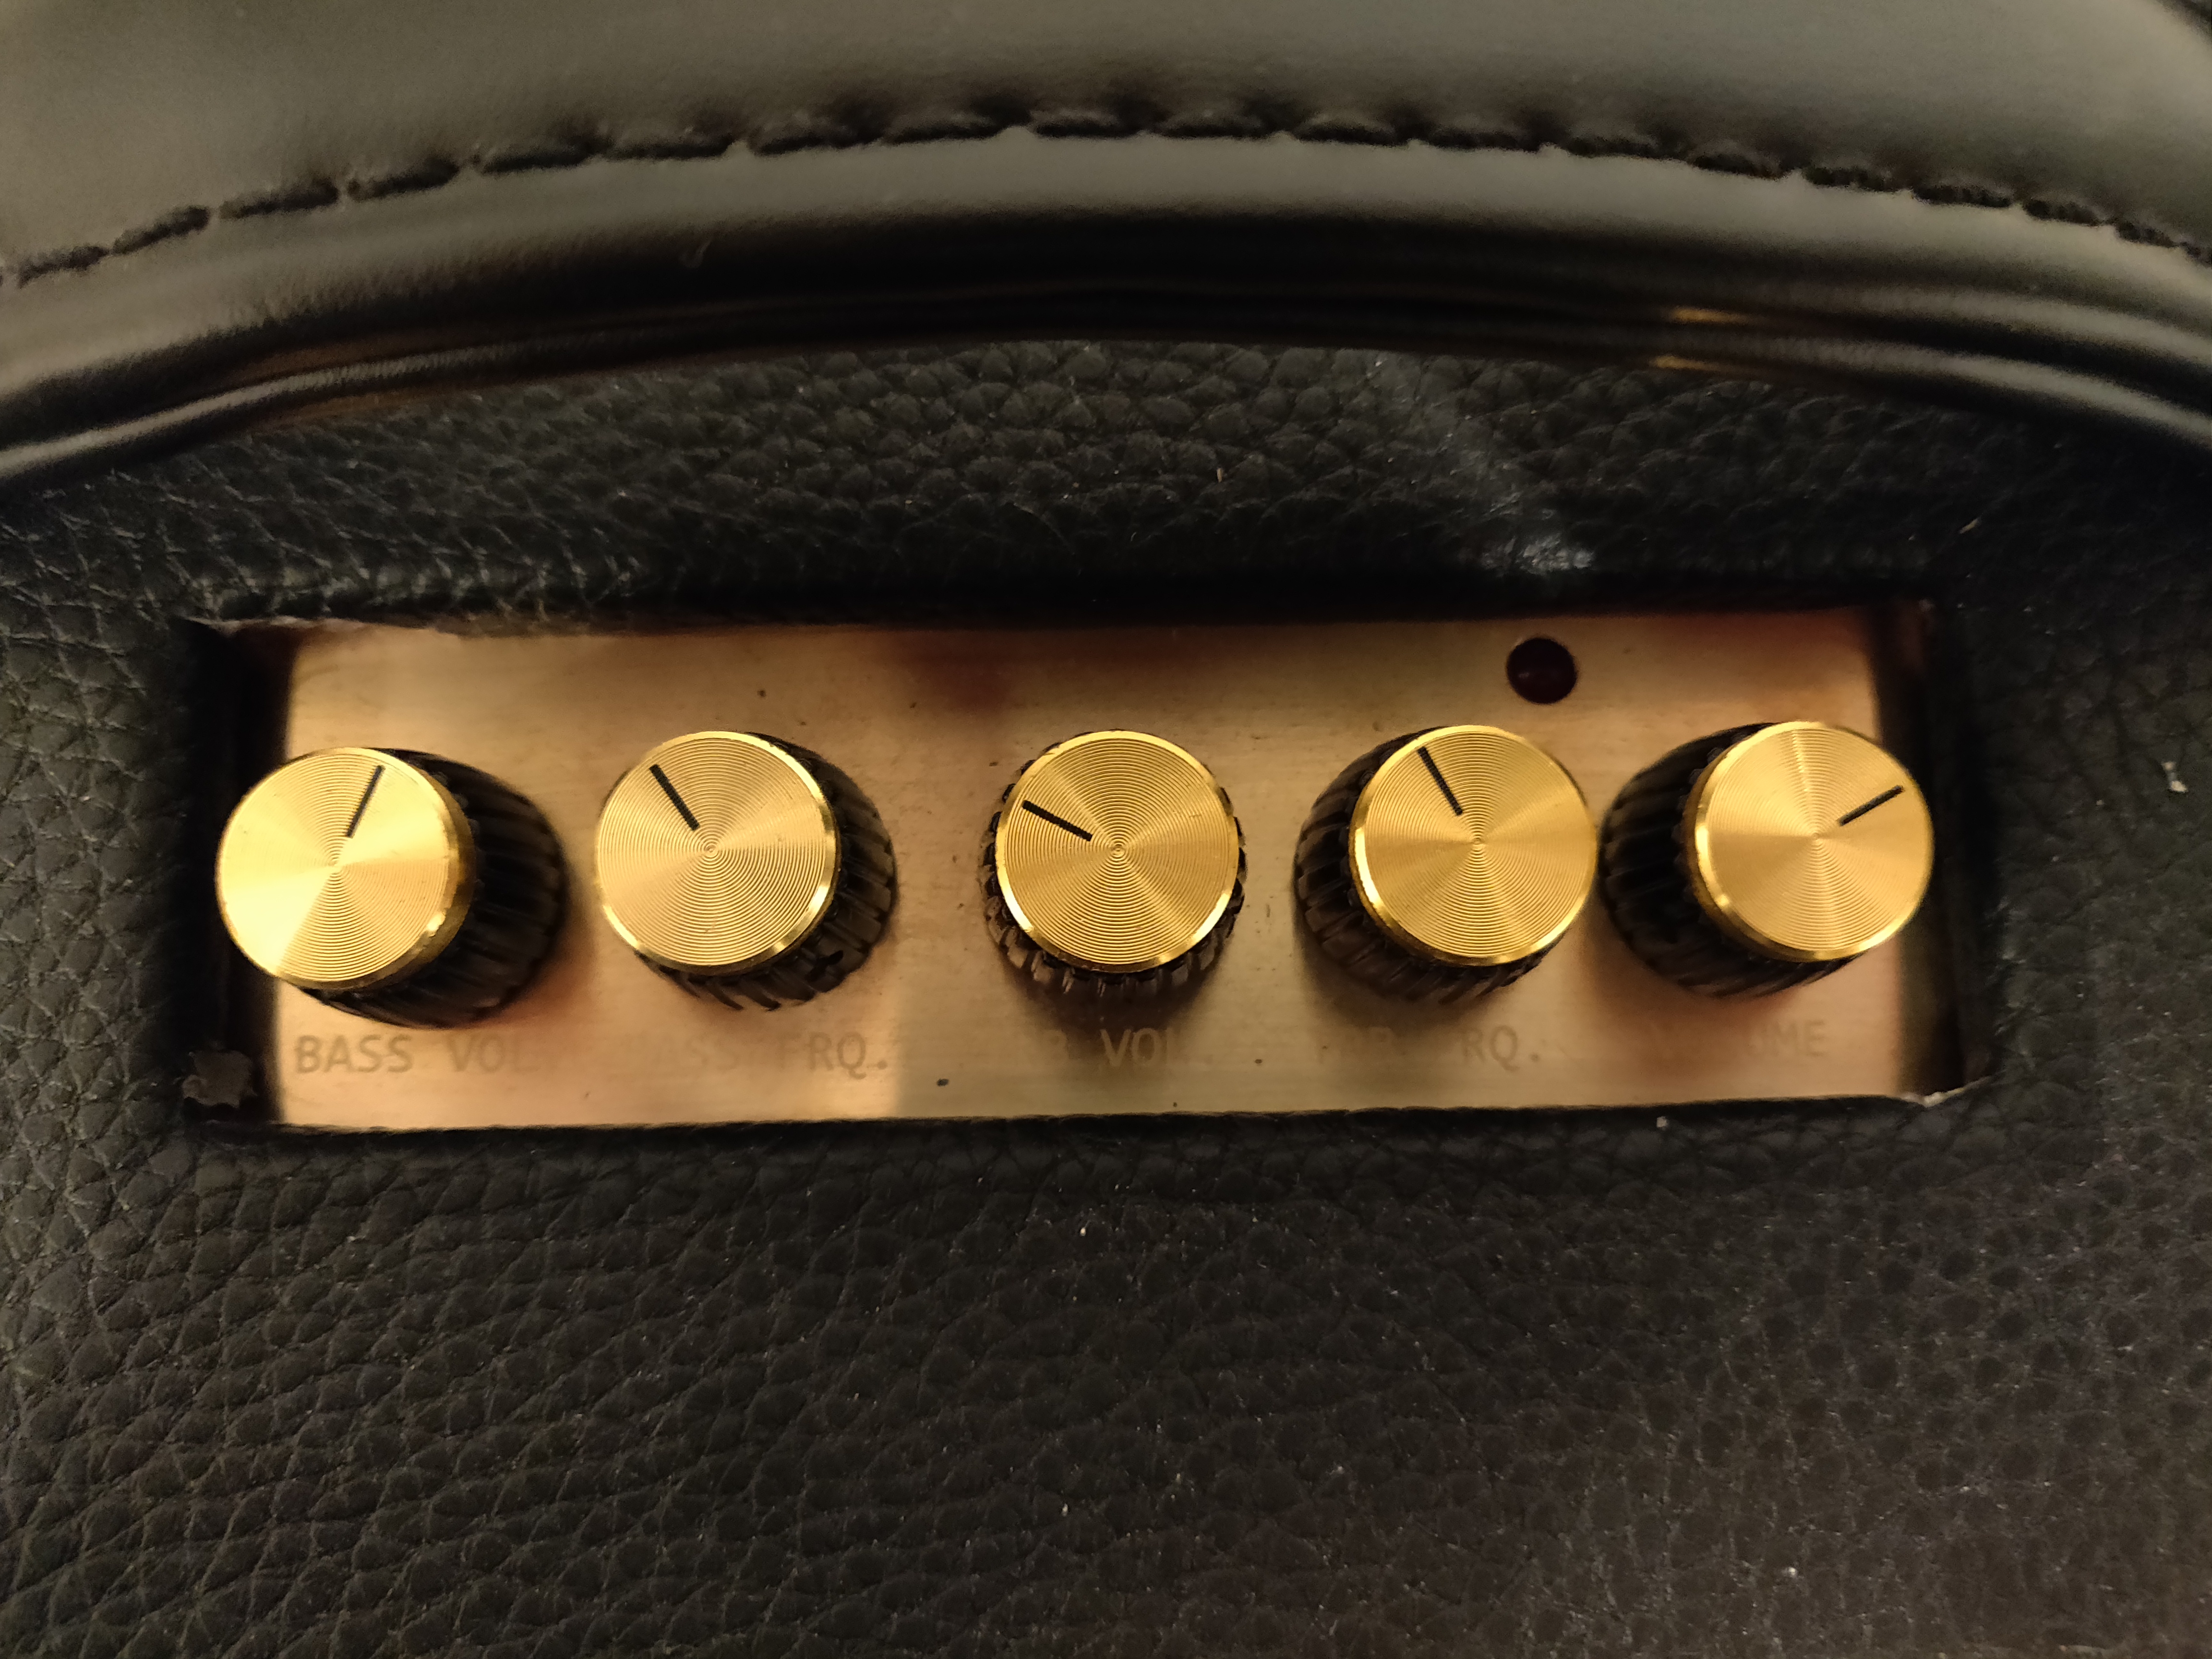
has a cutout for the volume, treble, bass etc. knobs. They all sit in a custom made brass plate with laser etching -
Back Side:
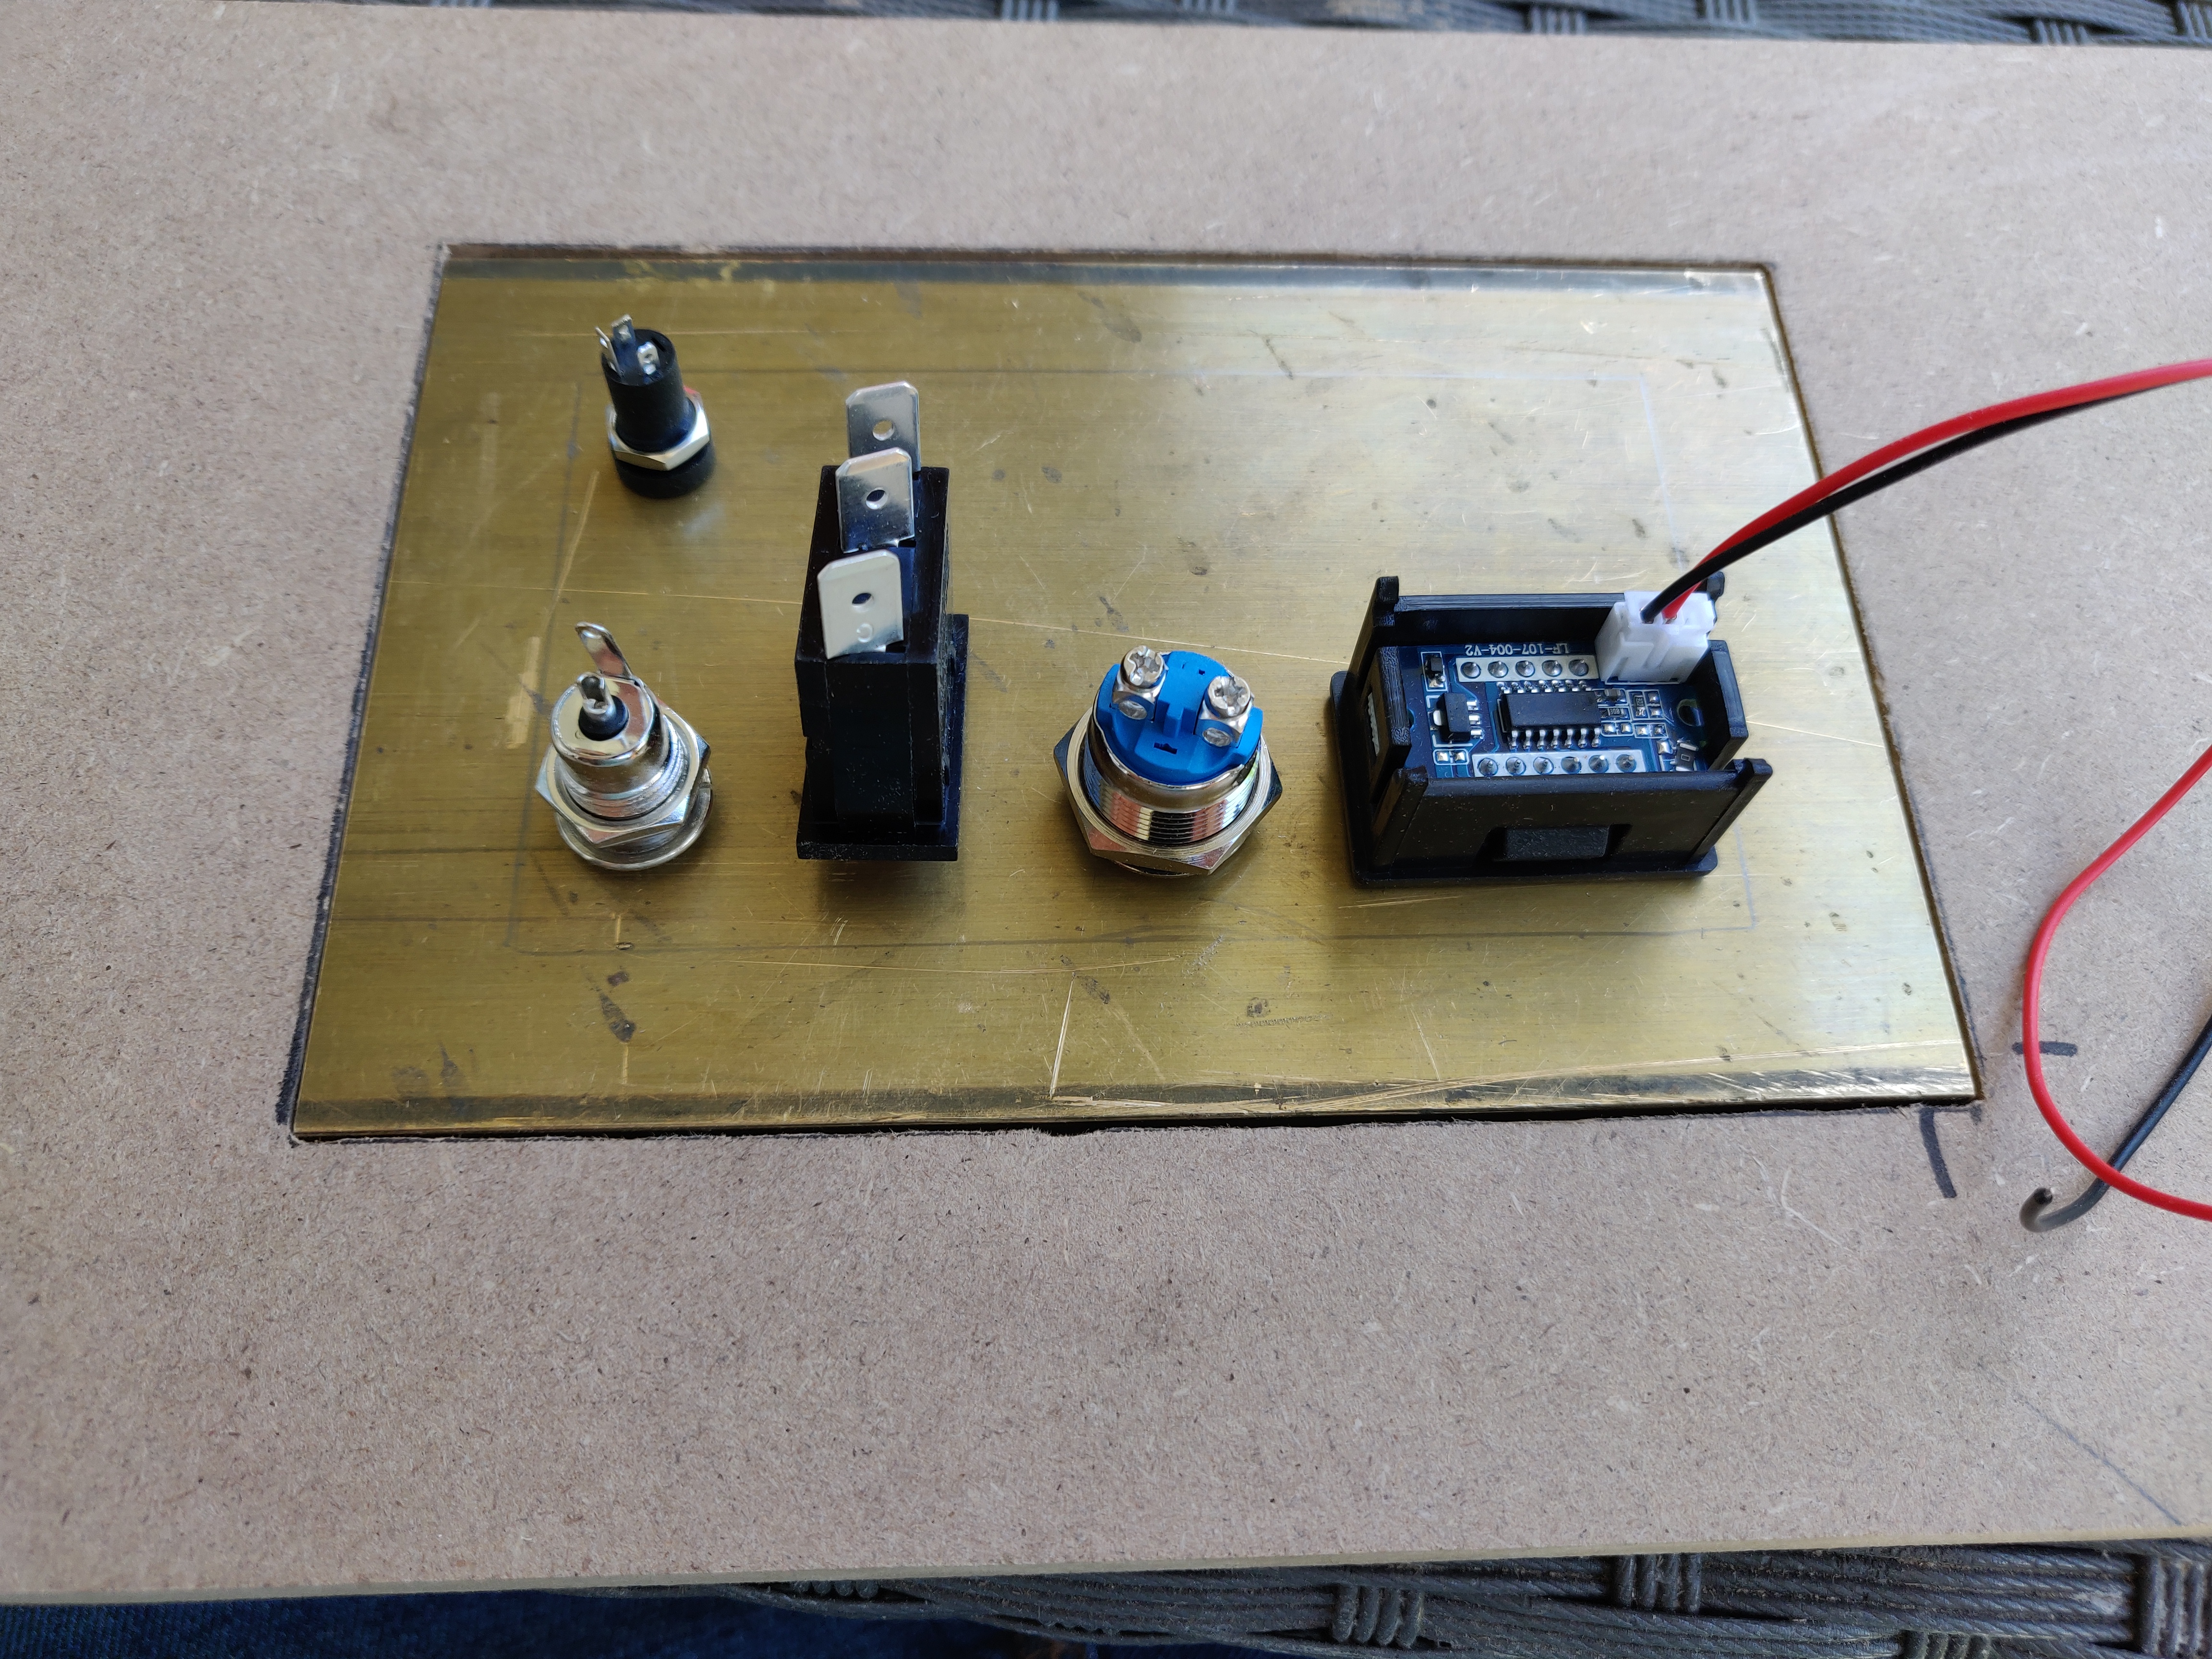
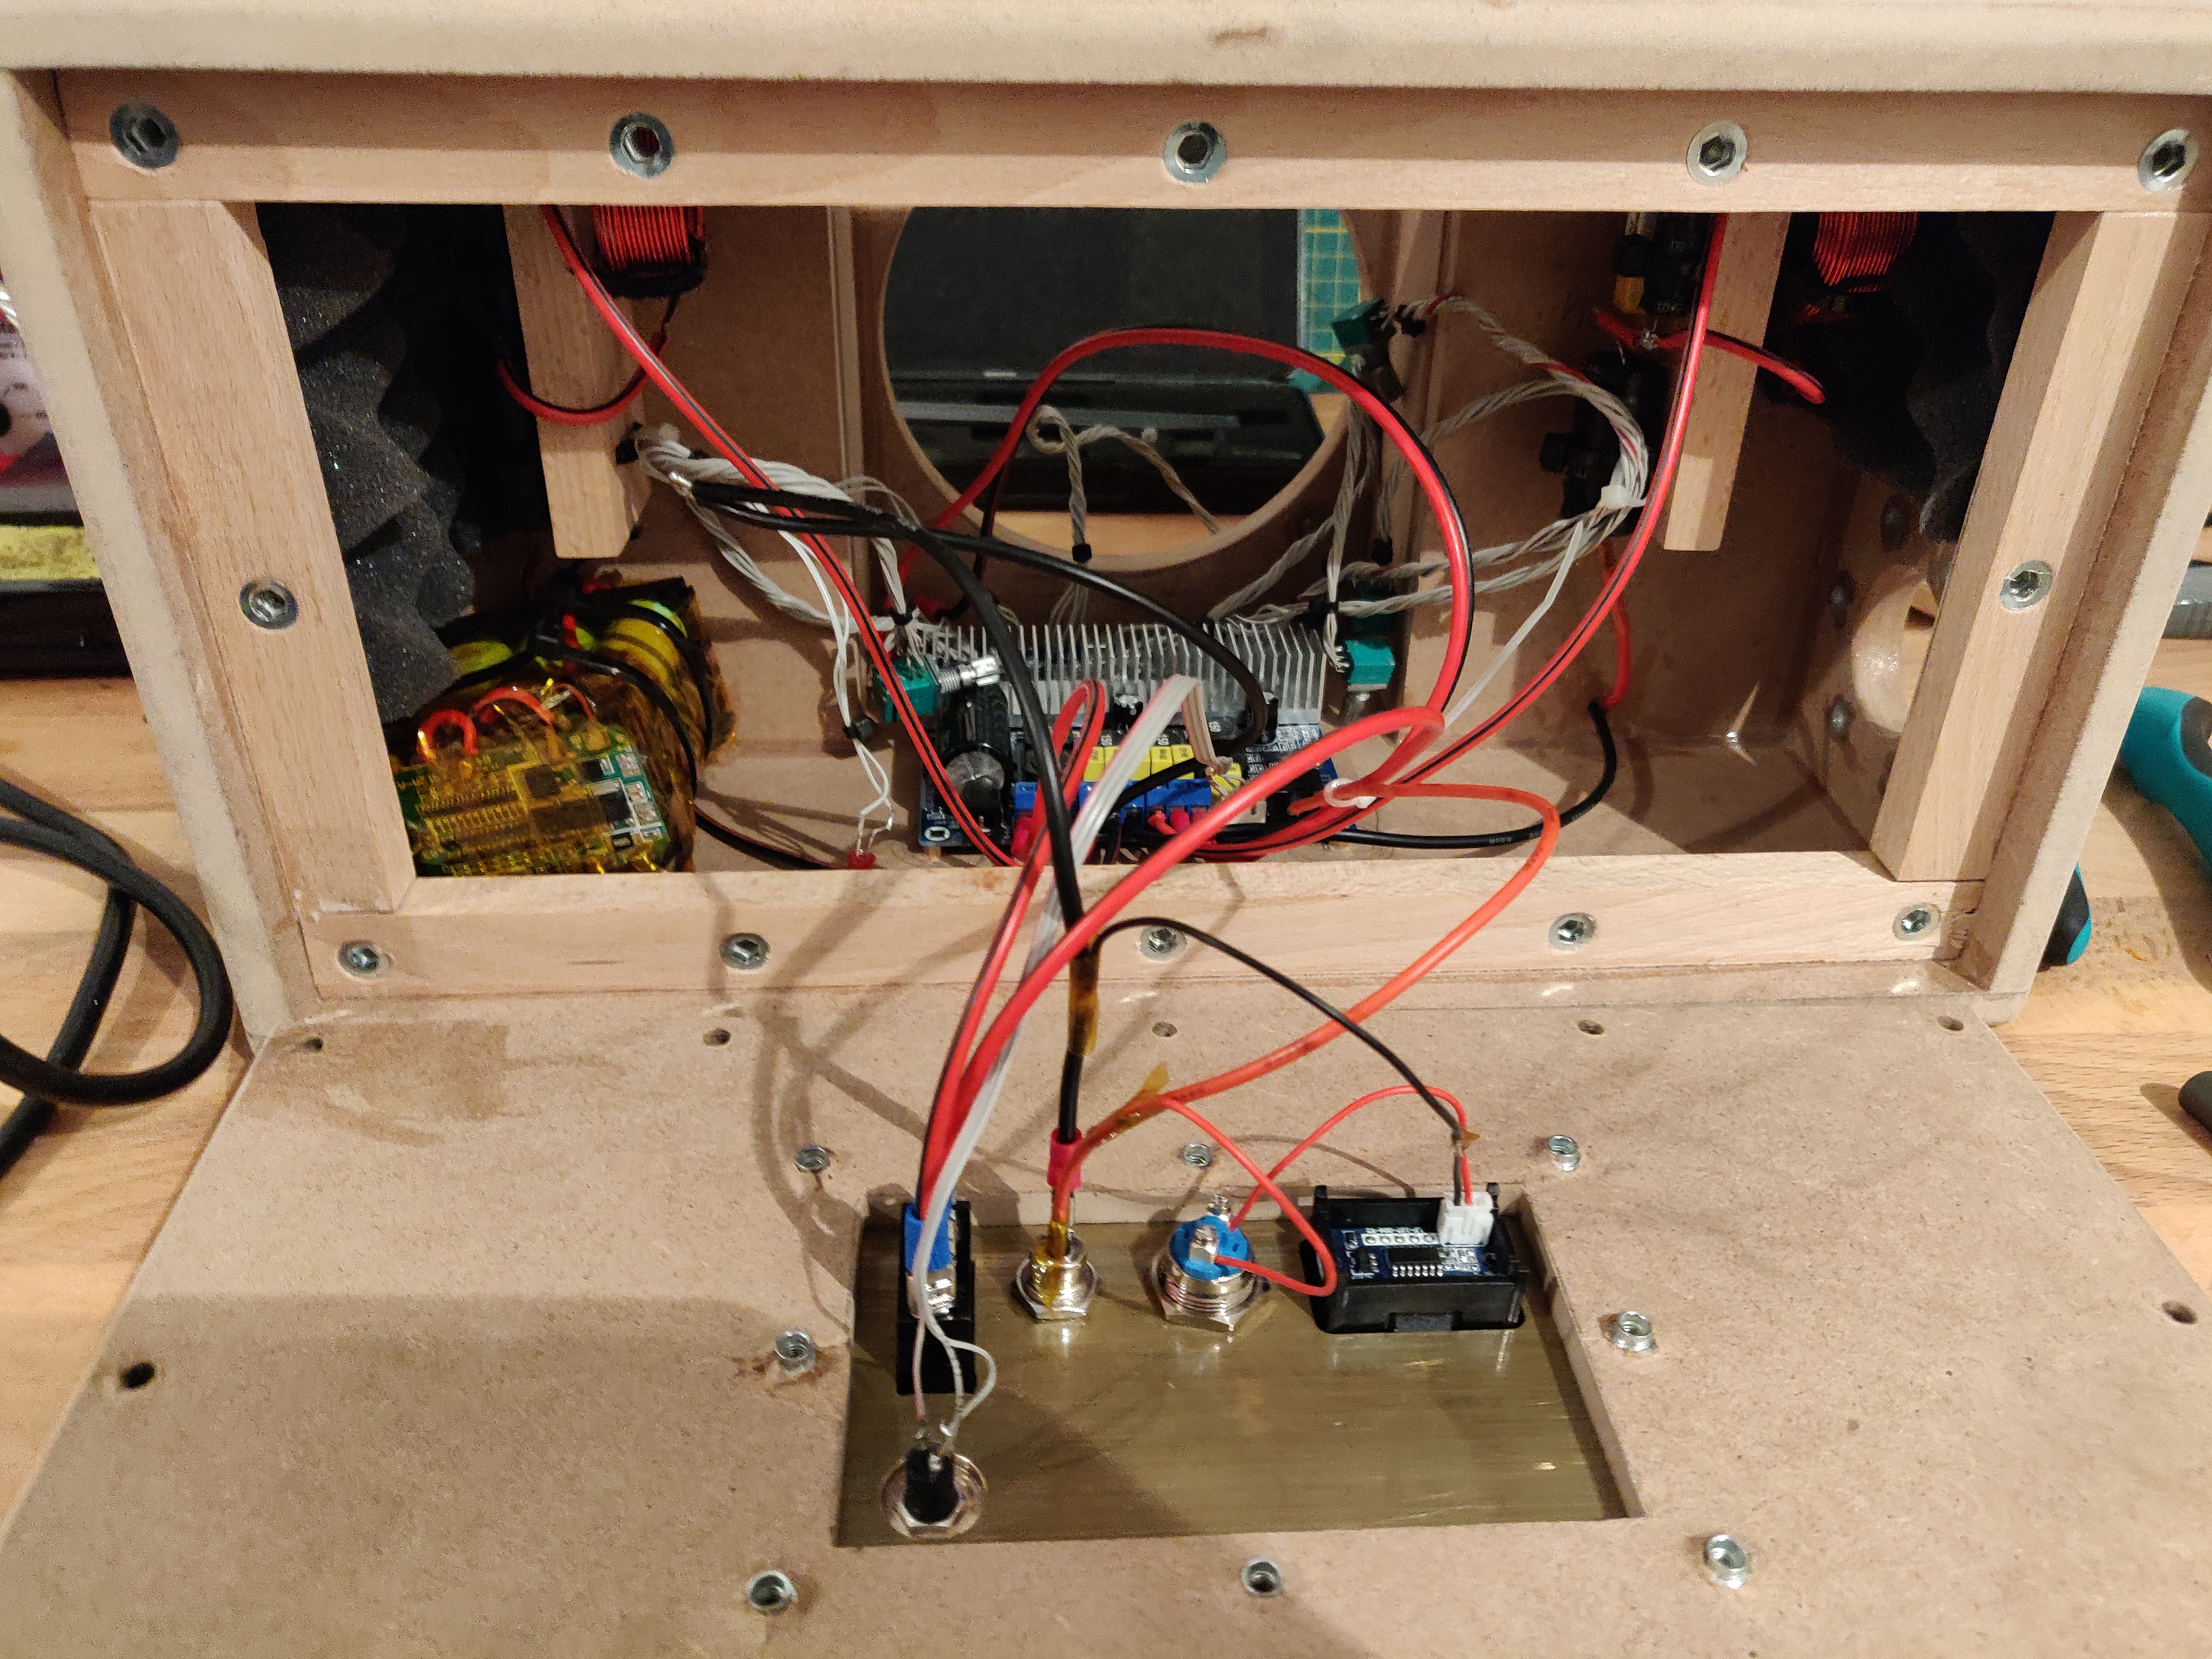
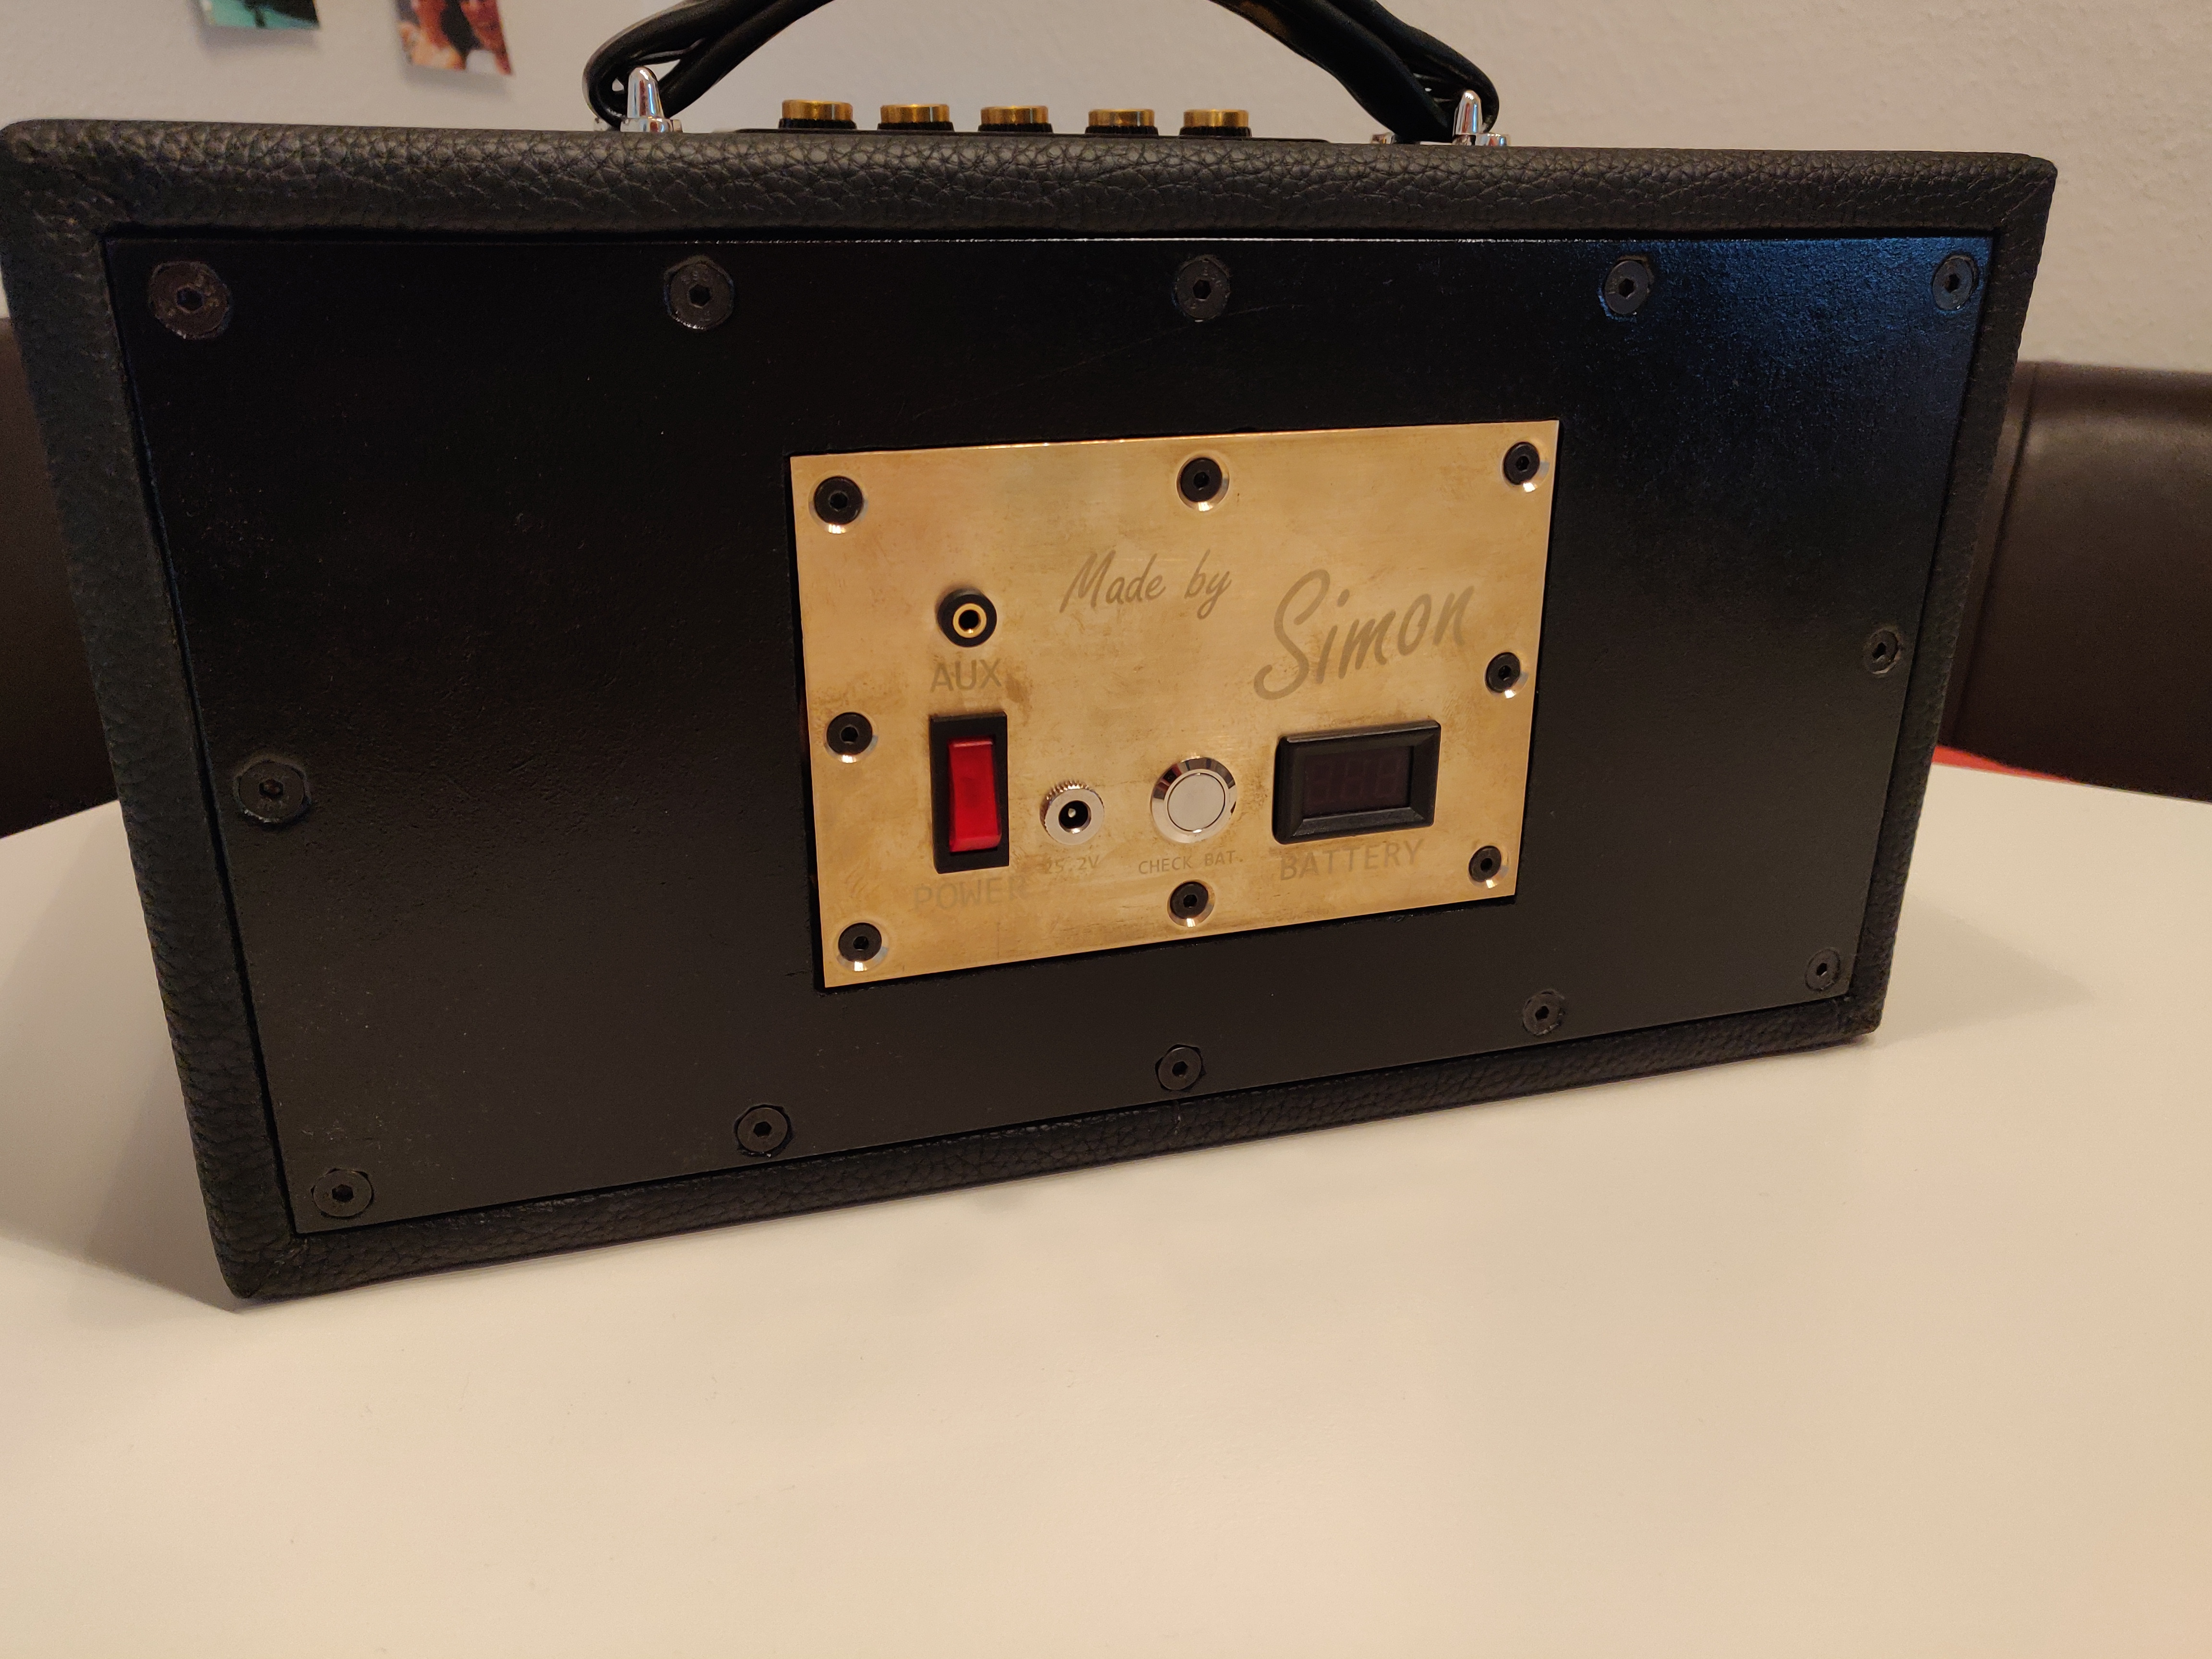
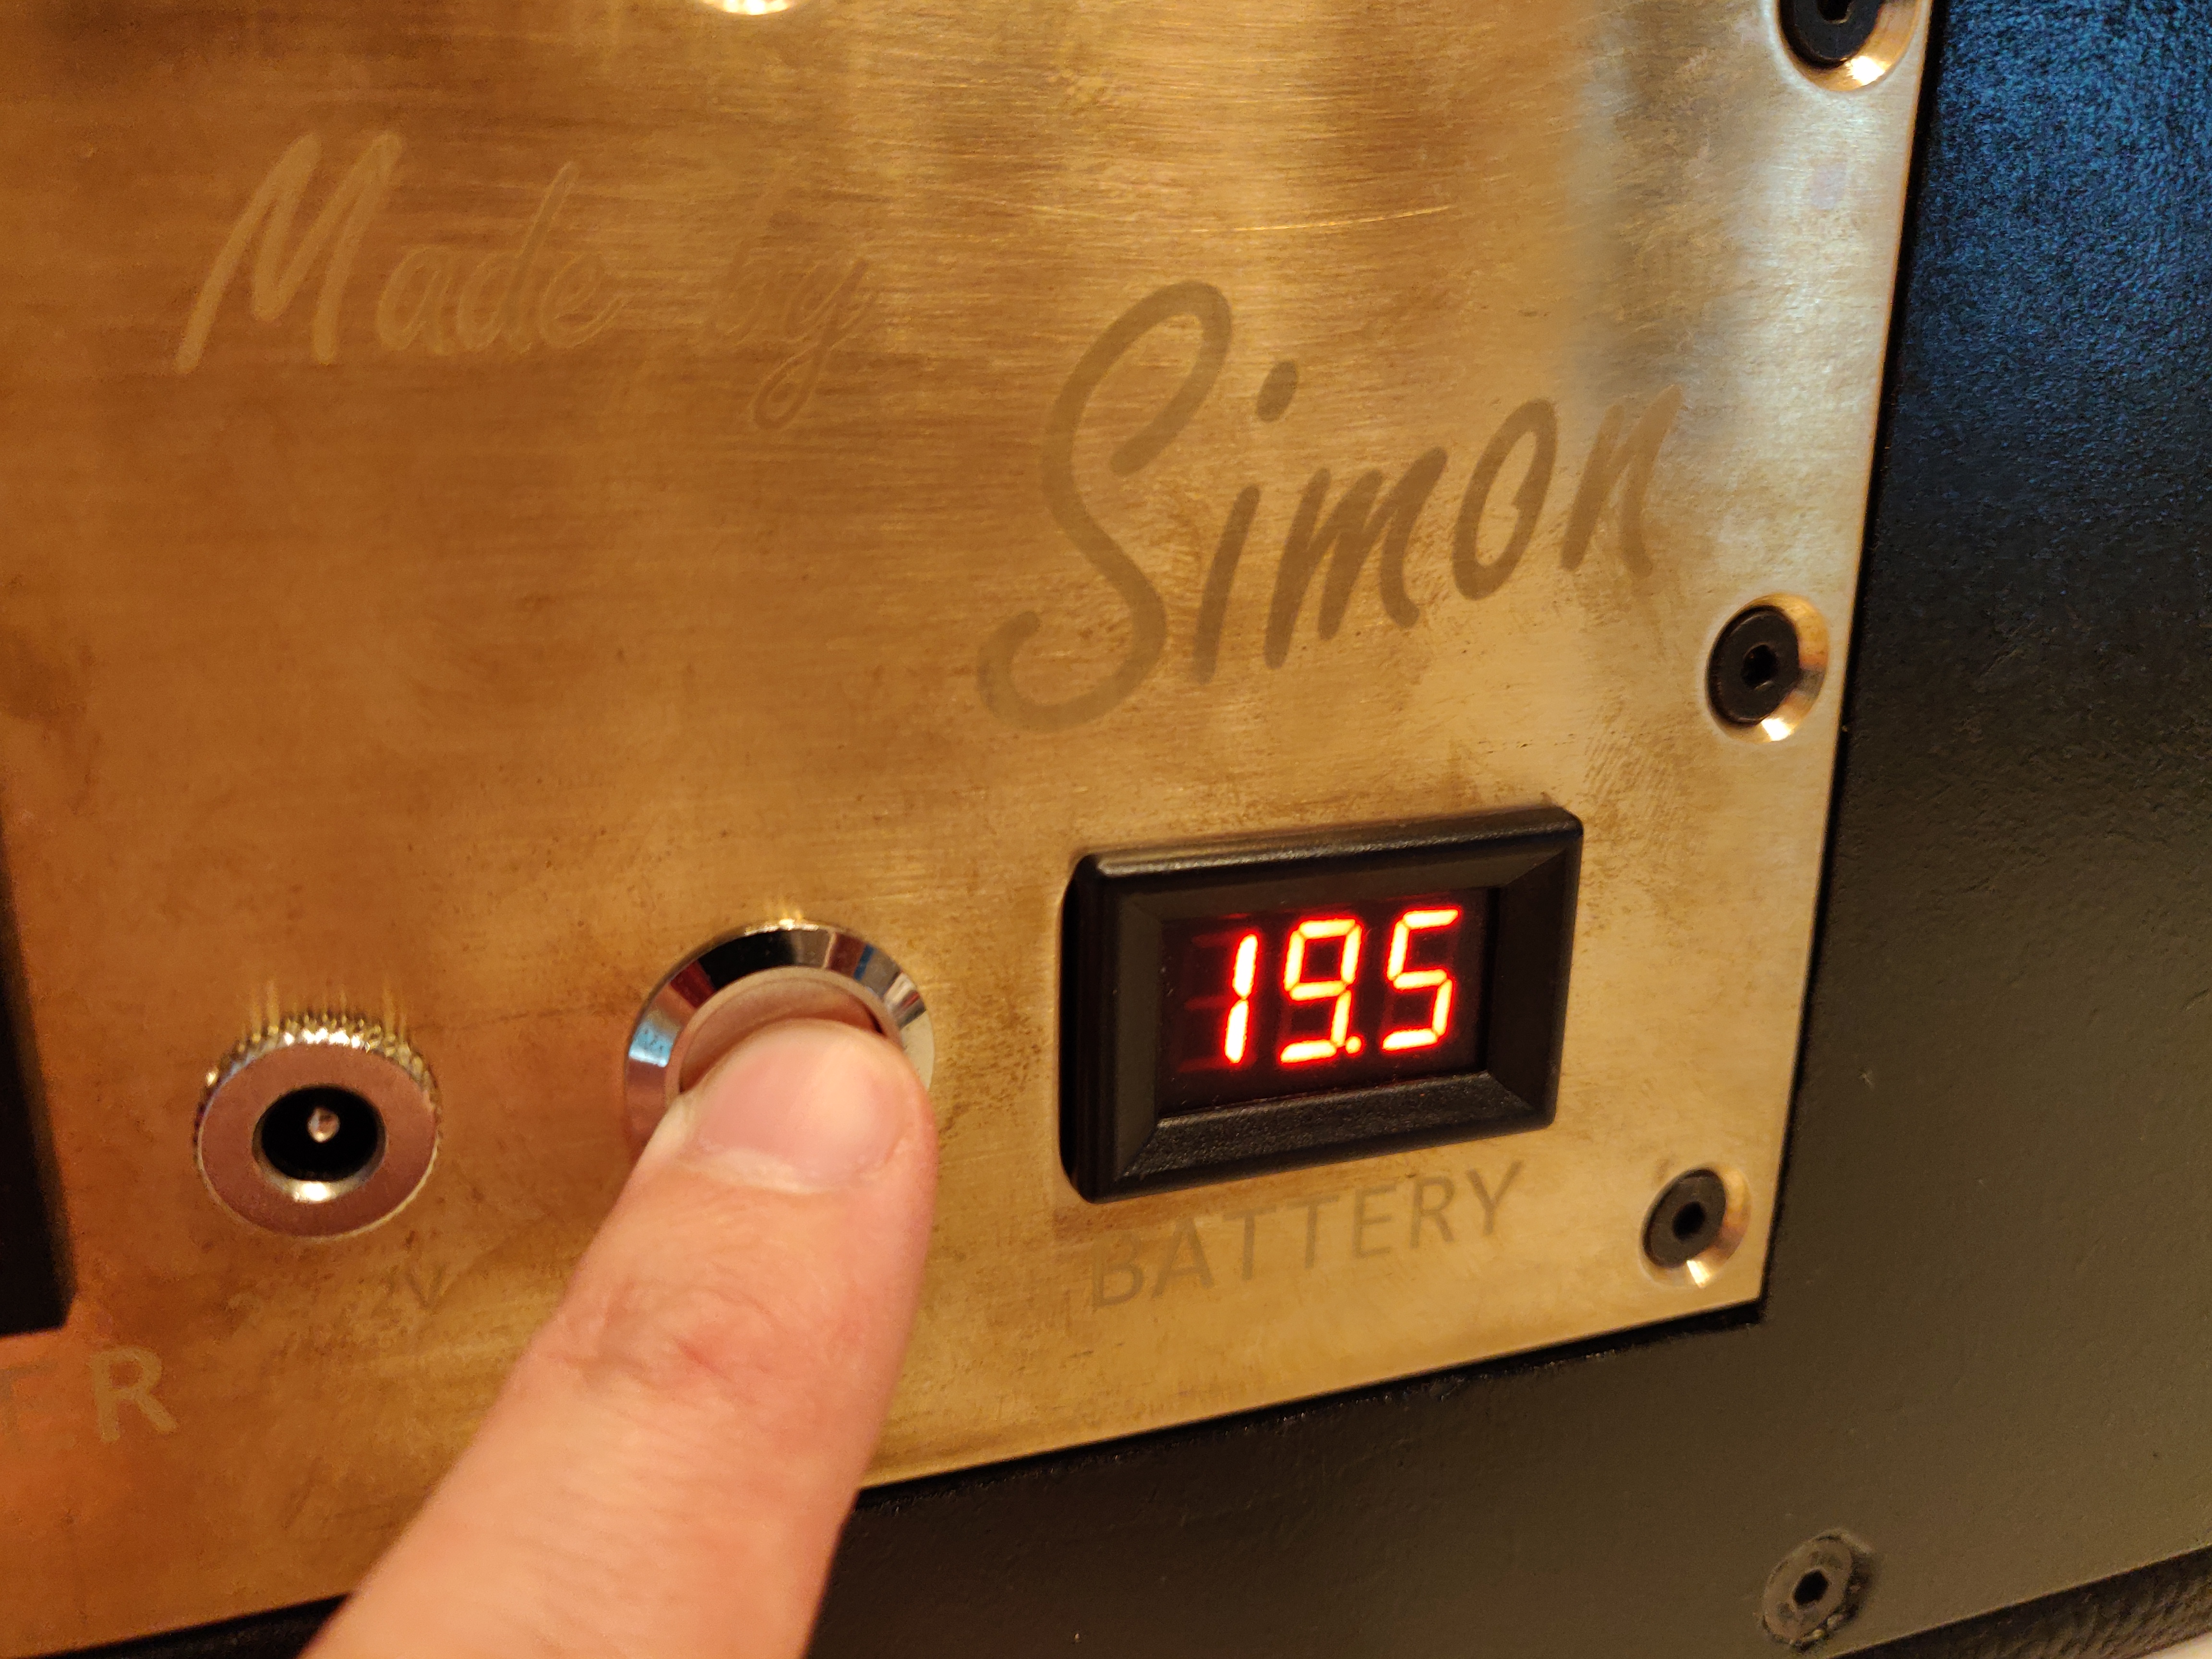
Contains the voltmeter, power switch, DC jack, AUX jack and the toggle button for the voltmeter. Those also sit in a custom made brass plate.
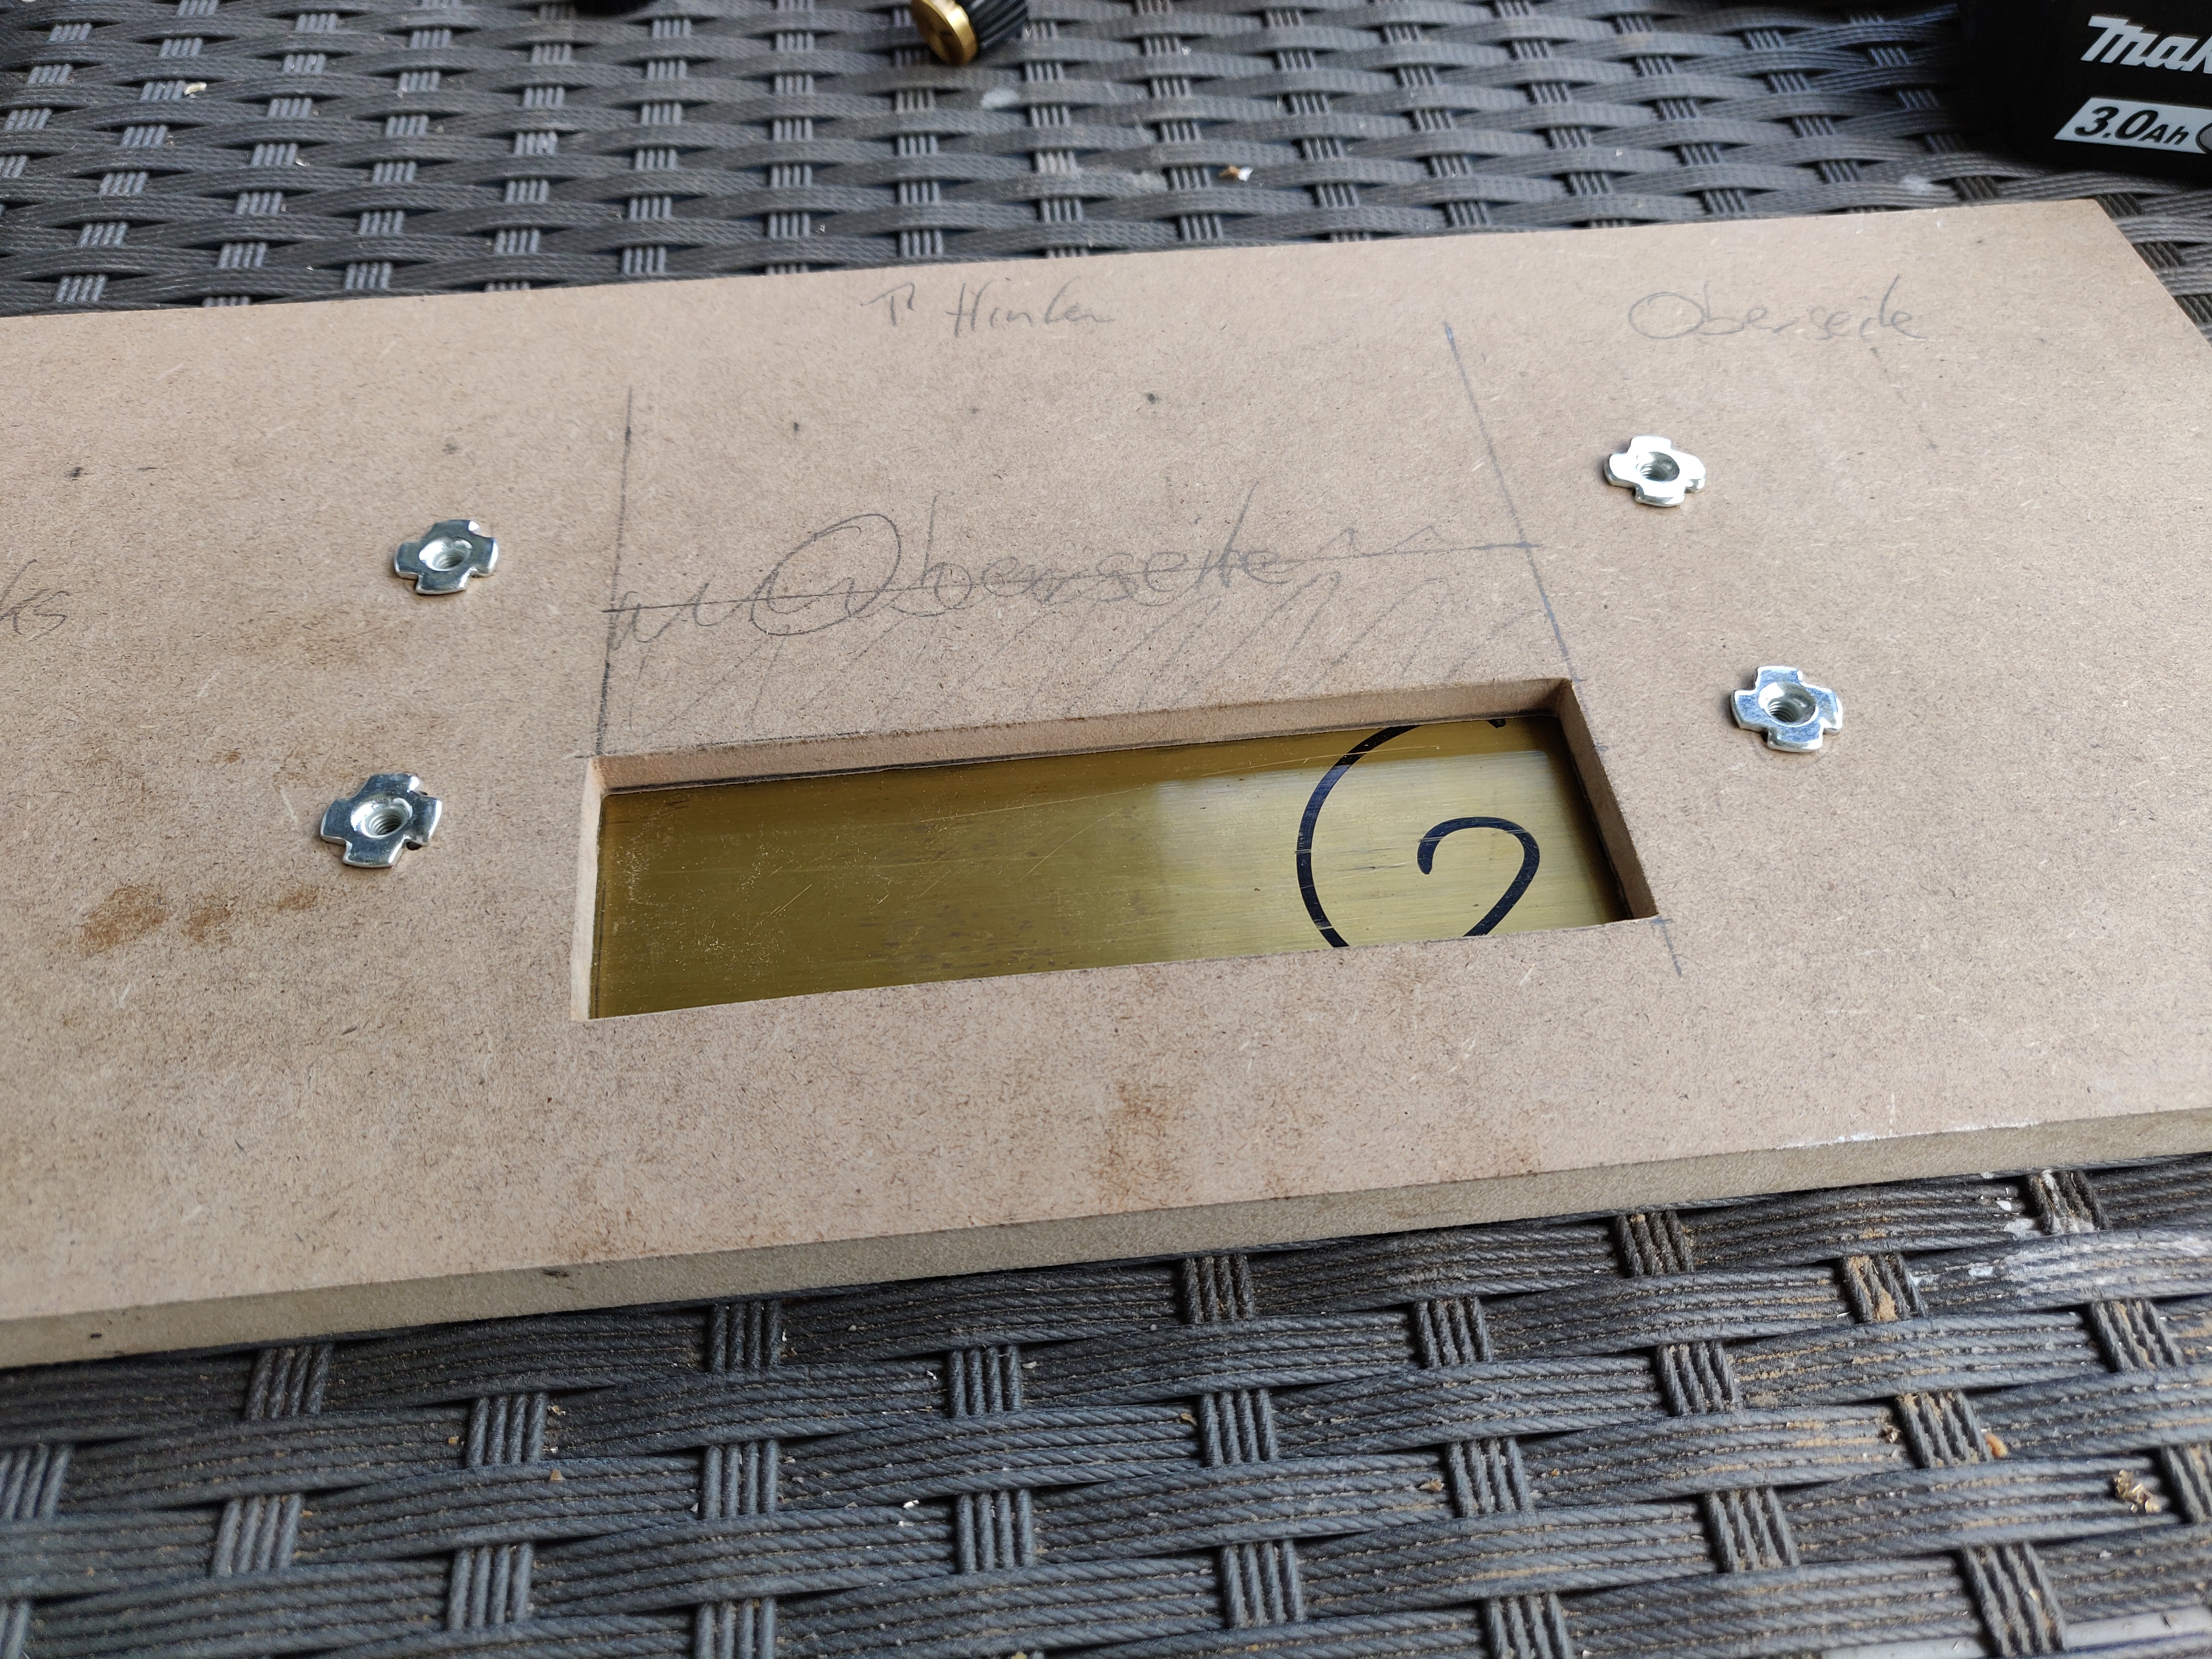
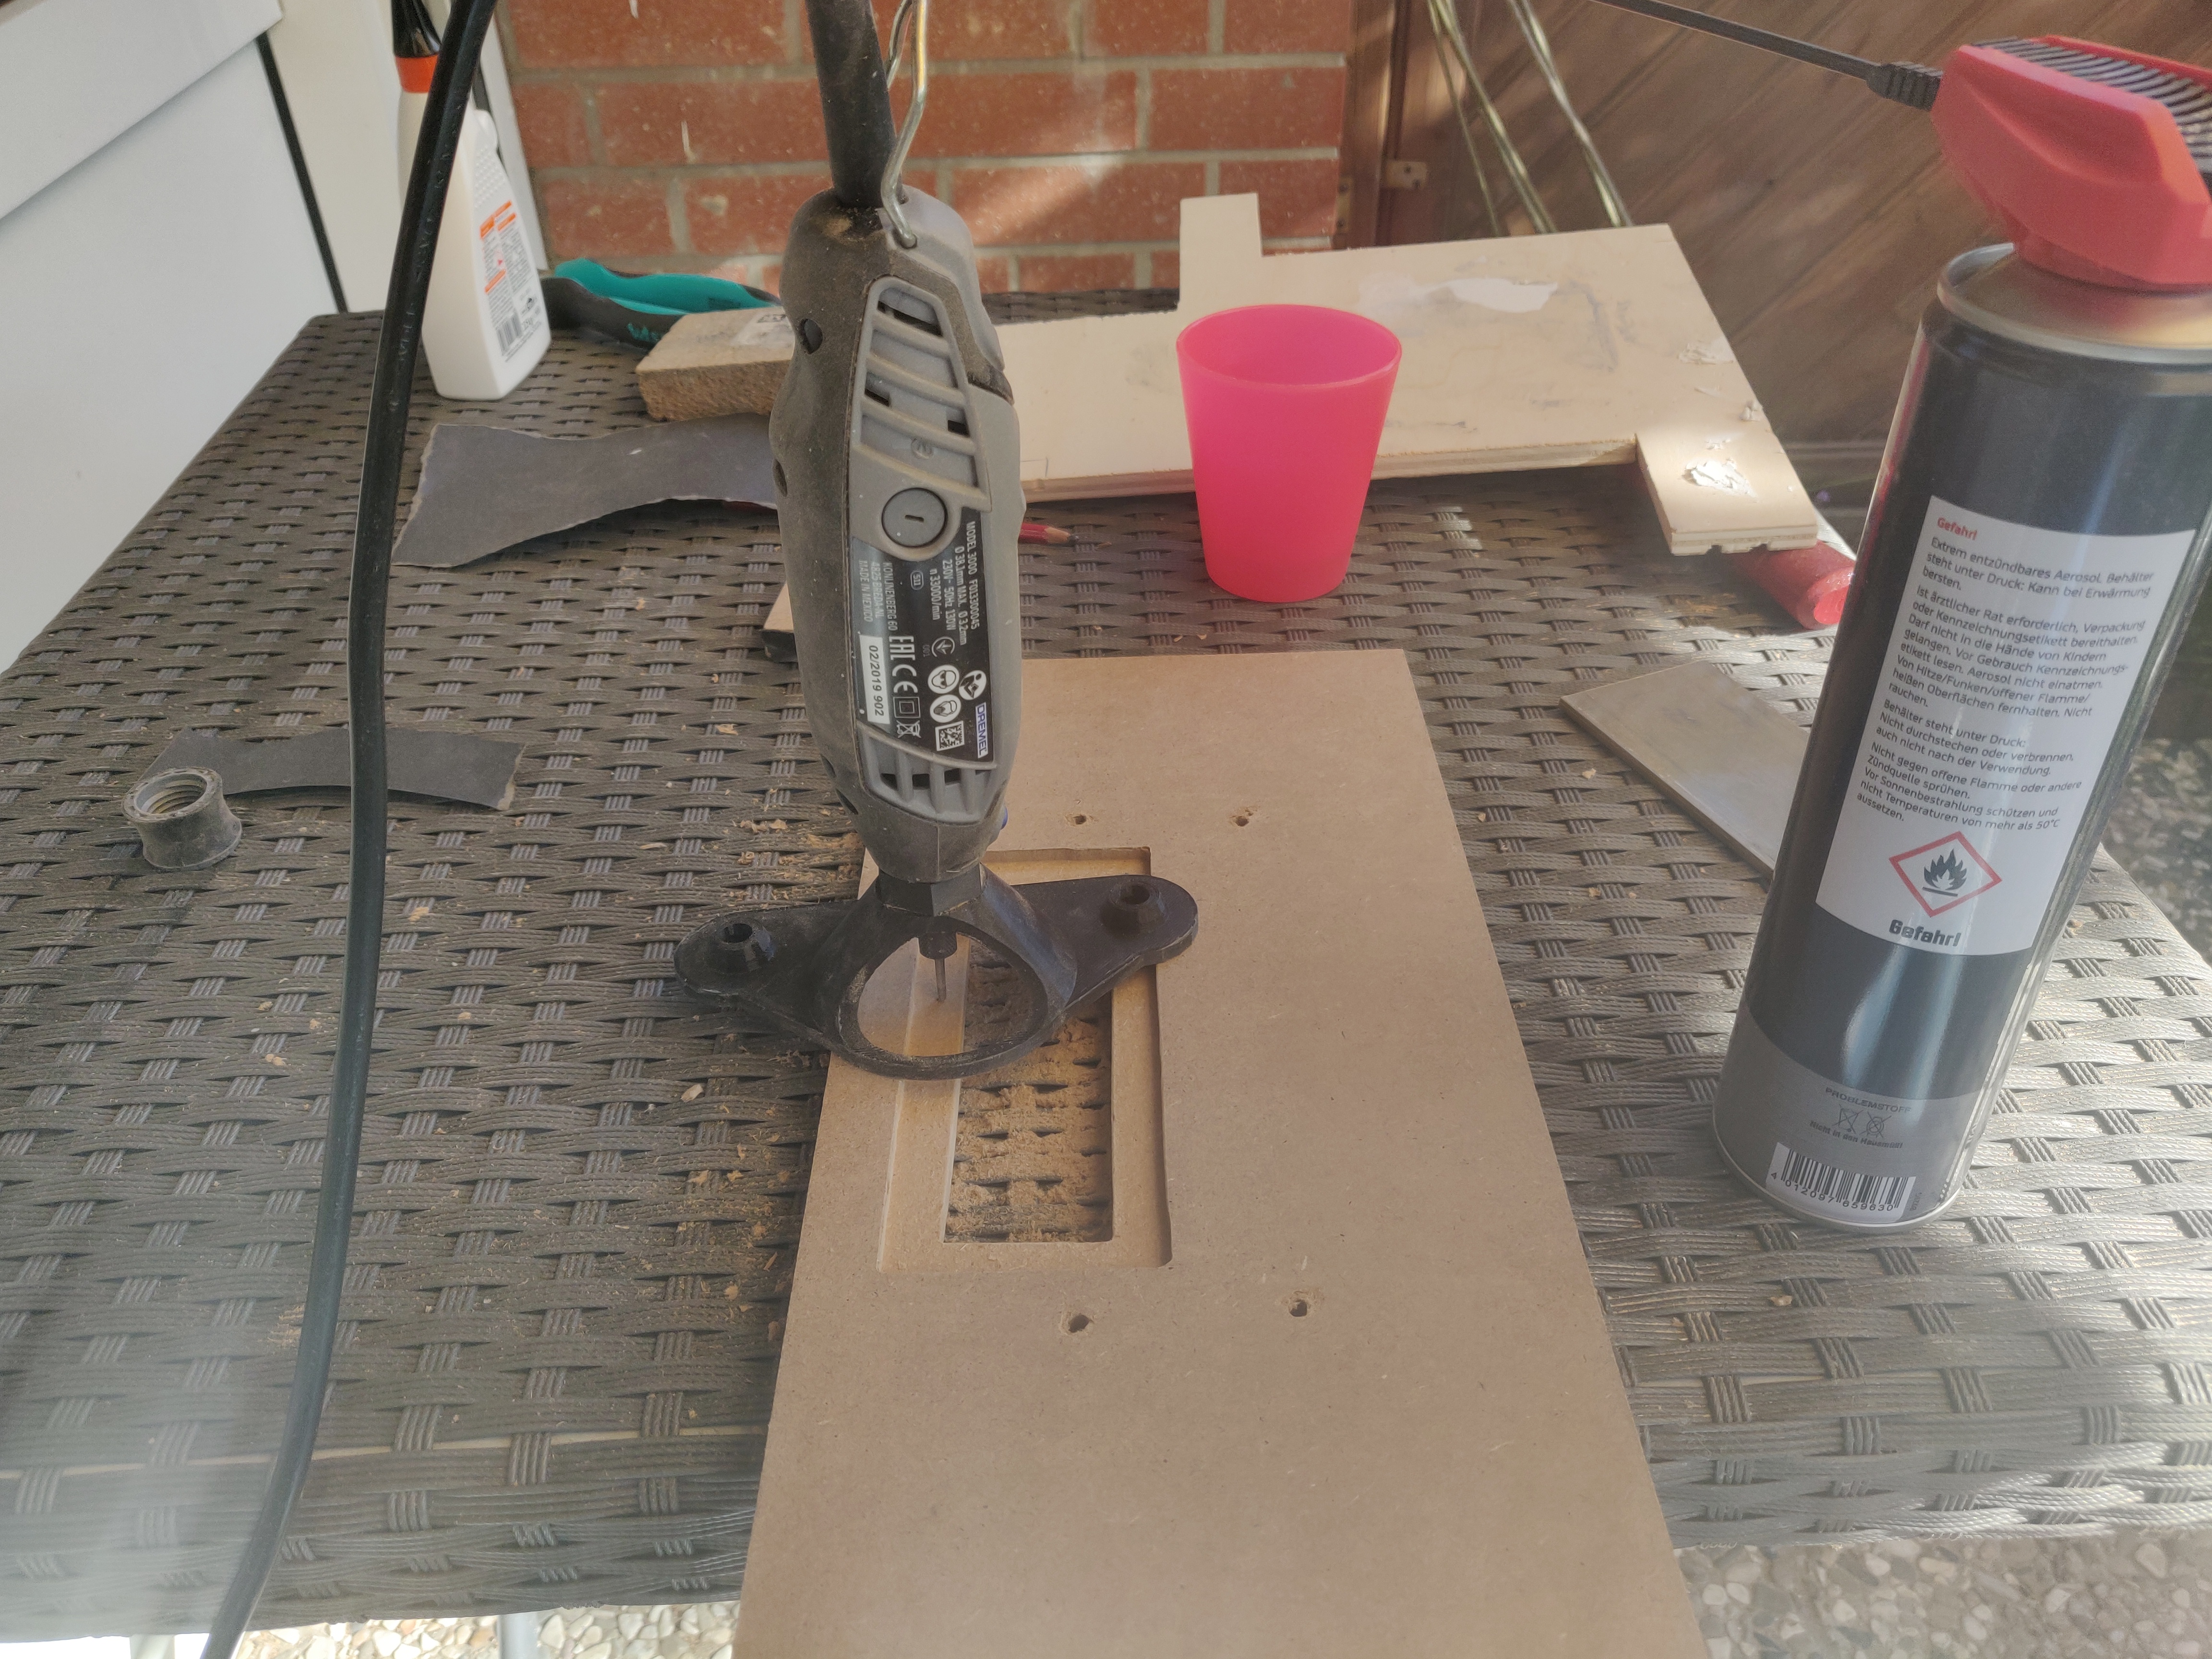
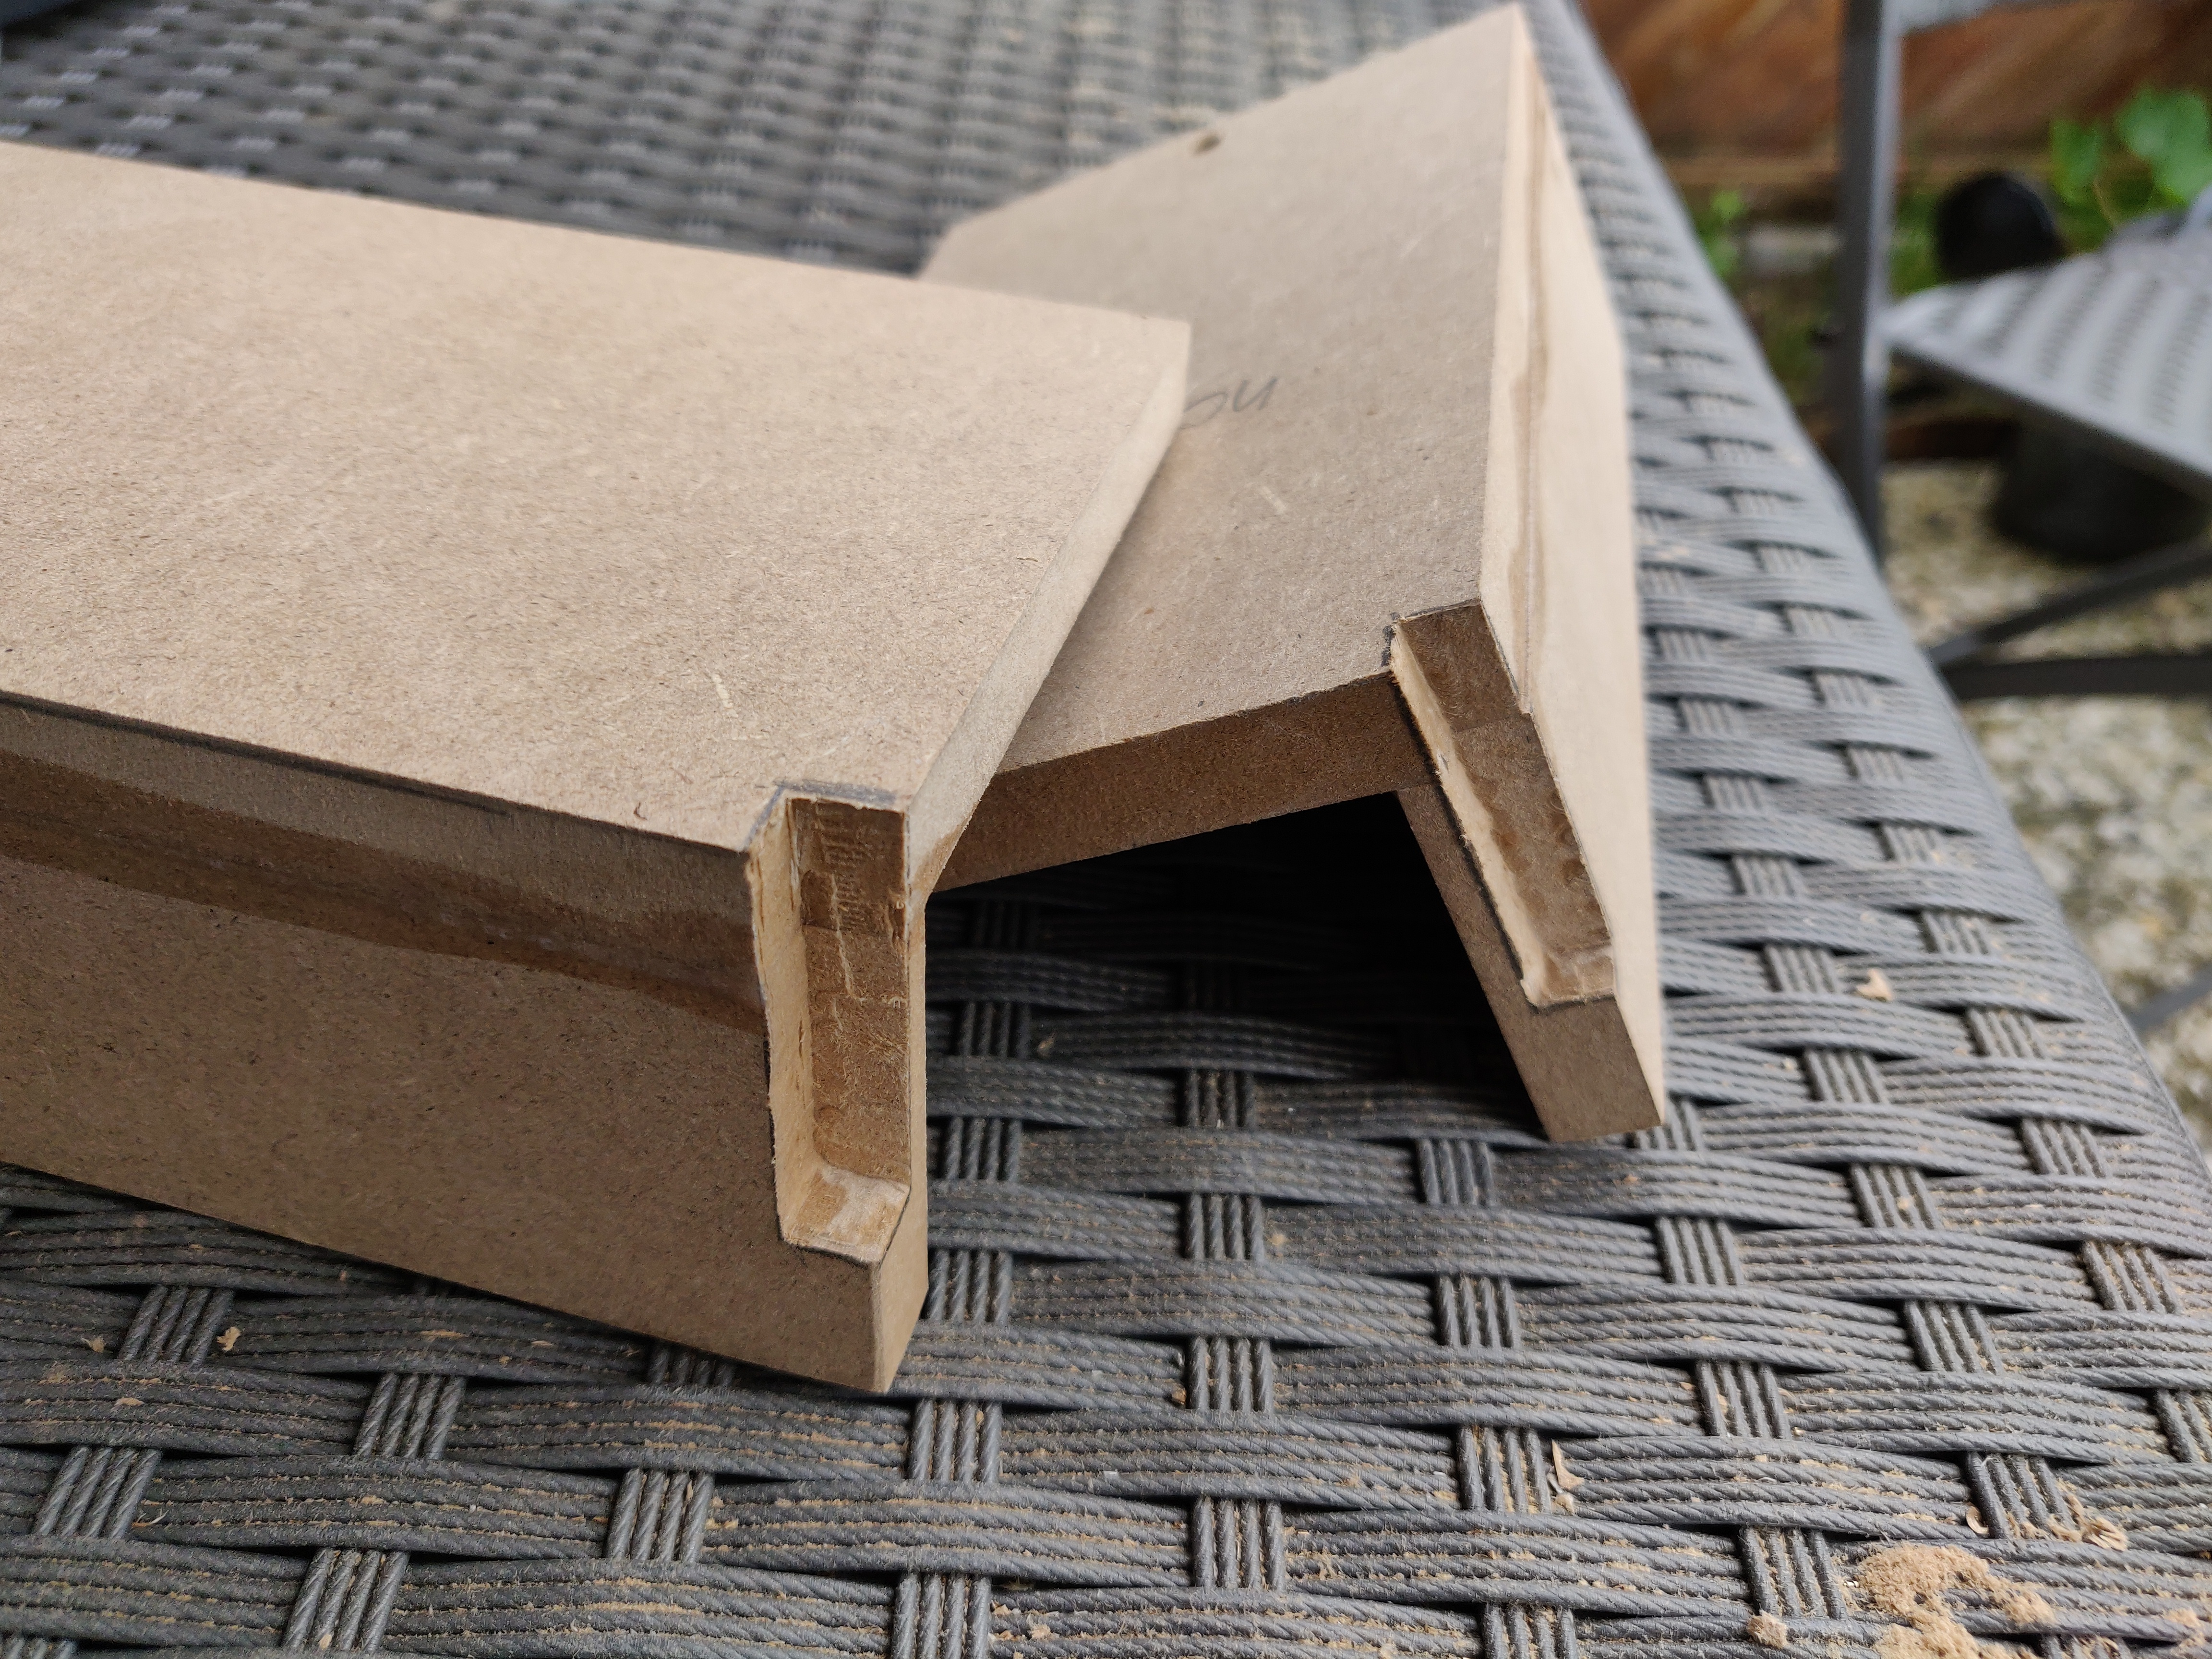
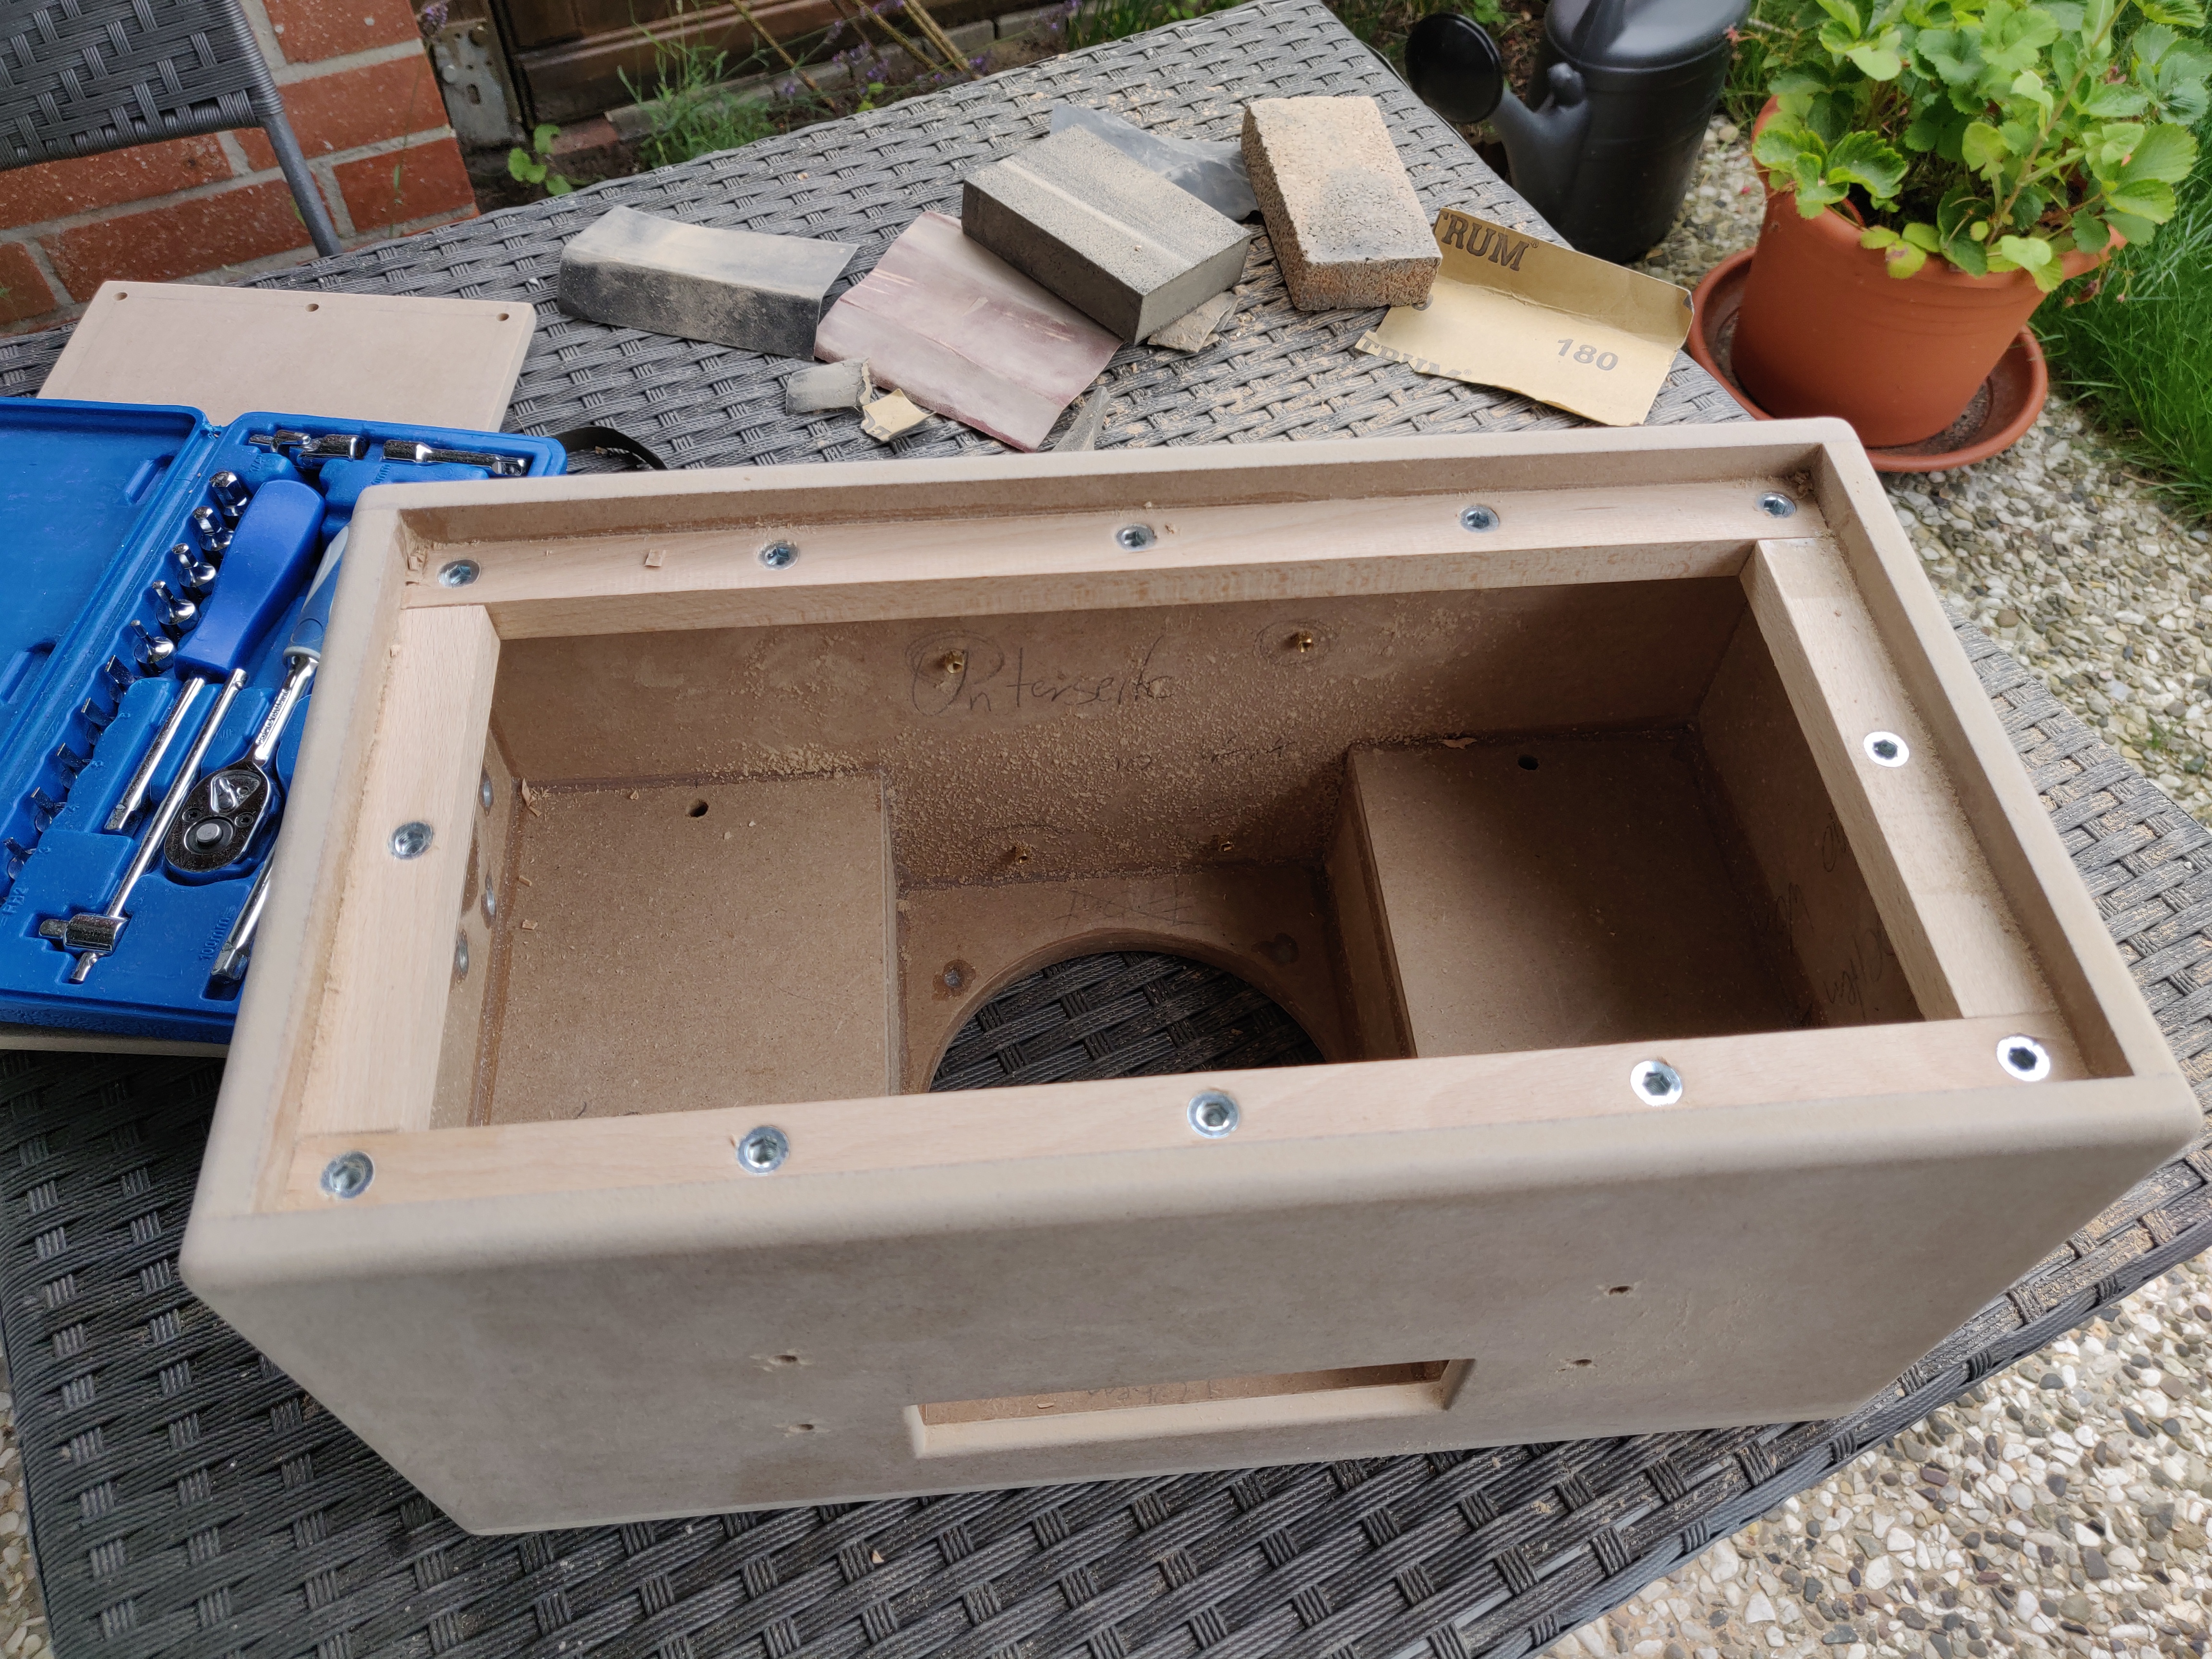
Assembly and modification of the Wood parts
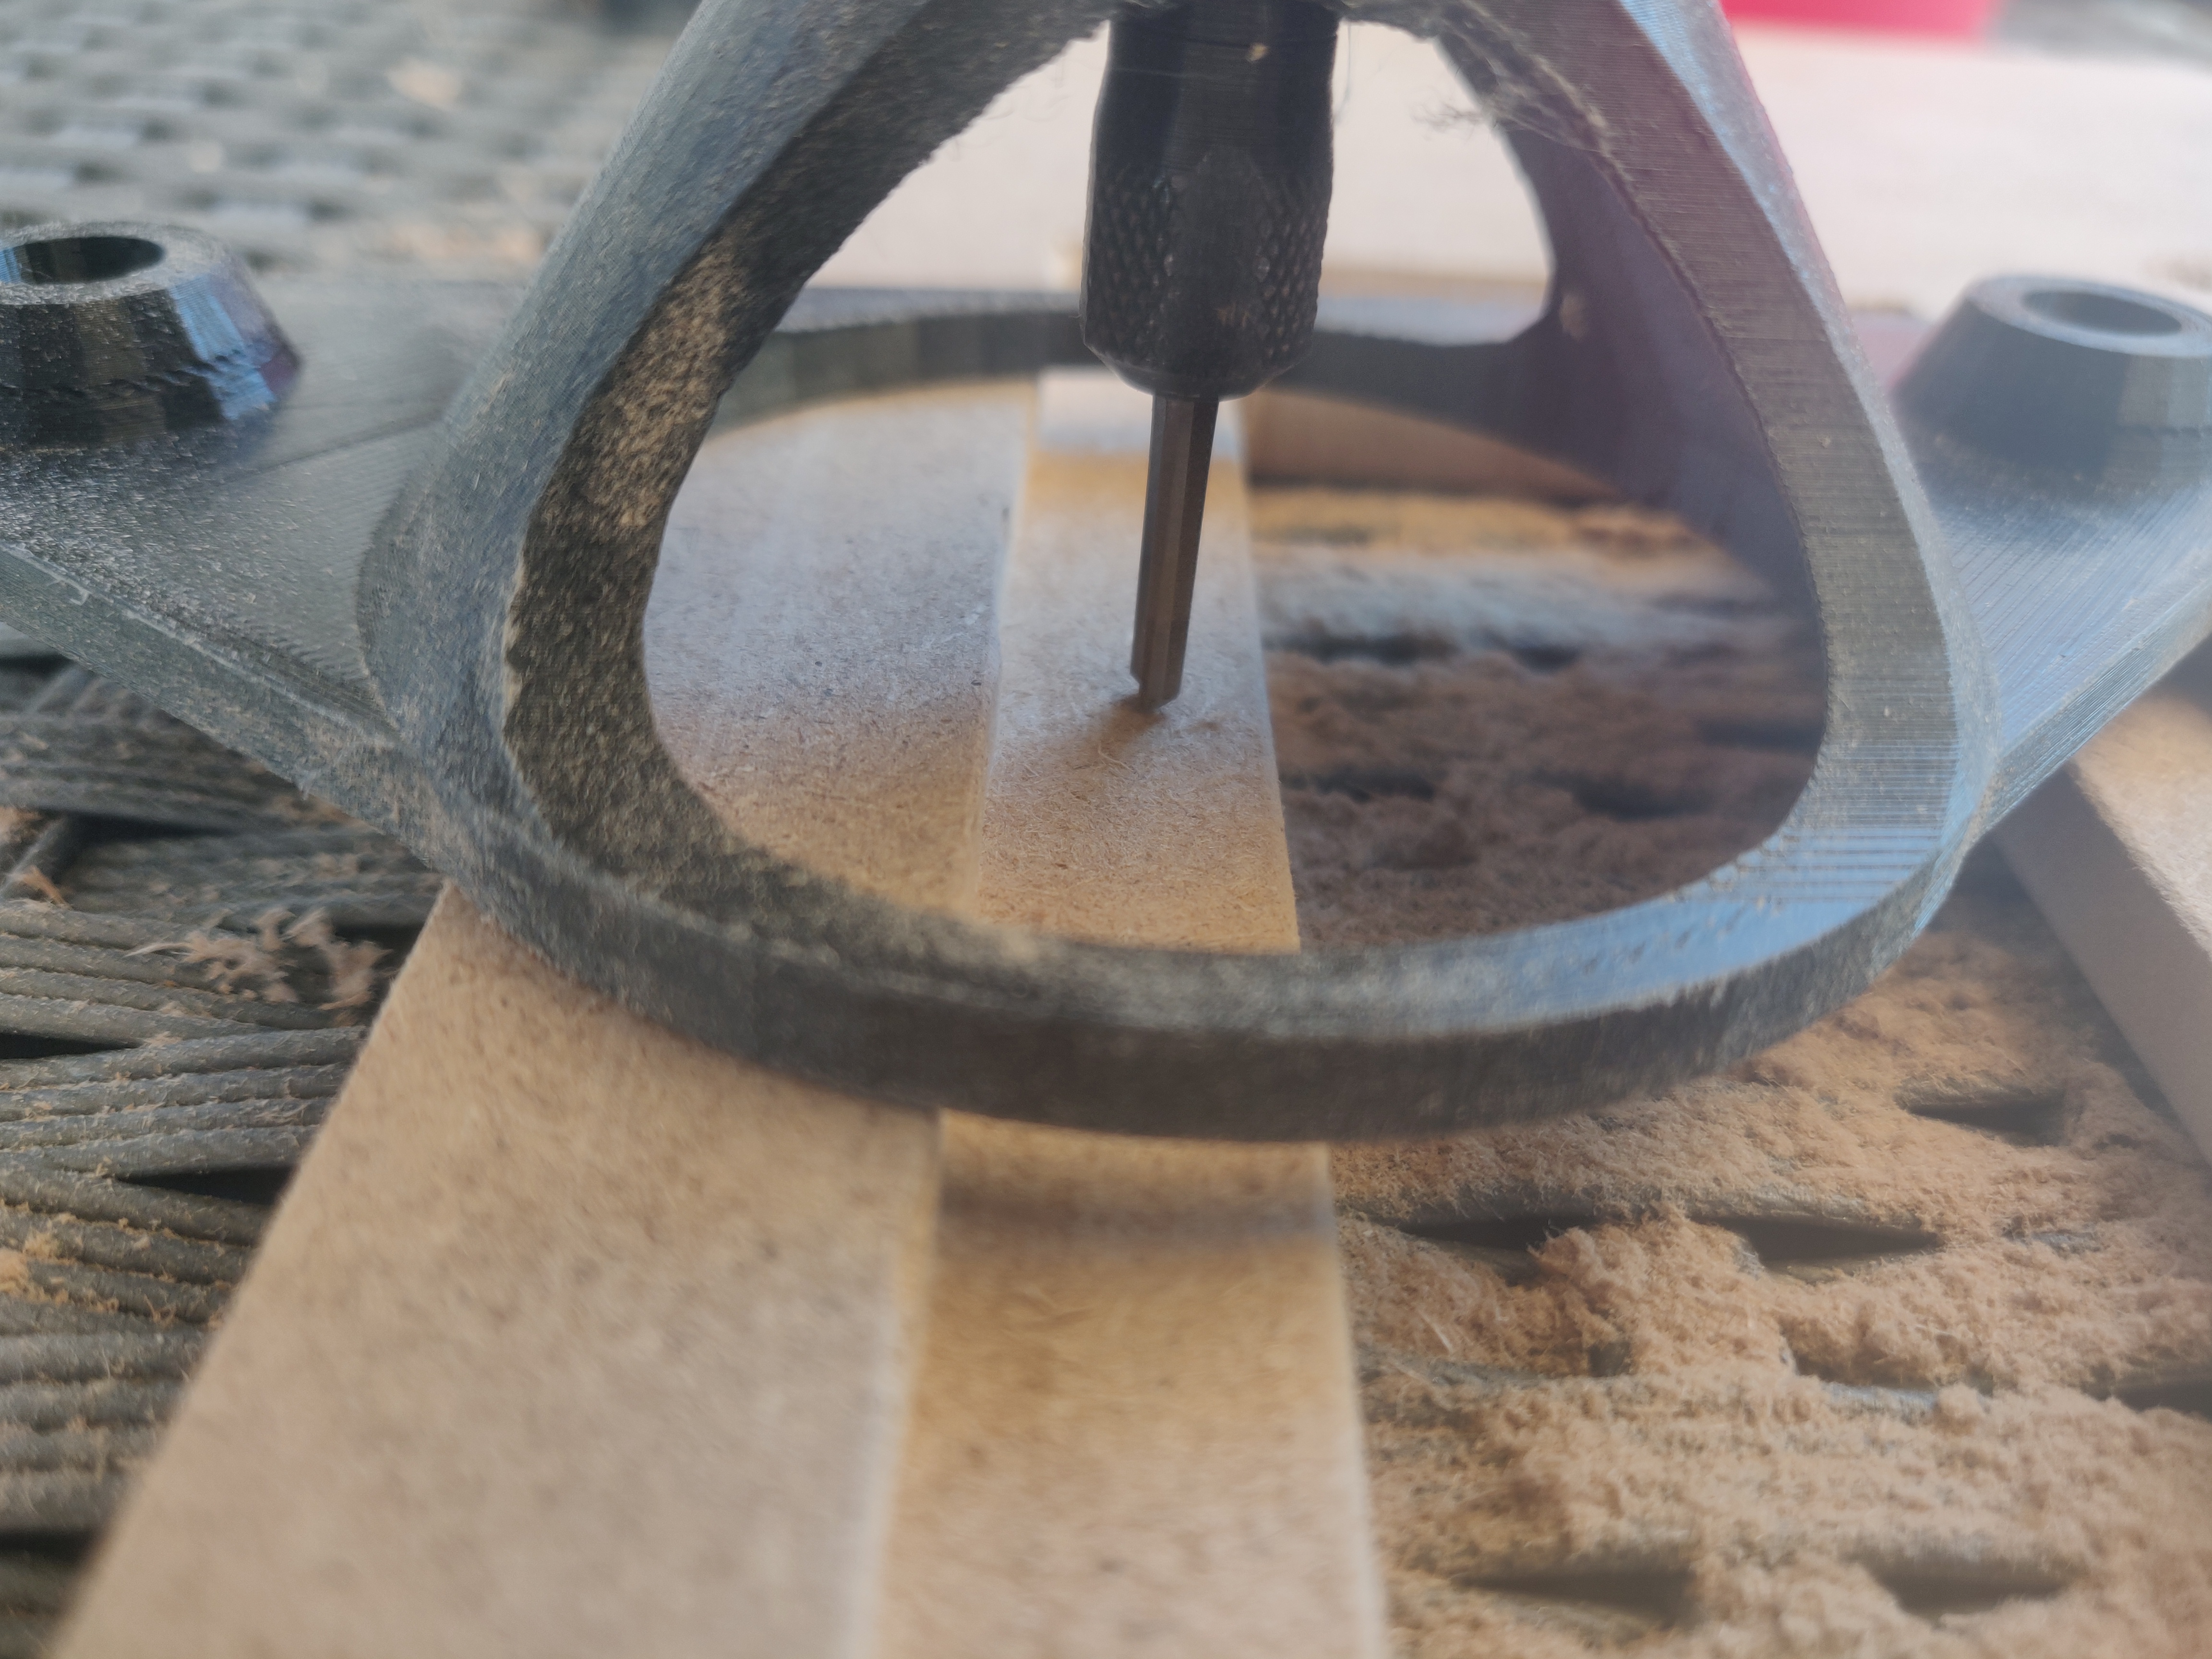
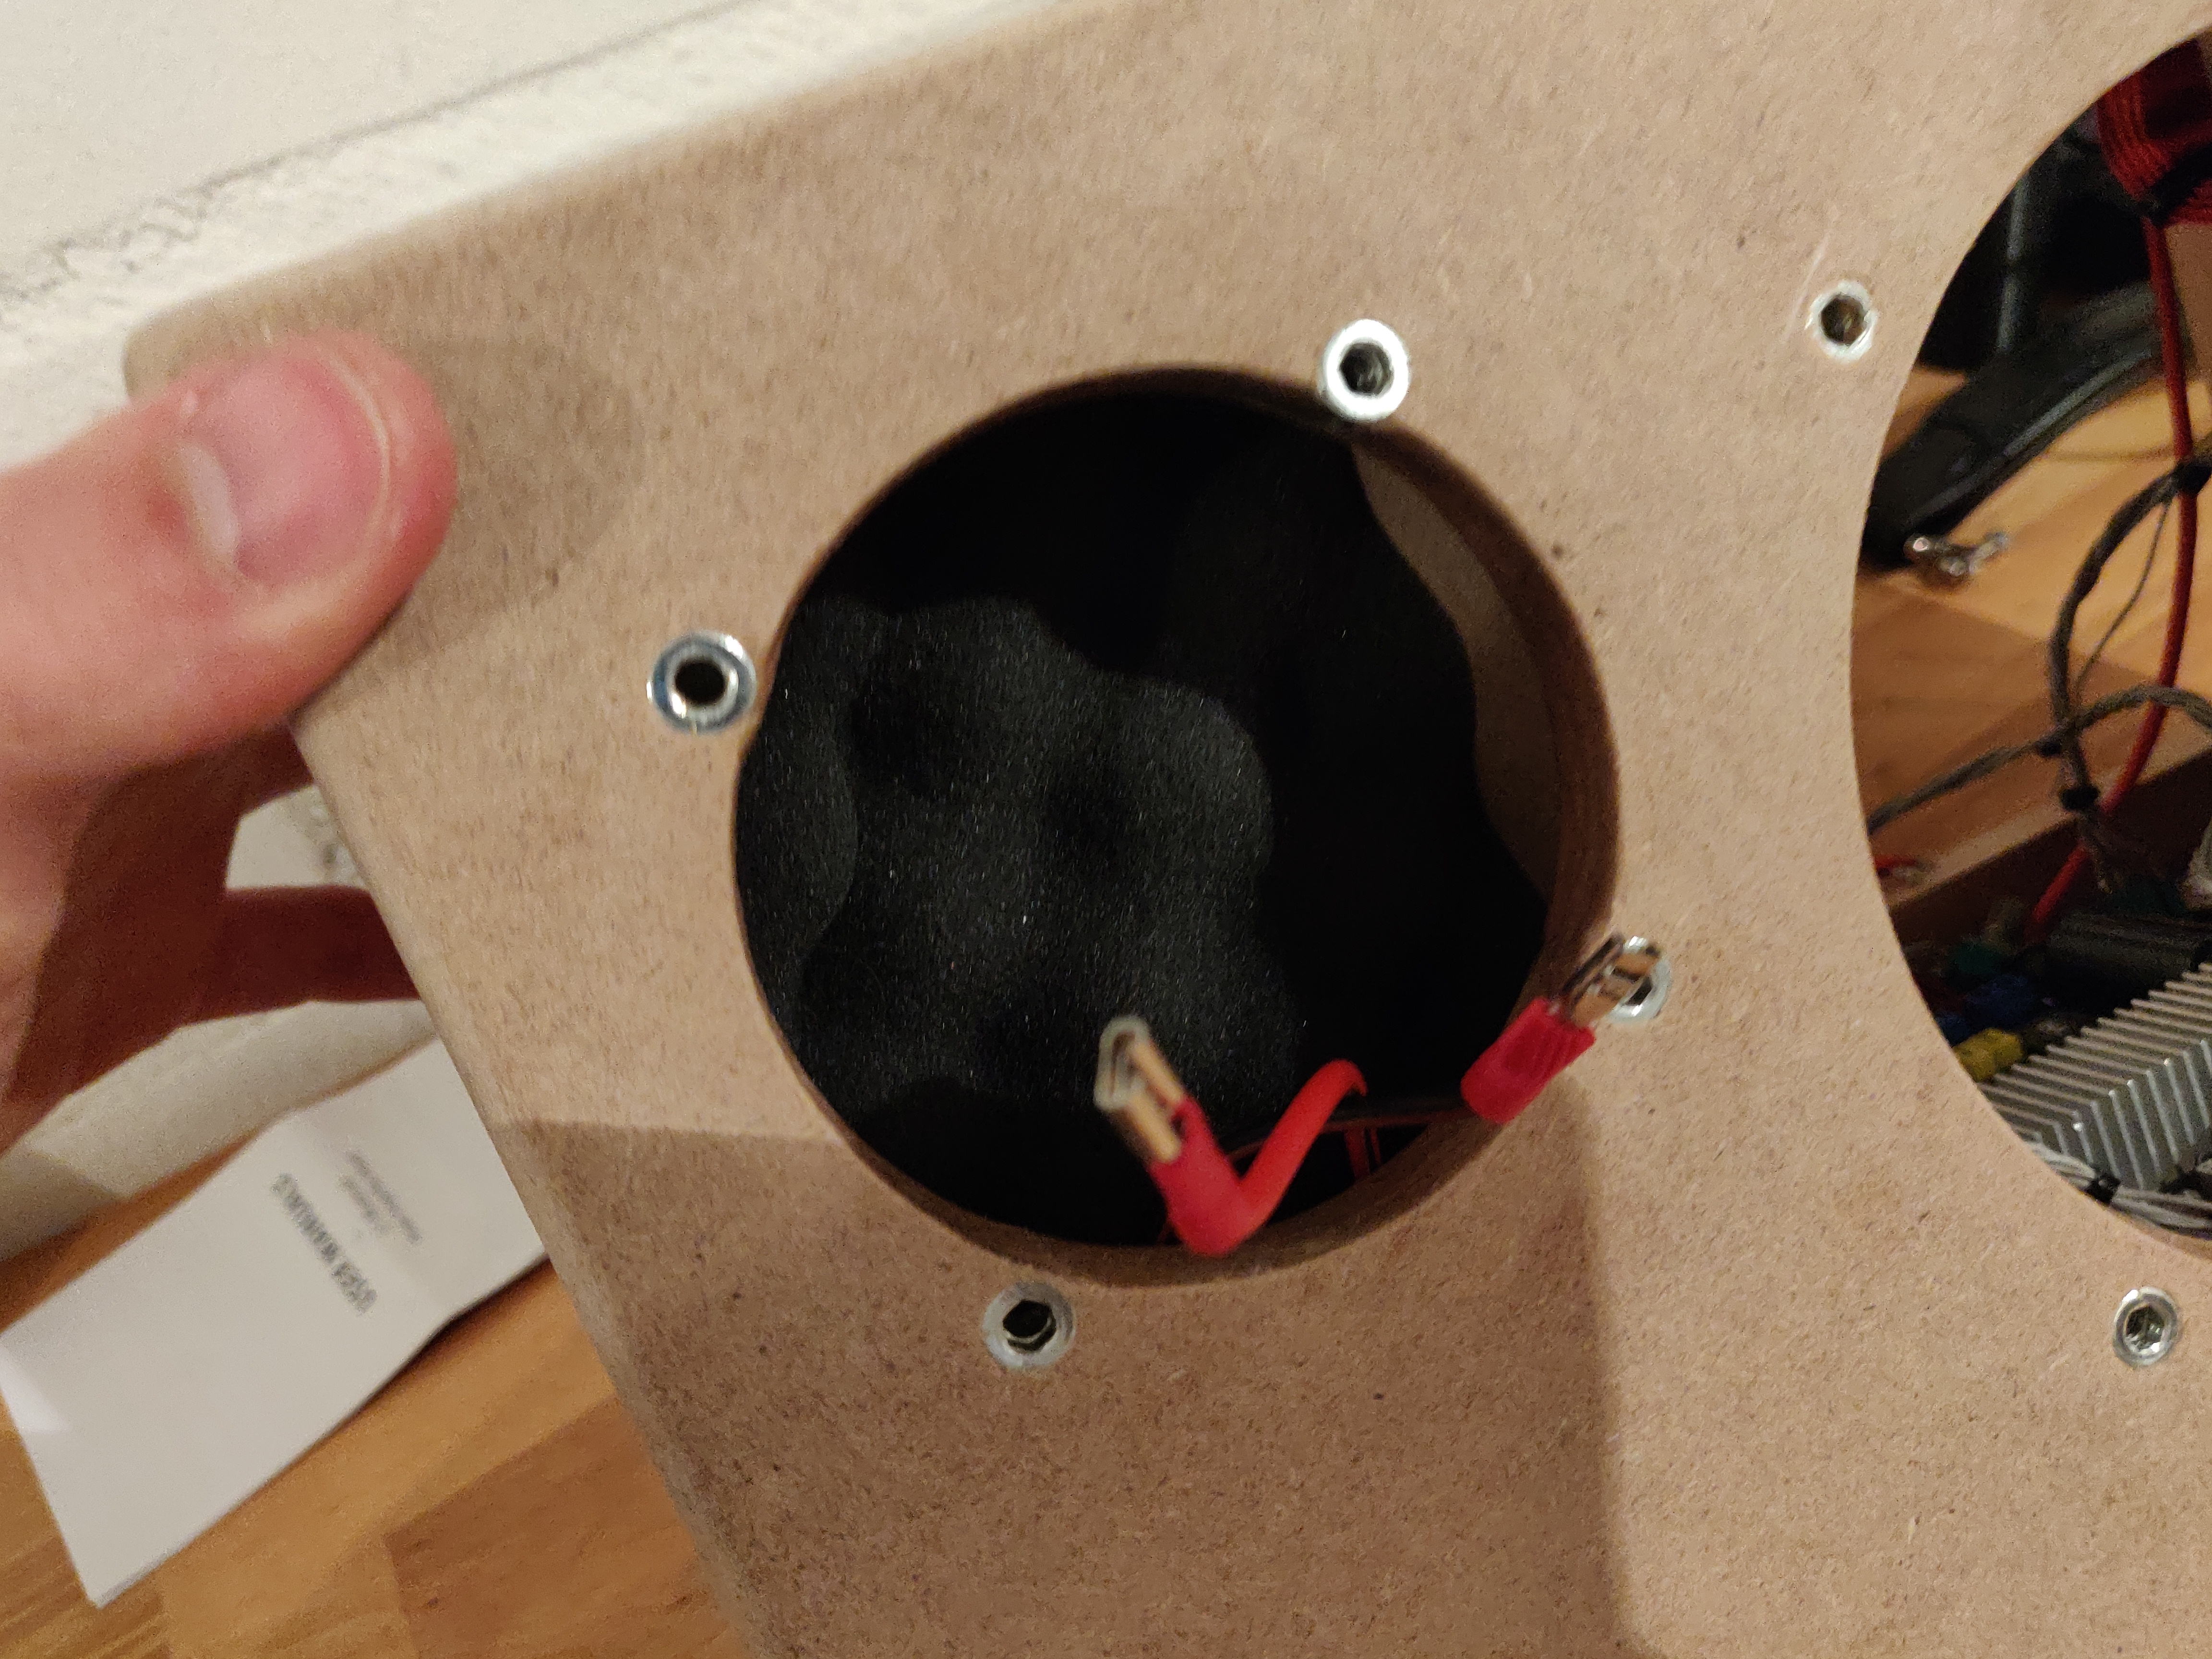
I'll approach this part alá "a picture is worth a thousand words"
Electric/Battery
Yes, I know you shouldn't solder batteries, but it was my only choice, as I don't own a spot welder. I used the six 18650 batteries, the BMS board and a lot of kapton tape to assemble my 24V rechargeable battery.
Leather wrapping
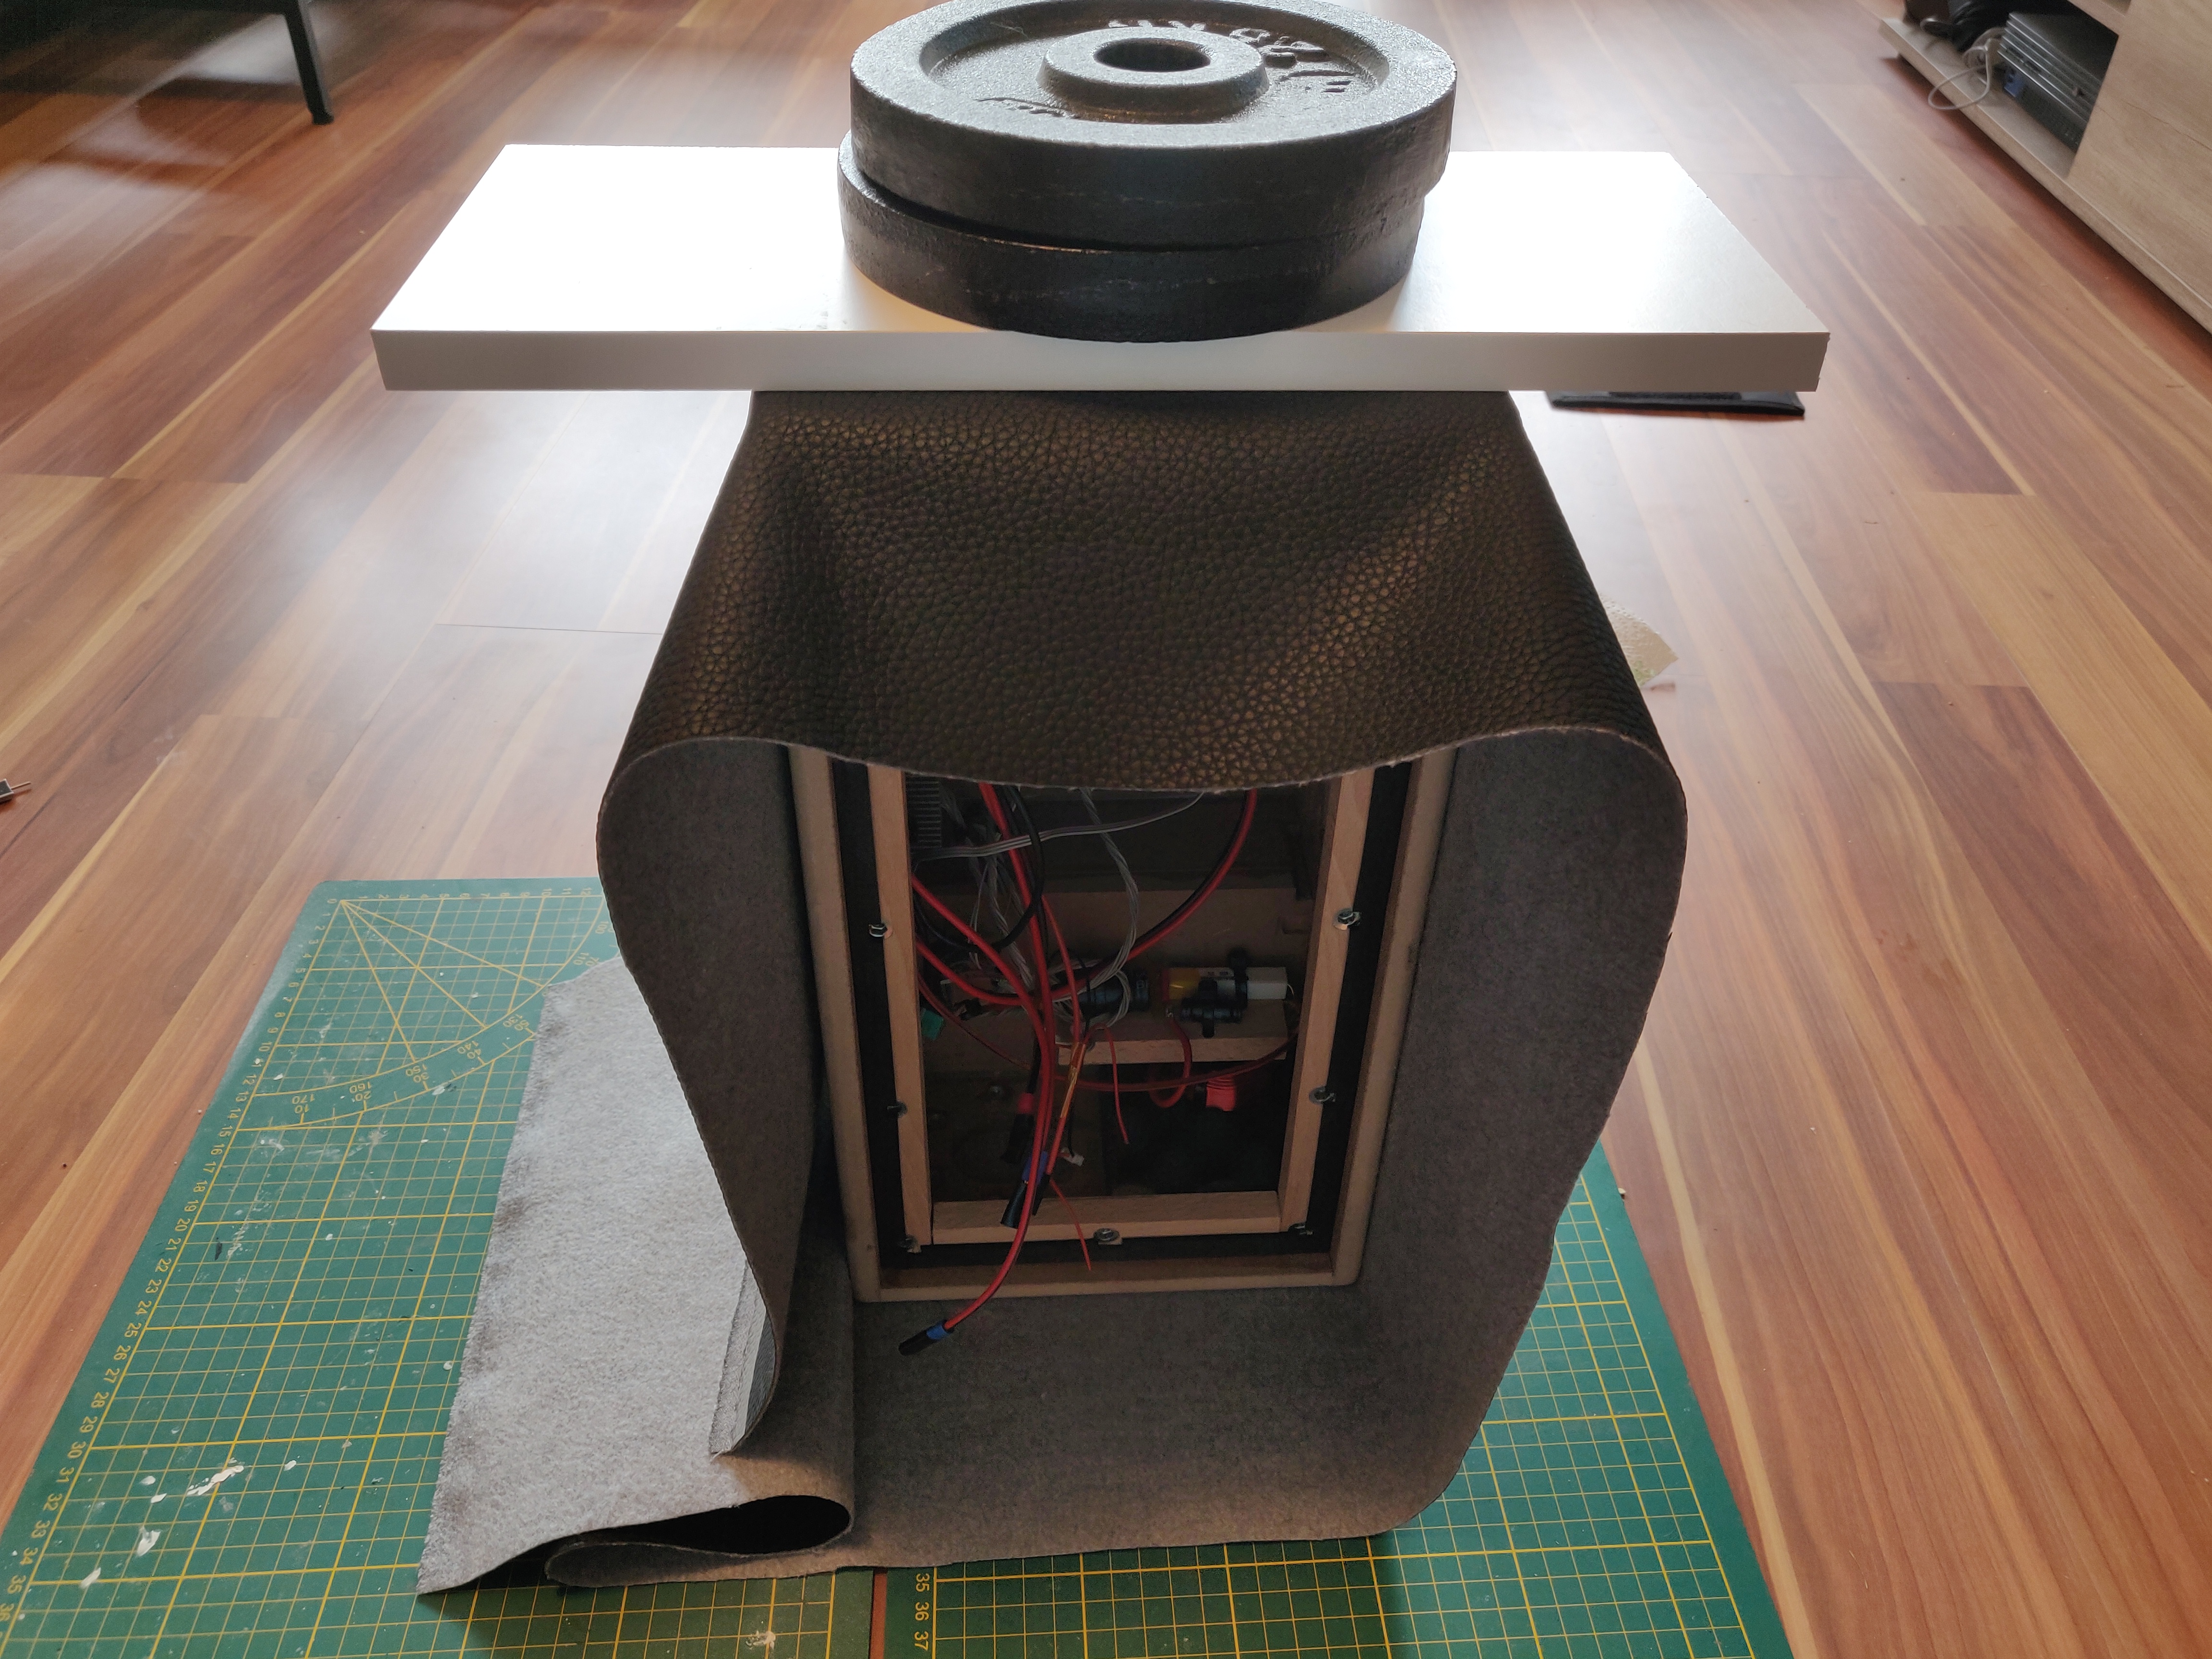
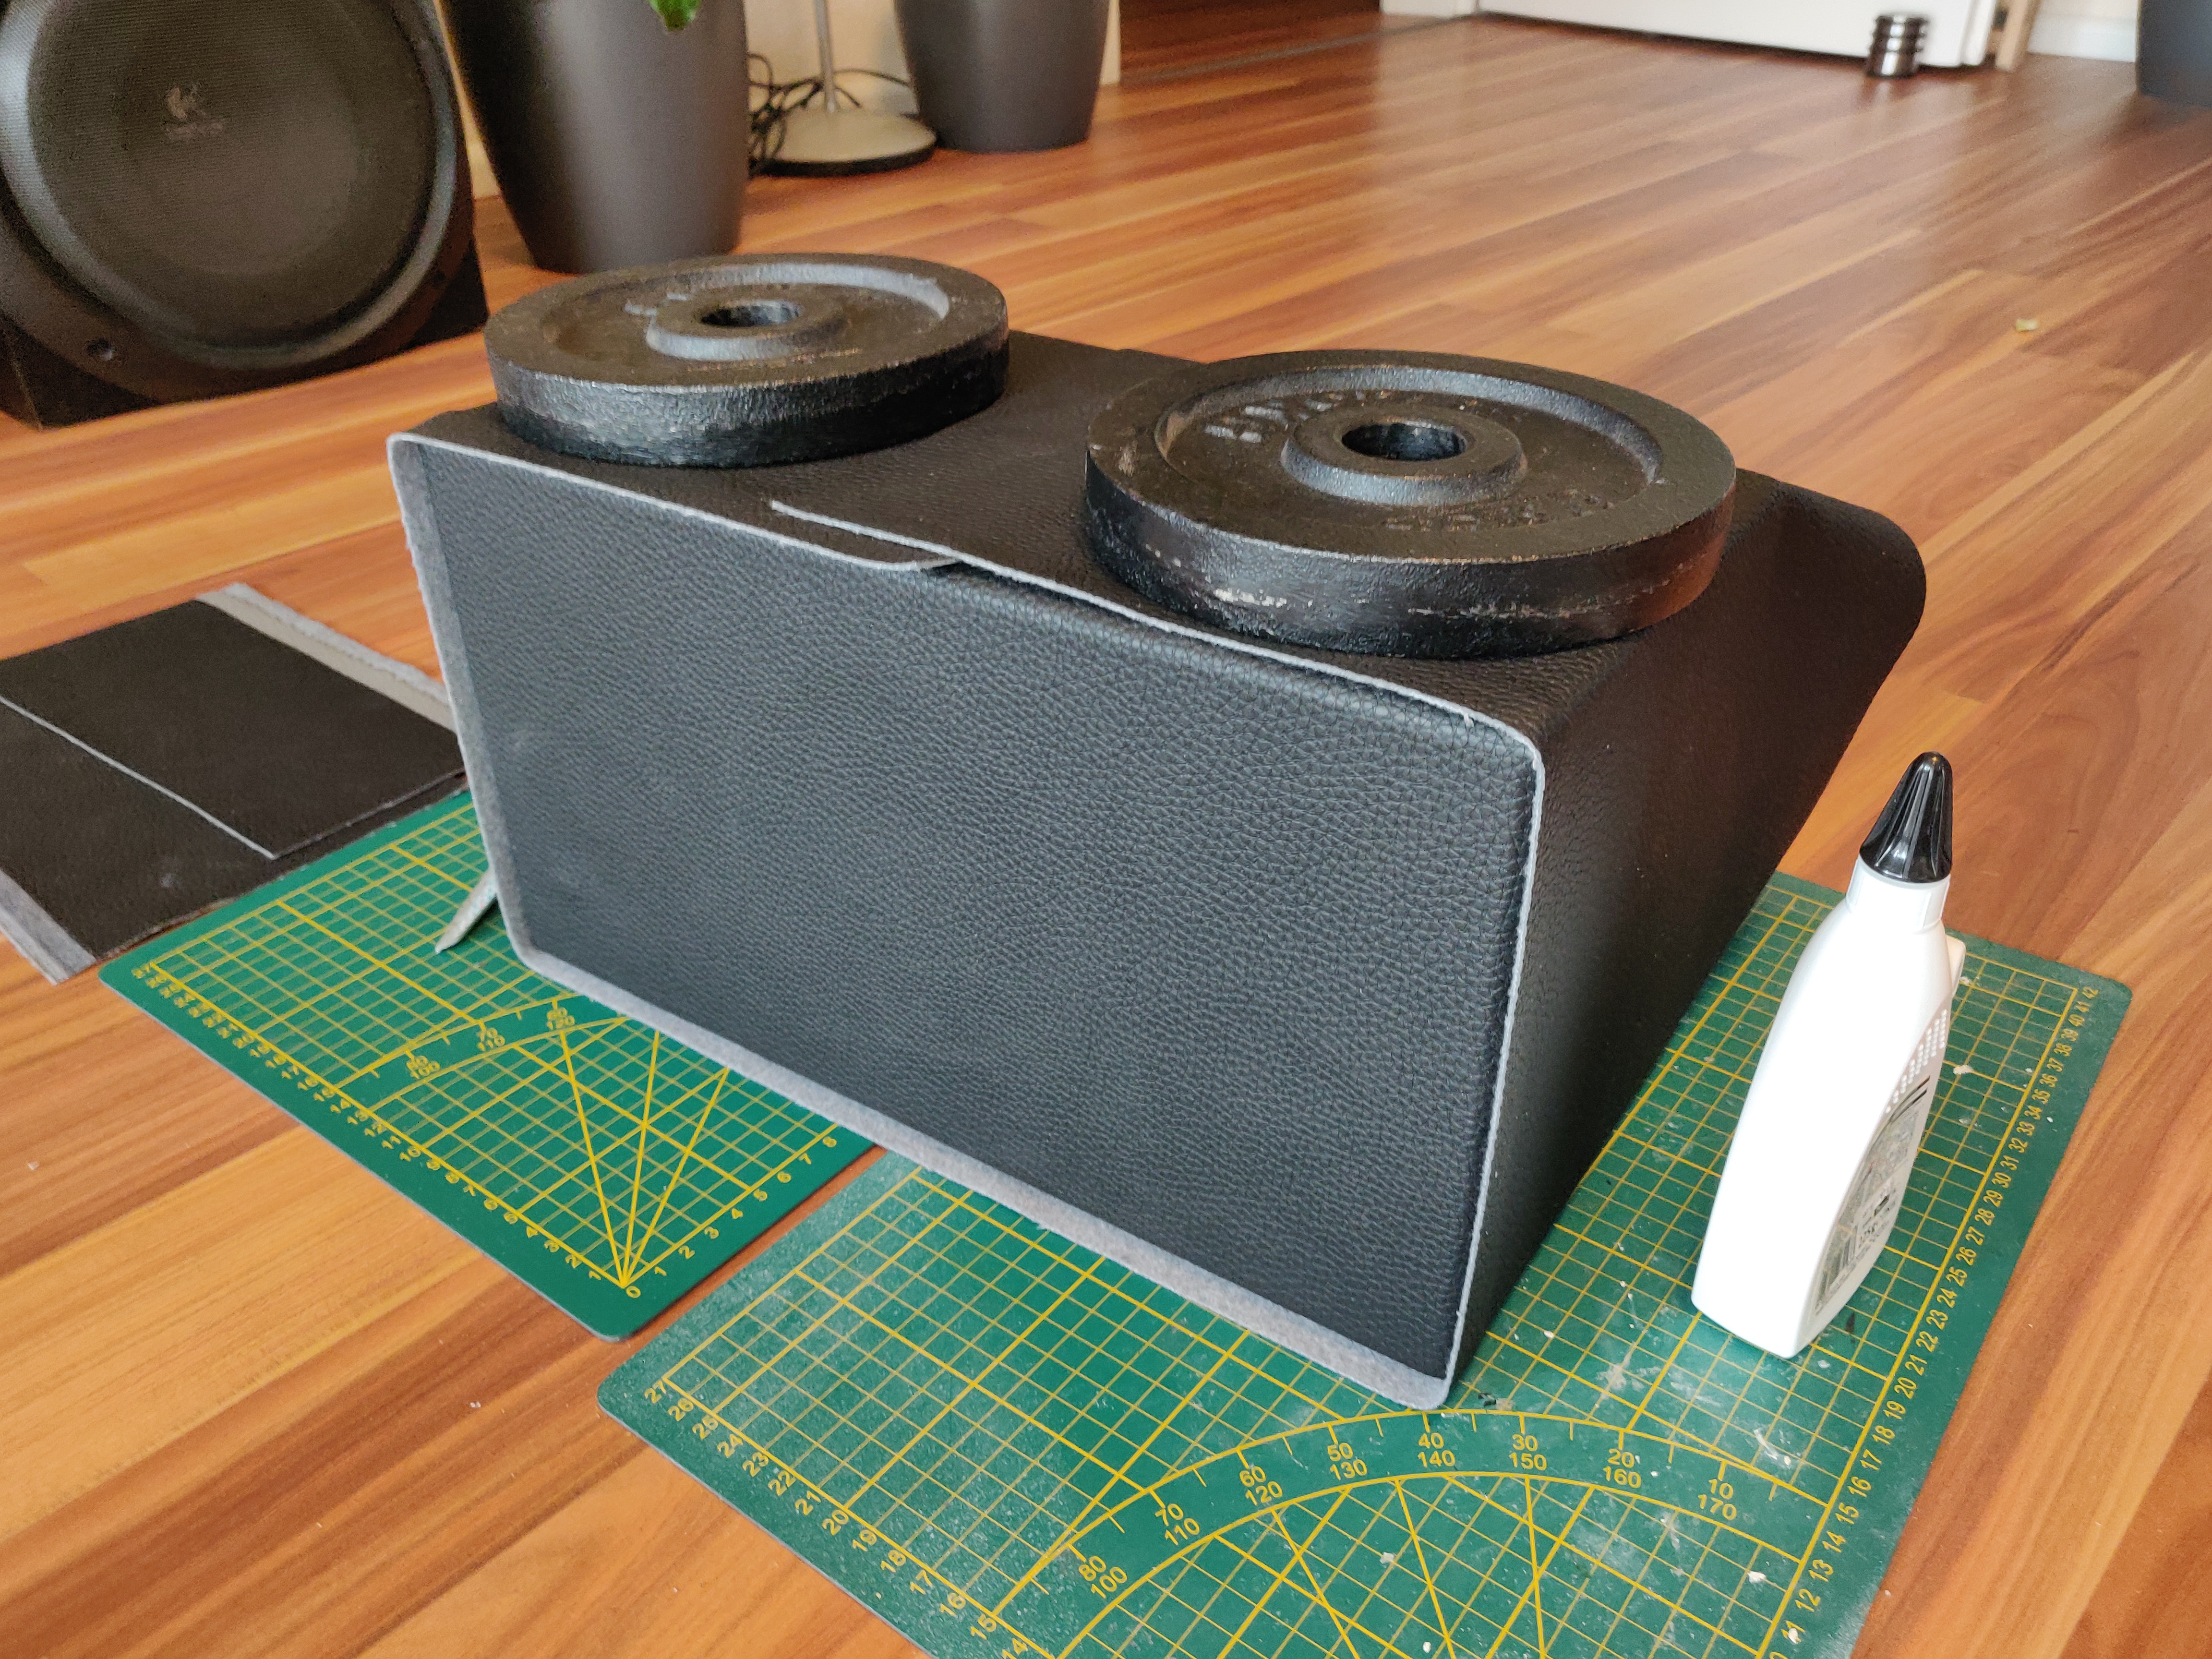
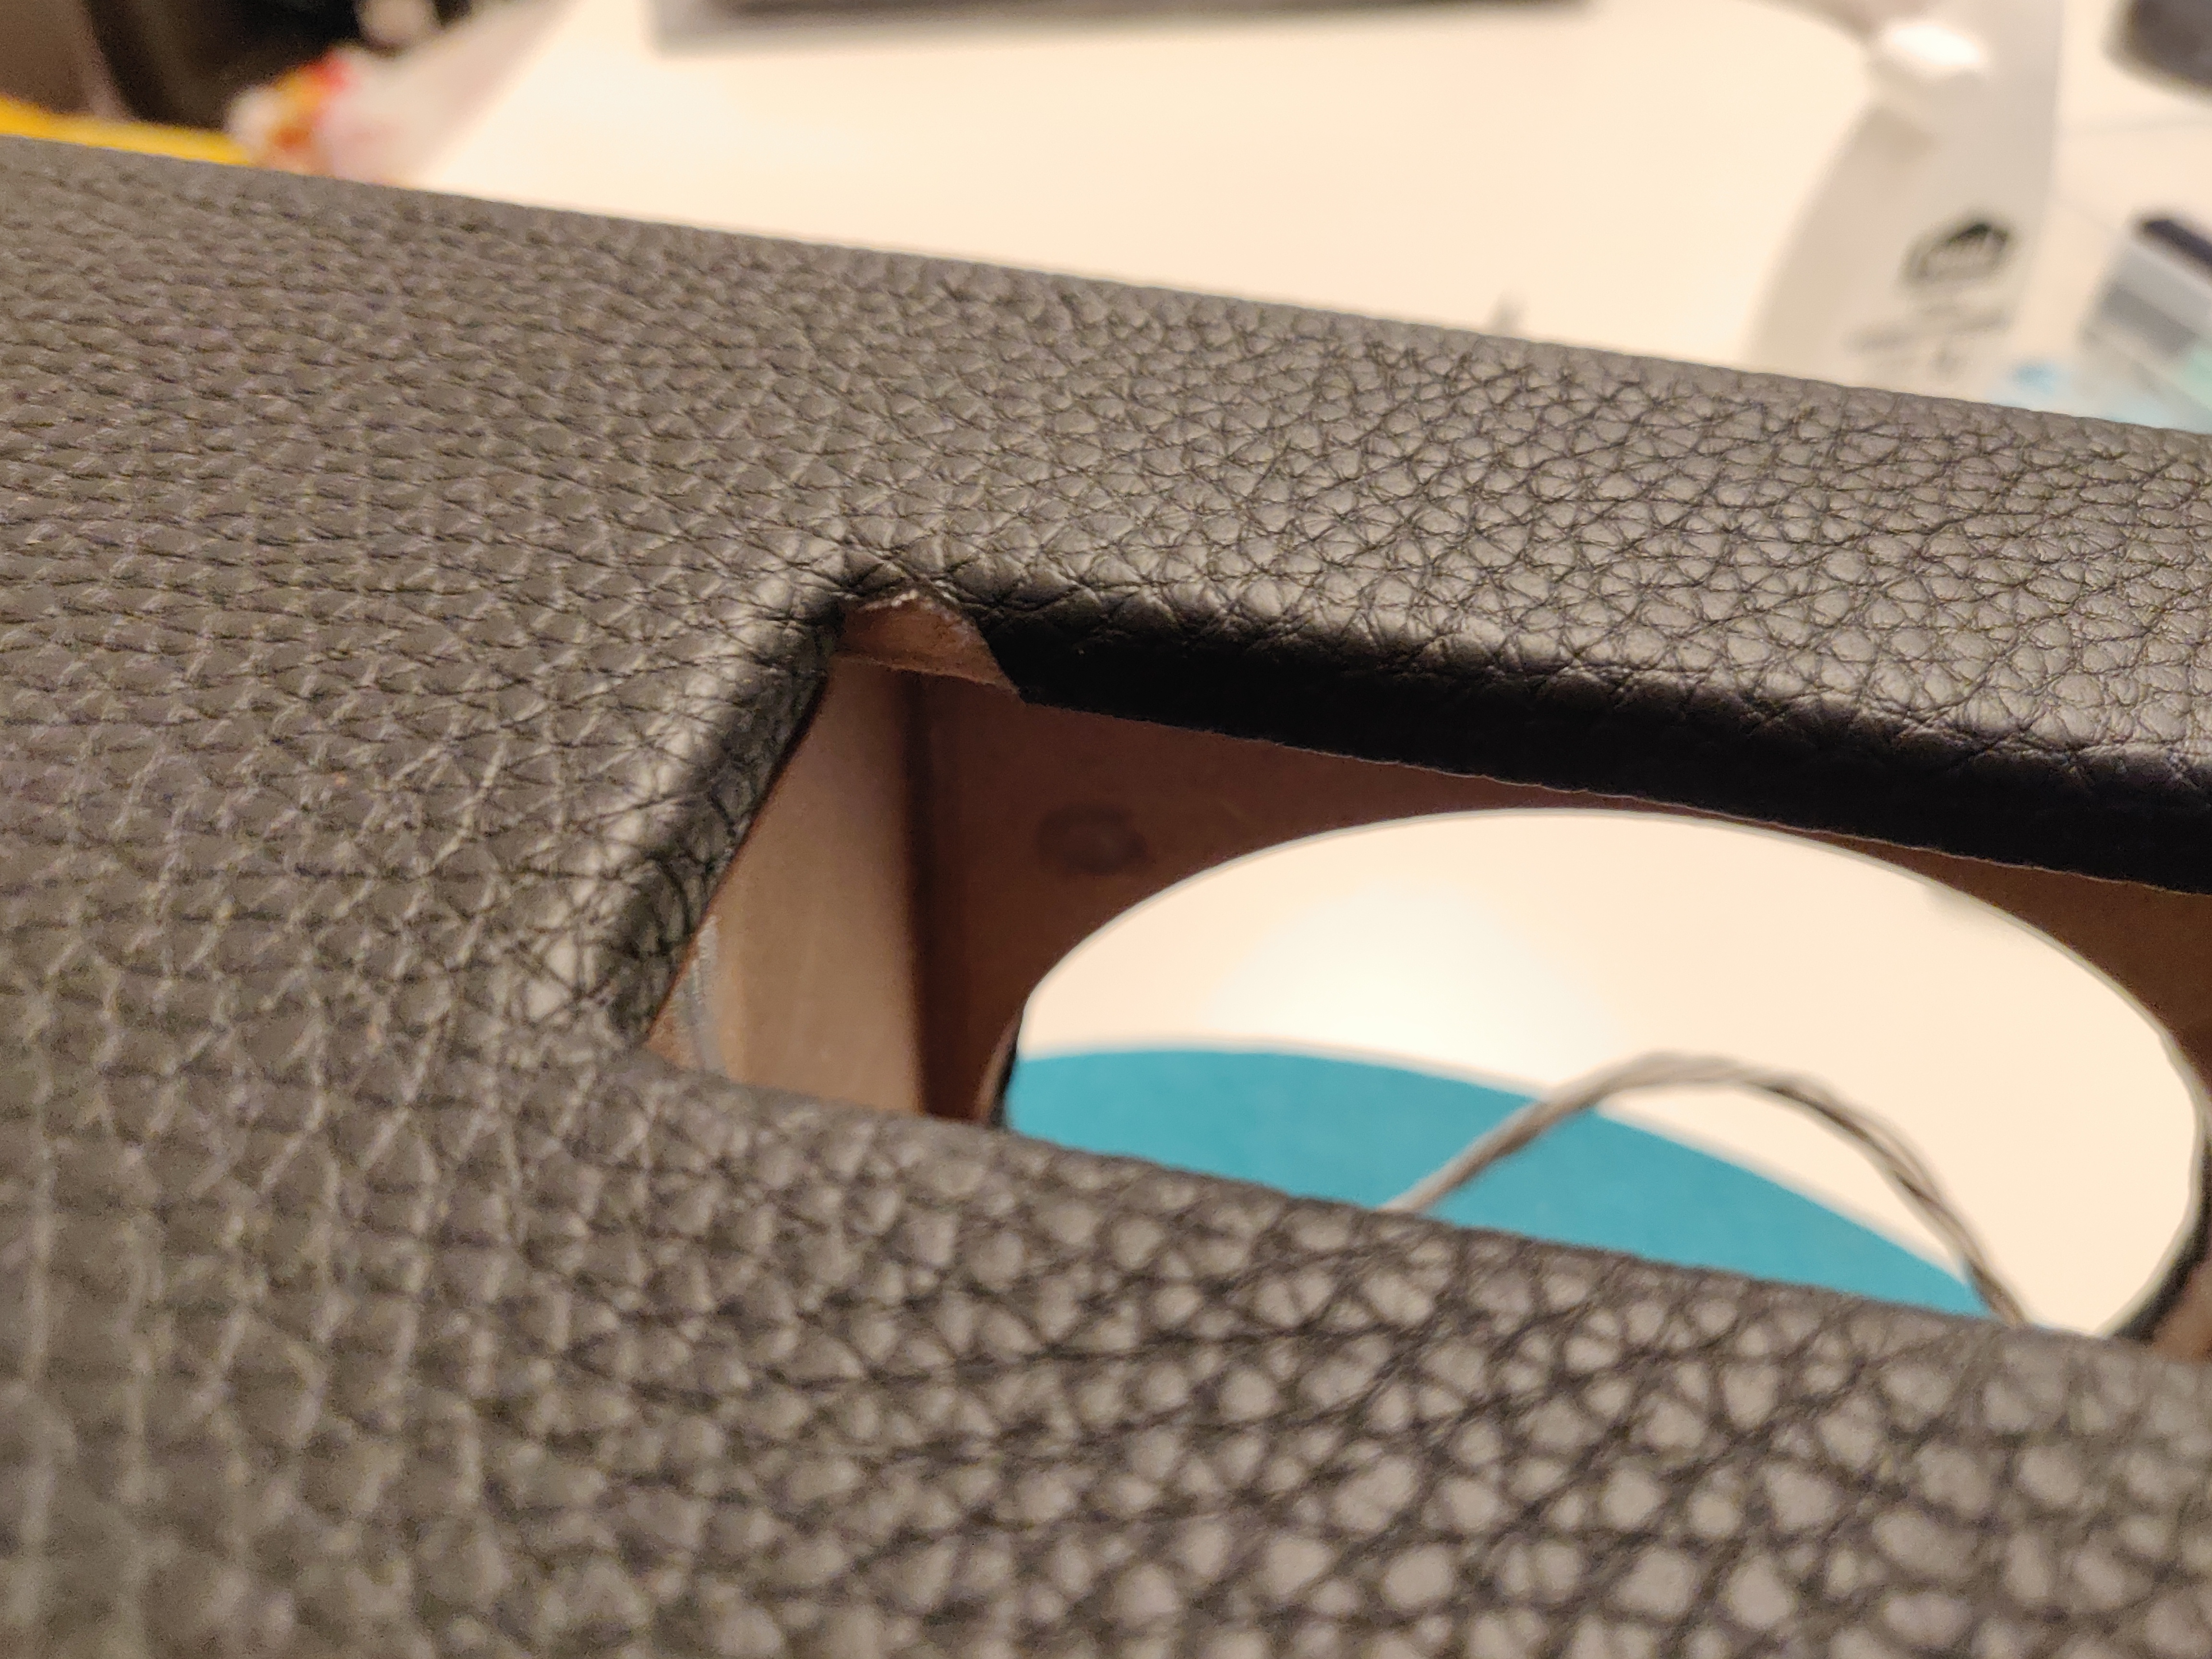
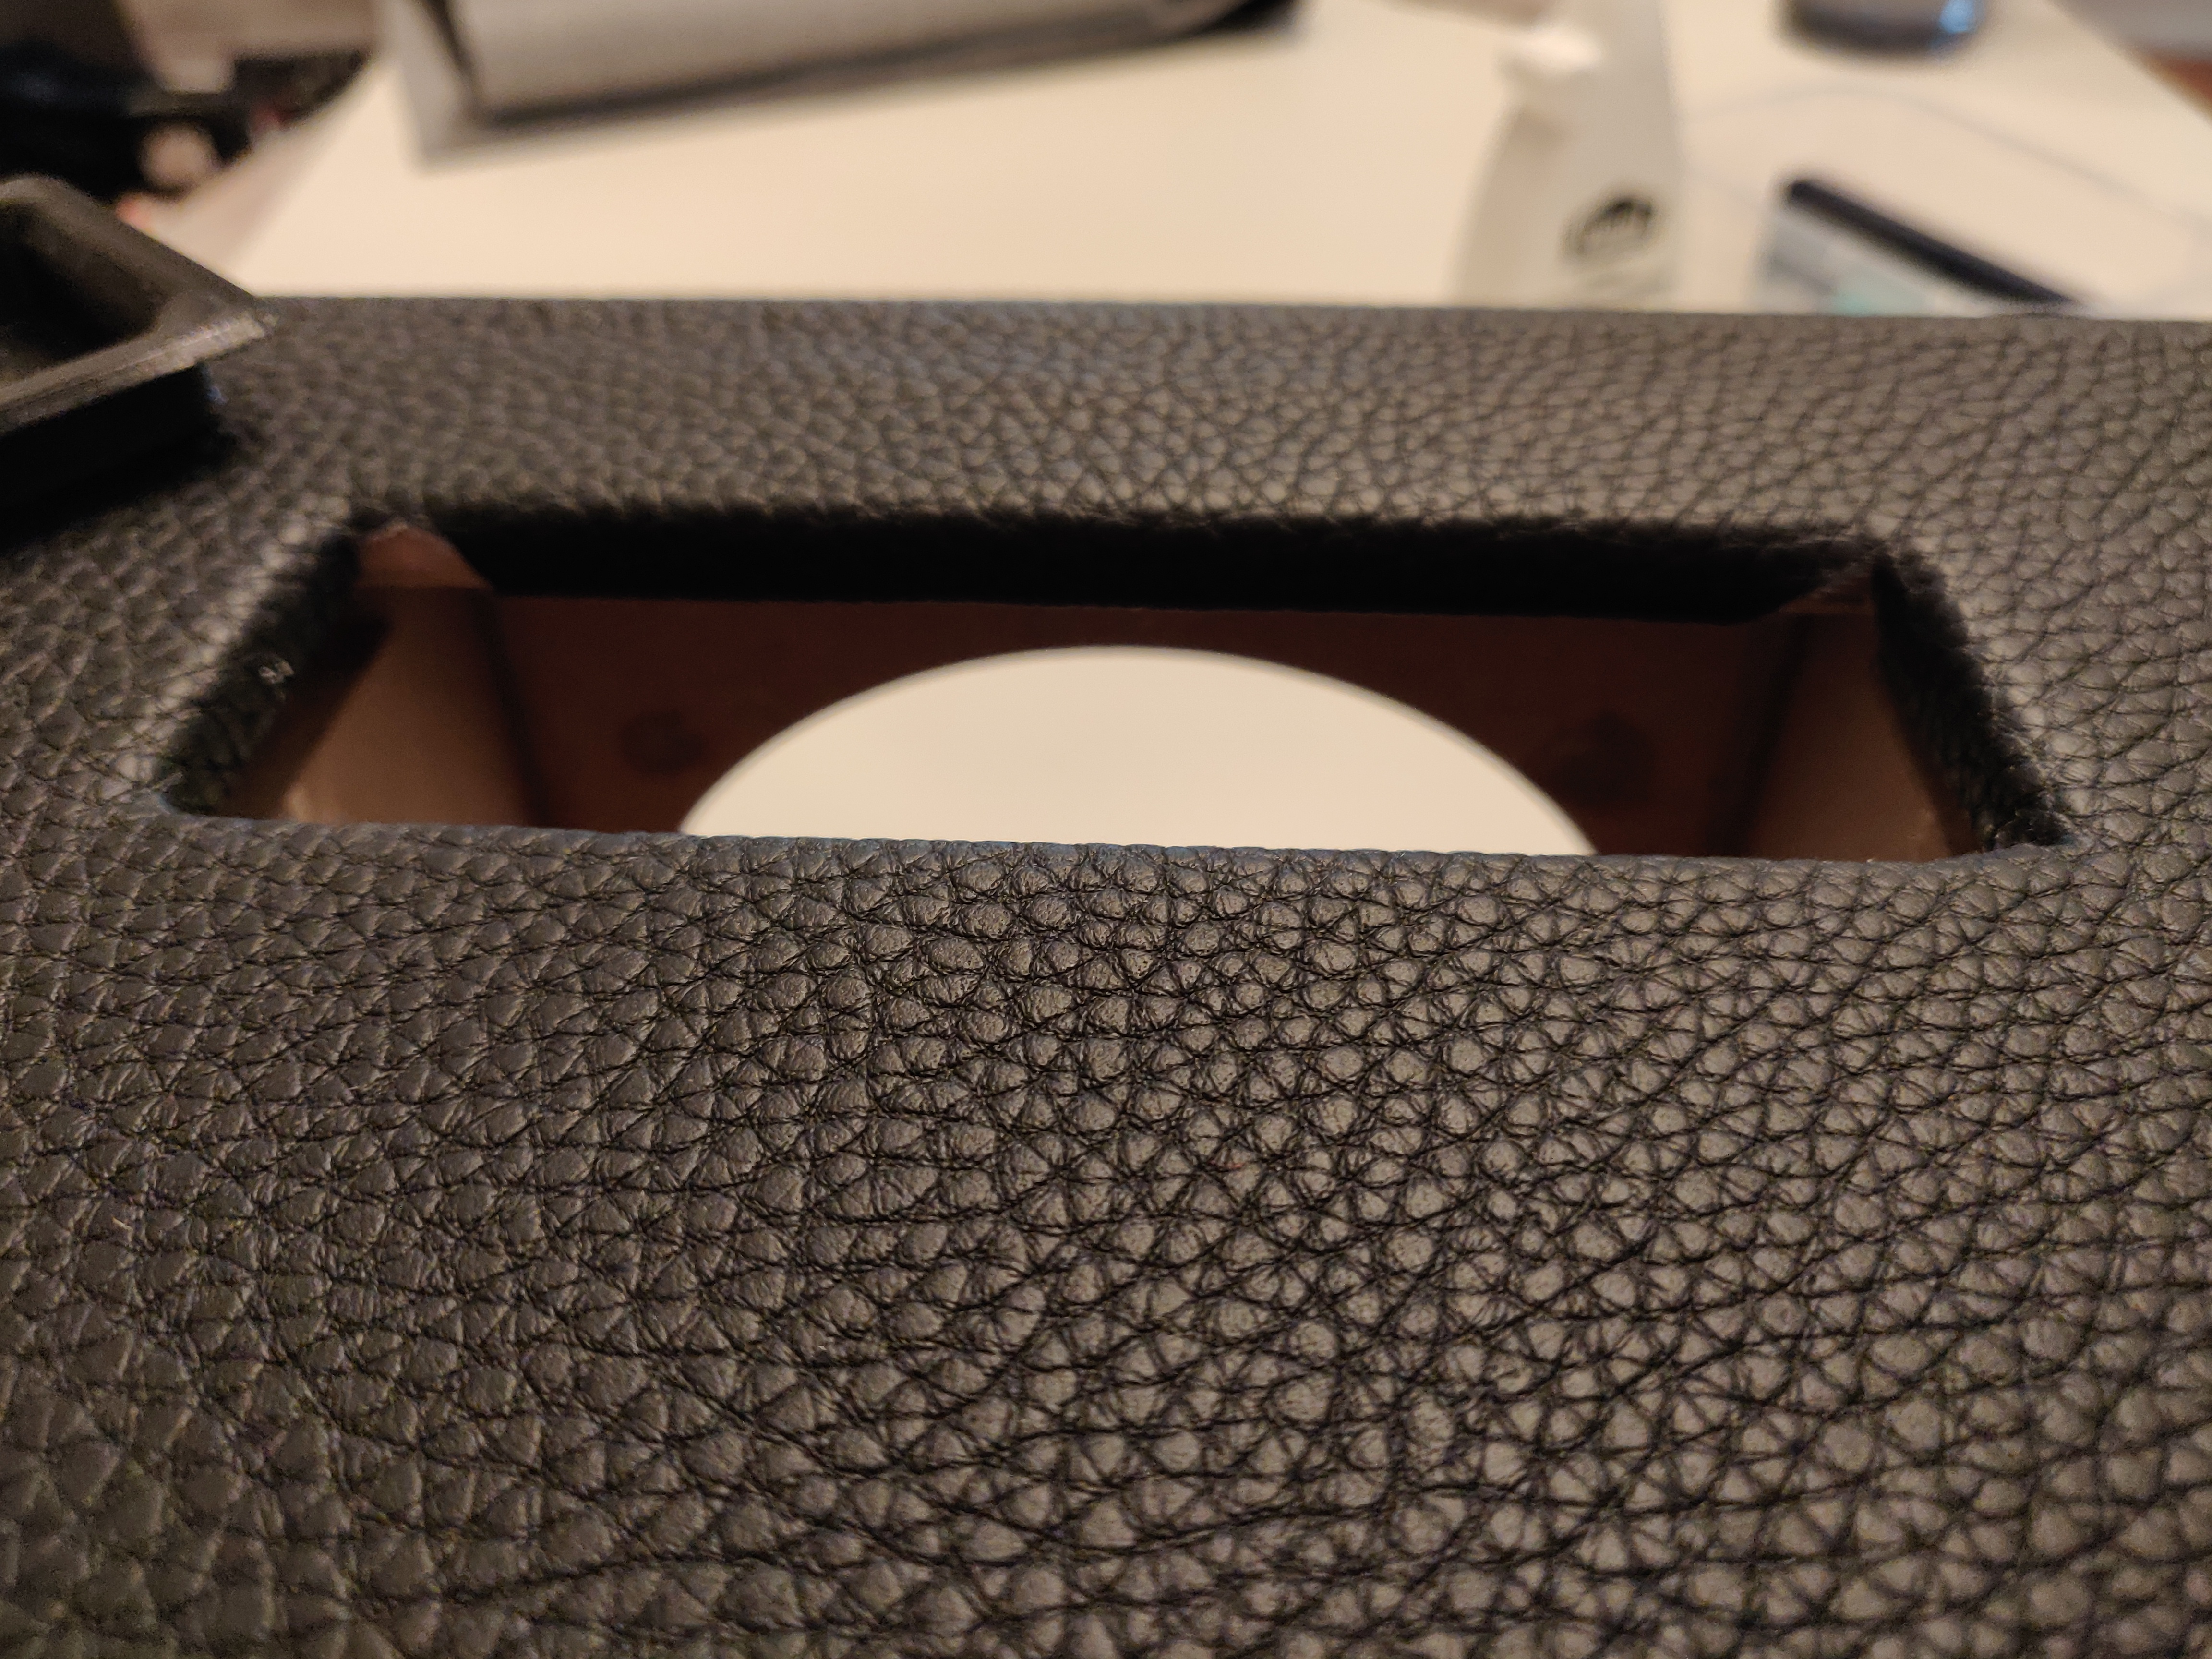
I bought some fake leather to use on my speaker which I glued with wood glue to the MDF
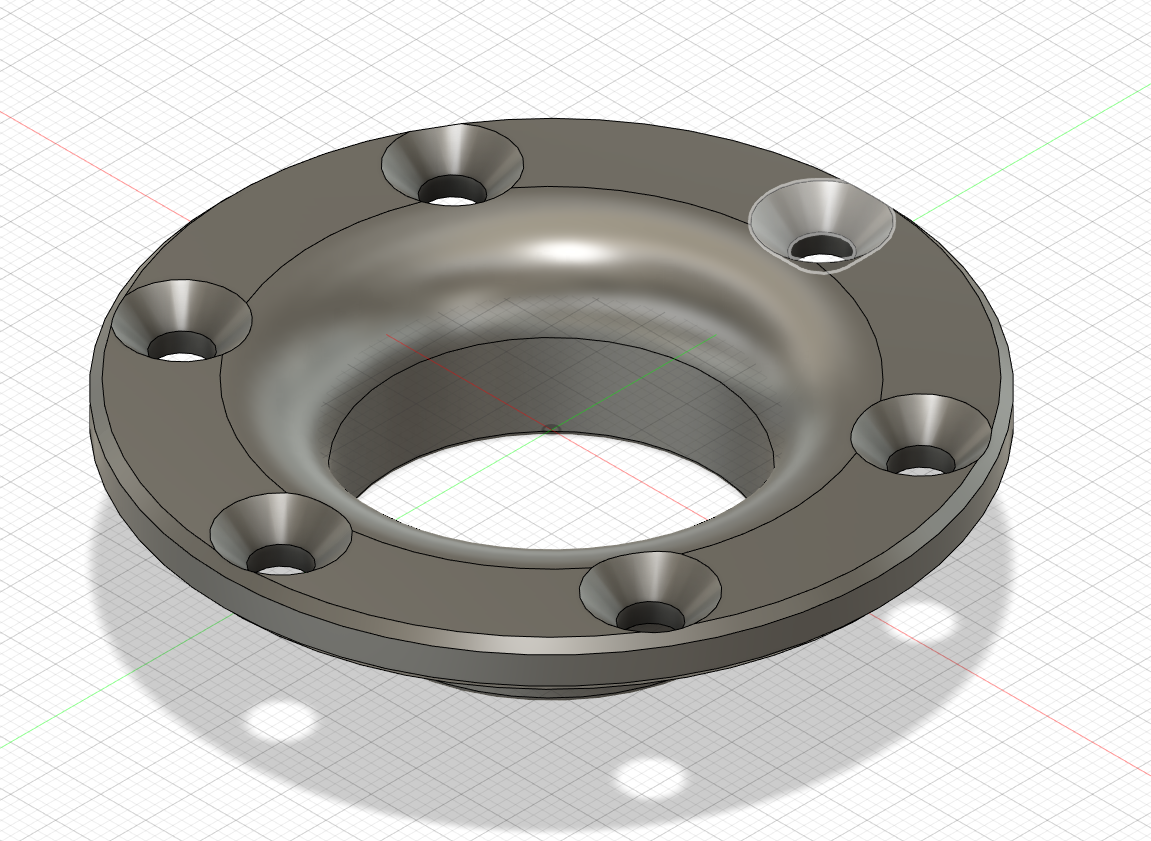
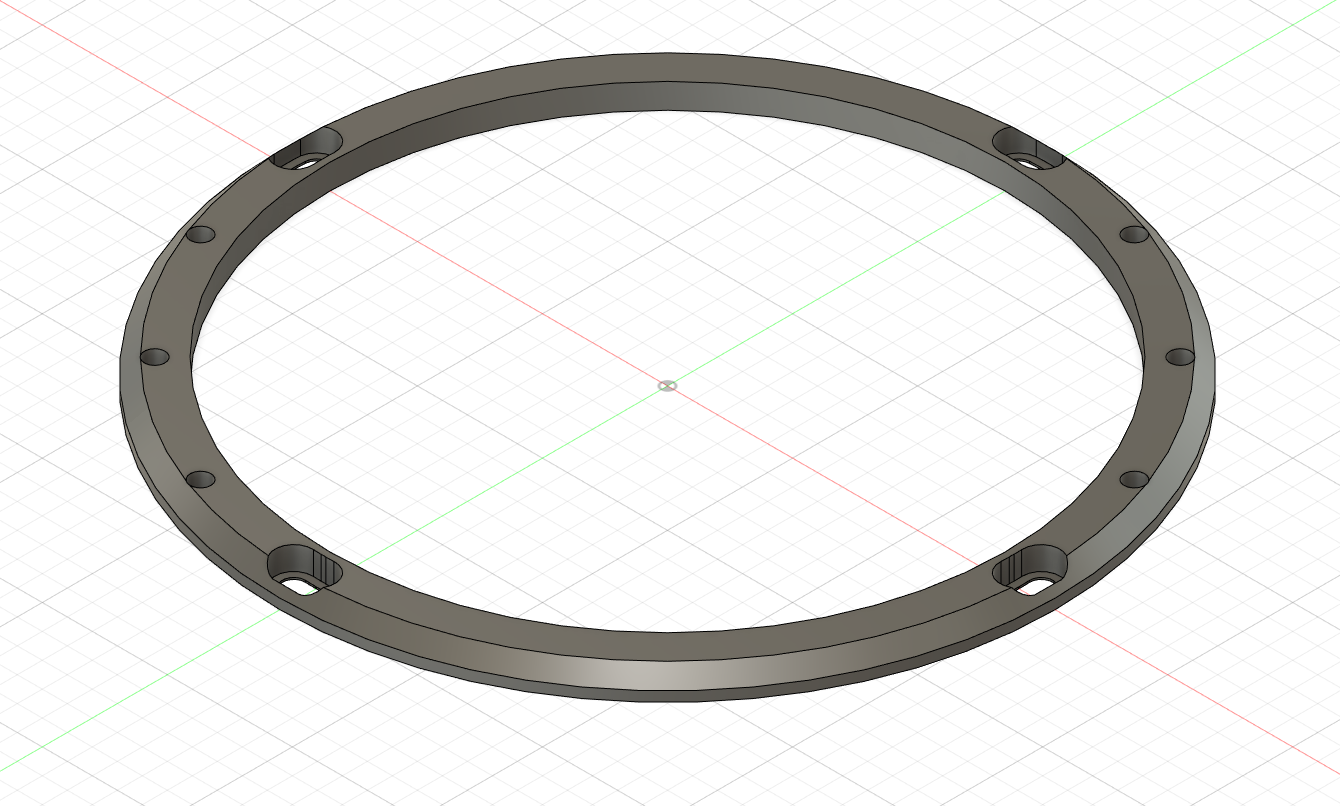
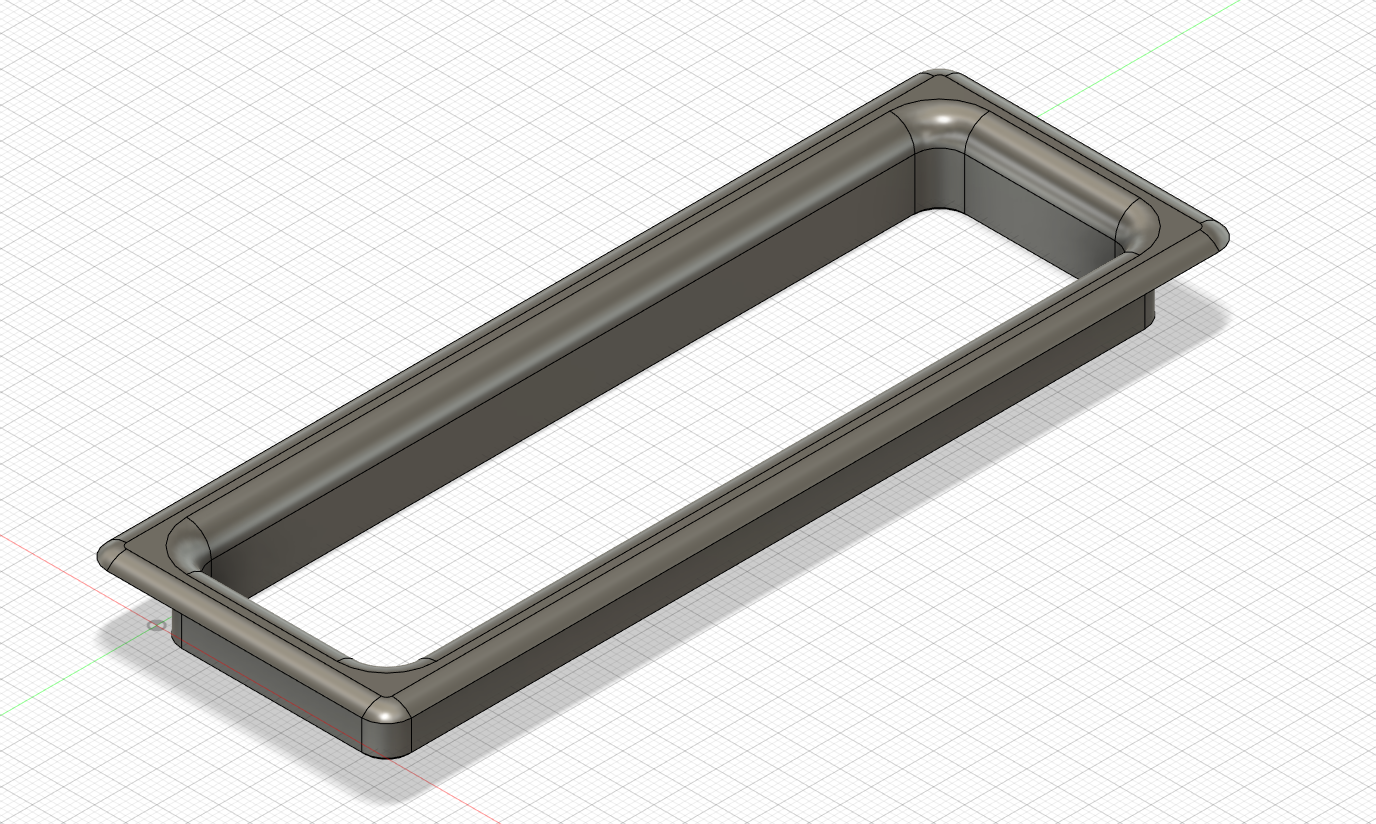
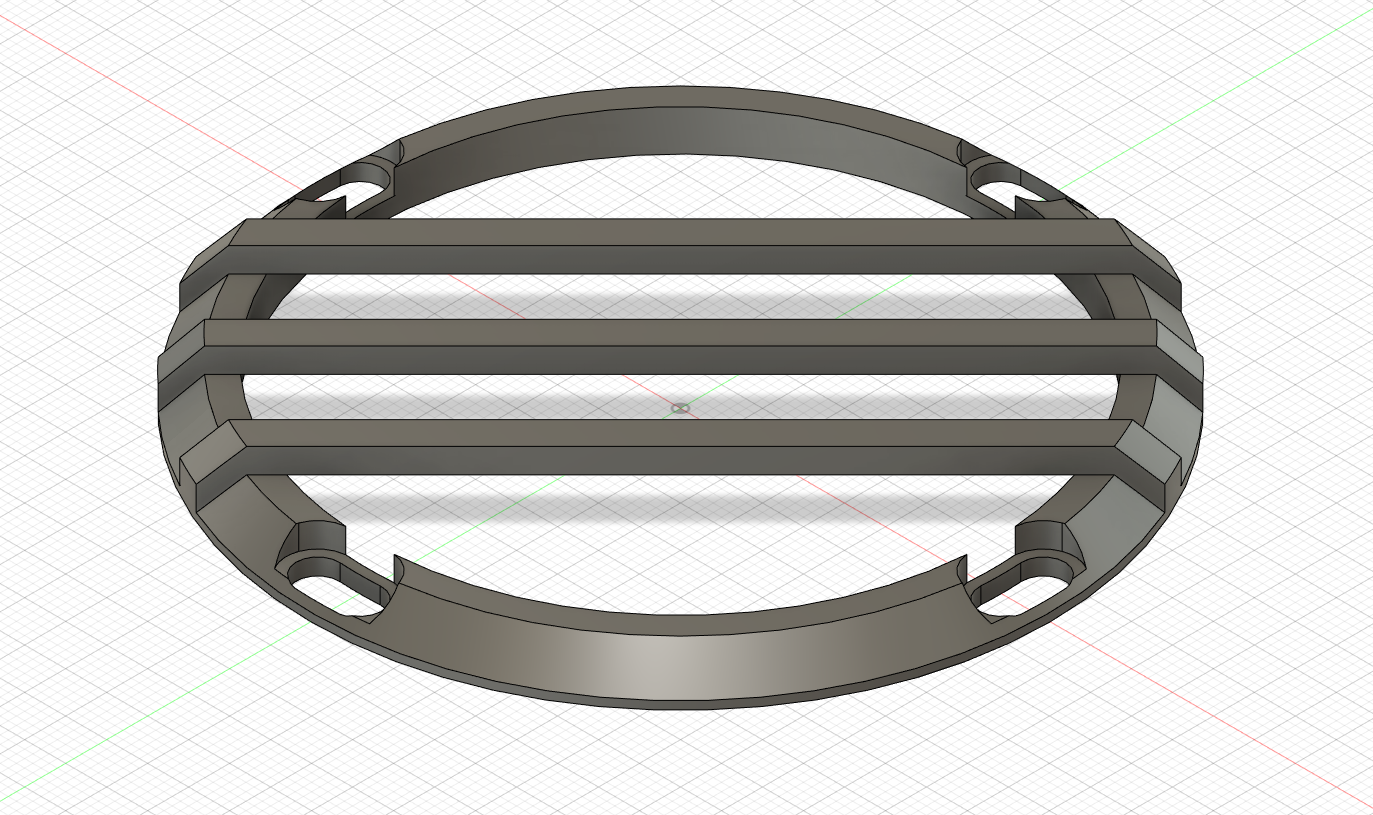
3D CAD and printing The Subpipe the speaker grills and the "top seam cover" was designed in Fusion360 and printed on my Prusa 3D printer. The parts got the usual finish e.g: sanding, putty, primer, painting.
Finished product
