Disclaimer. The moon is not my model, I got it from moononournation over at Thingiverse. The rest of the project is all made by me.
Bill of Materials
- 1 m of white sleeved cable
- 12 mm 230V latch button
- 220lm LED 230V - warm white
- E27 socket
- EU style plug
- "Lüsterklemmen" - insulating screw joints
The hard Part
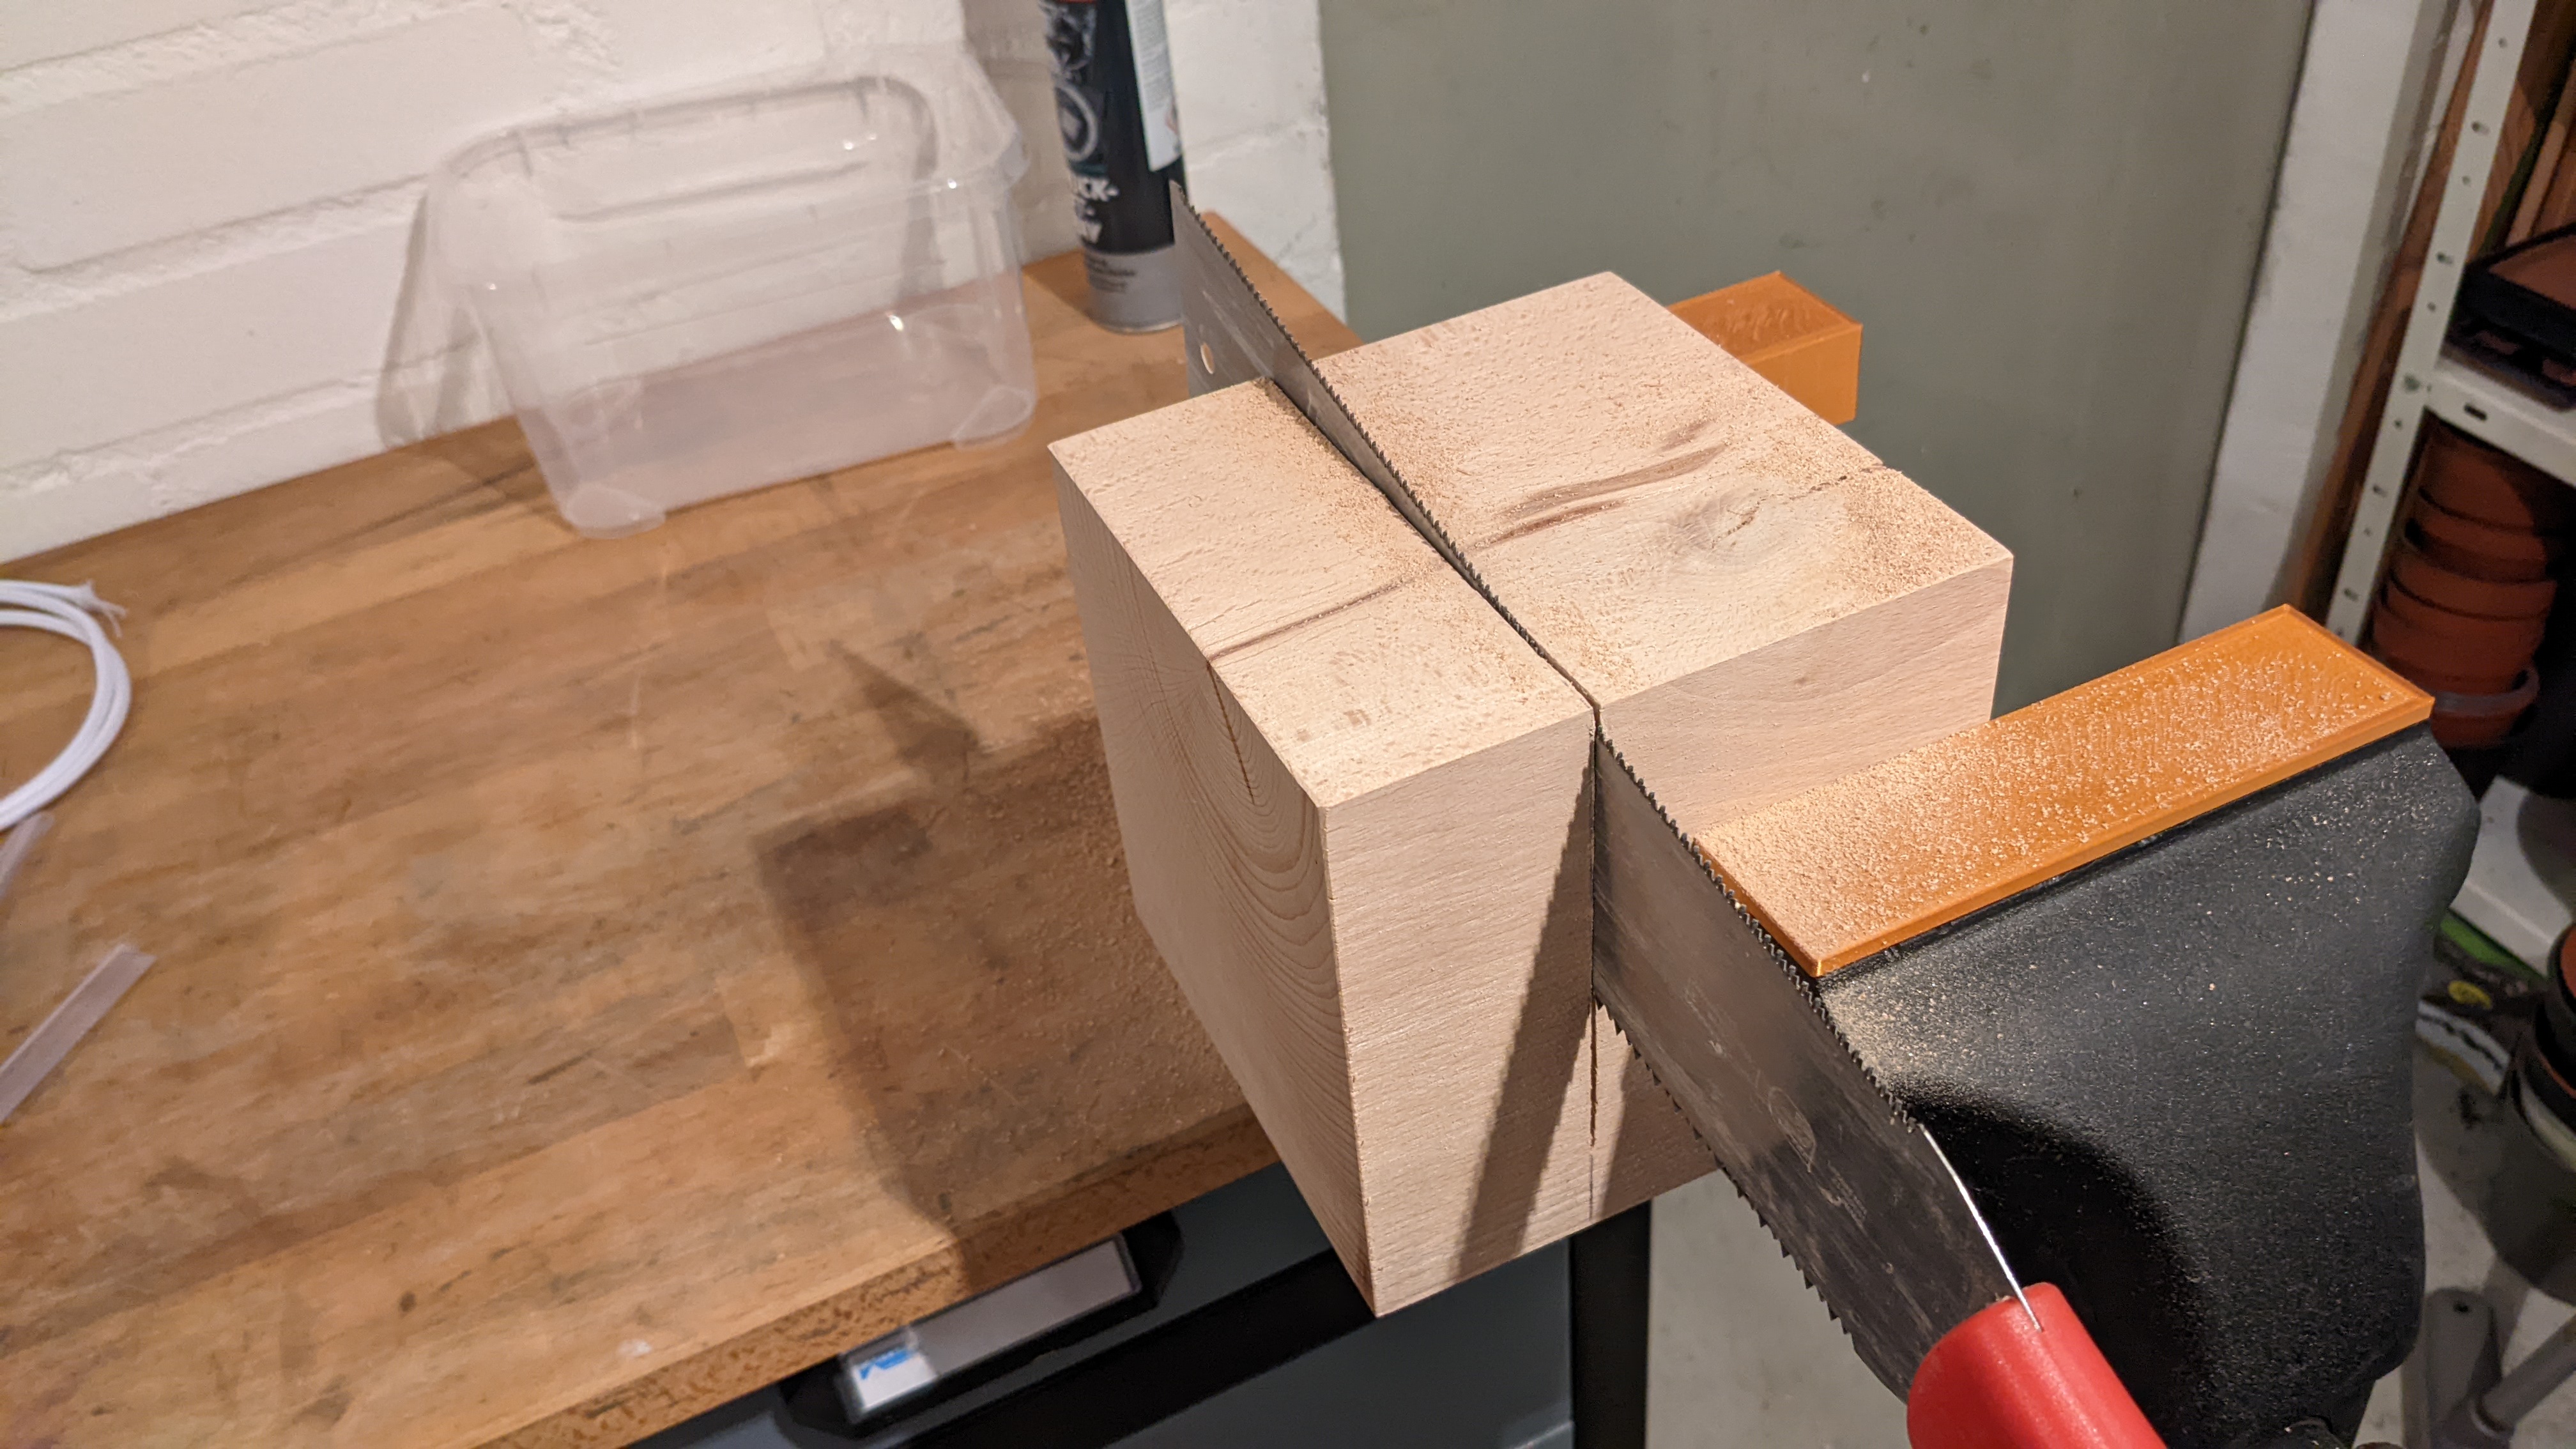
I bought a 150x150x150mm (LxBxH). For the moon lamp I just needed a 55 mm high wood stock - I don't have a bandsaw or something comparable, so I had to break out the japanese handsaw.
The saw is very flexible, which caused the cut to become kinda uneven.
Milling
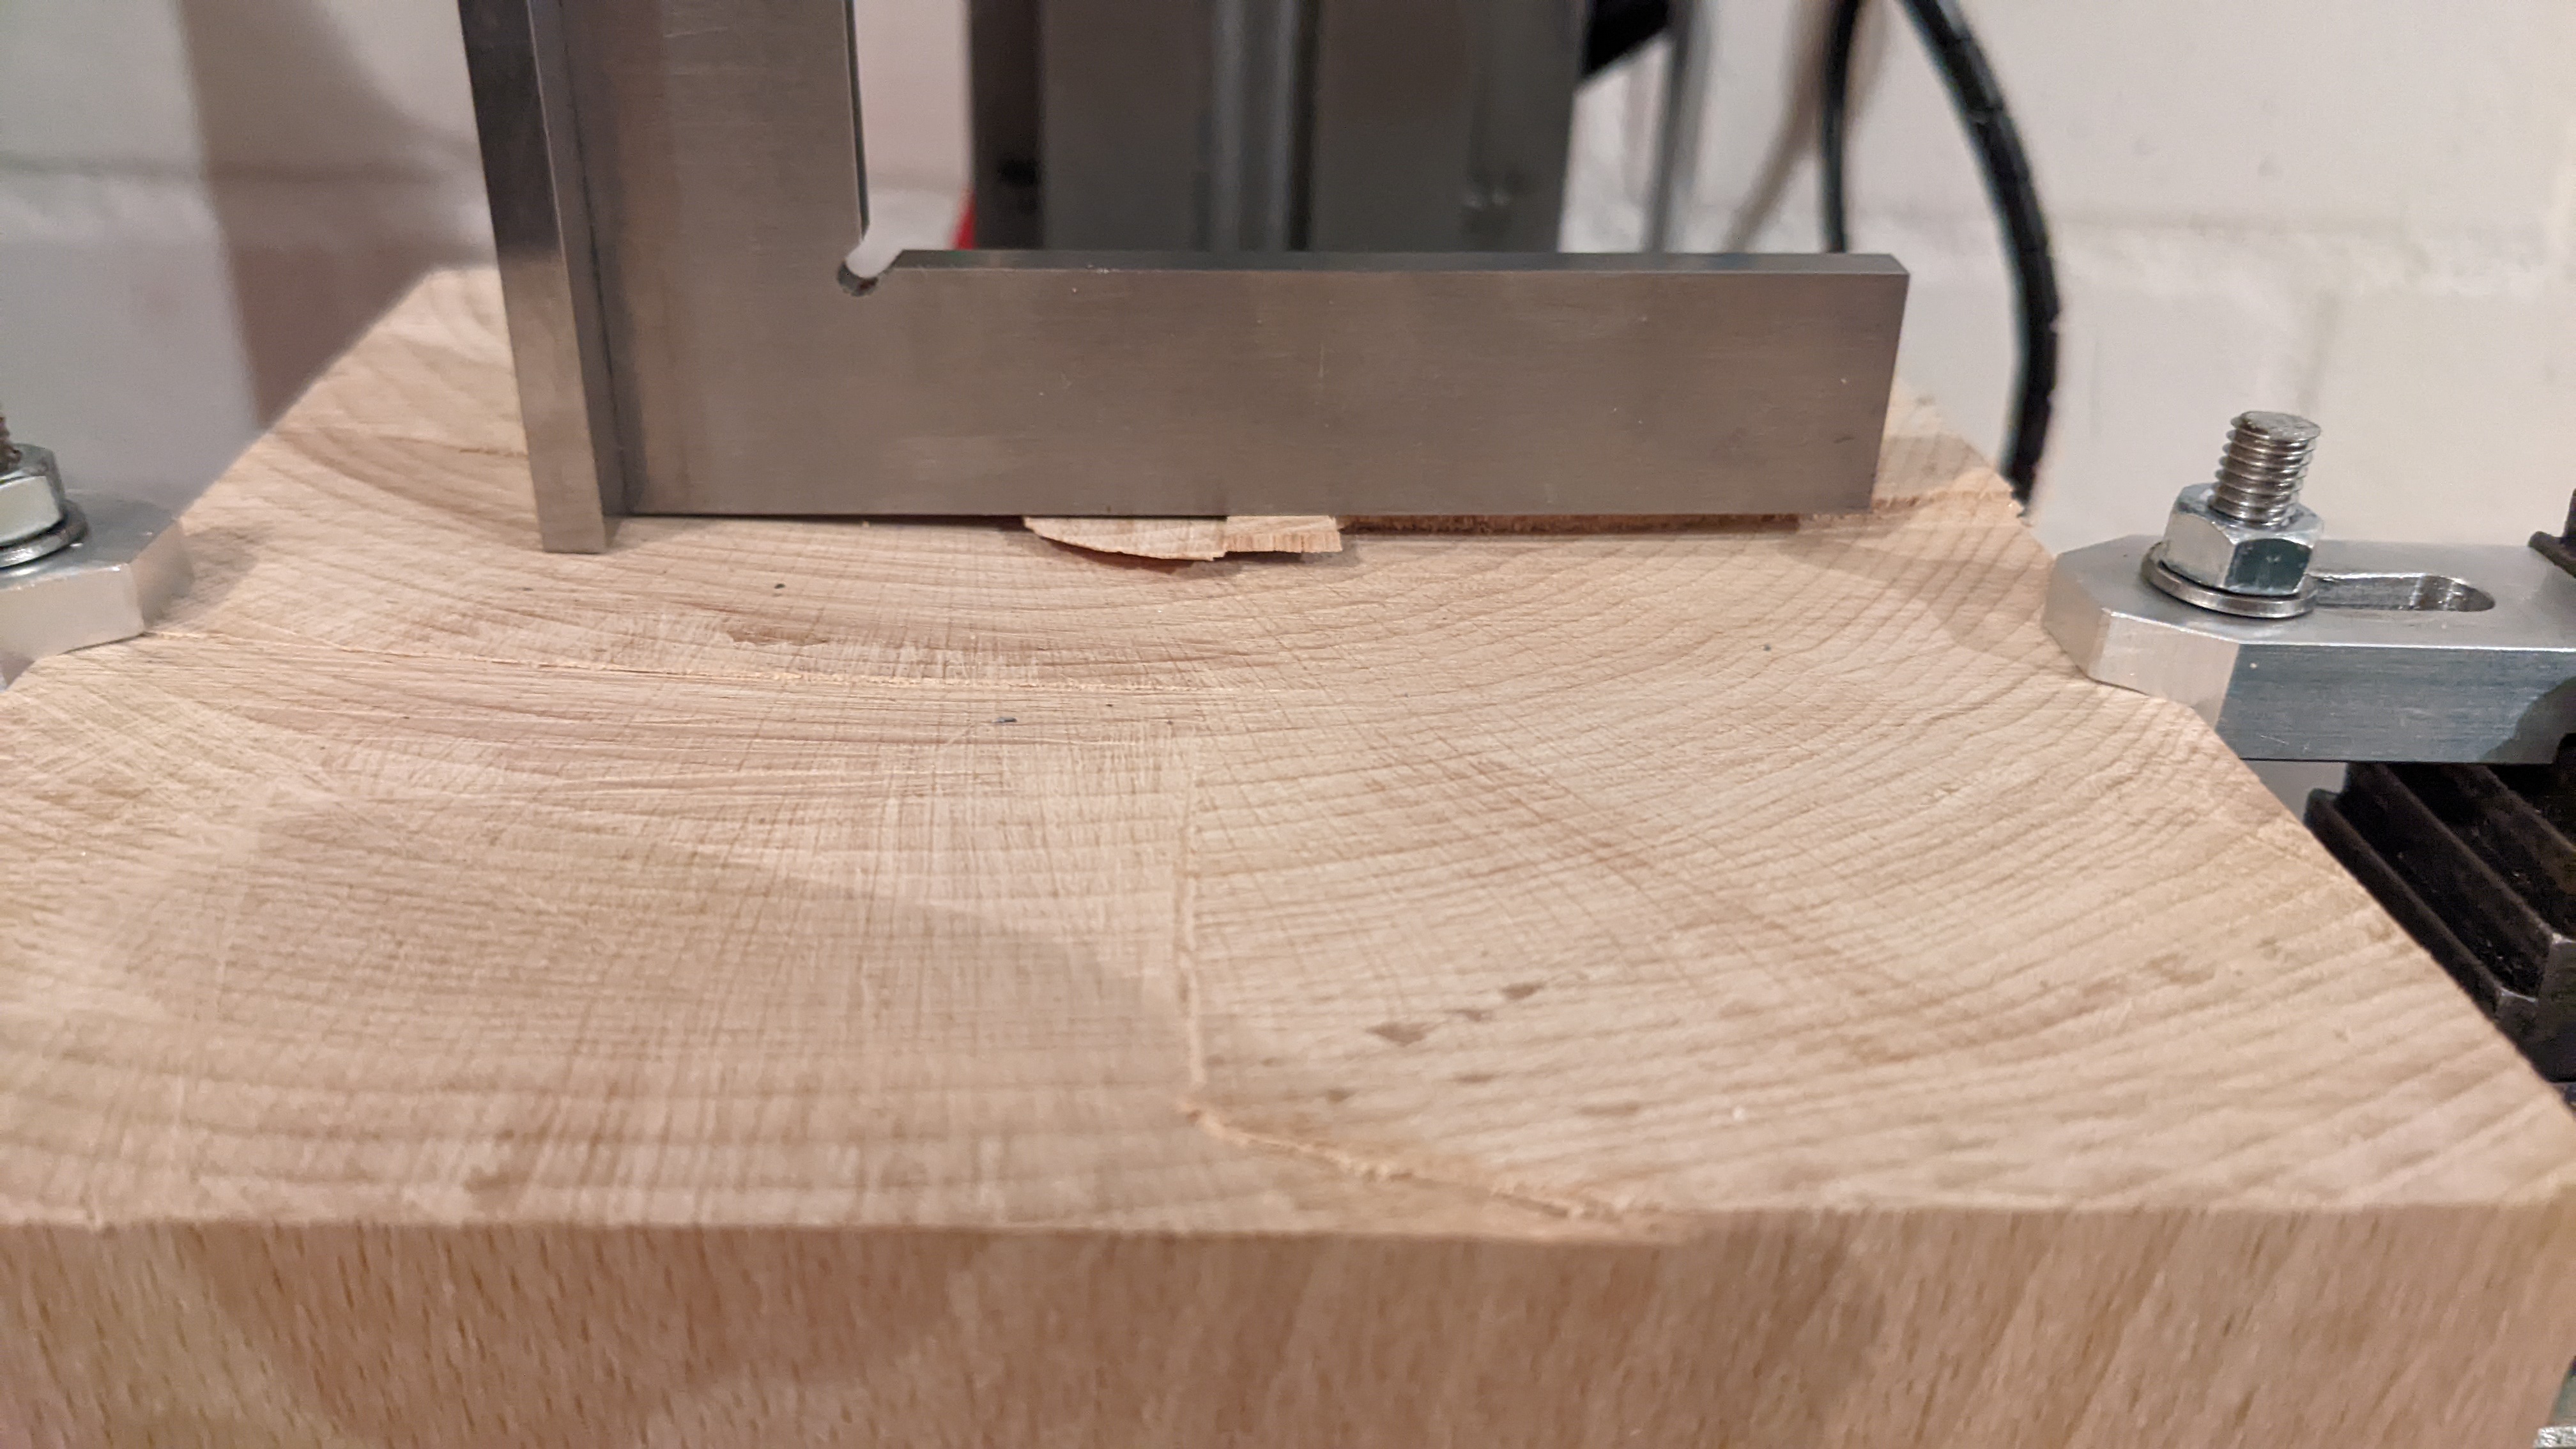
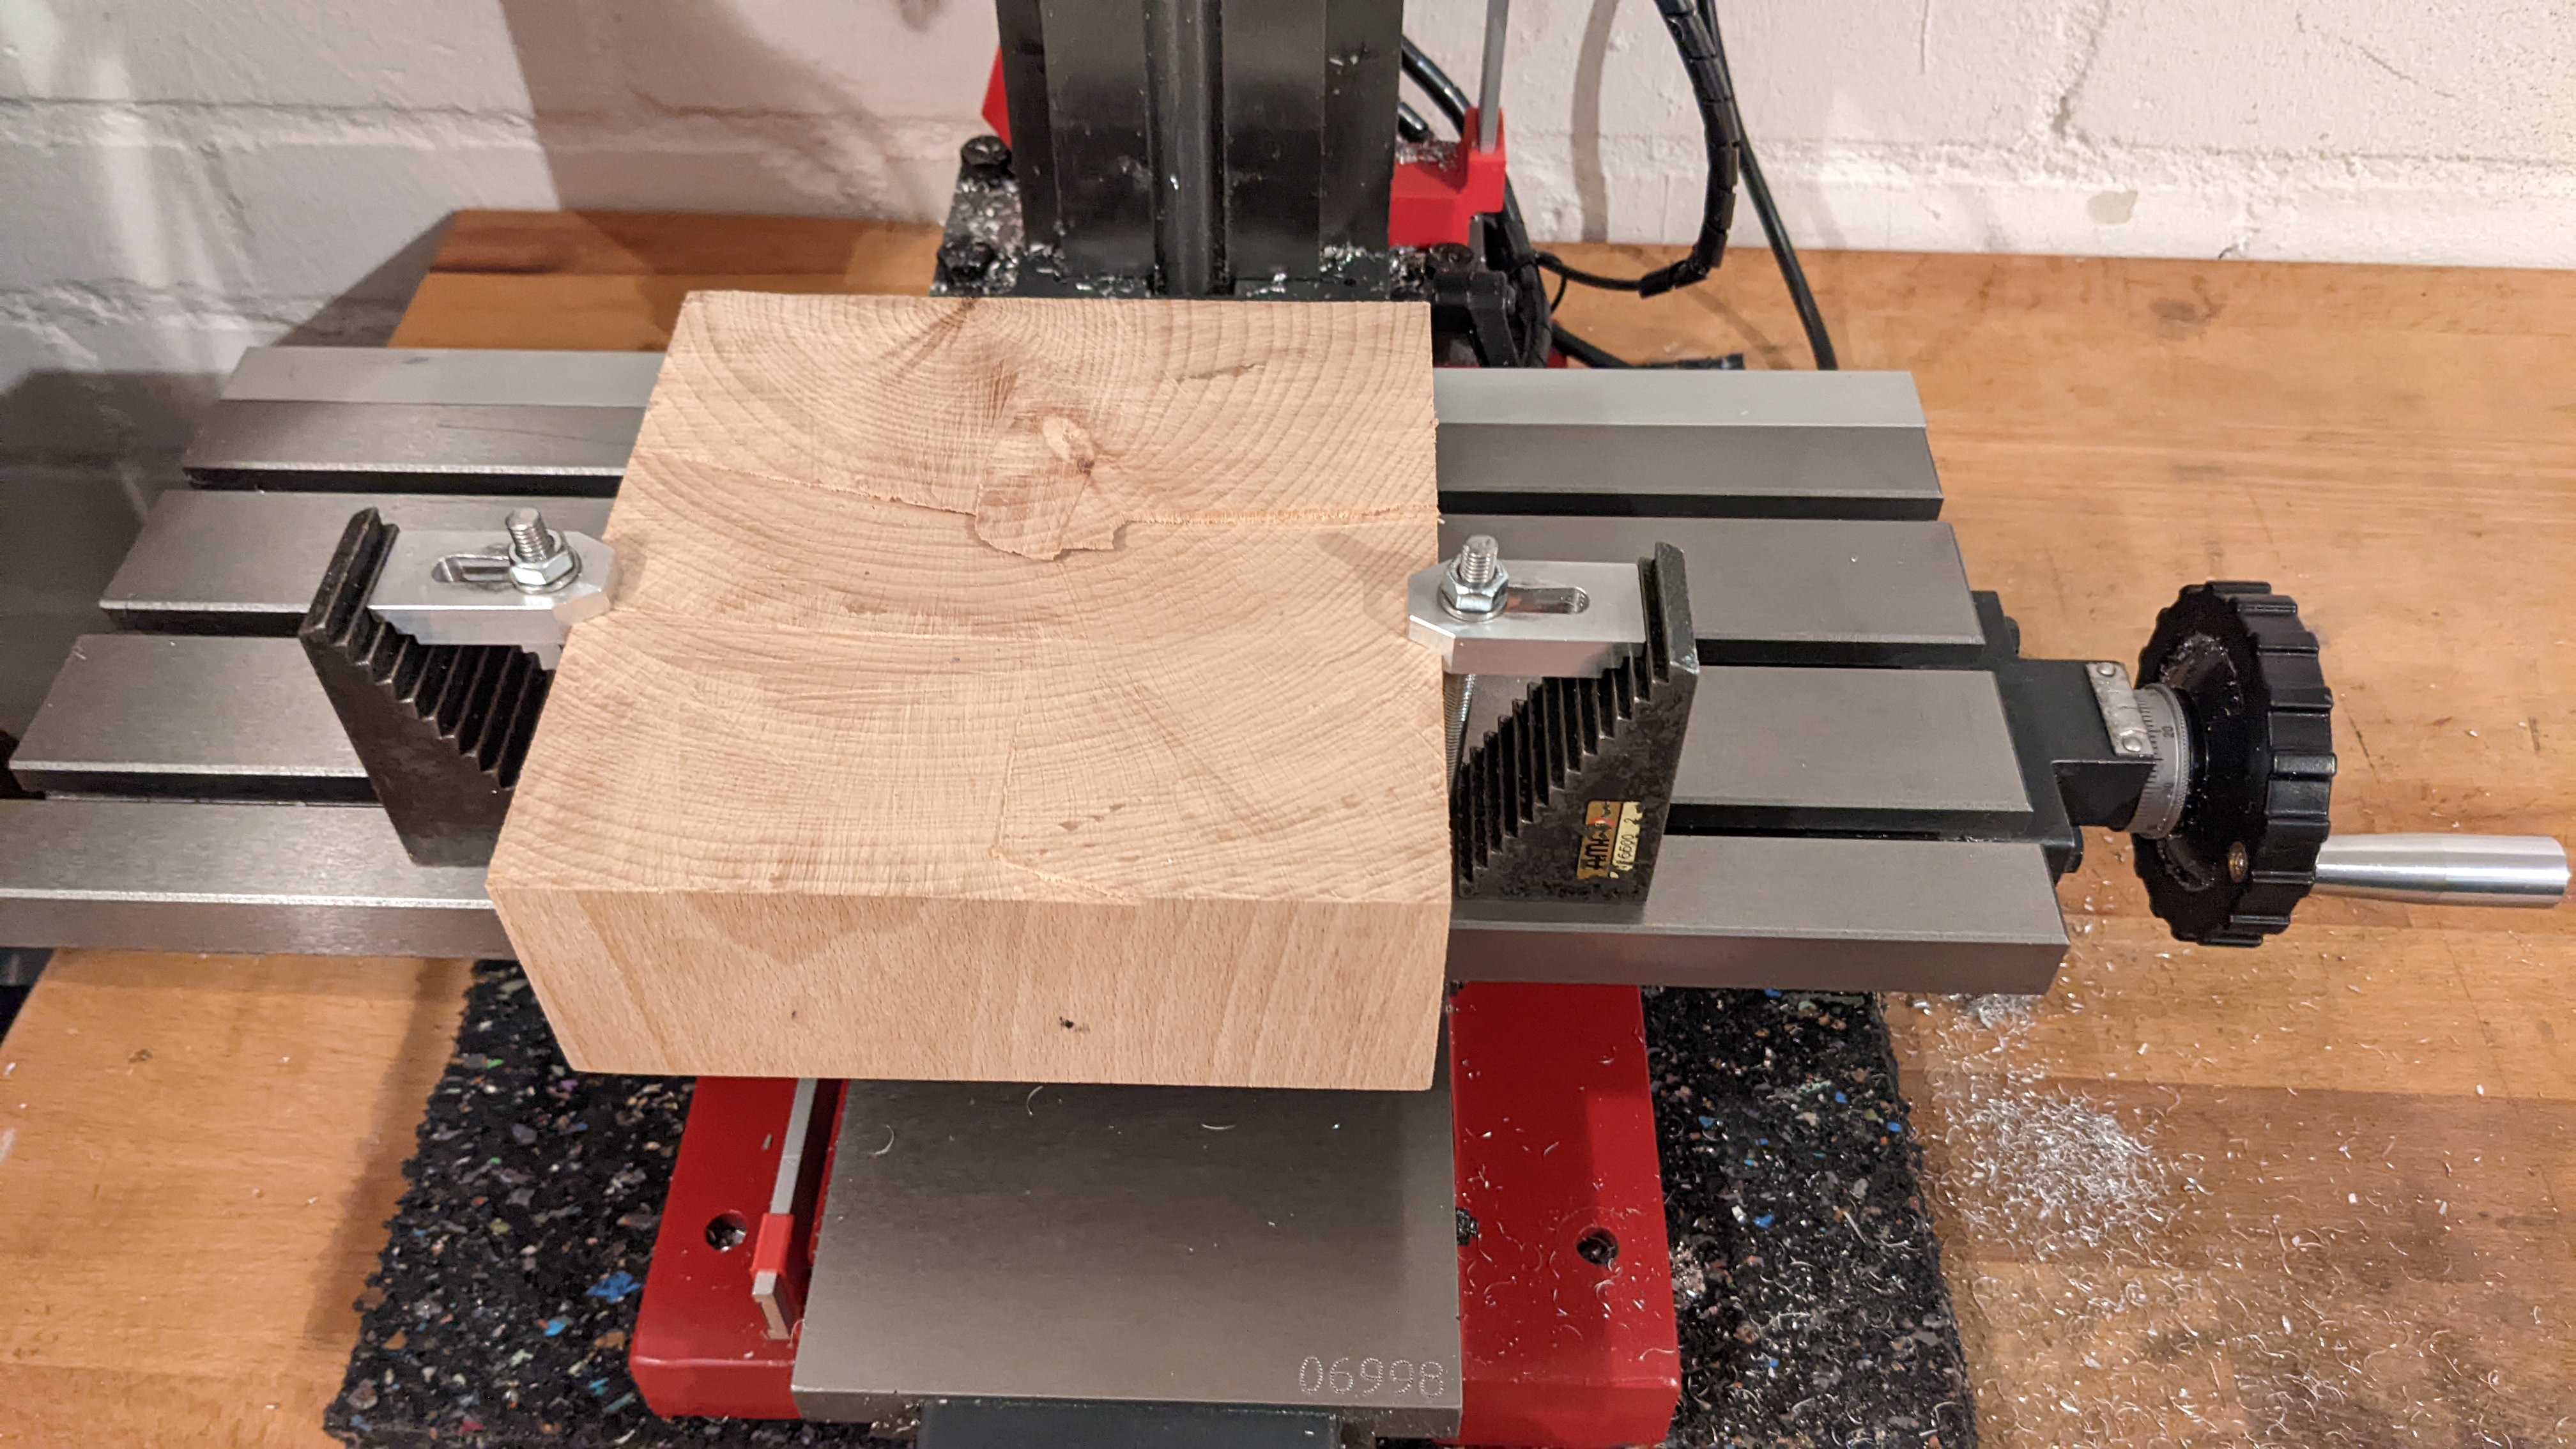
- Facing the top: My small hobby mill was not large enough, so I had to mount the stock in a way which allowed me to face off the first half and flip it around 180° and repeat the facing operation.
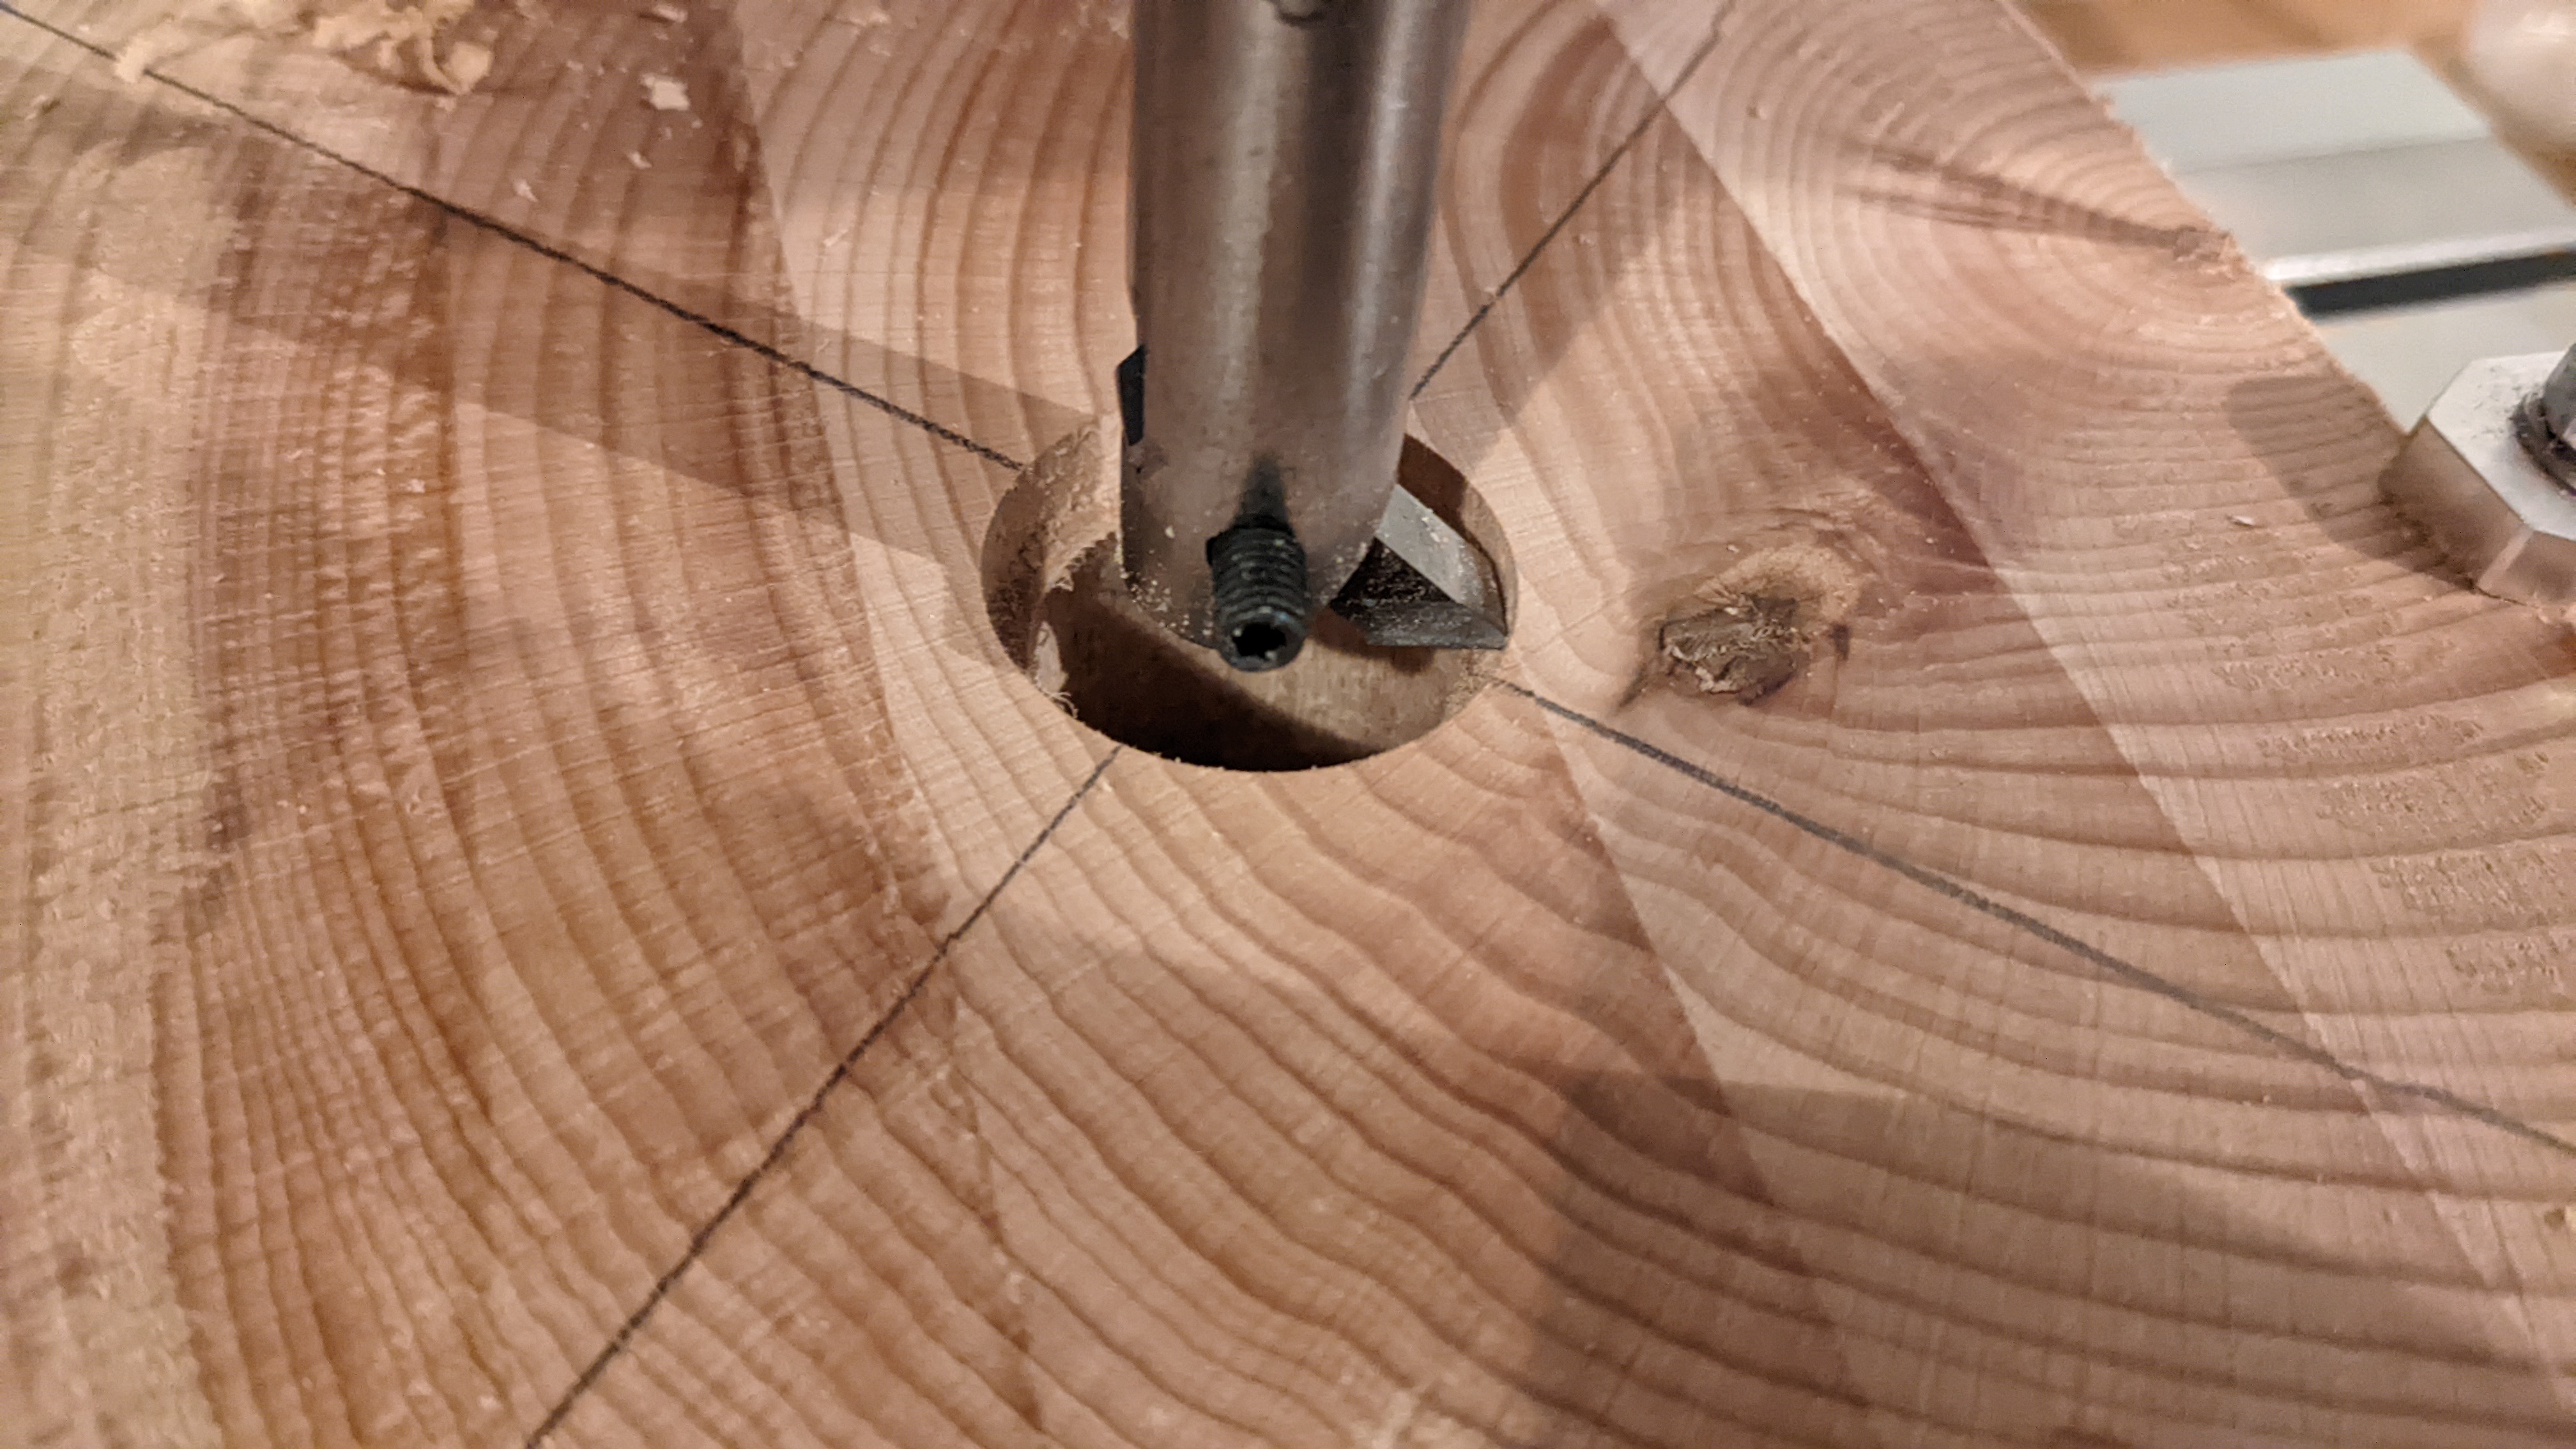
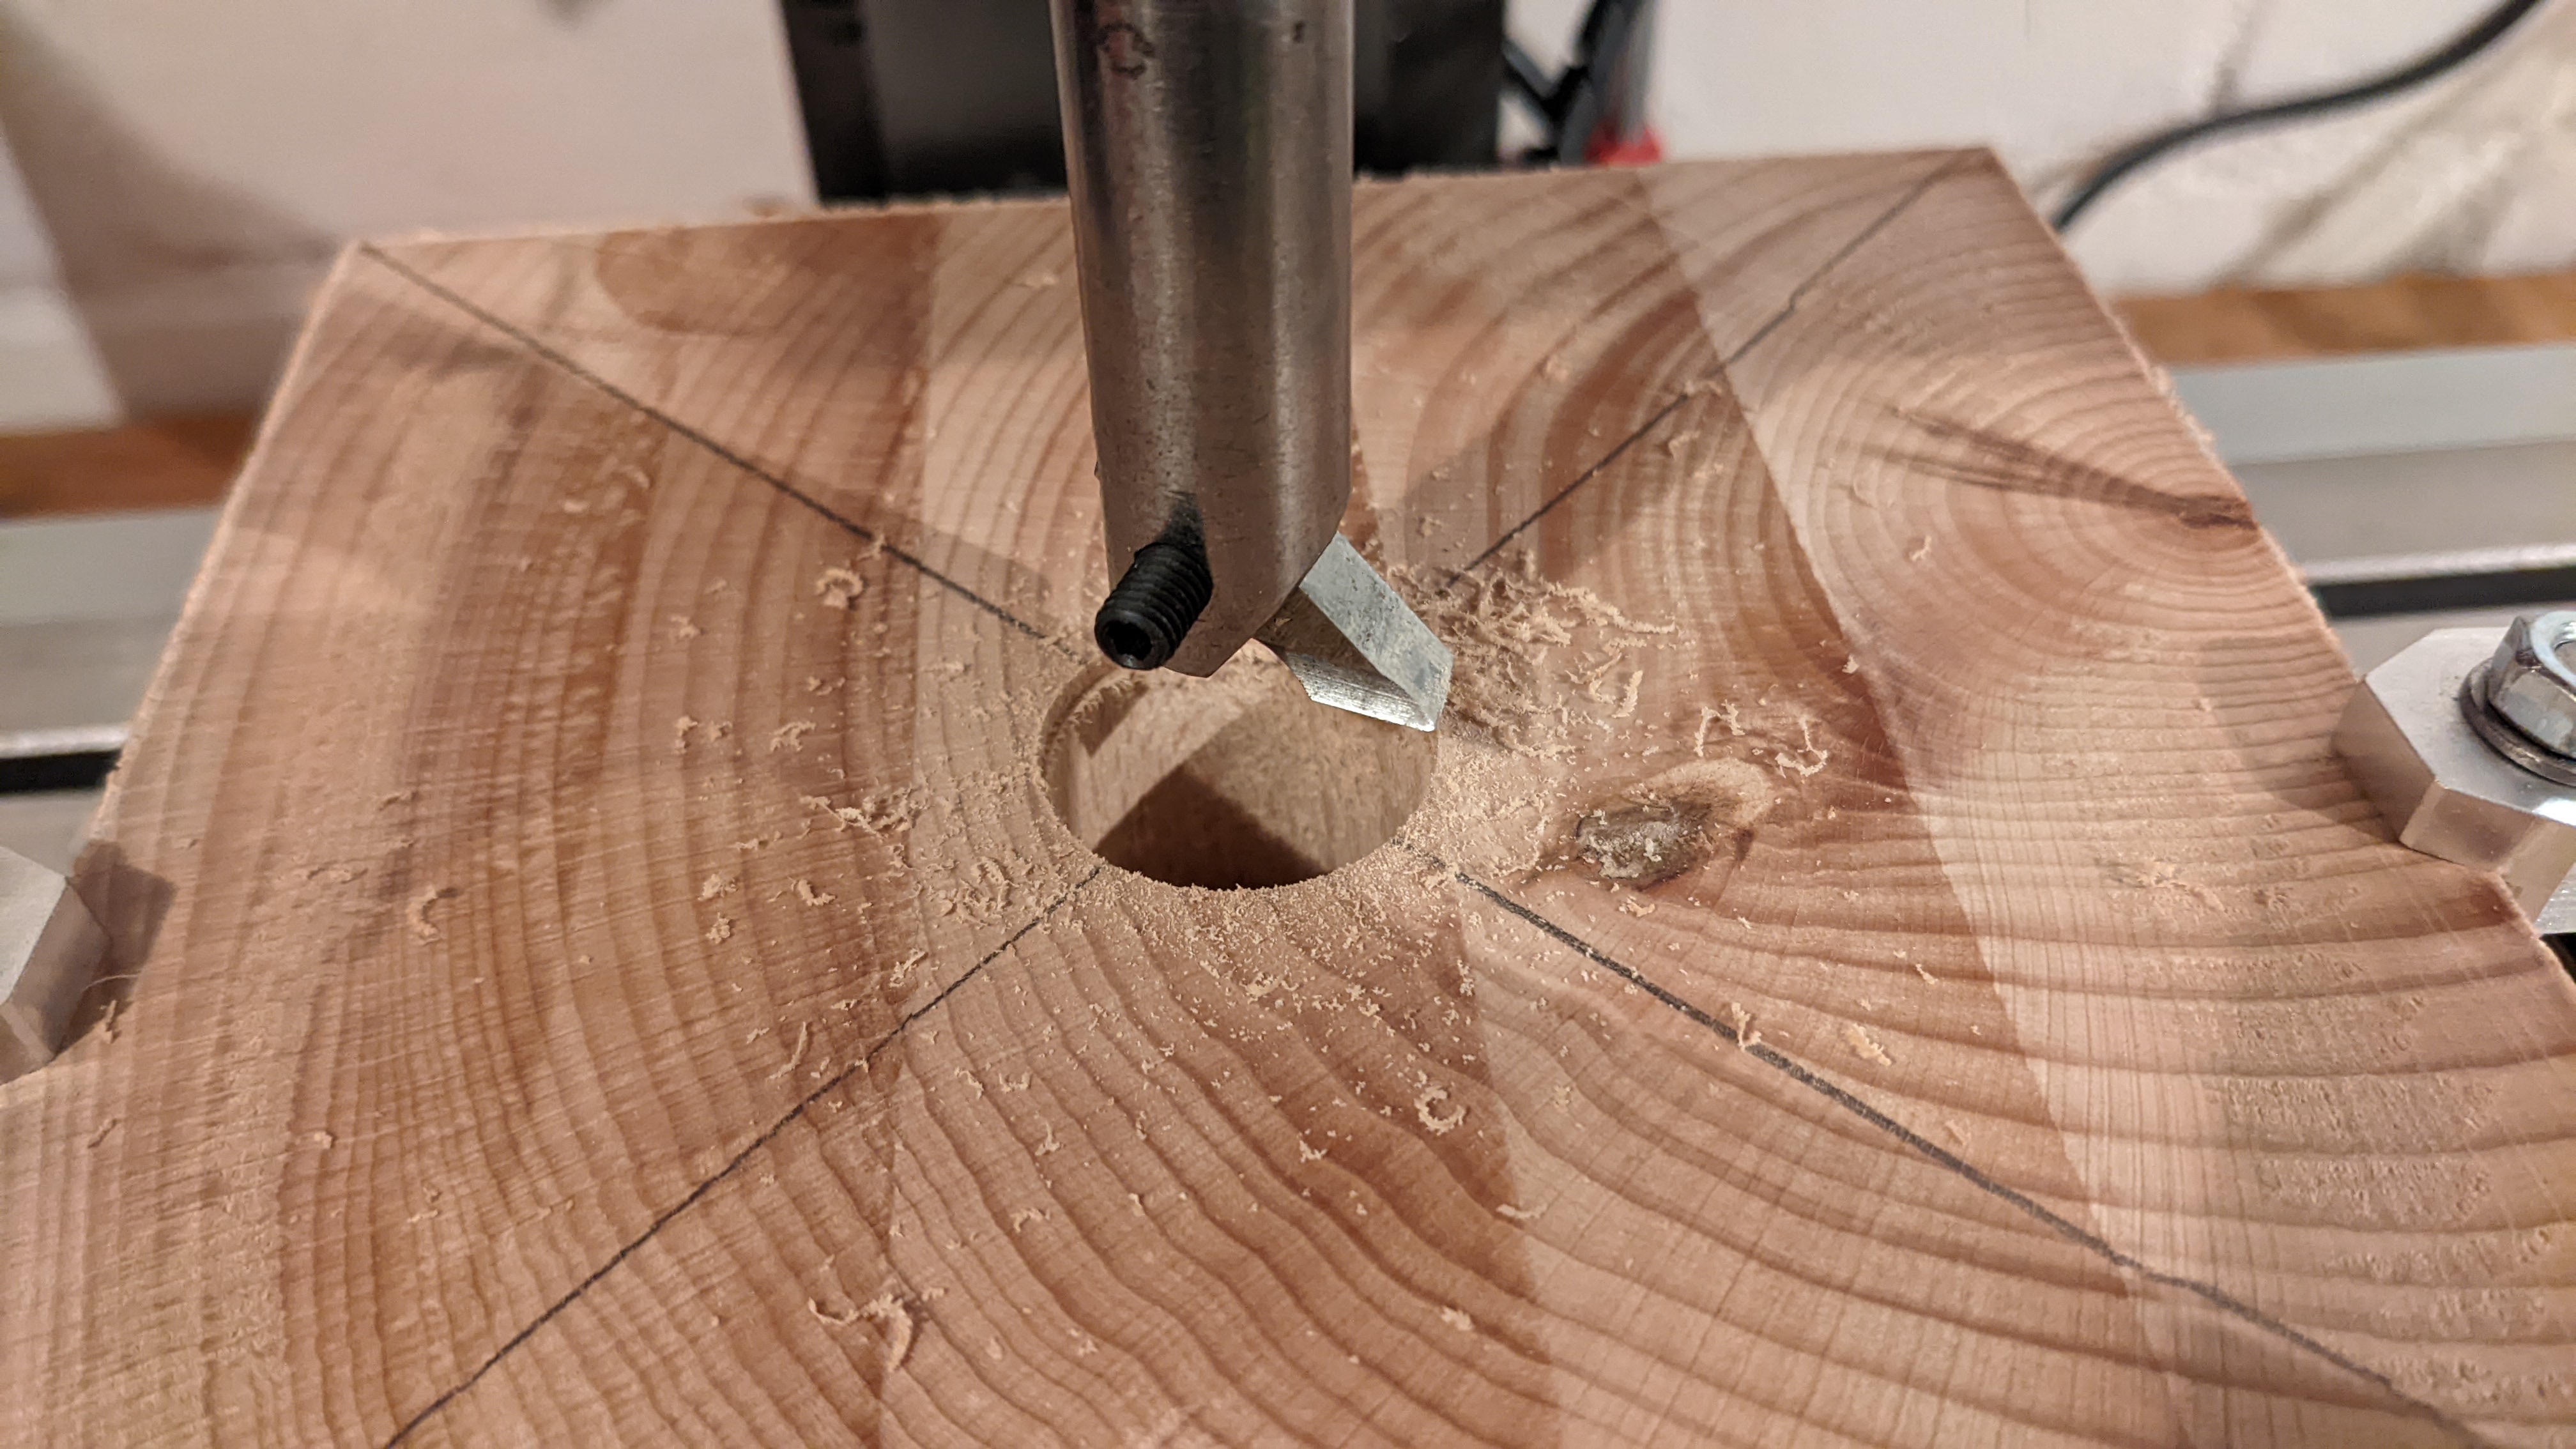
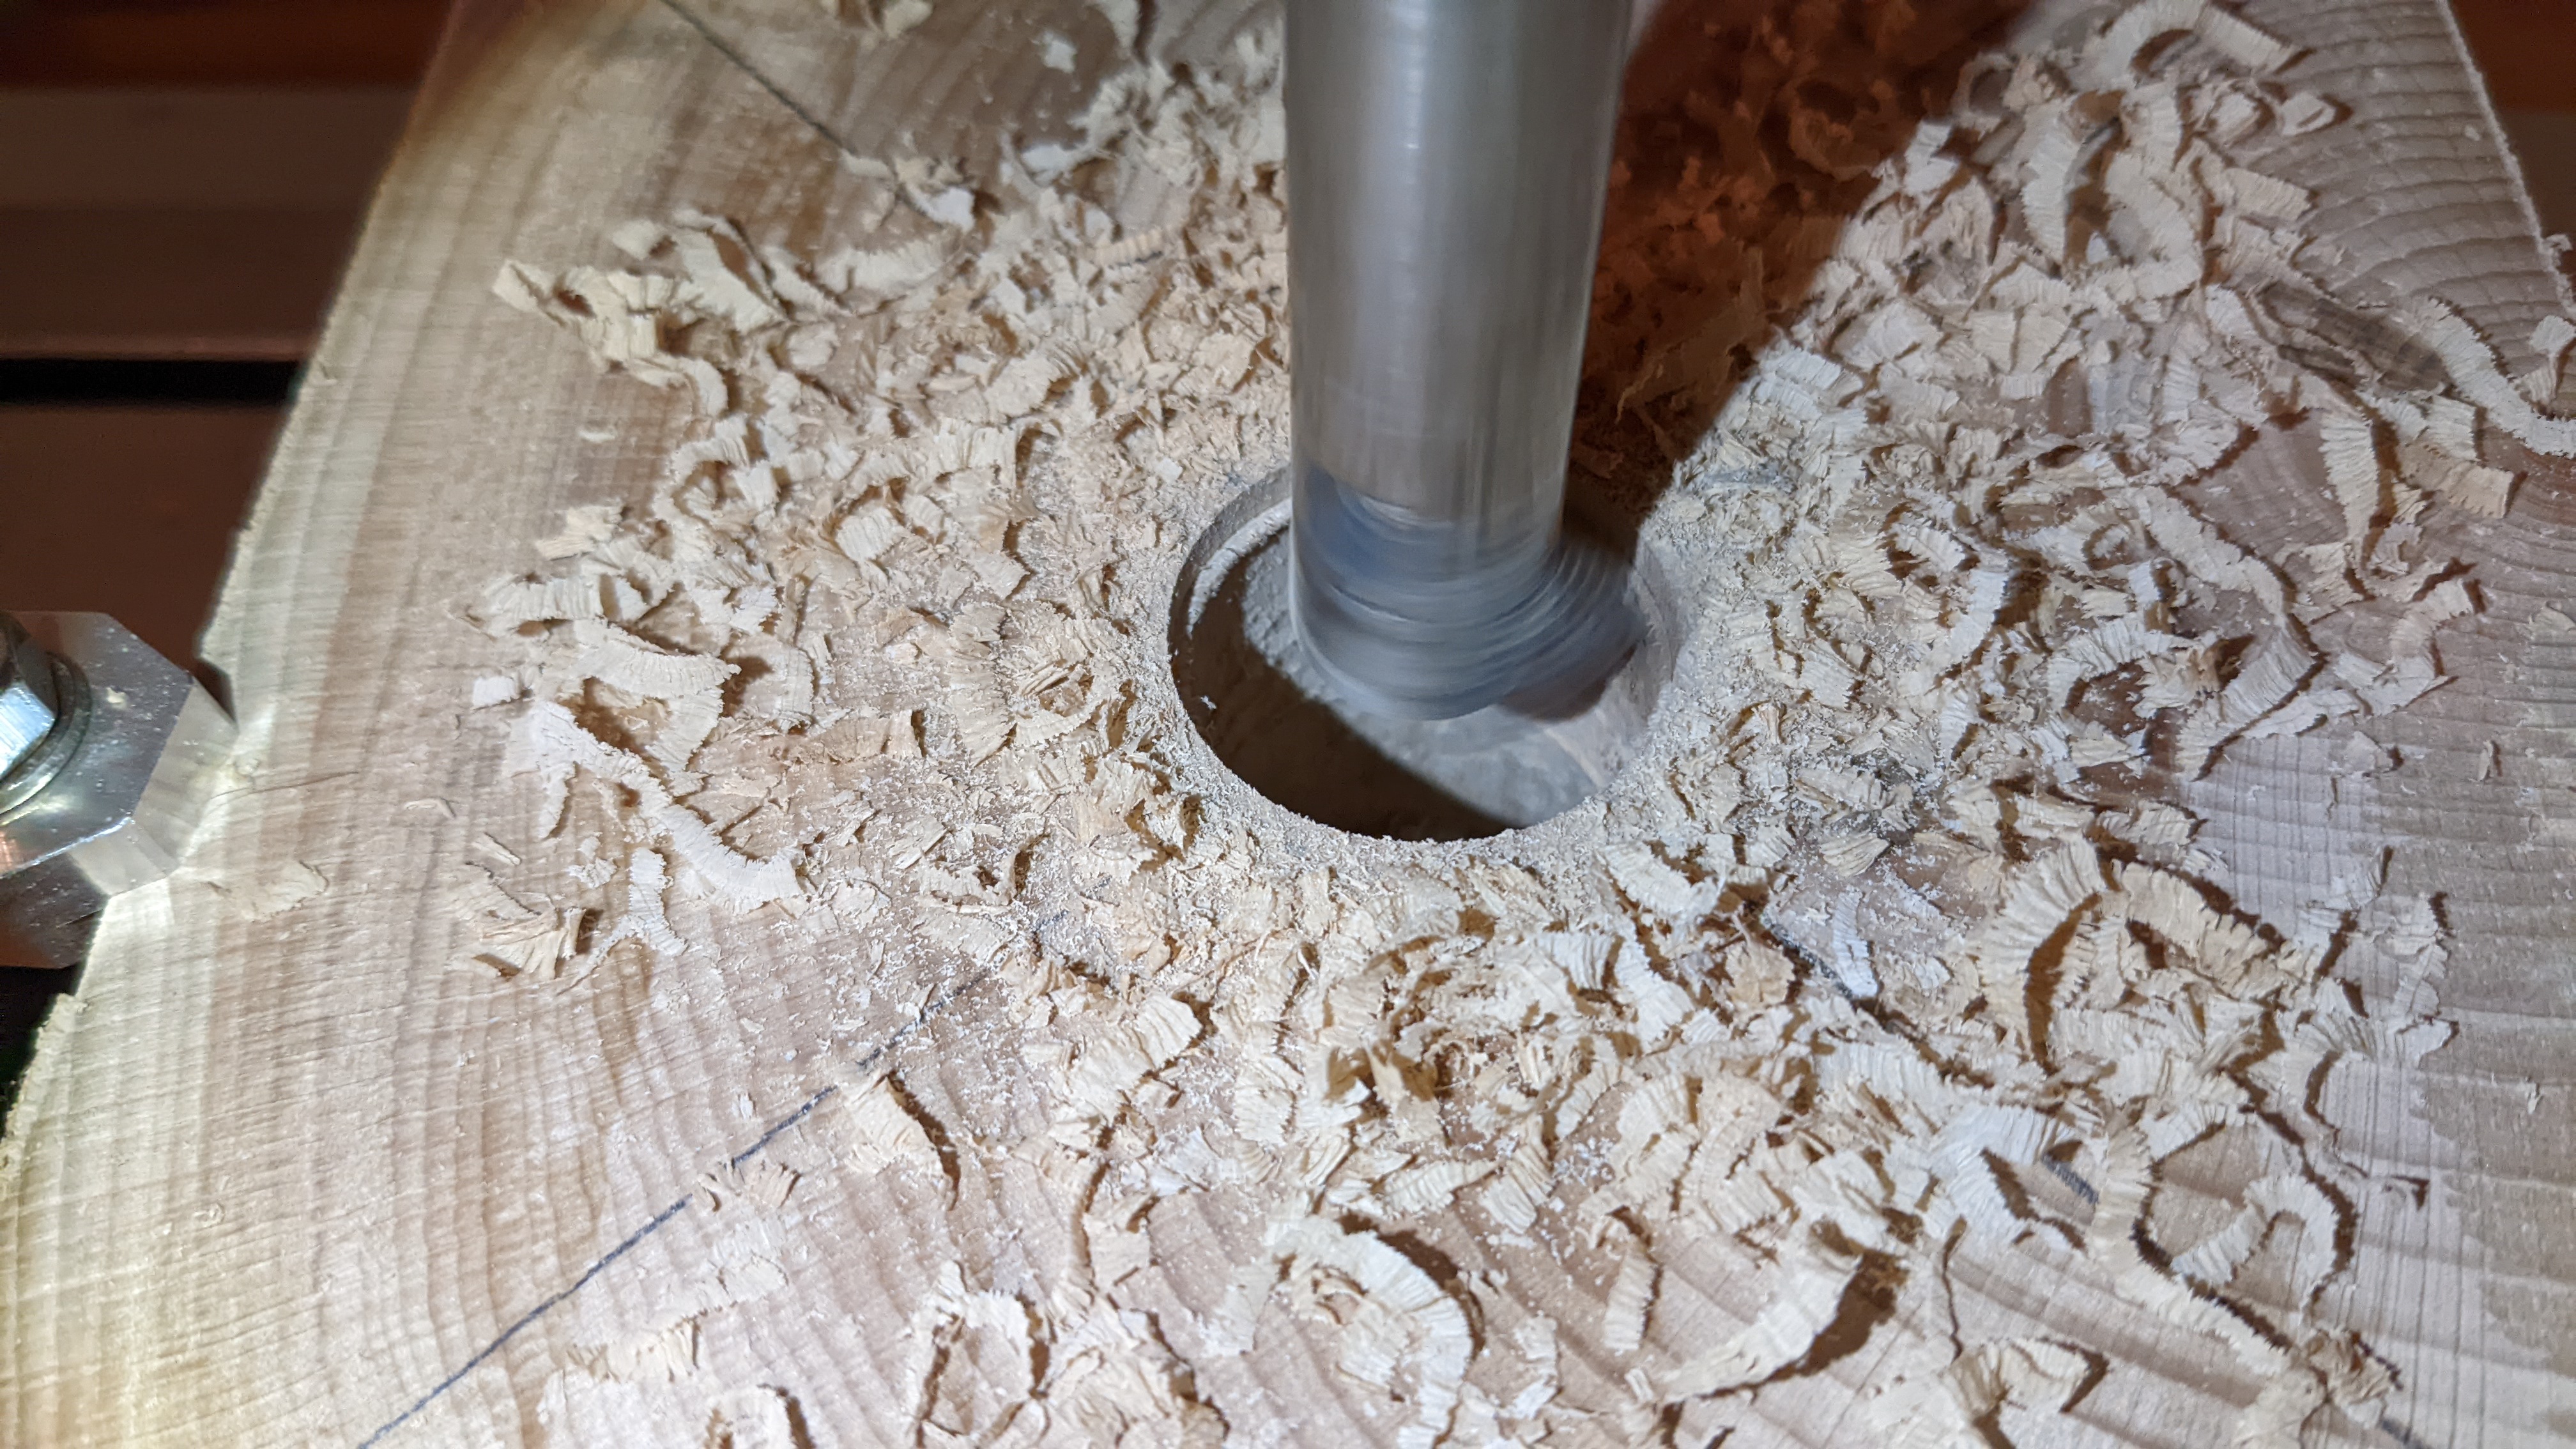
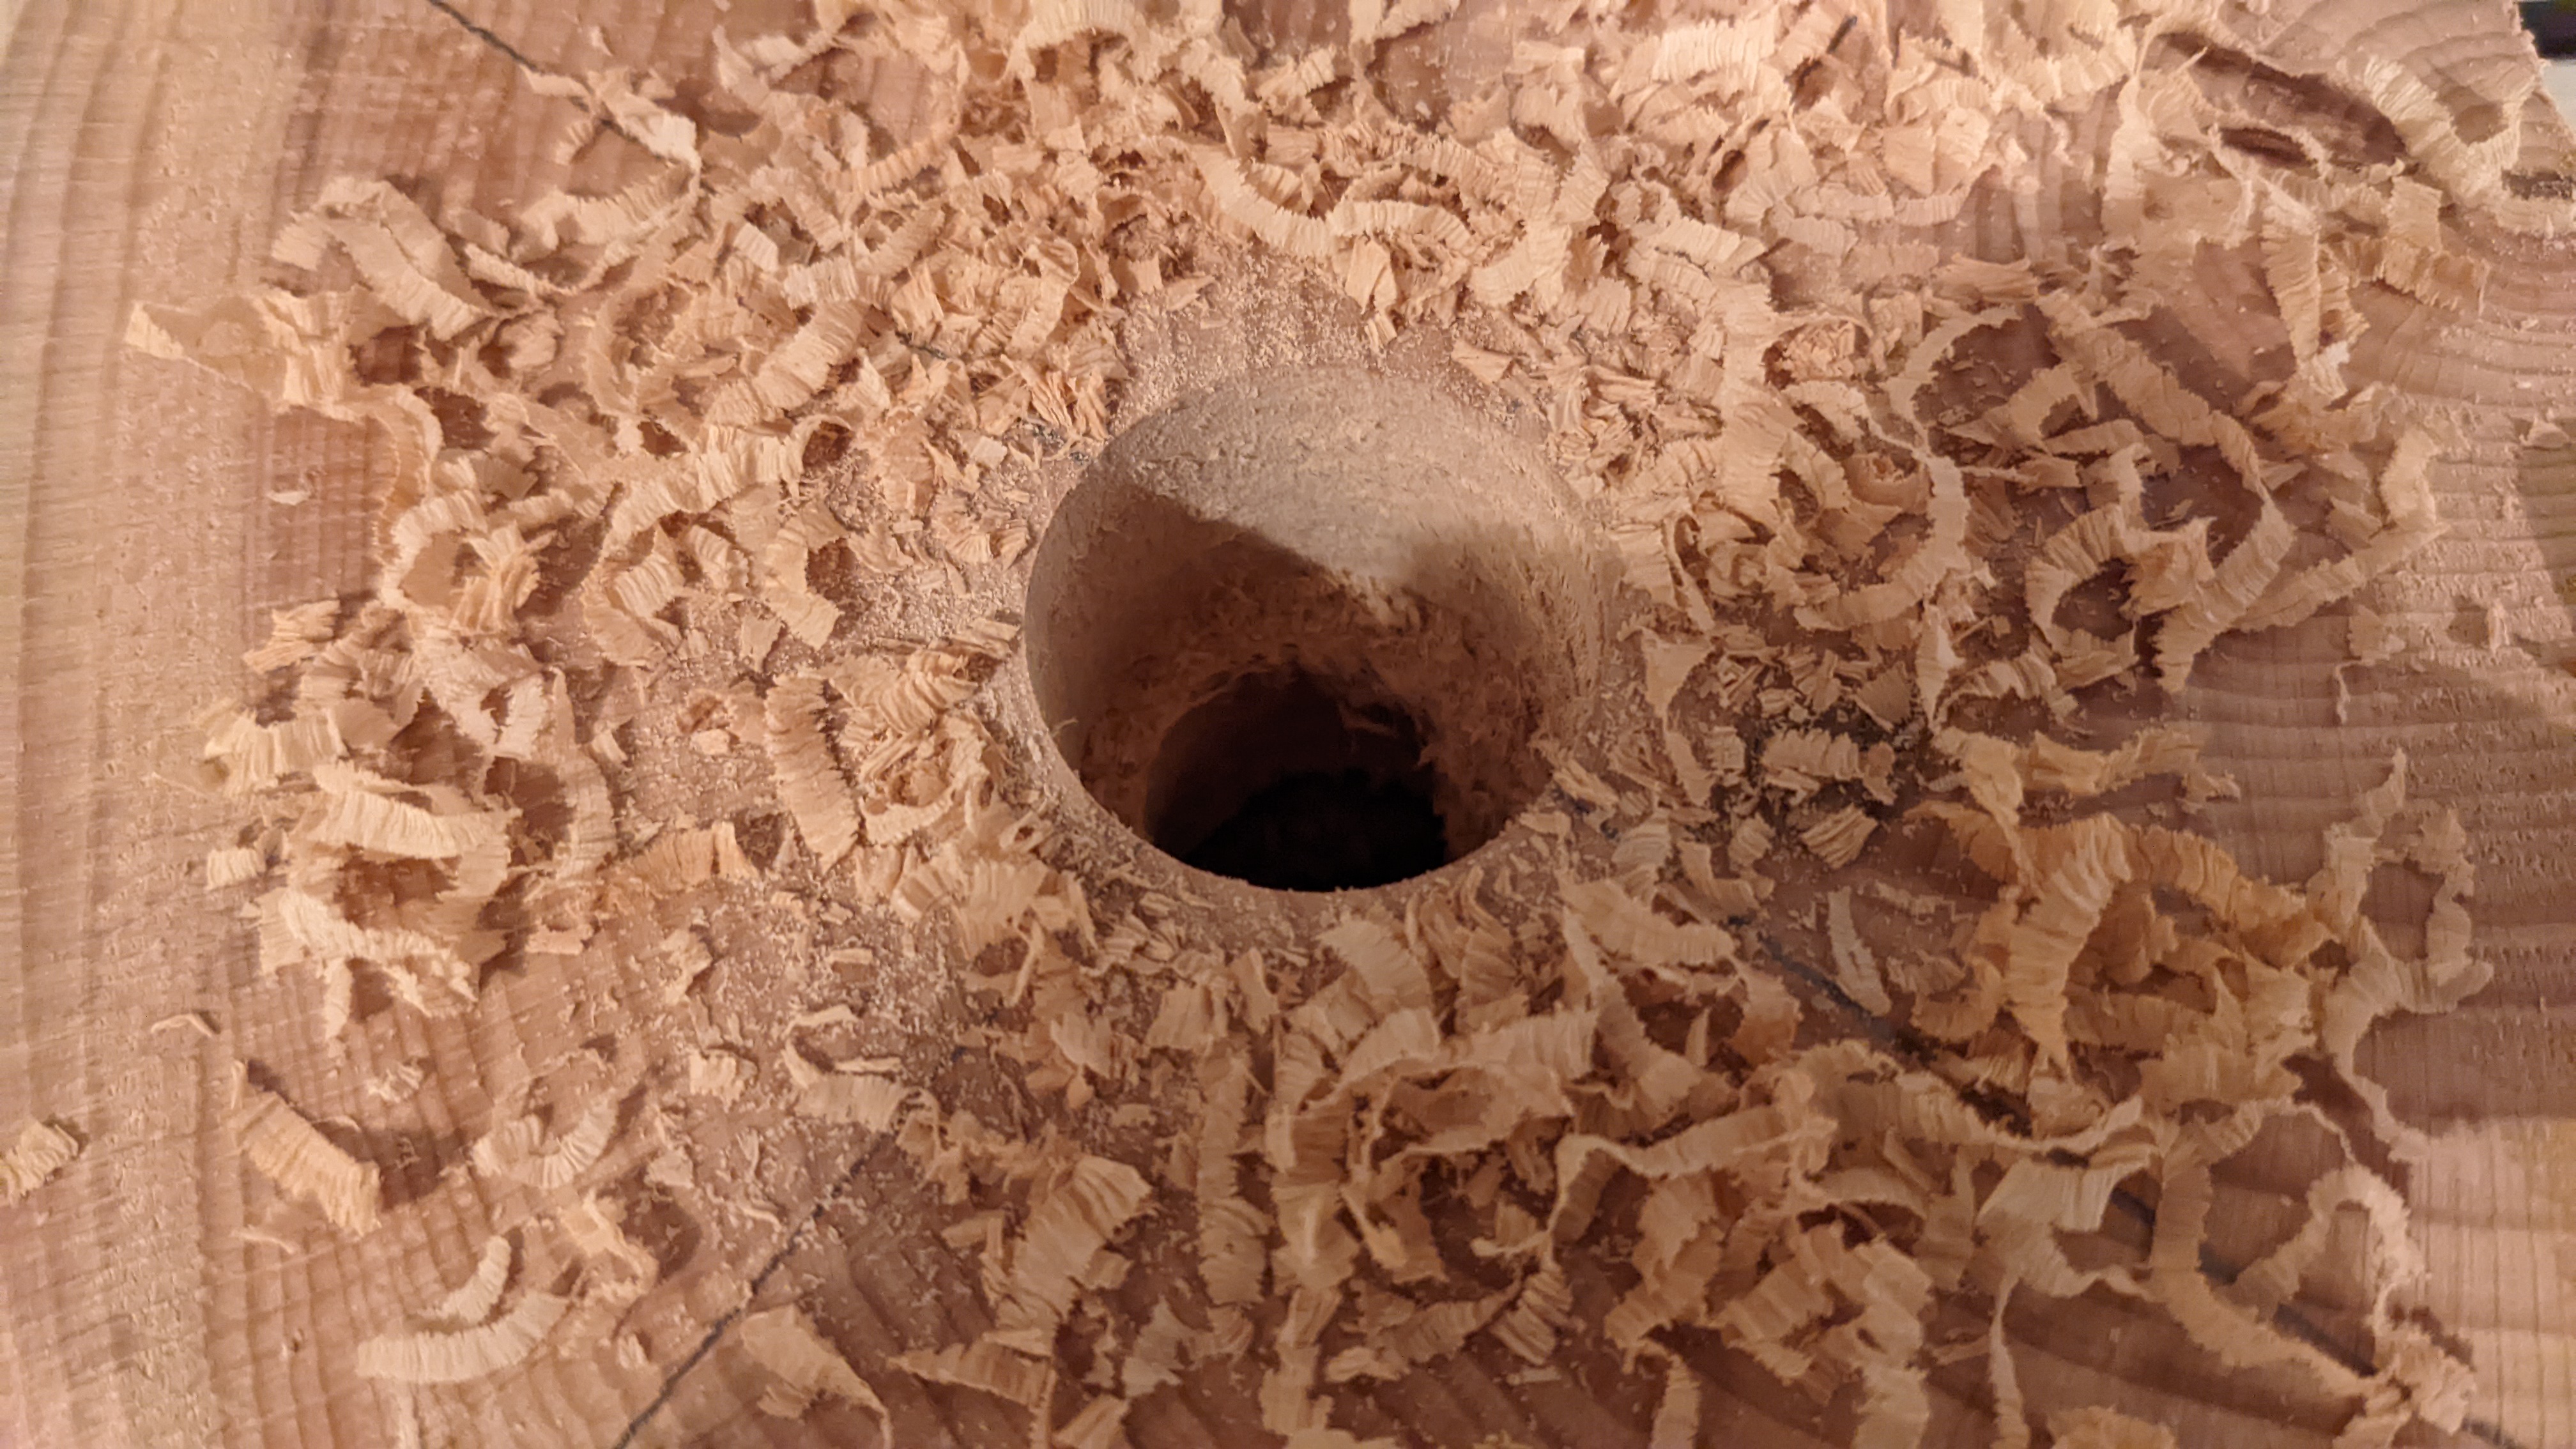
- Center hole:
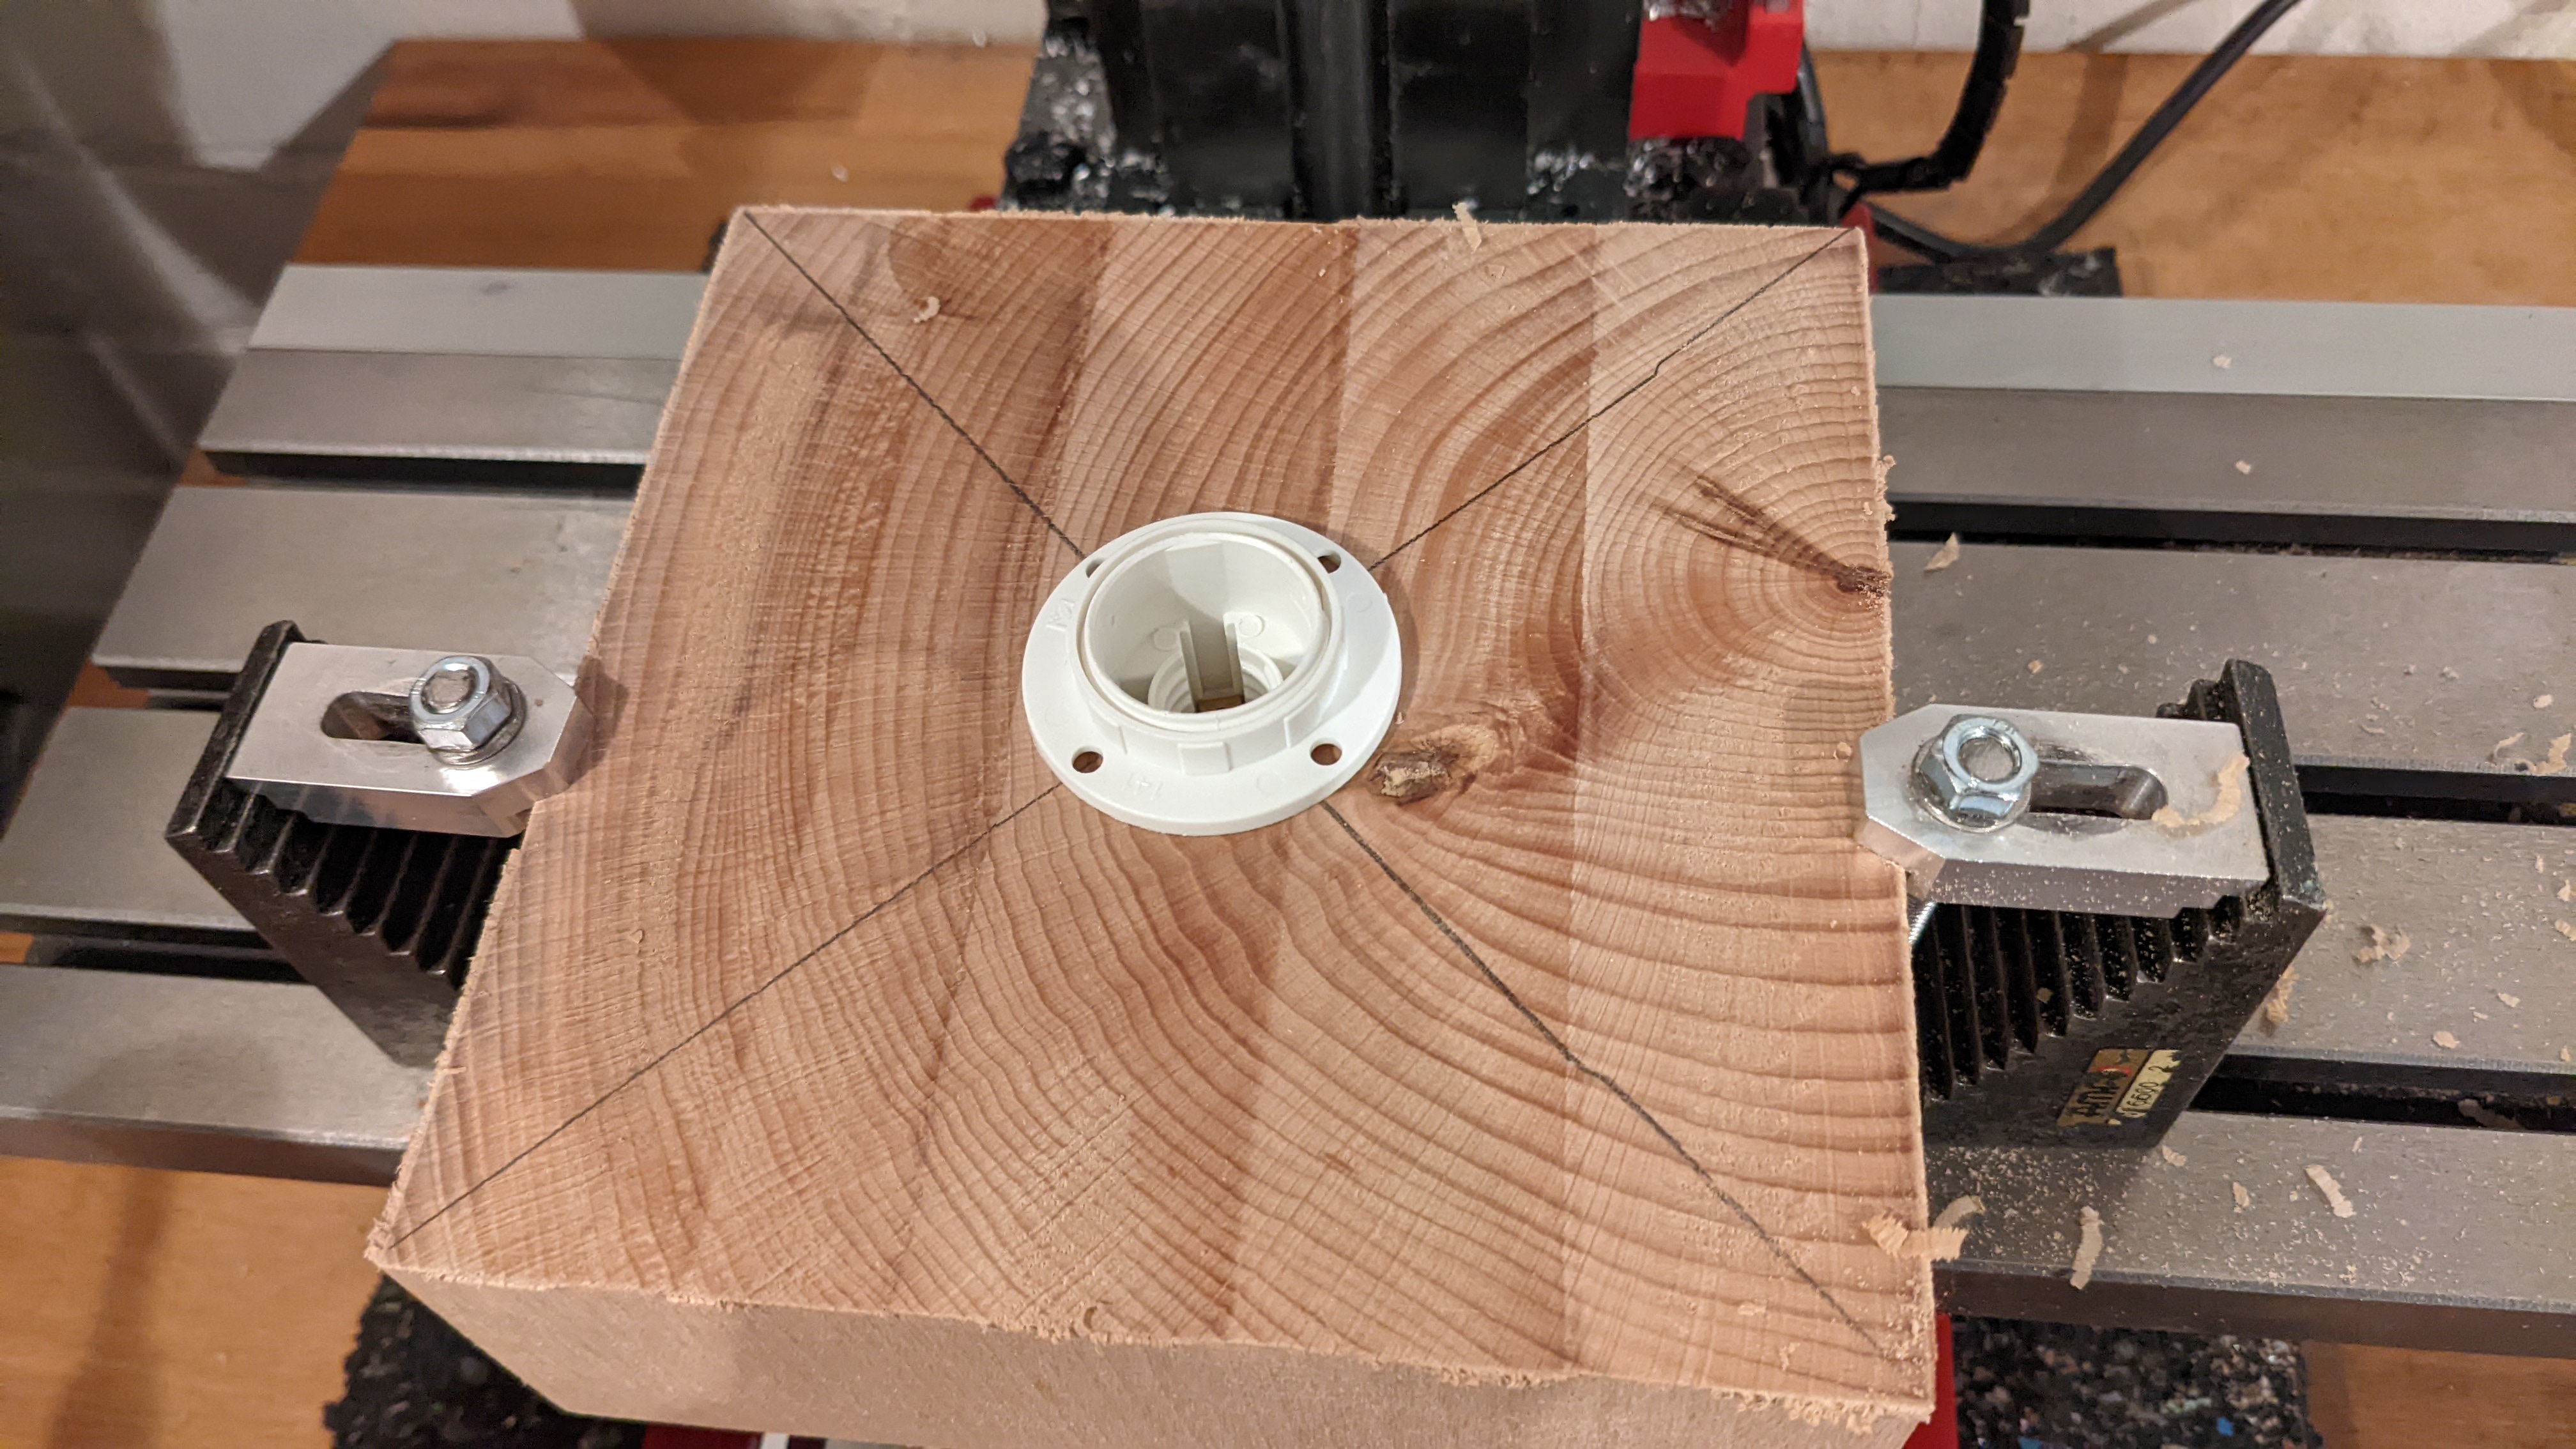
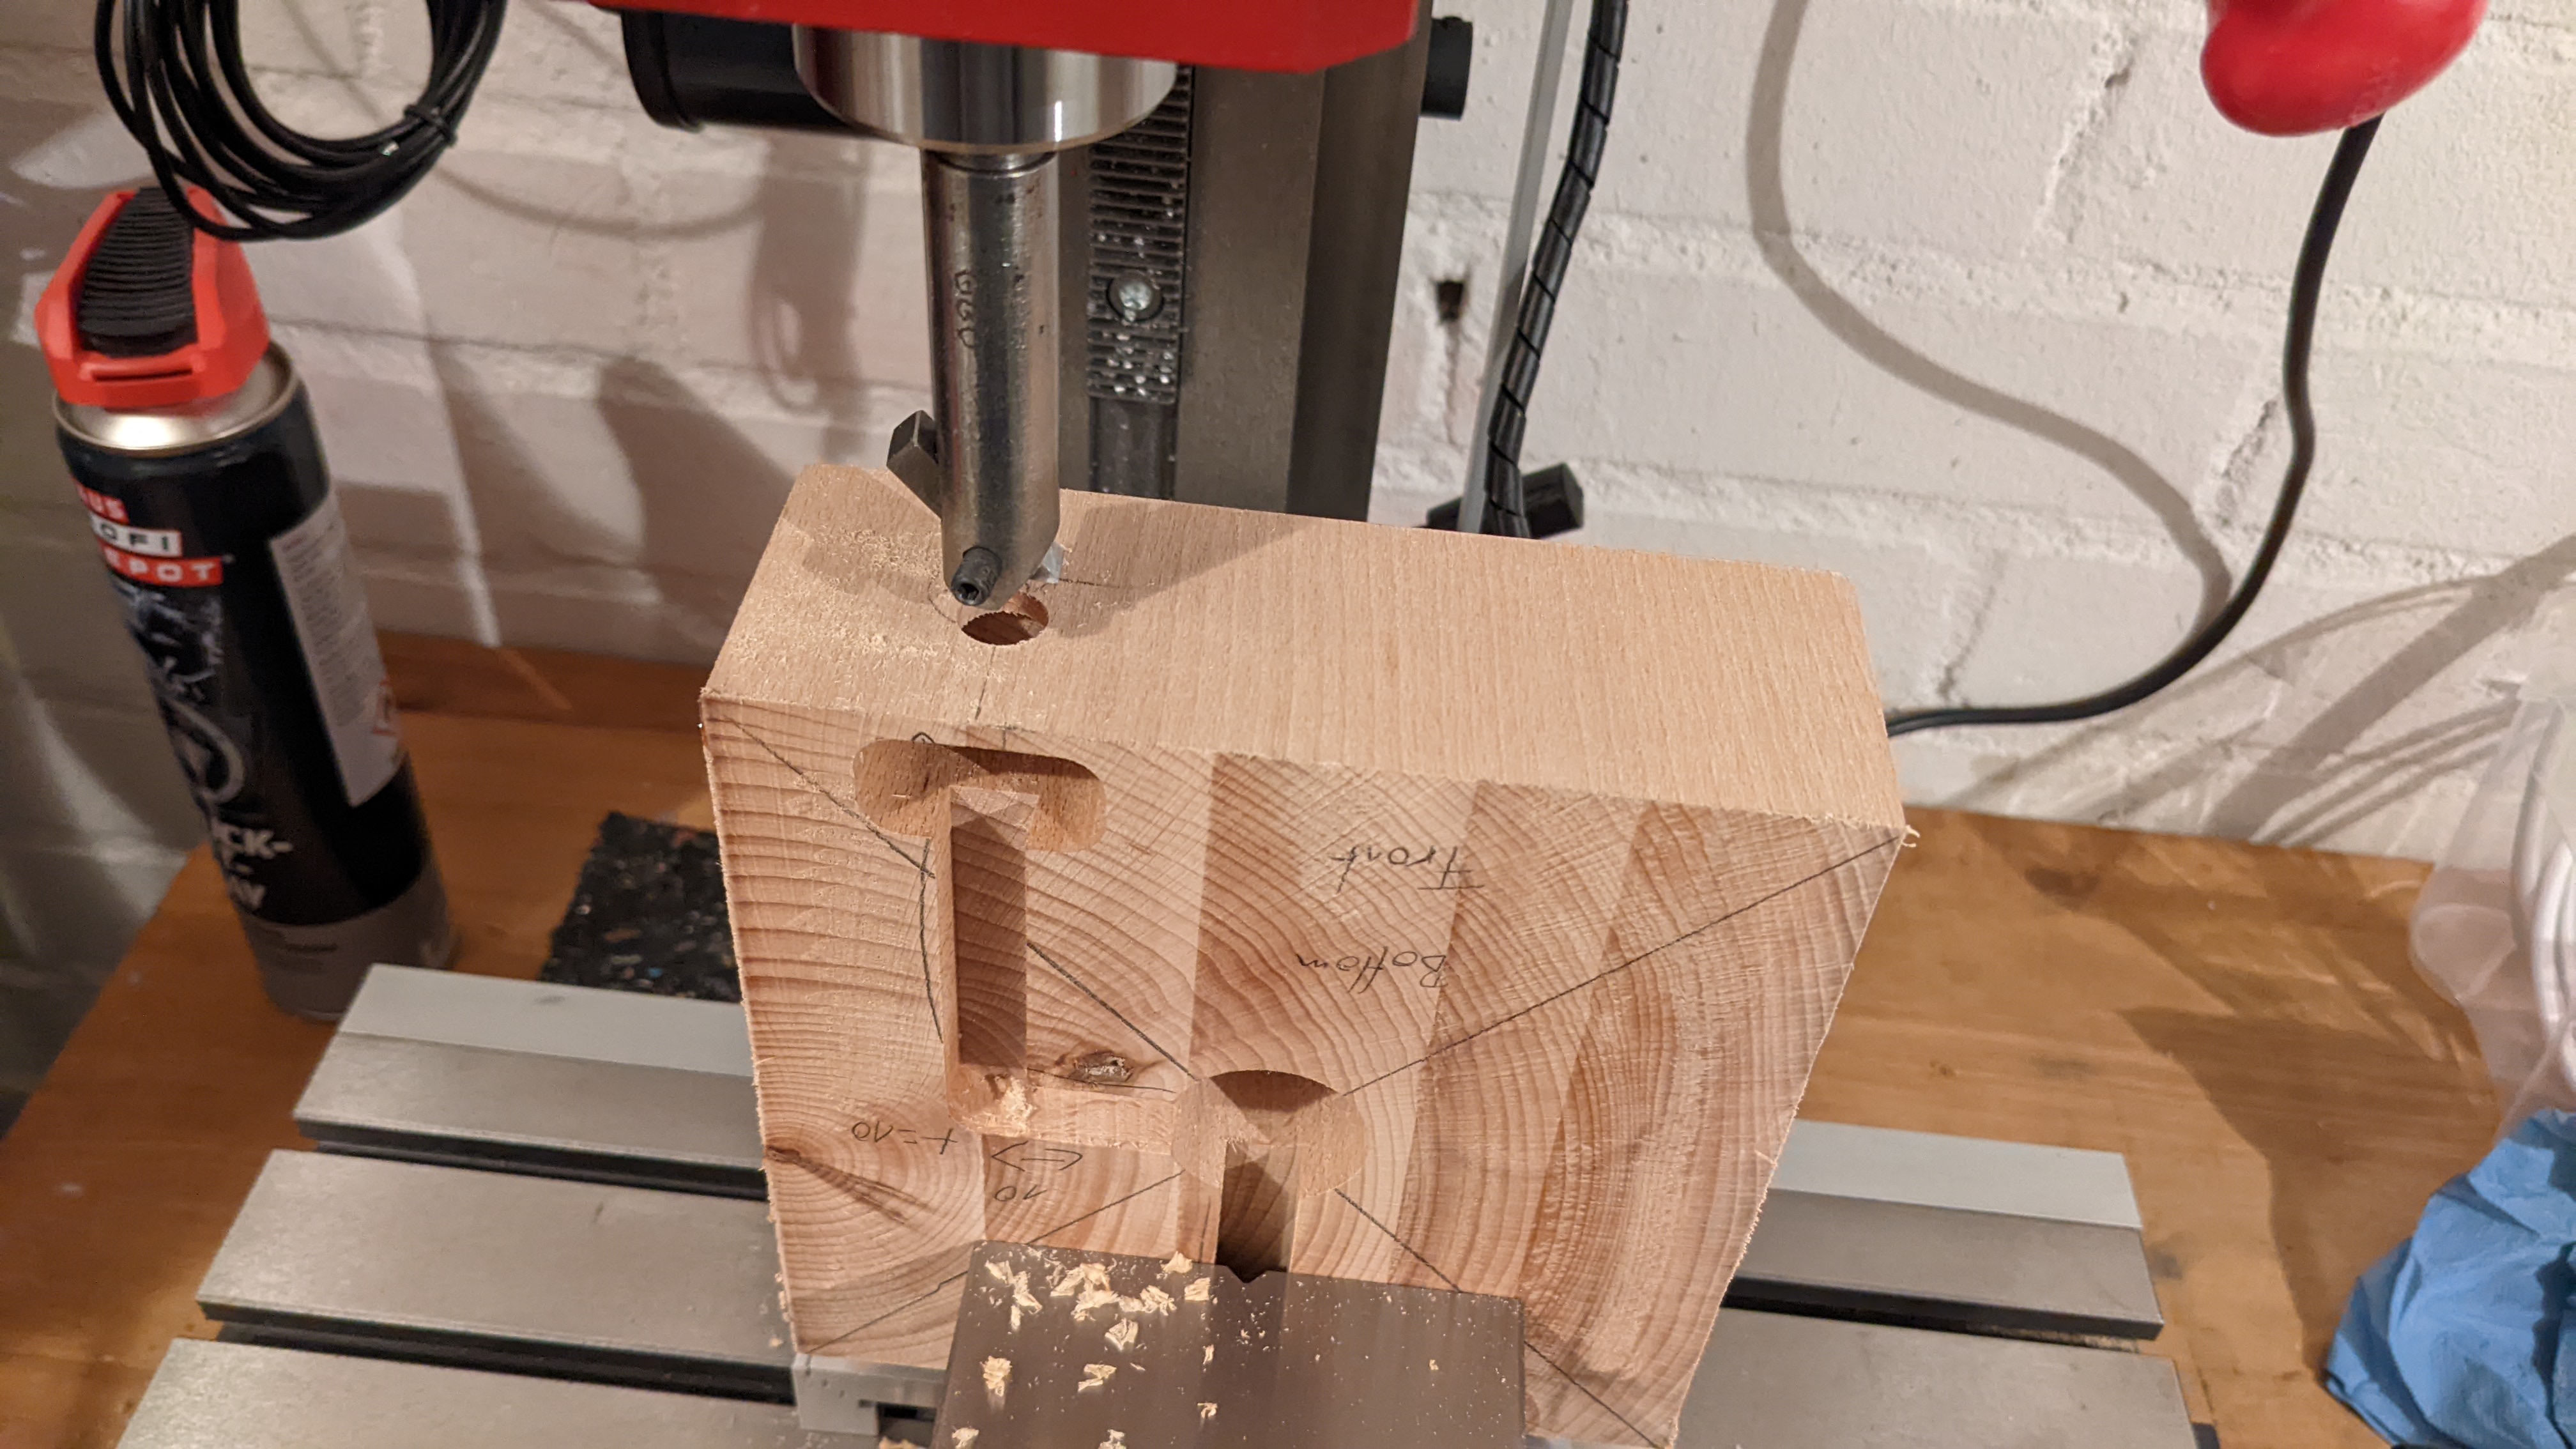
The first cut was with a two flute 20 mm end mill, which had to be enlarged with a custom-made boring bar with an HSS insert.
Once I reached the correct diameter to fit the E27 socket, a quick fitment check was made, and I flipped the part around to machine the underside.
- Underside:
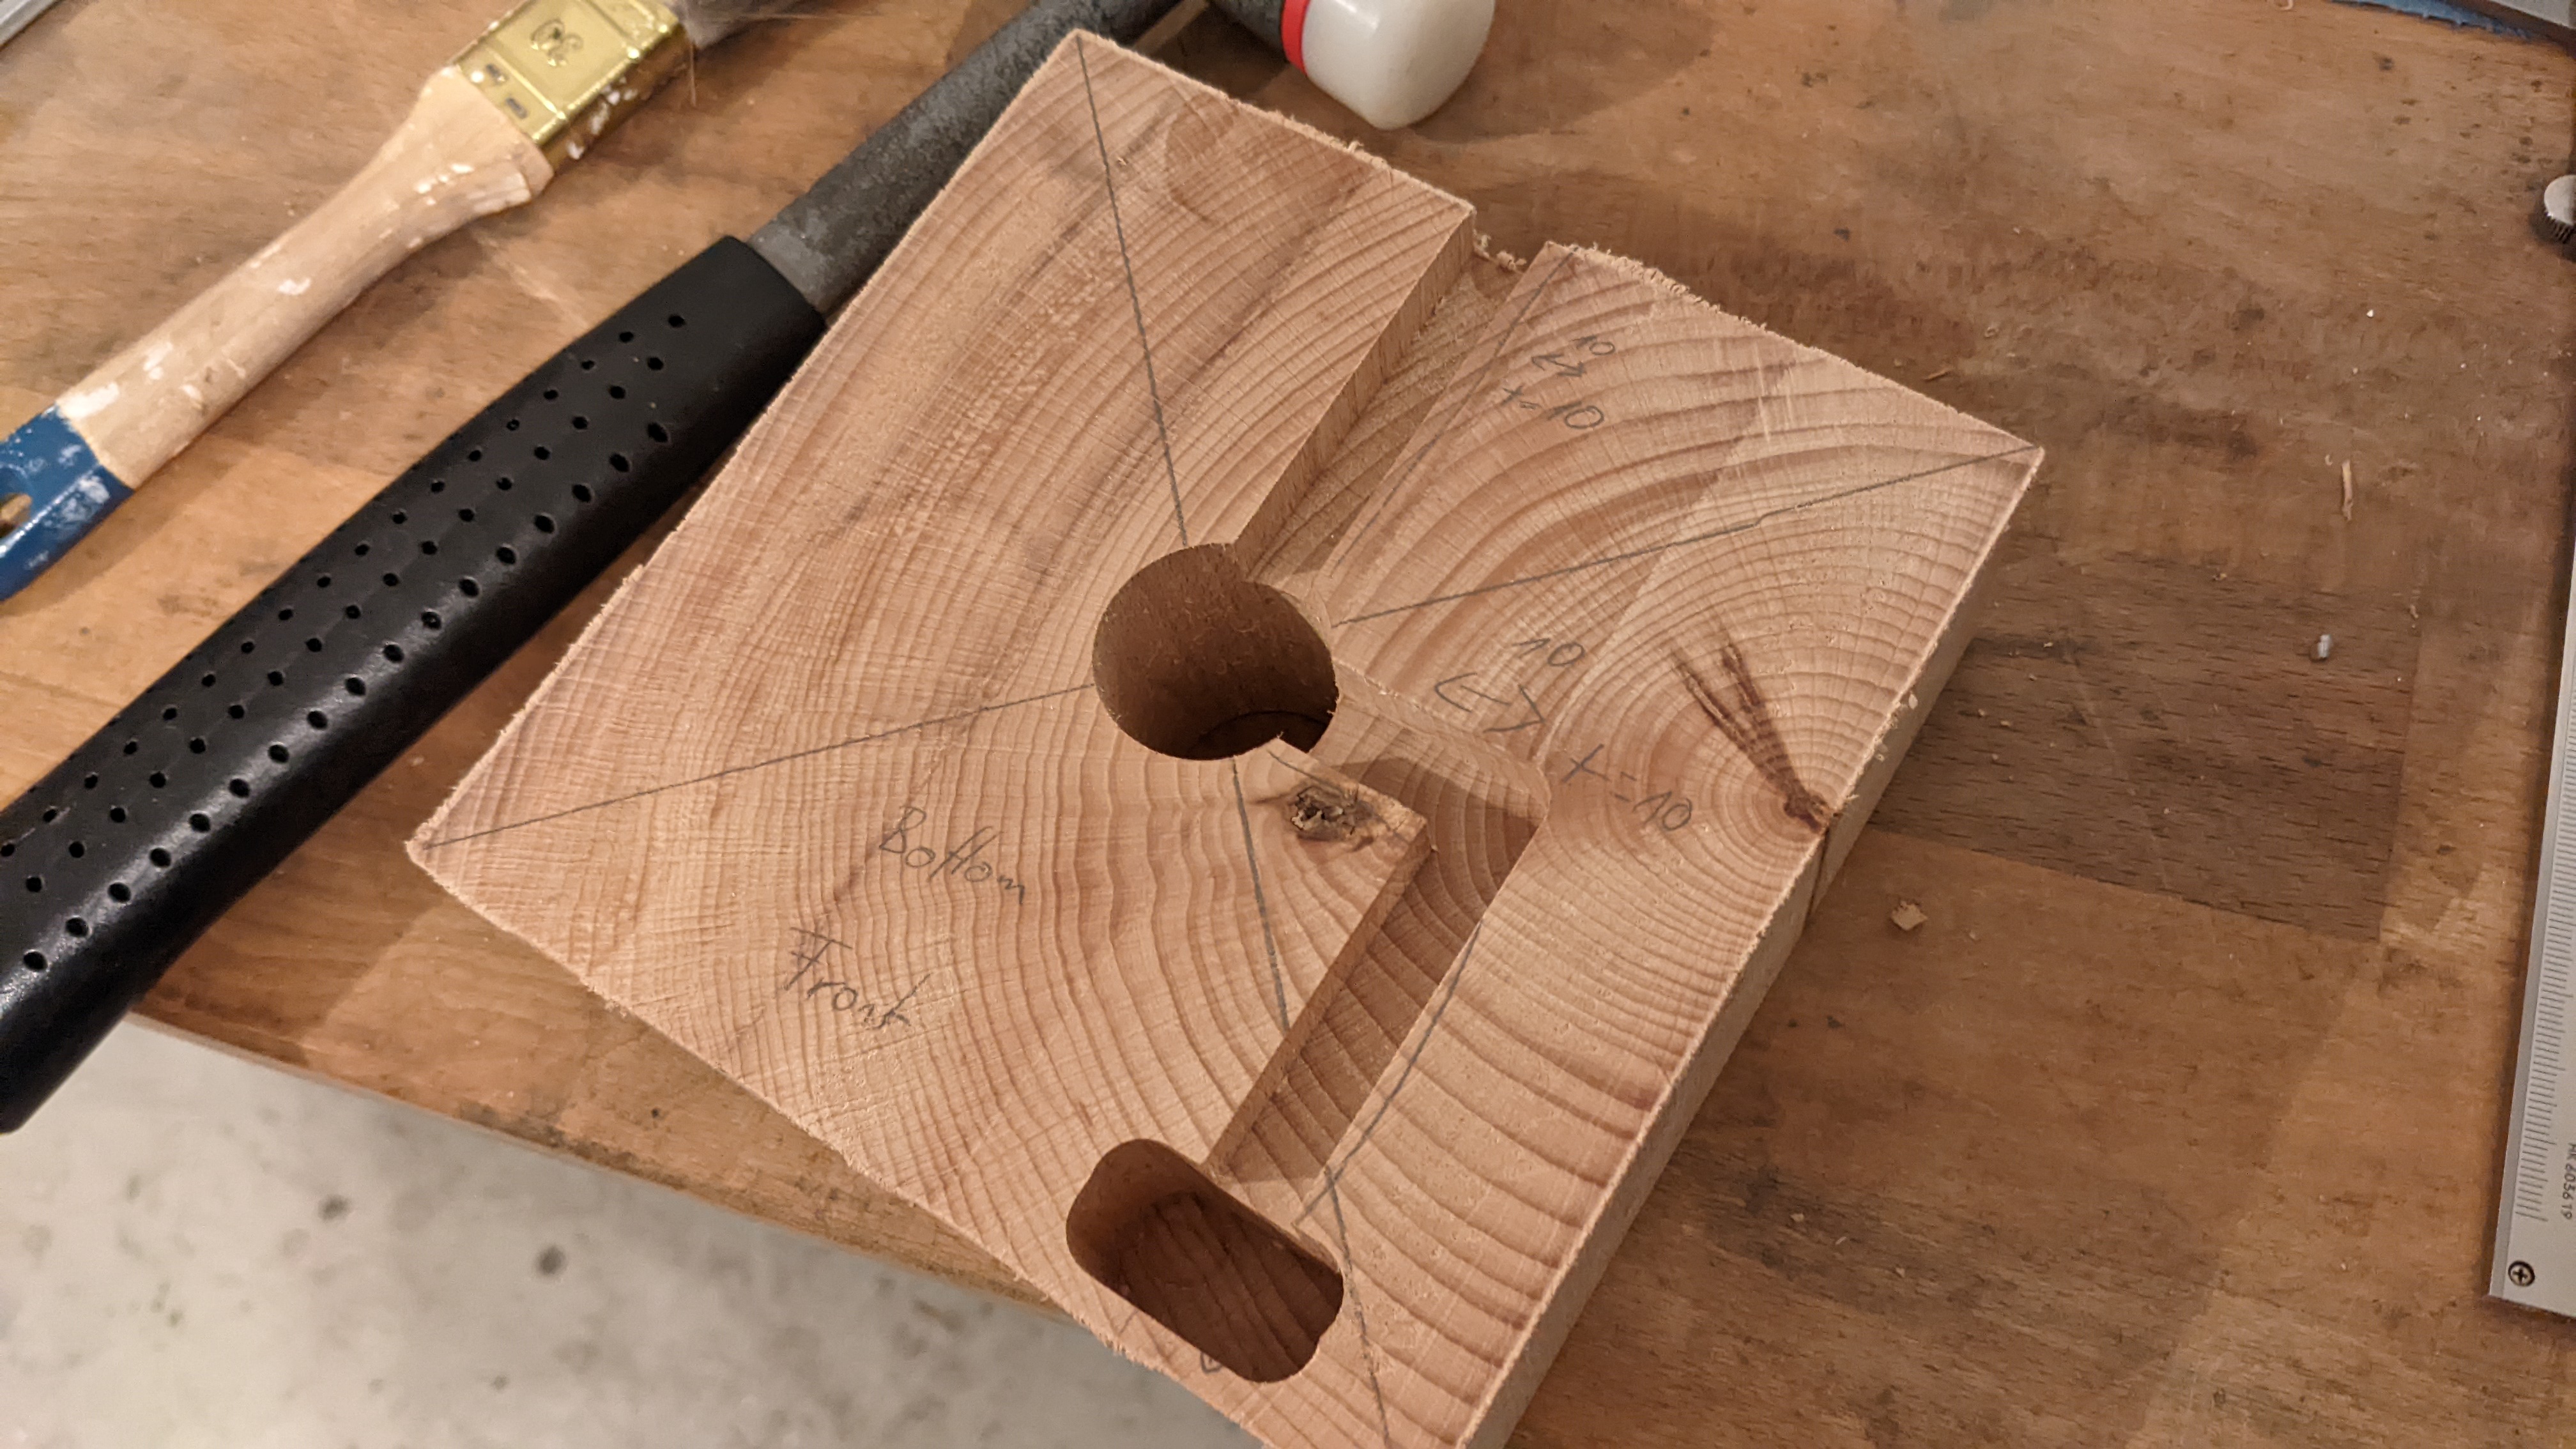
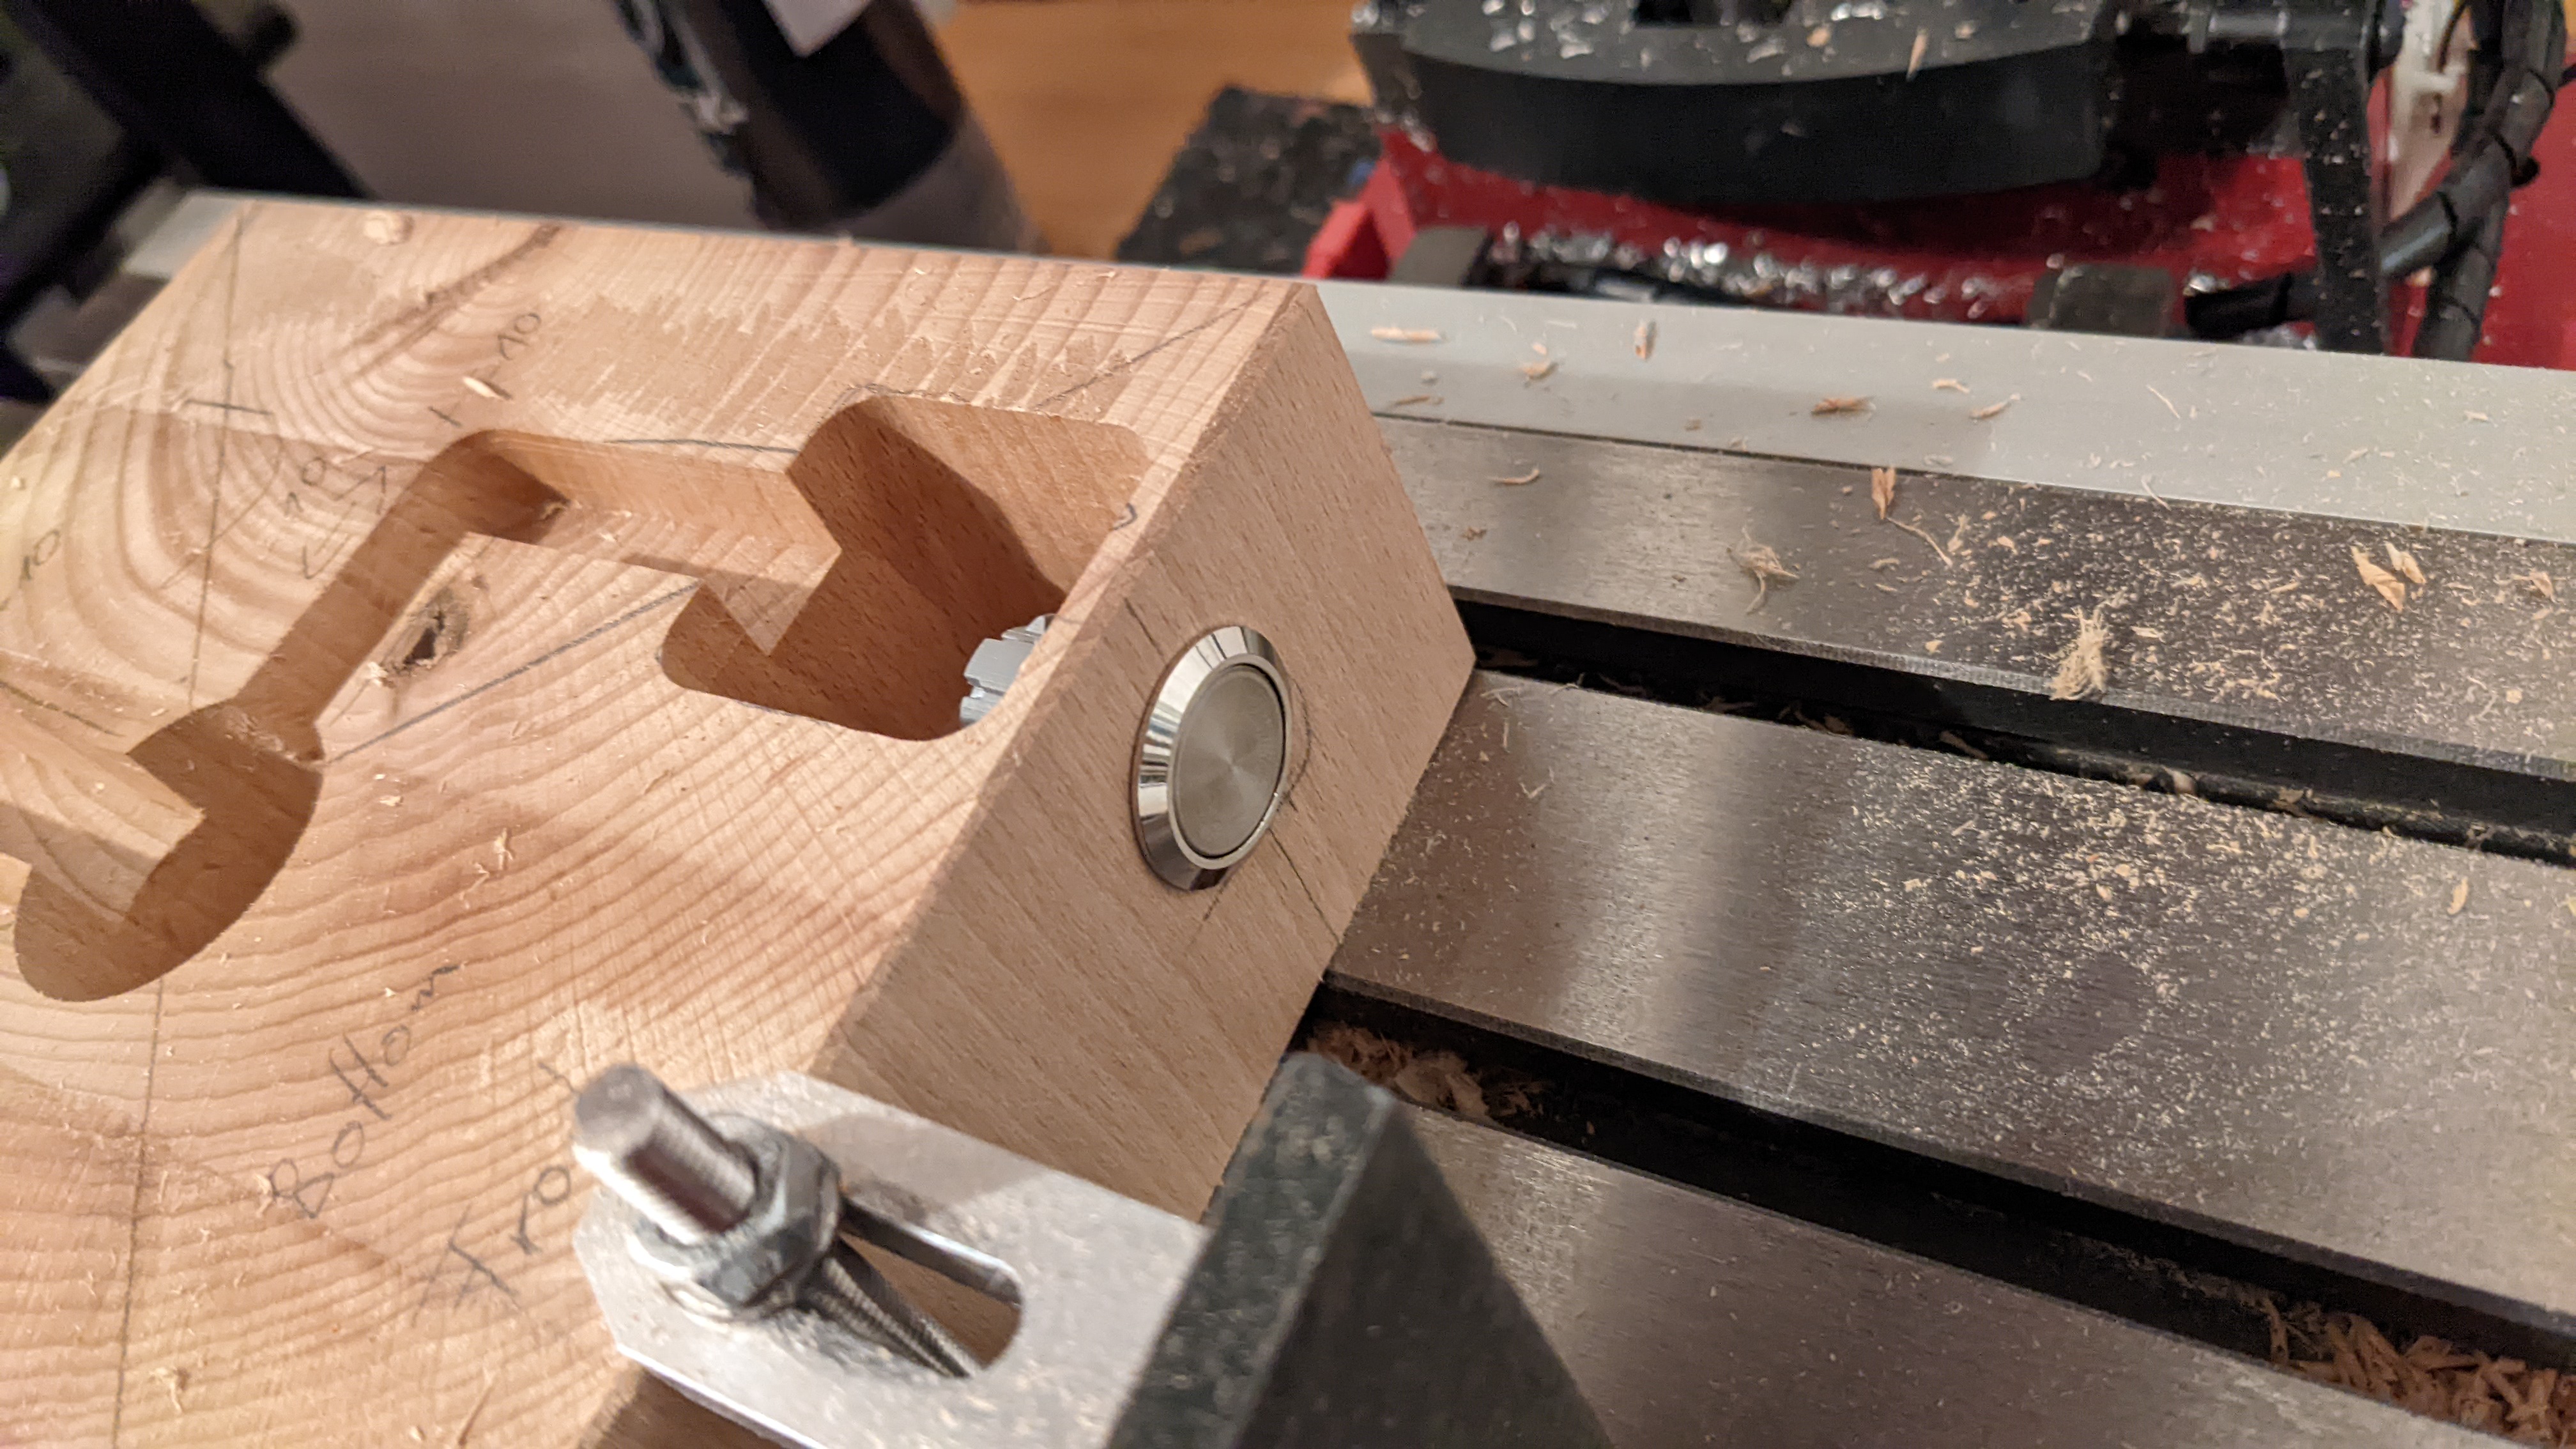
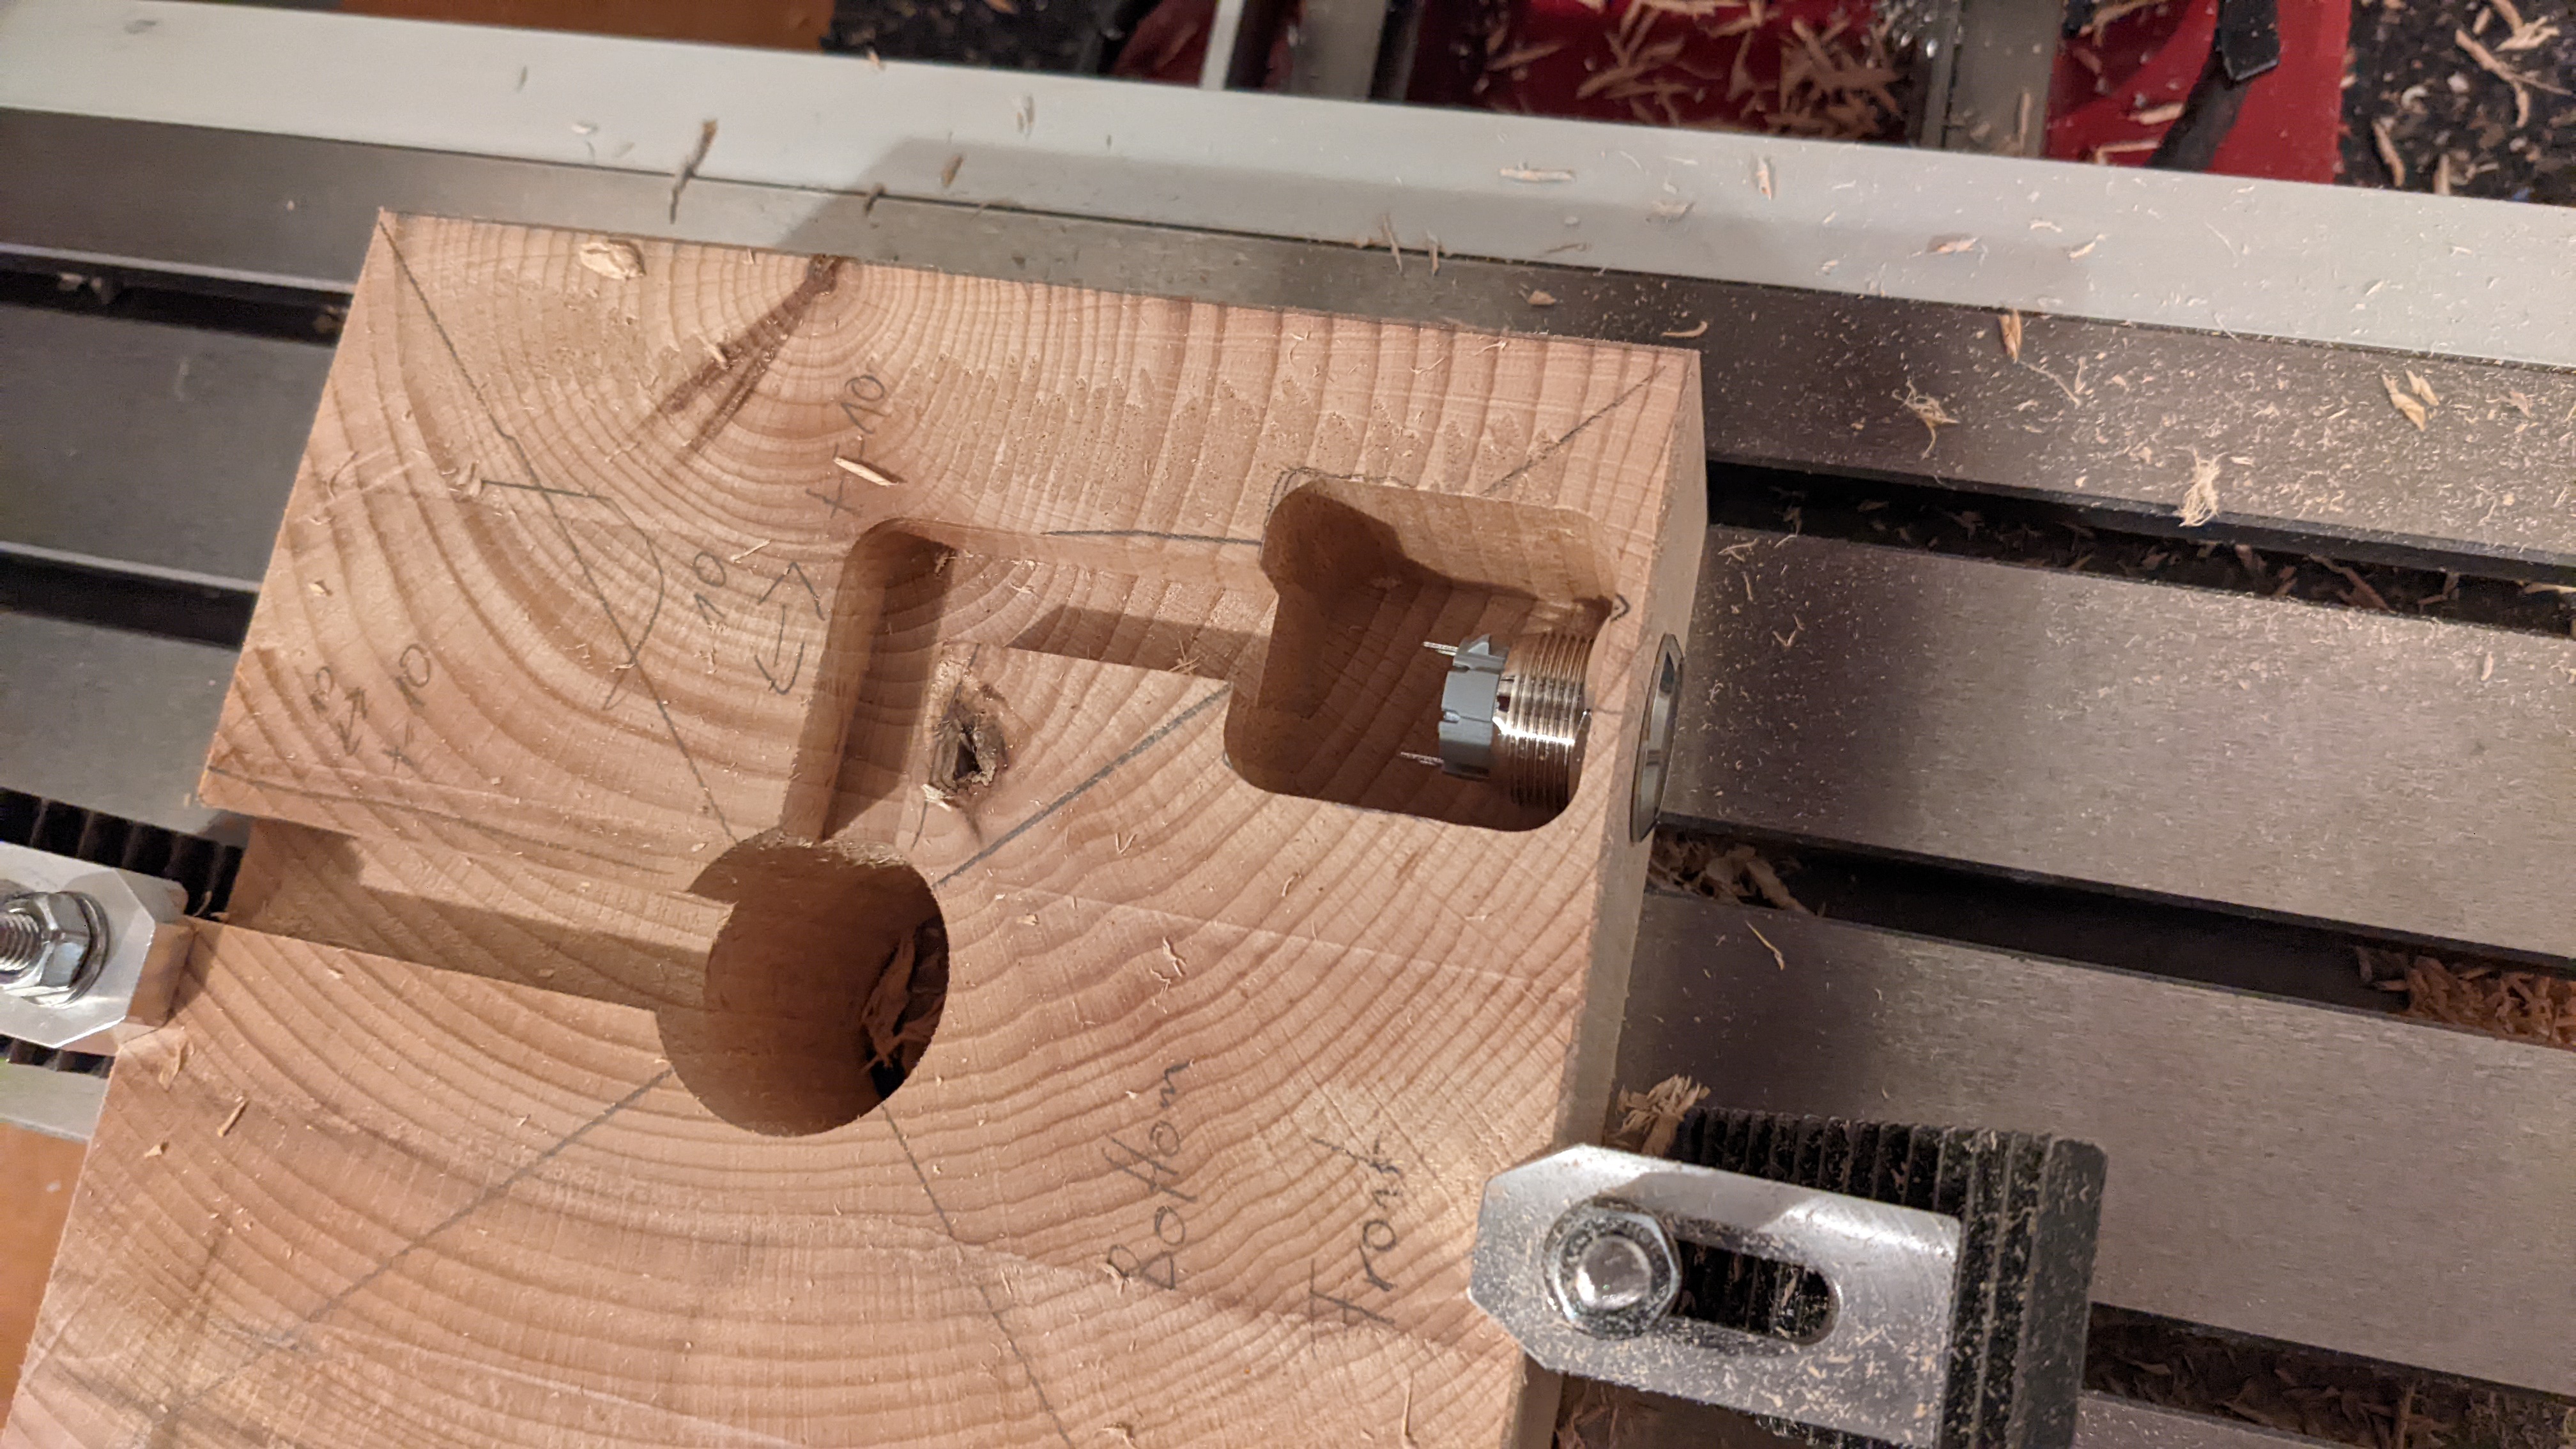
The underside had some requirements which needed to be fulfilled - host the power button, and route the cables.
After some testing, I knew how to place the cables and button, so I milled the channels and pockets.
Electronics
- Preparing the cable and plug:
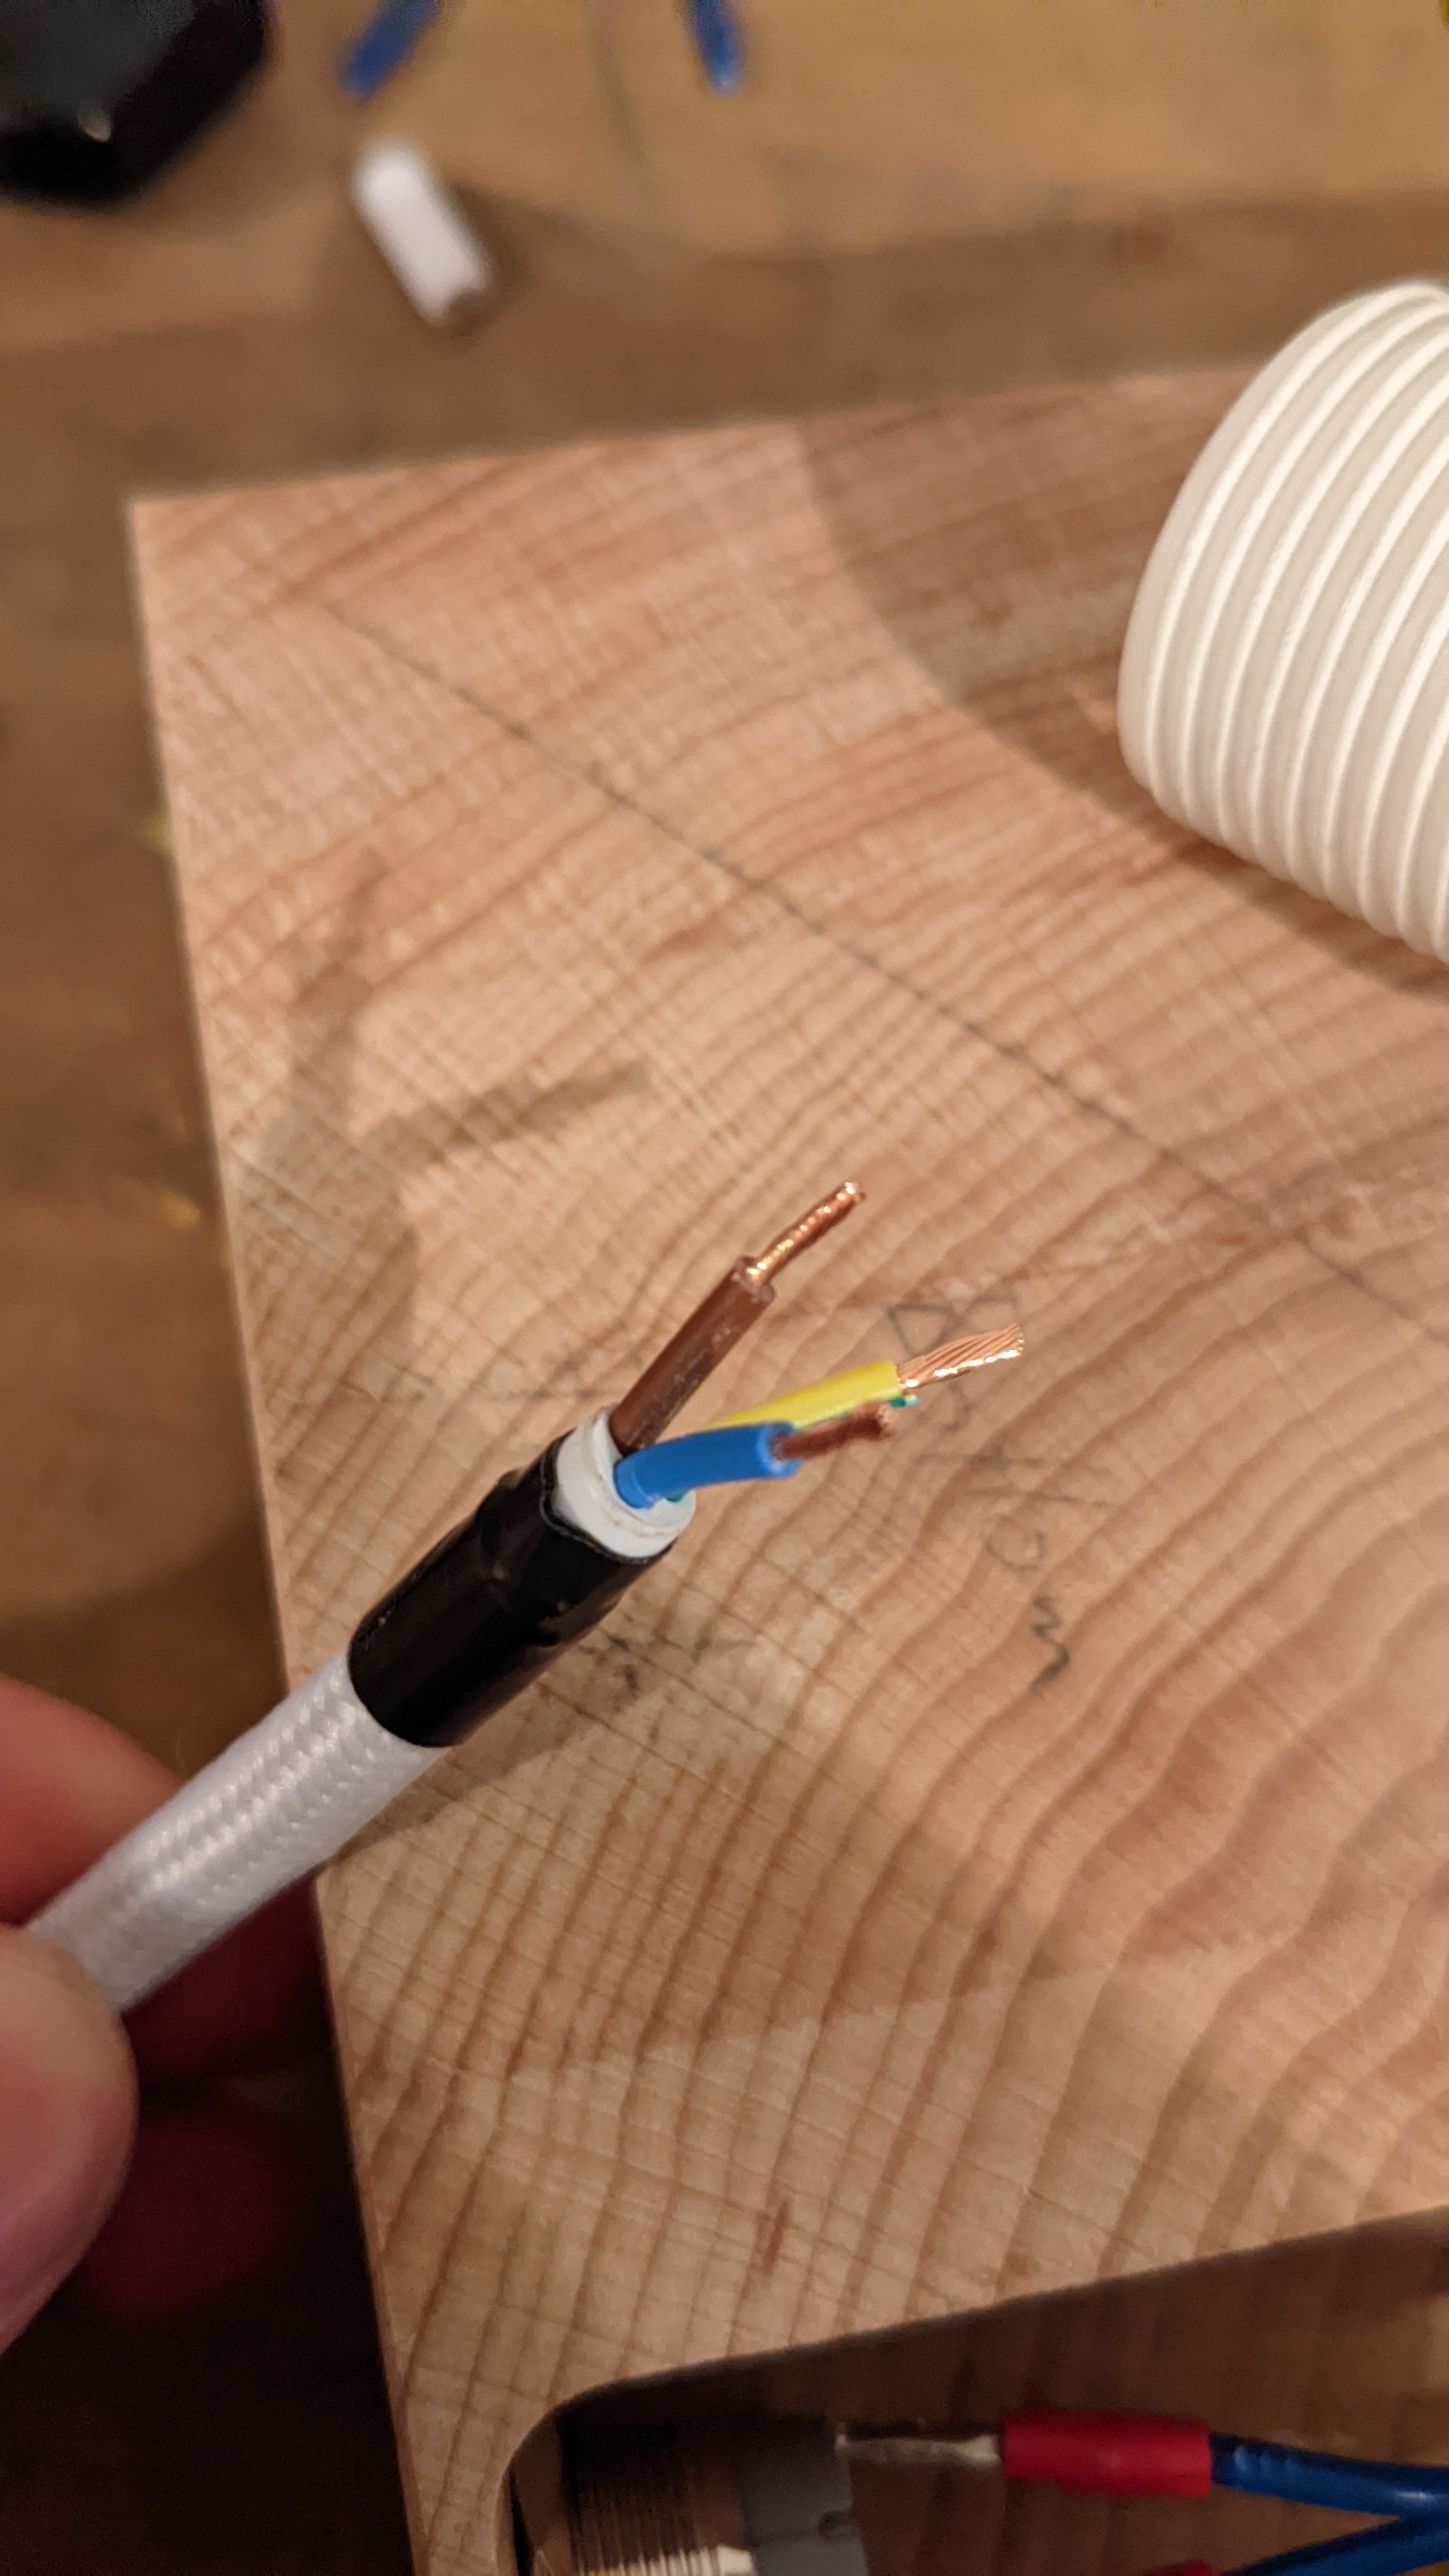
The sleeved cable started to fray on the end. To prevent further fraying some heat was necessary followed by wrapping the end in electric tape.
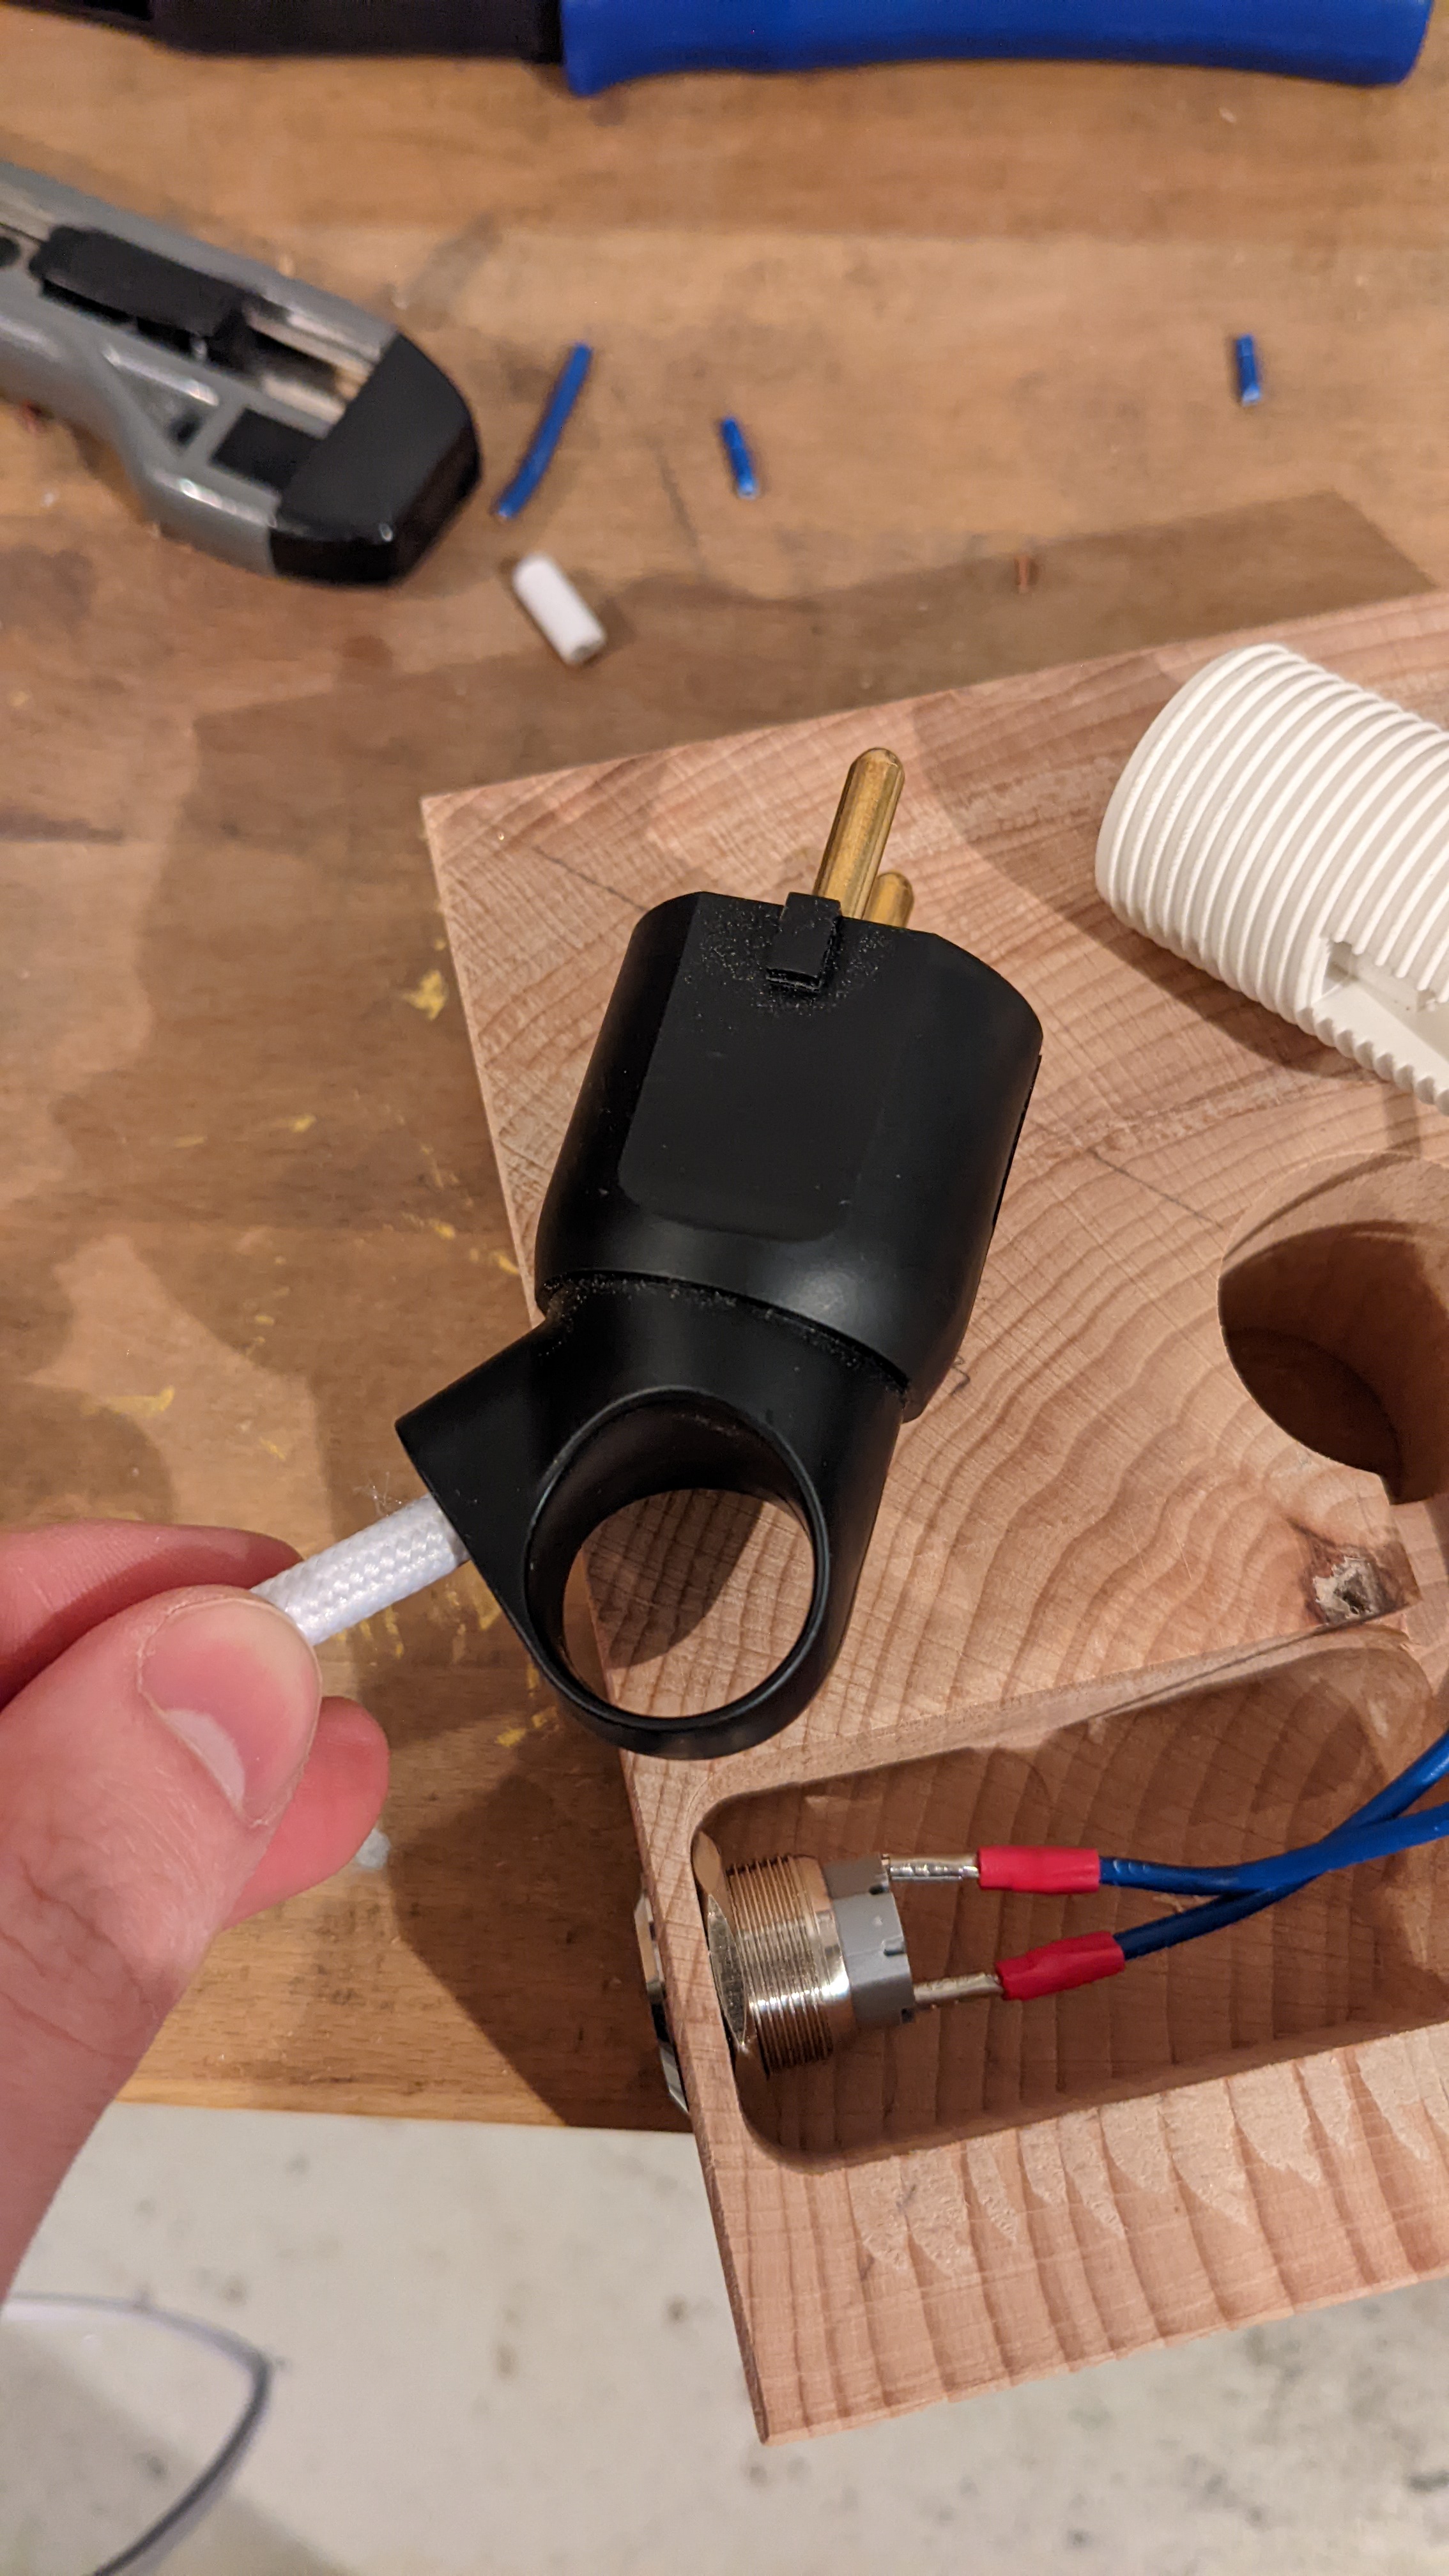
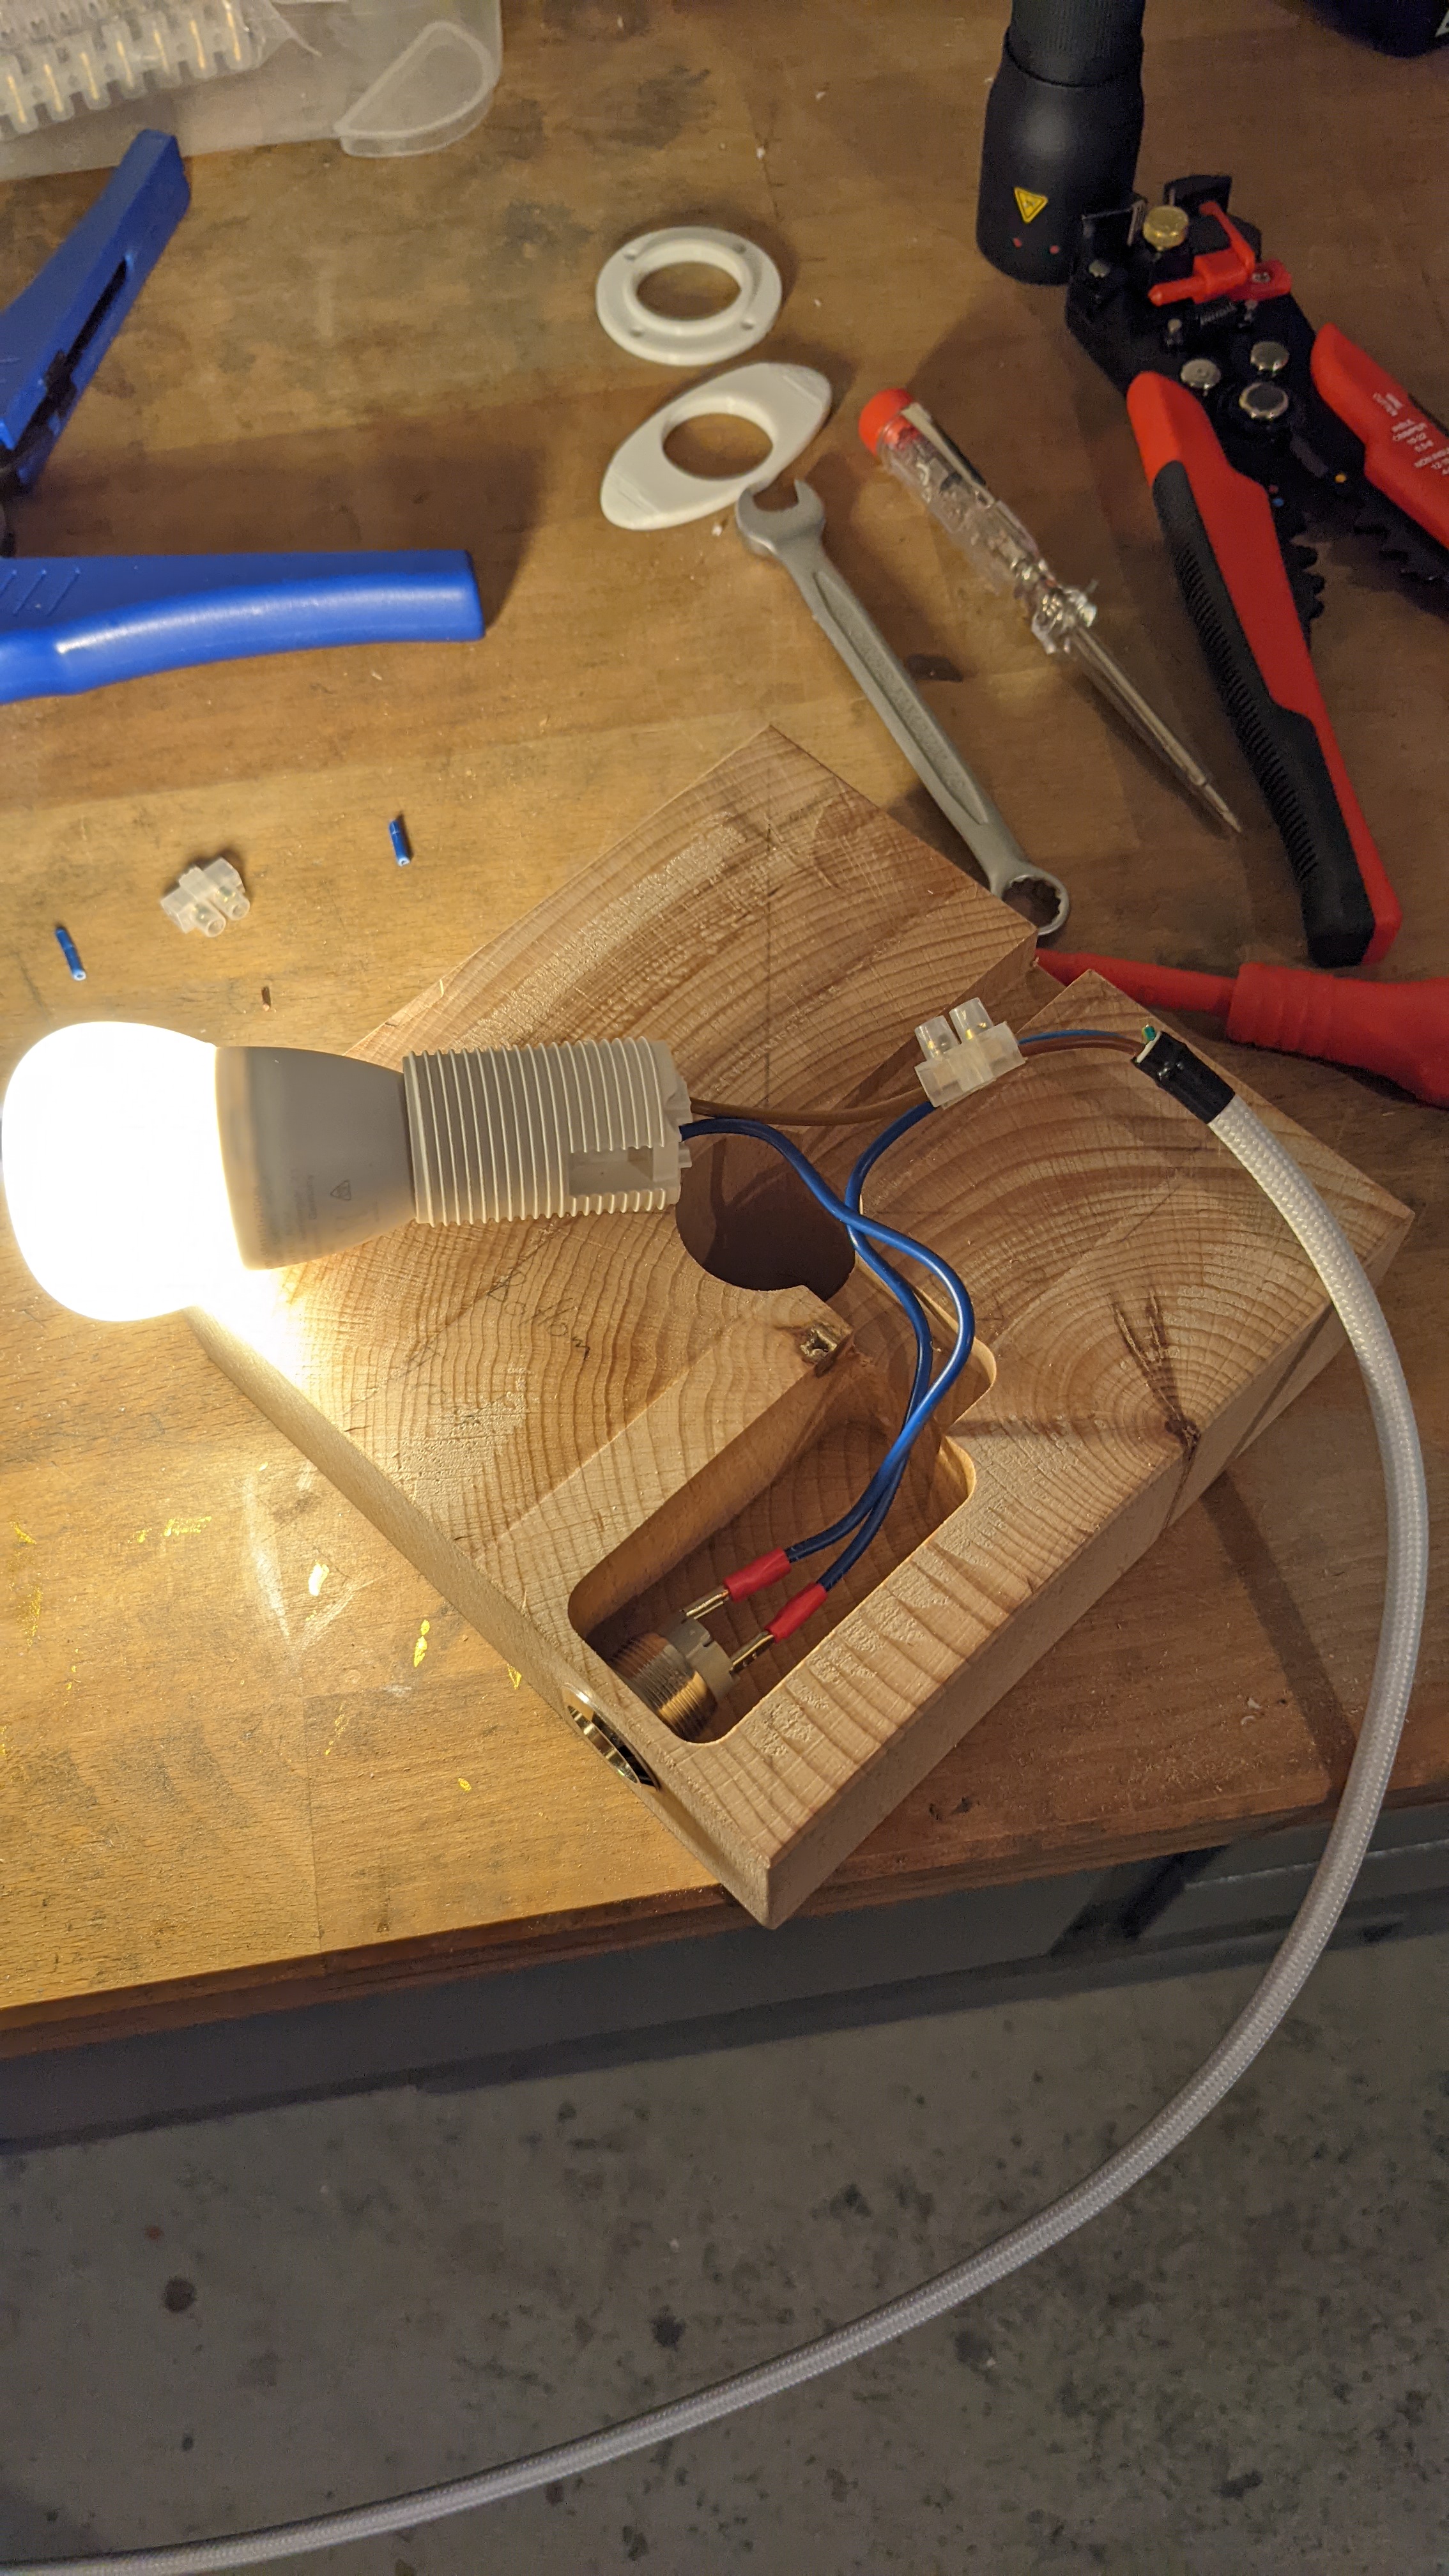
The plug was just 3 screws, so nothing too difficult. My amateur wiring skills passed the check, so I continued to finish the wood base with some radii.
Wood stain
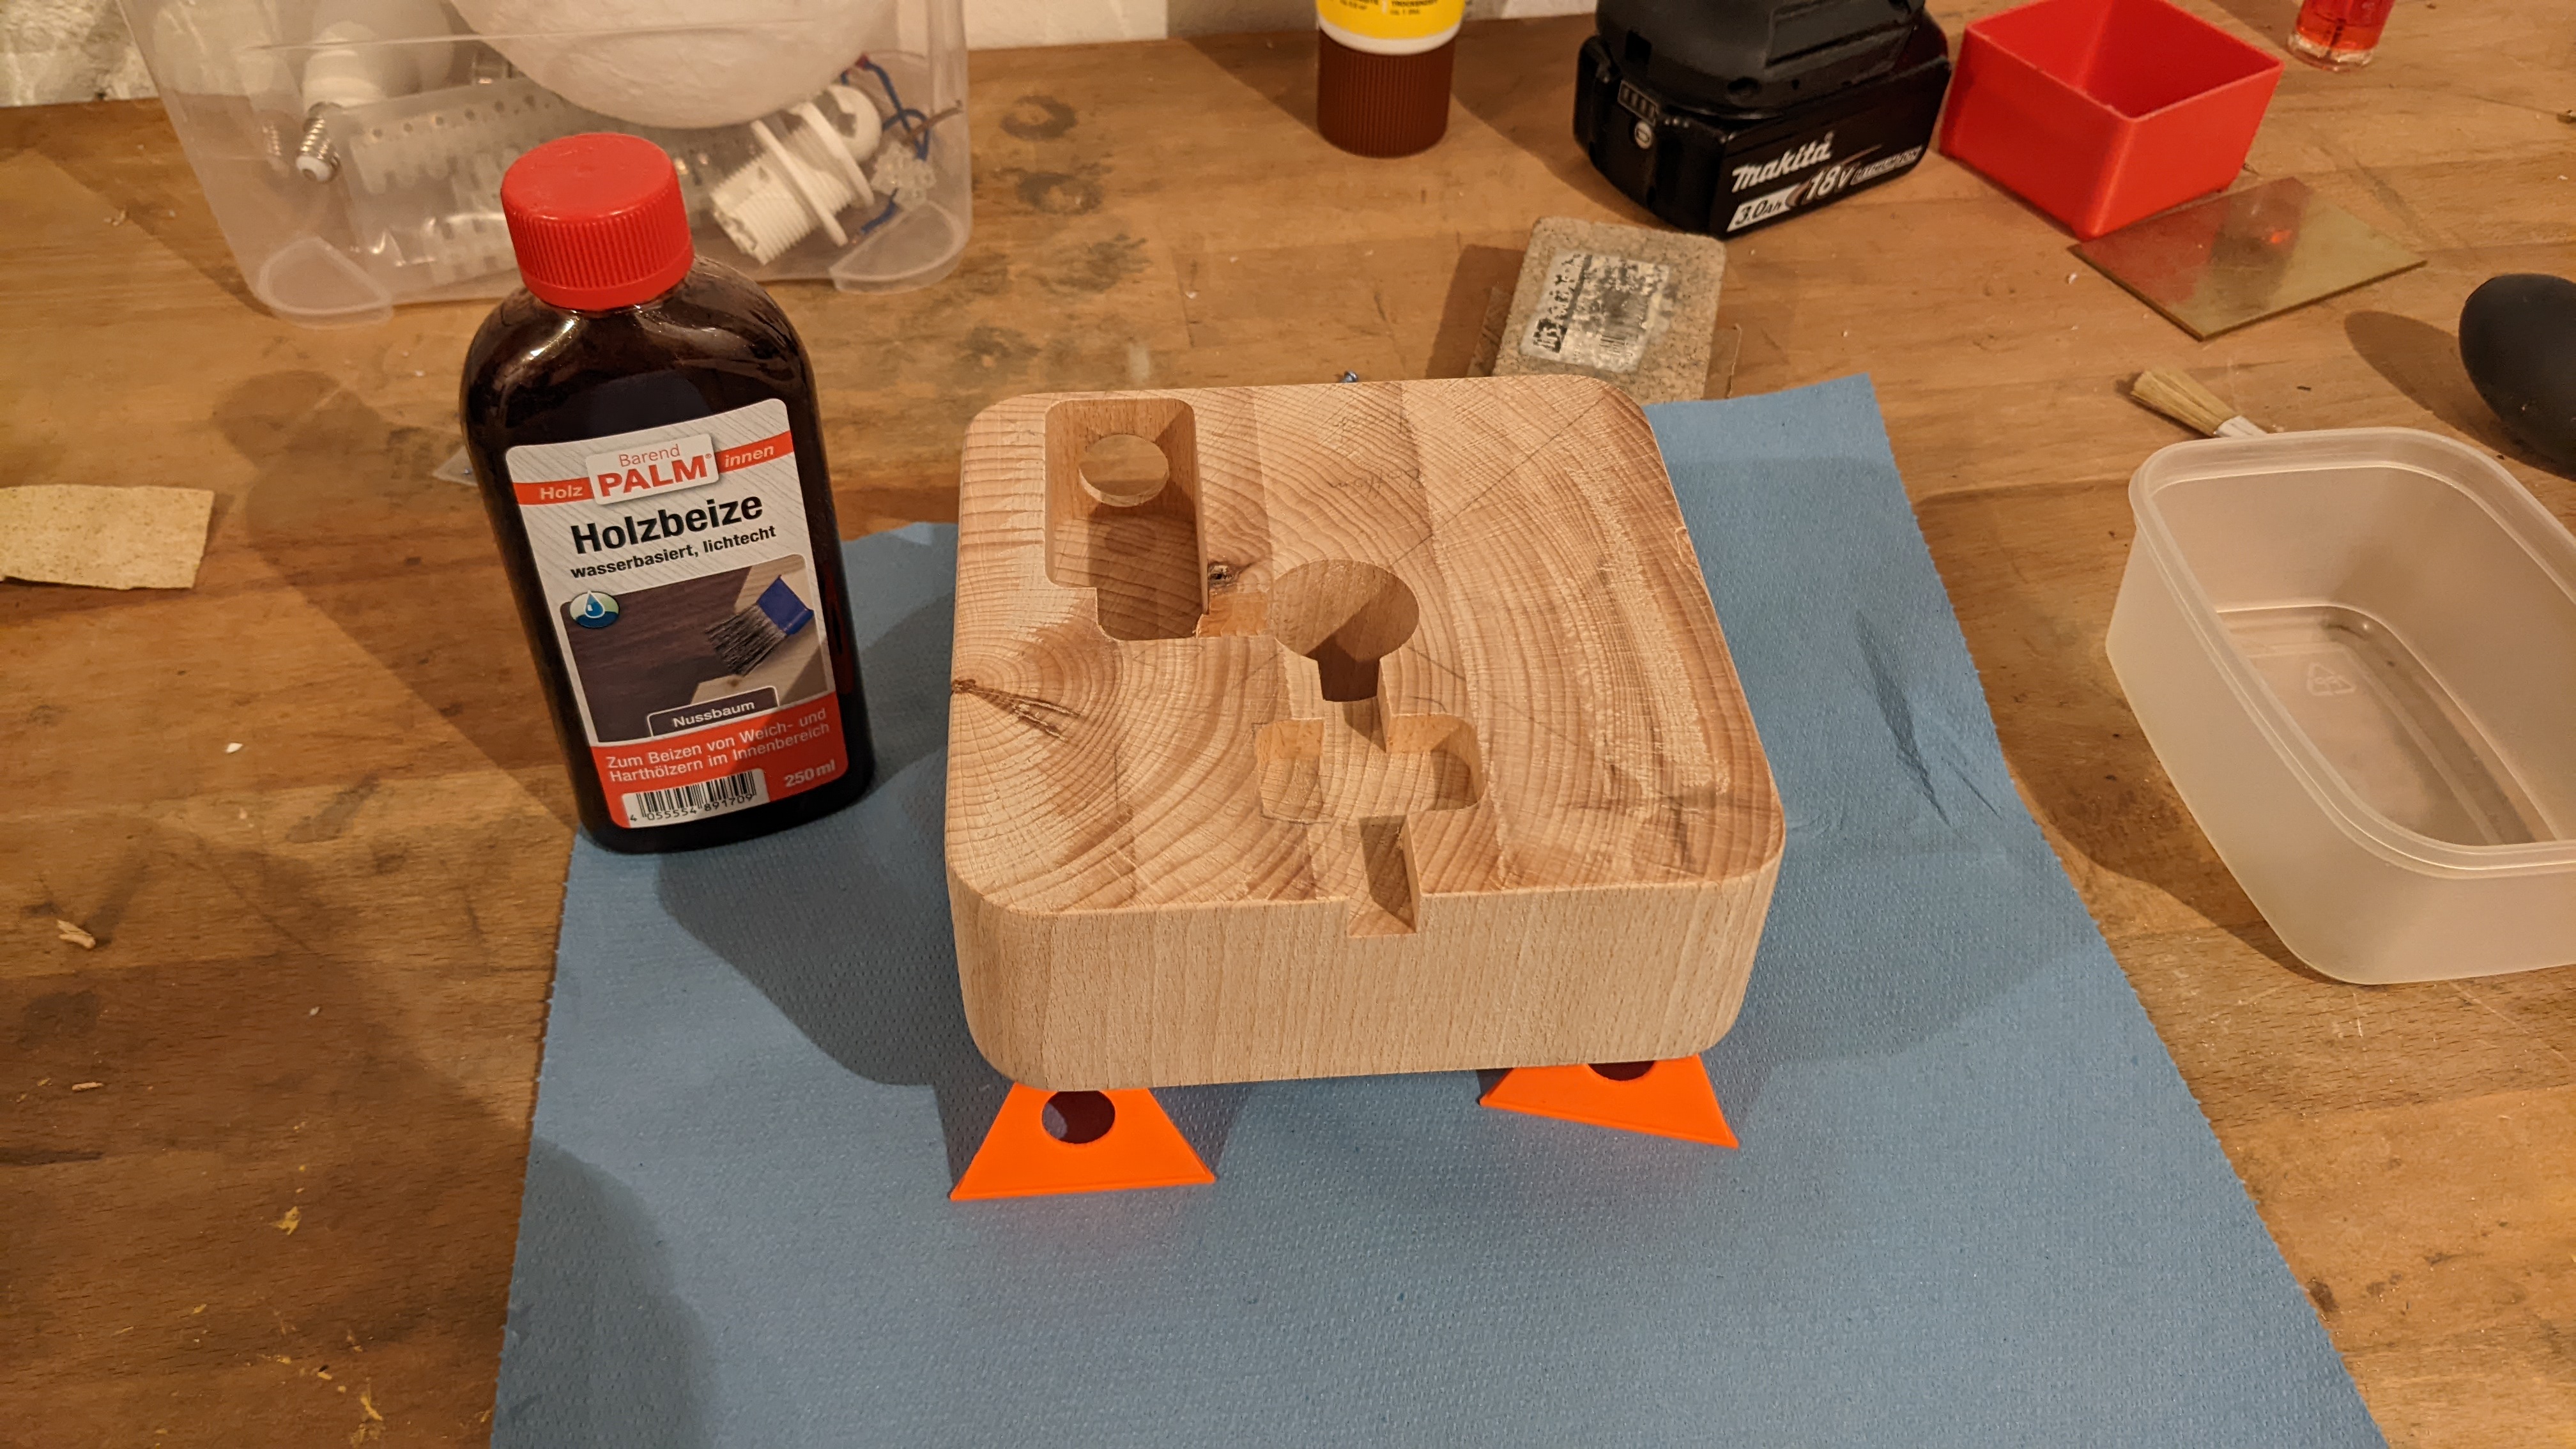
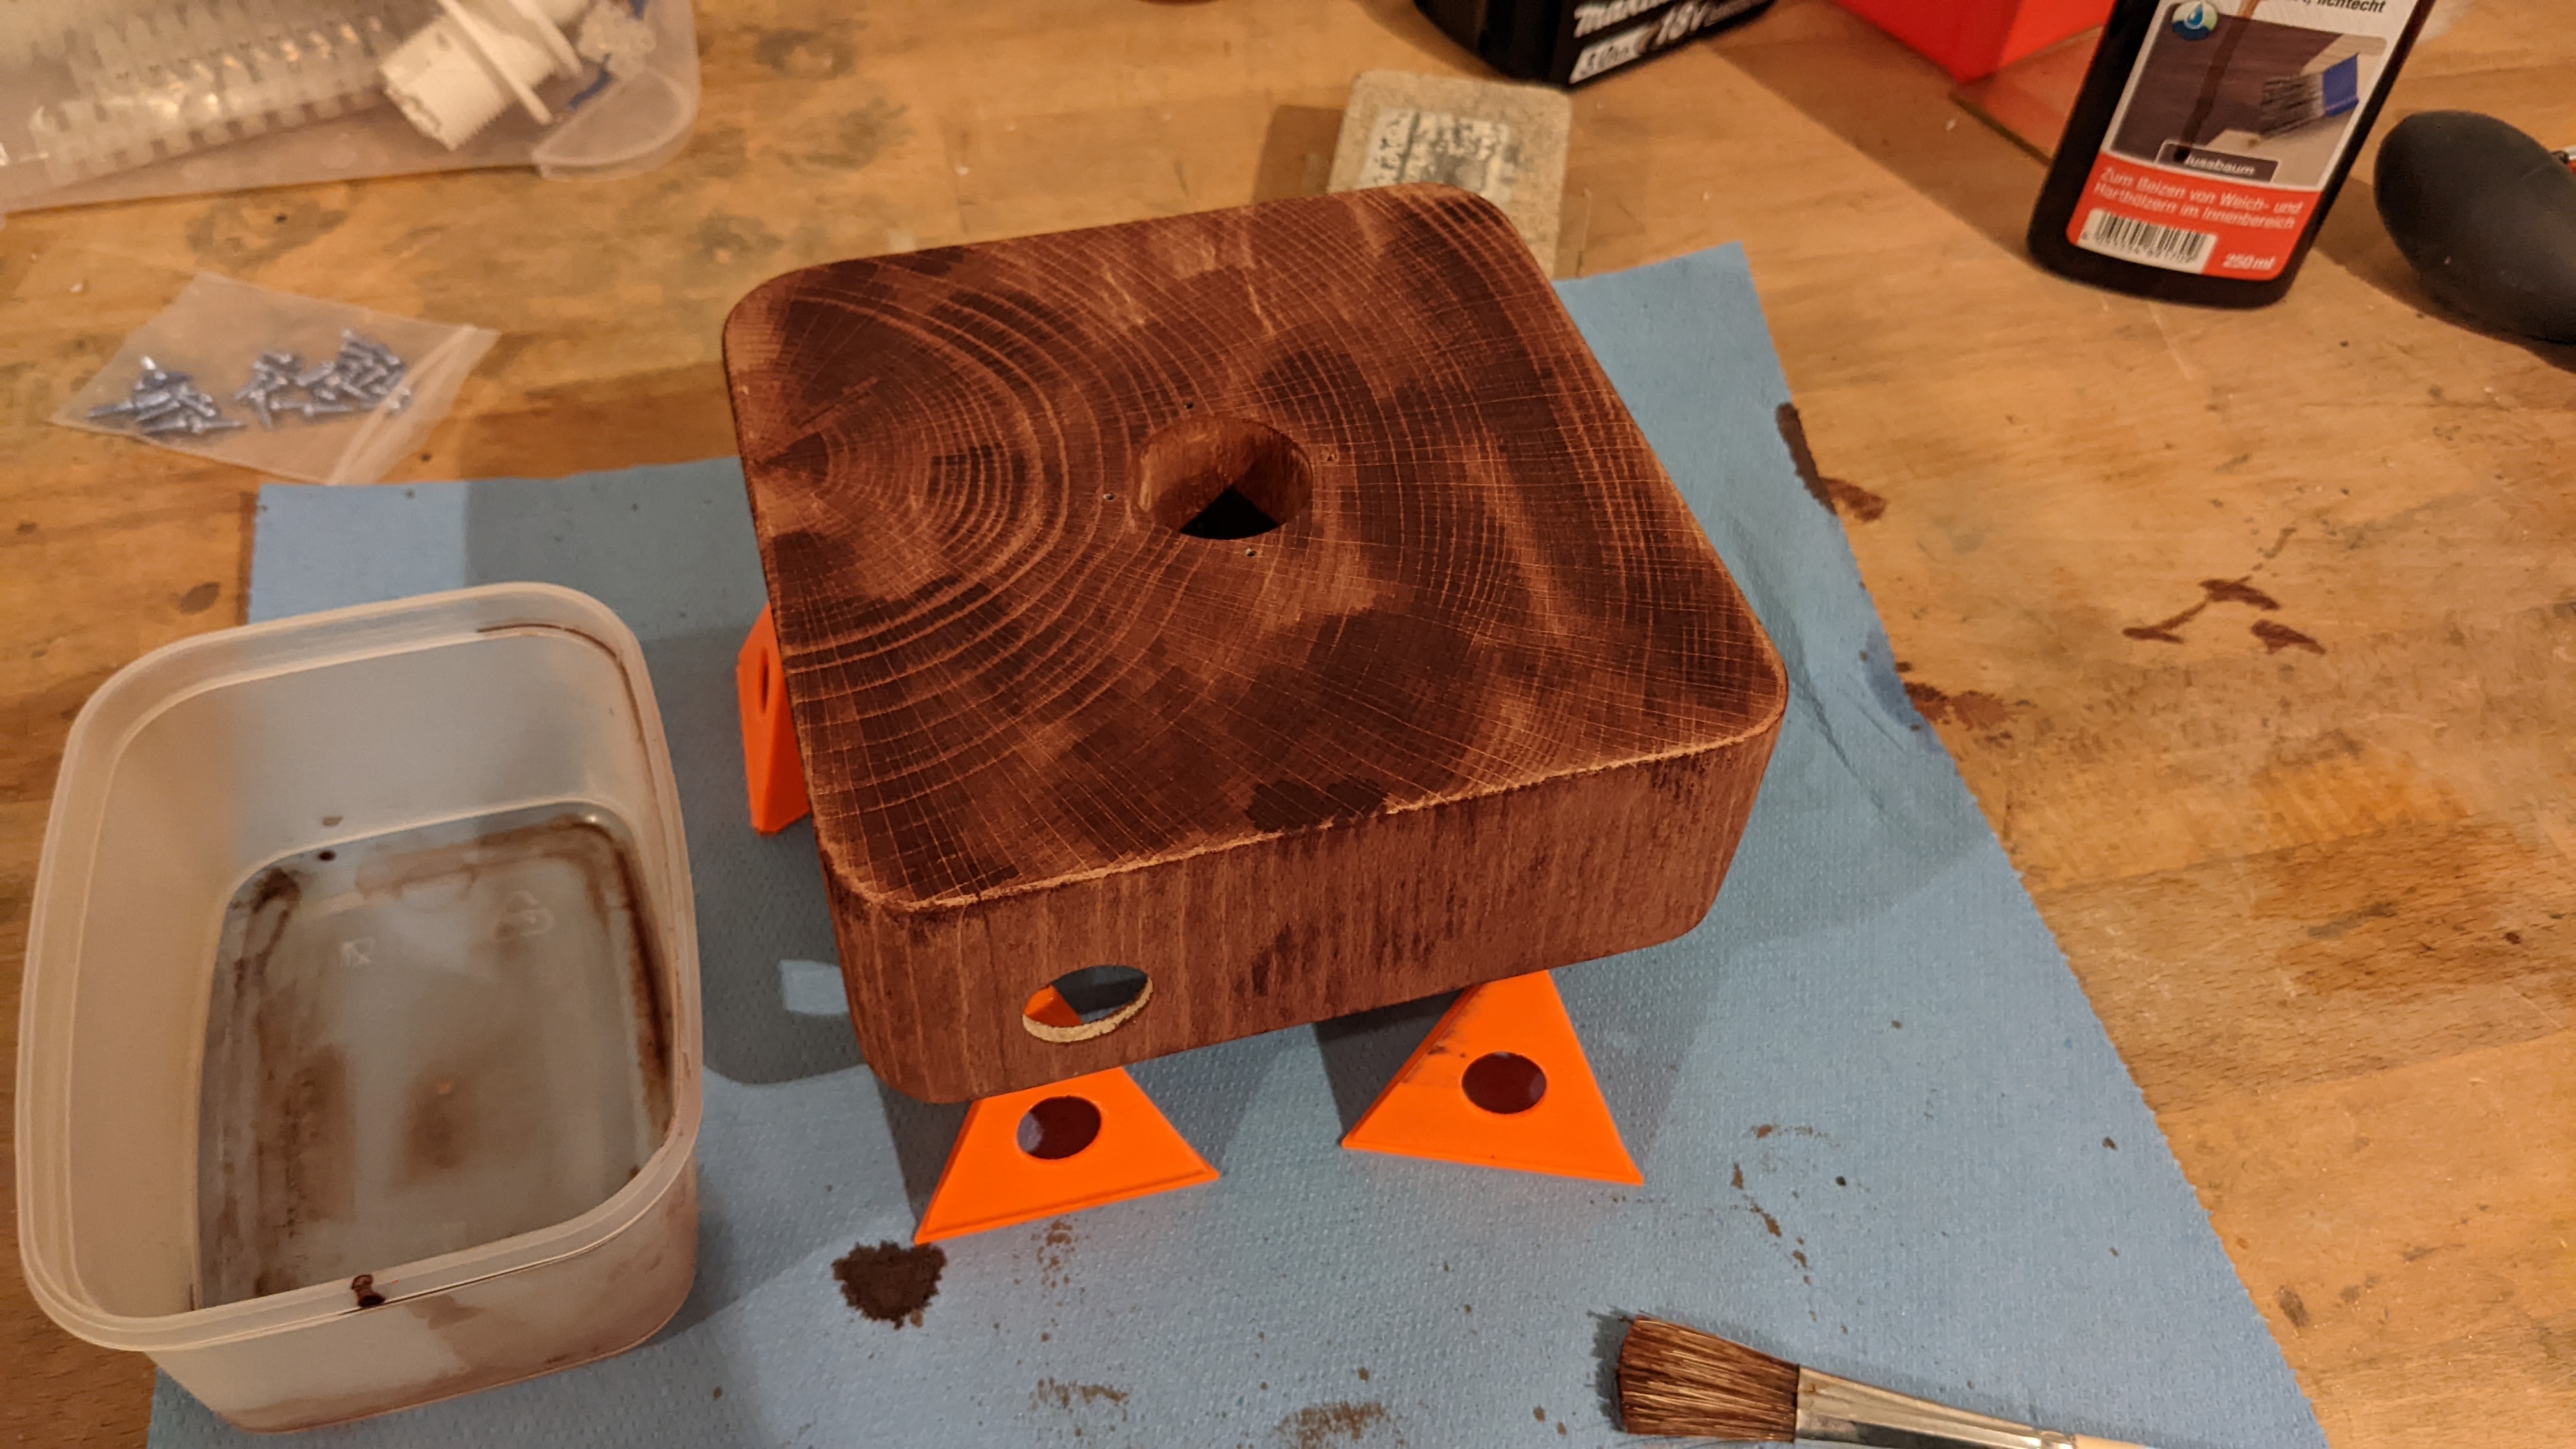
I got just some generic stain which I found in my local hardware store and gave the wood base 3 coats with a thick soft brush. After 24 hours, I finished the base off with 3 coats of clear coat.
Don't get irritated by the spotty stain, this picture is with only one coat of wood stain.
Finishing
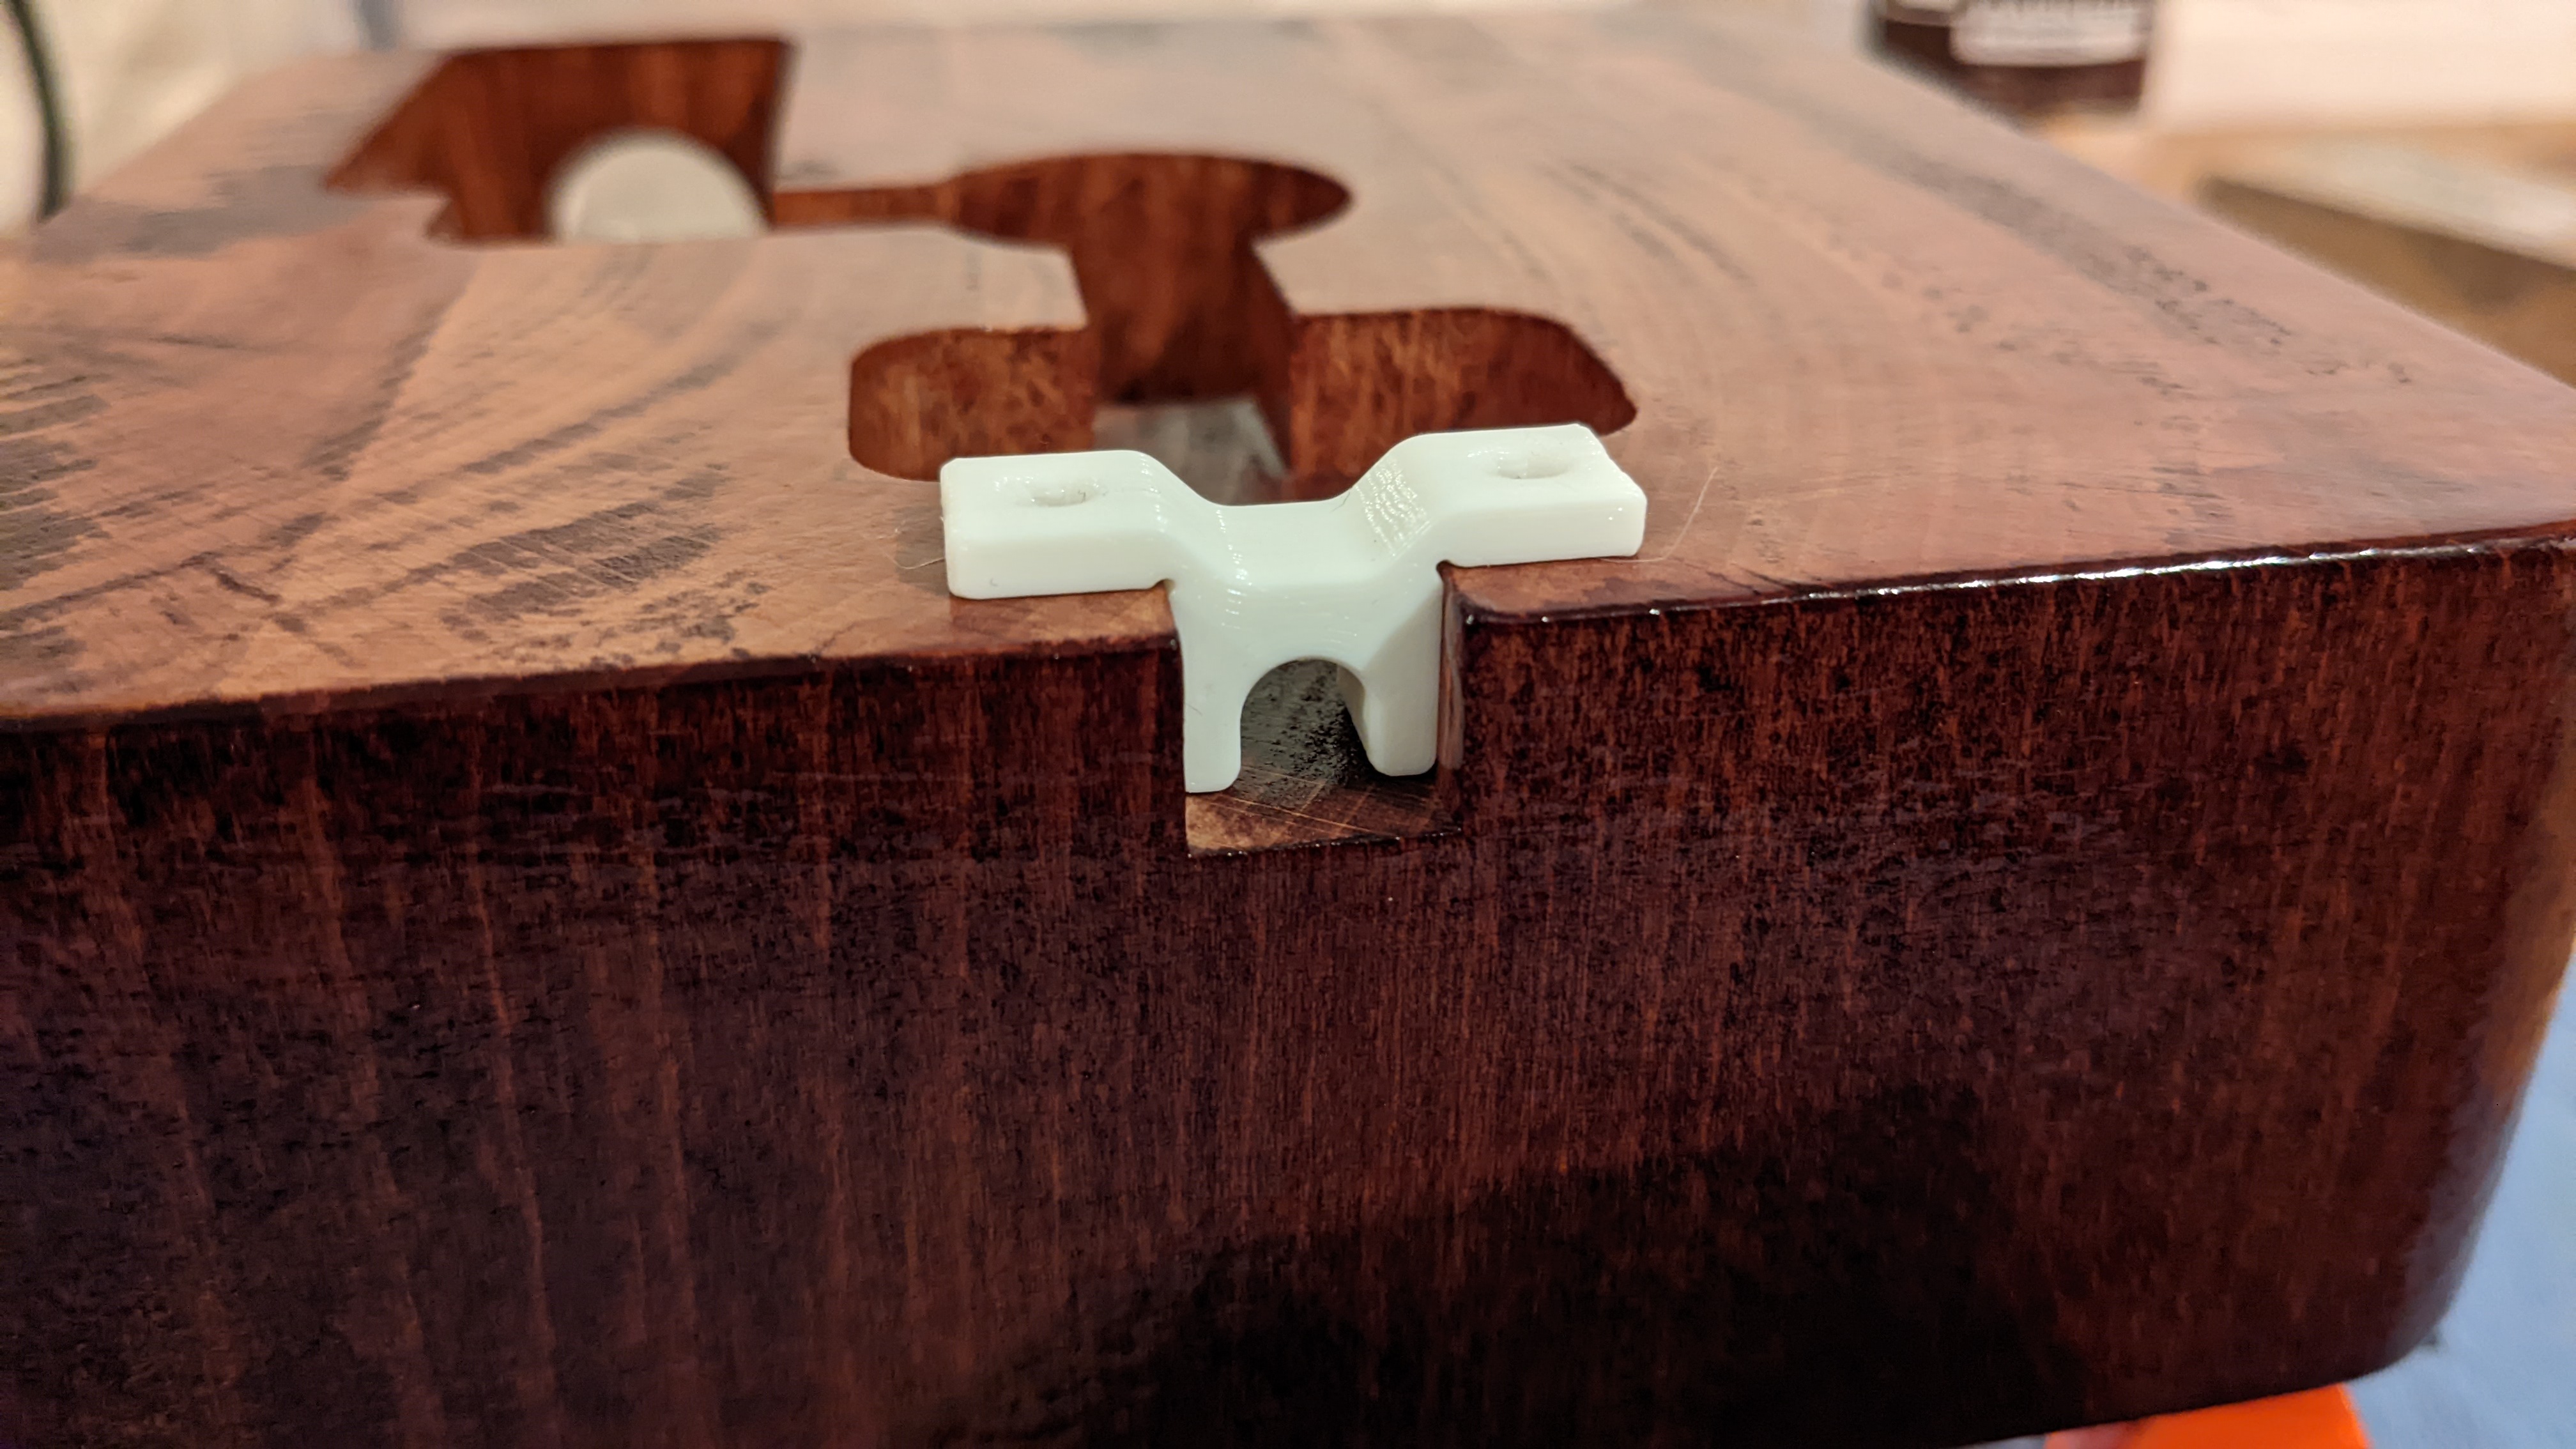
The last step was to implement some sort of cable strain relieve, which I drew in my CAD of choice - Fusion360, and printed on my FDM Printer.
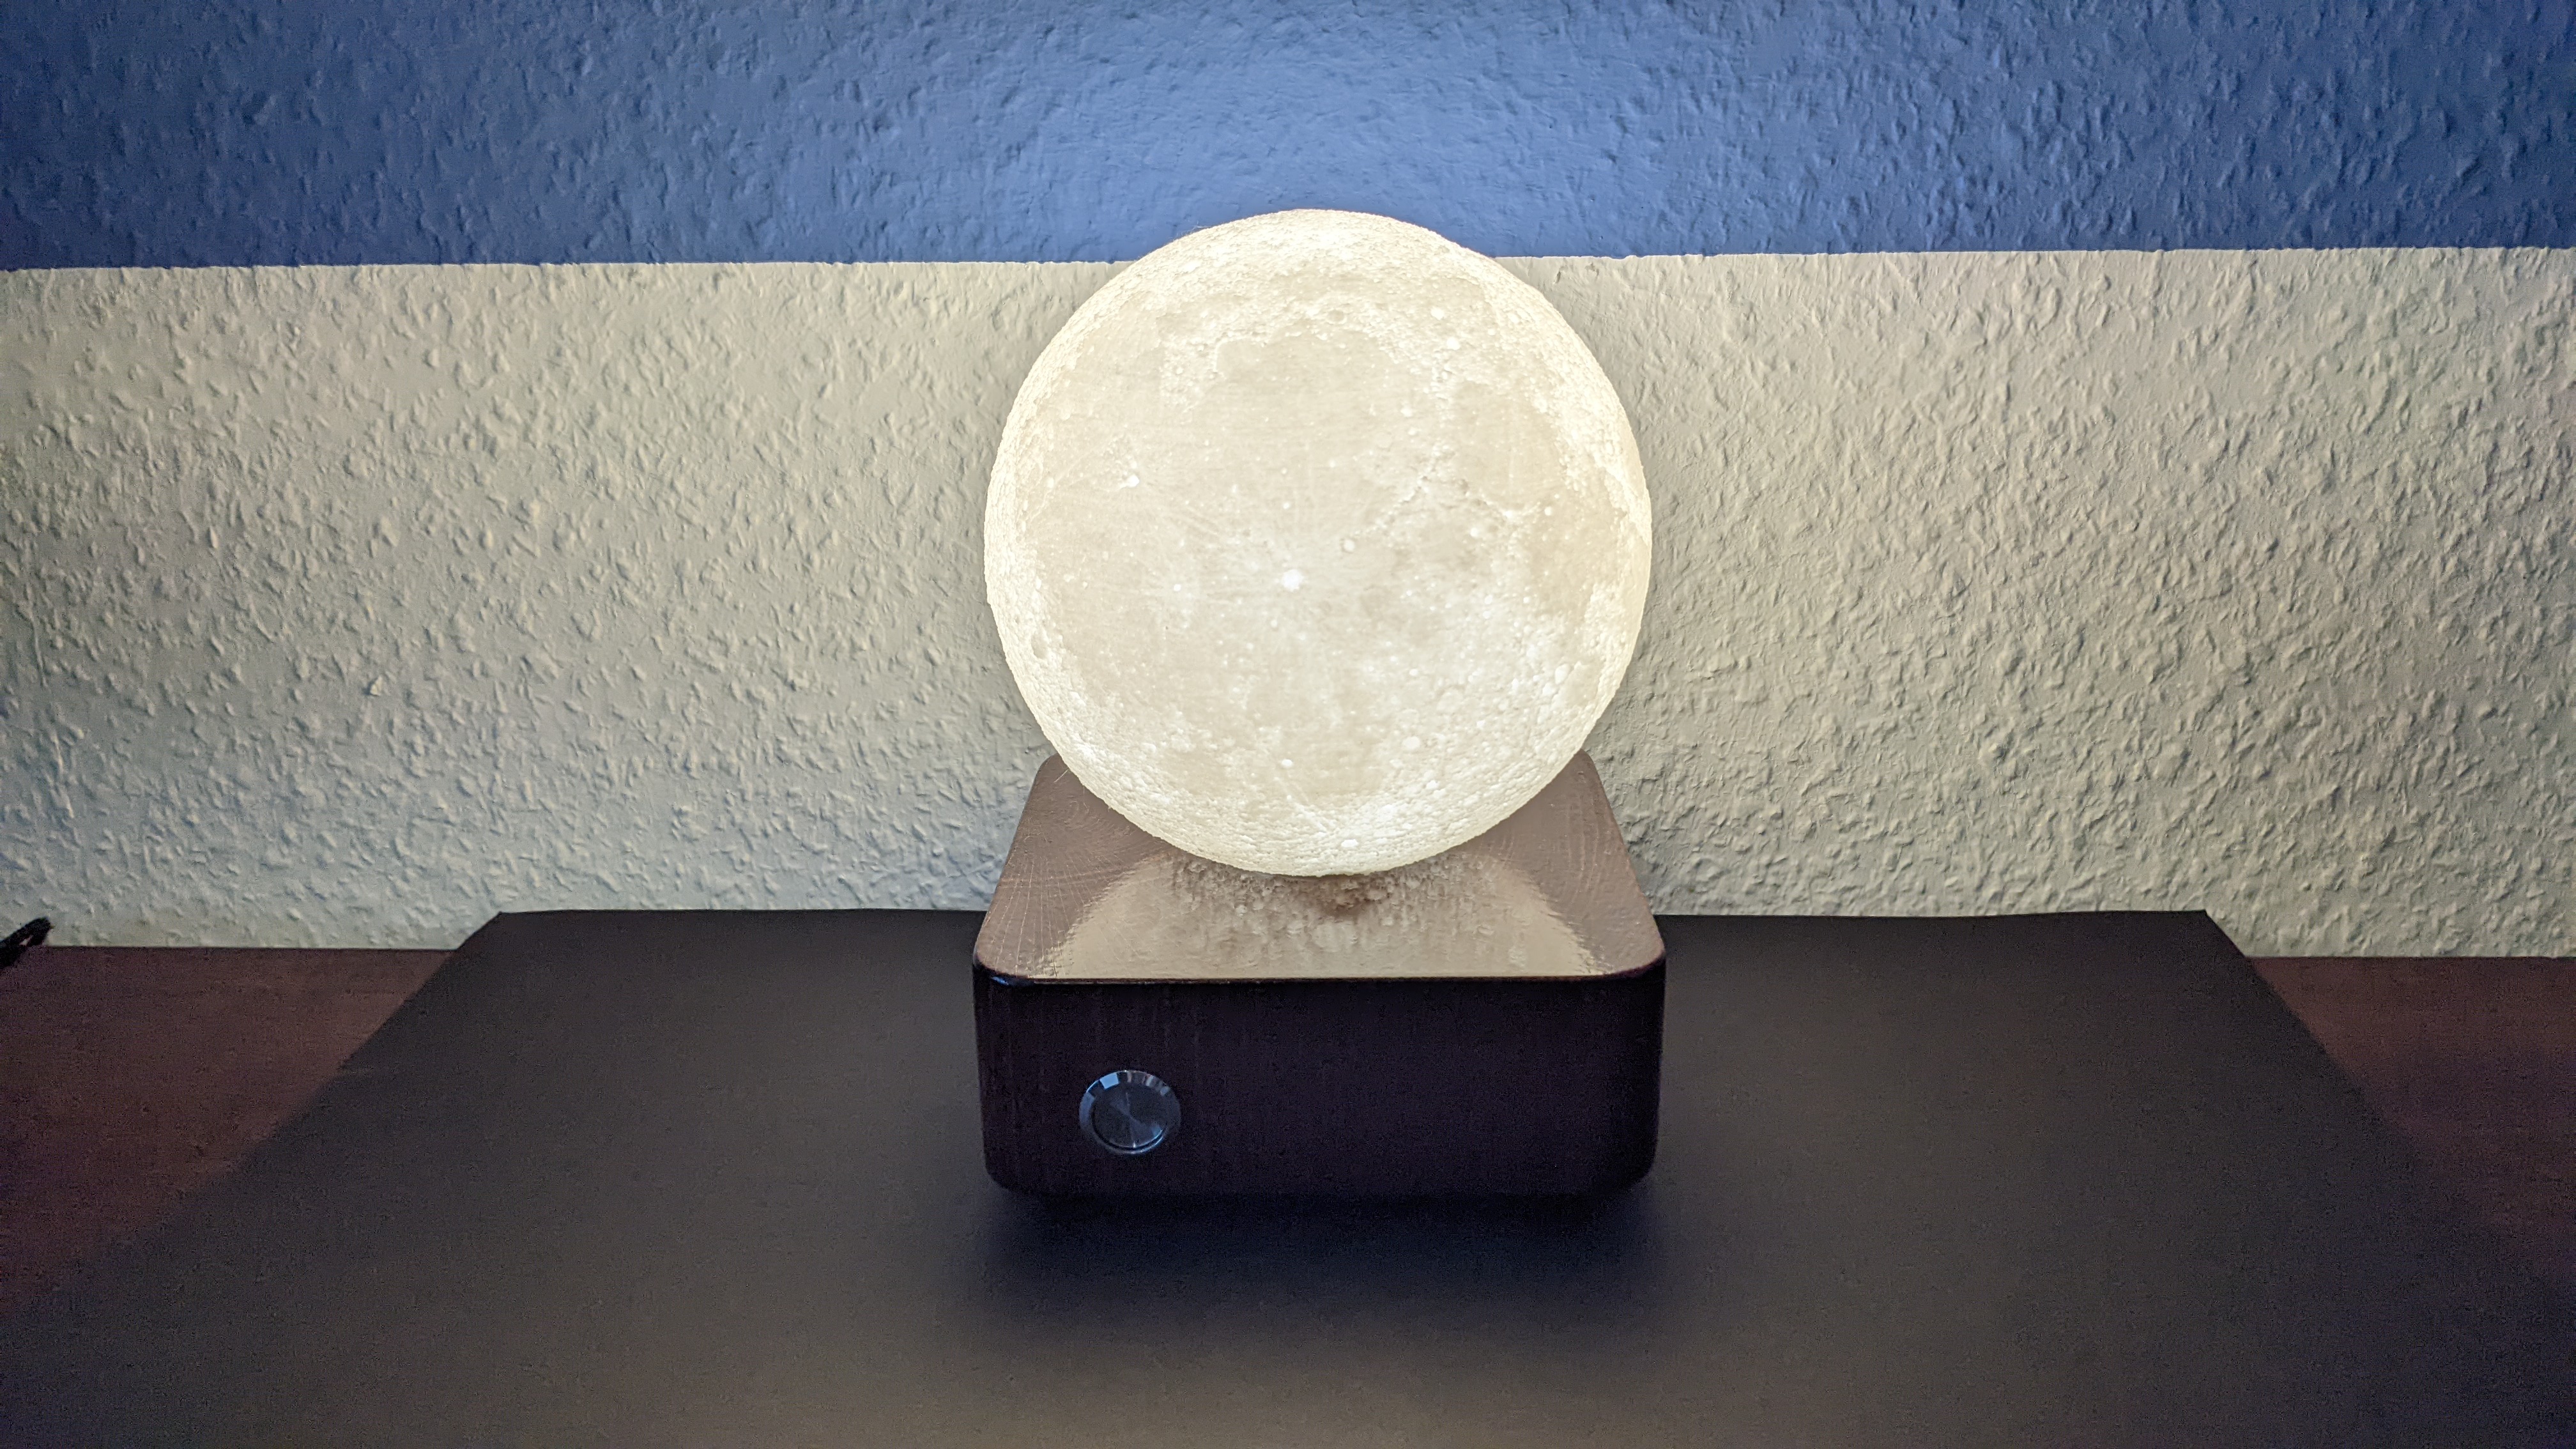
Money shot
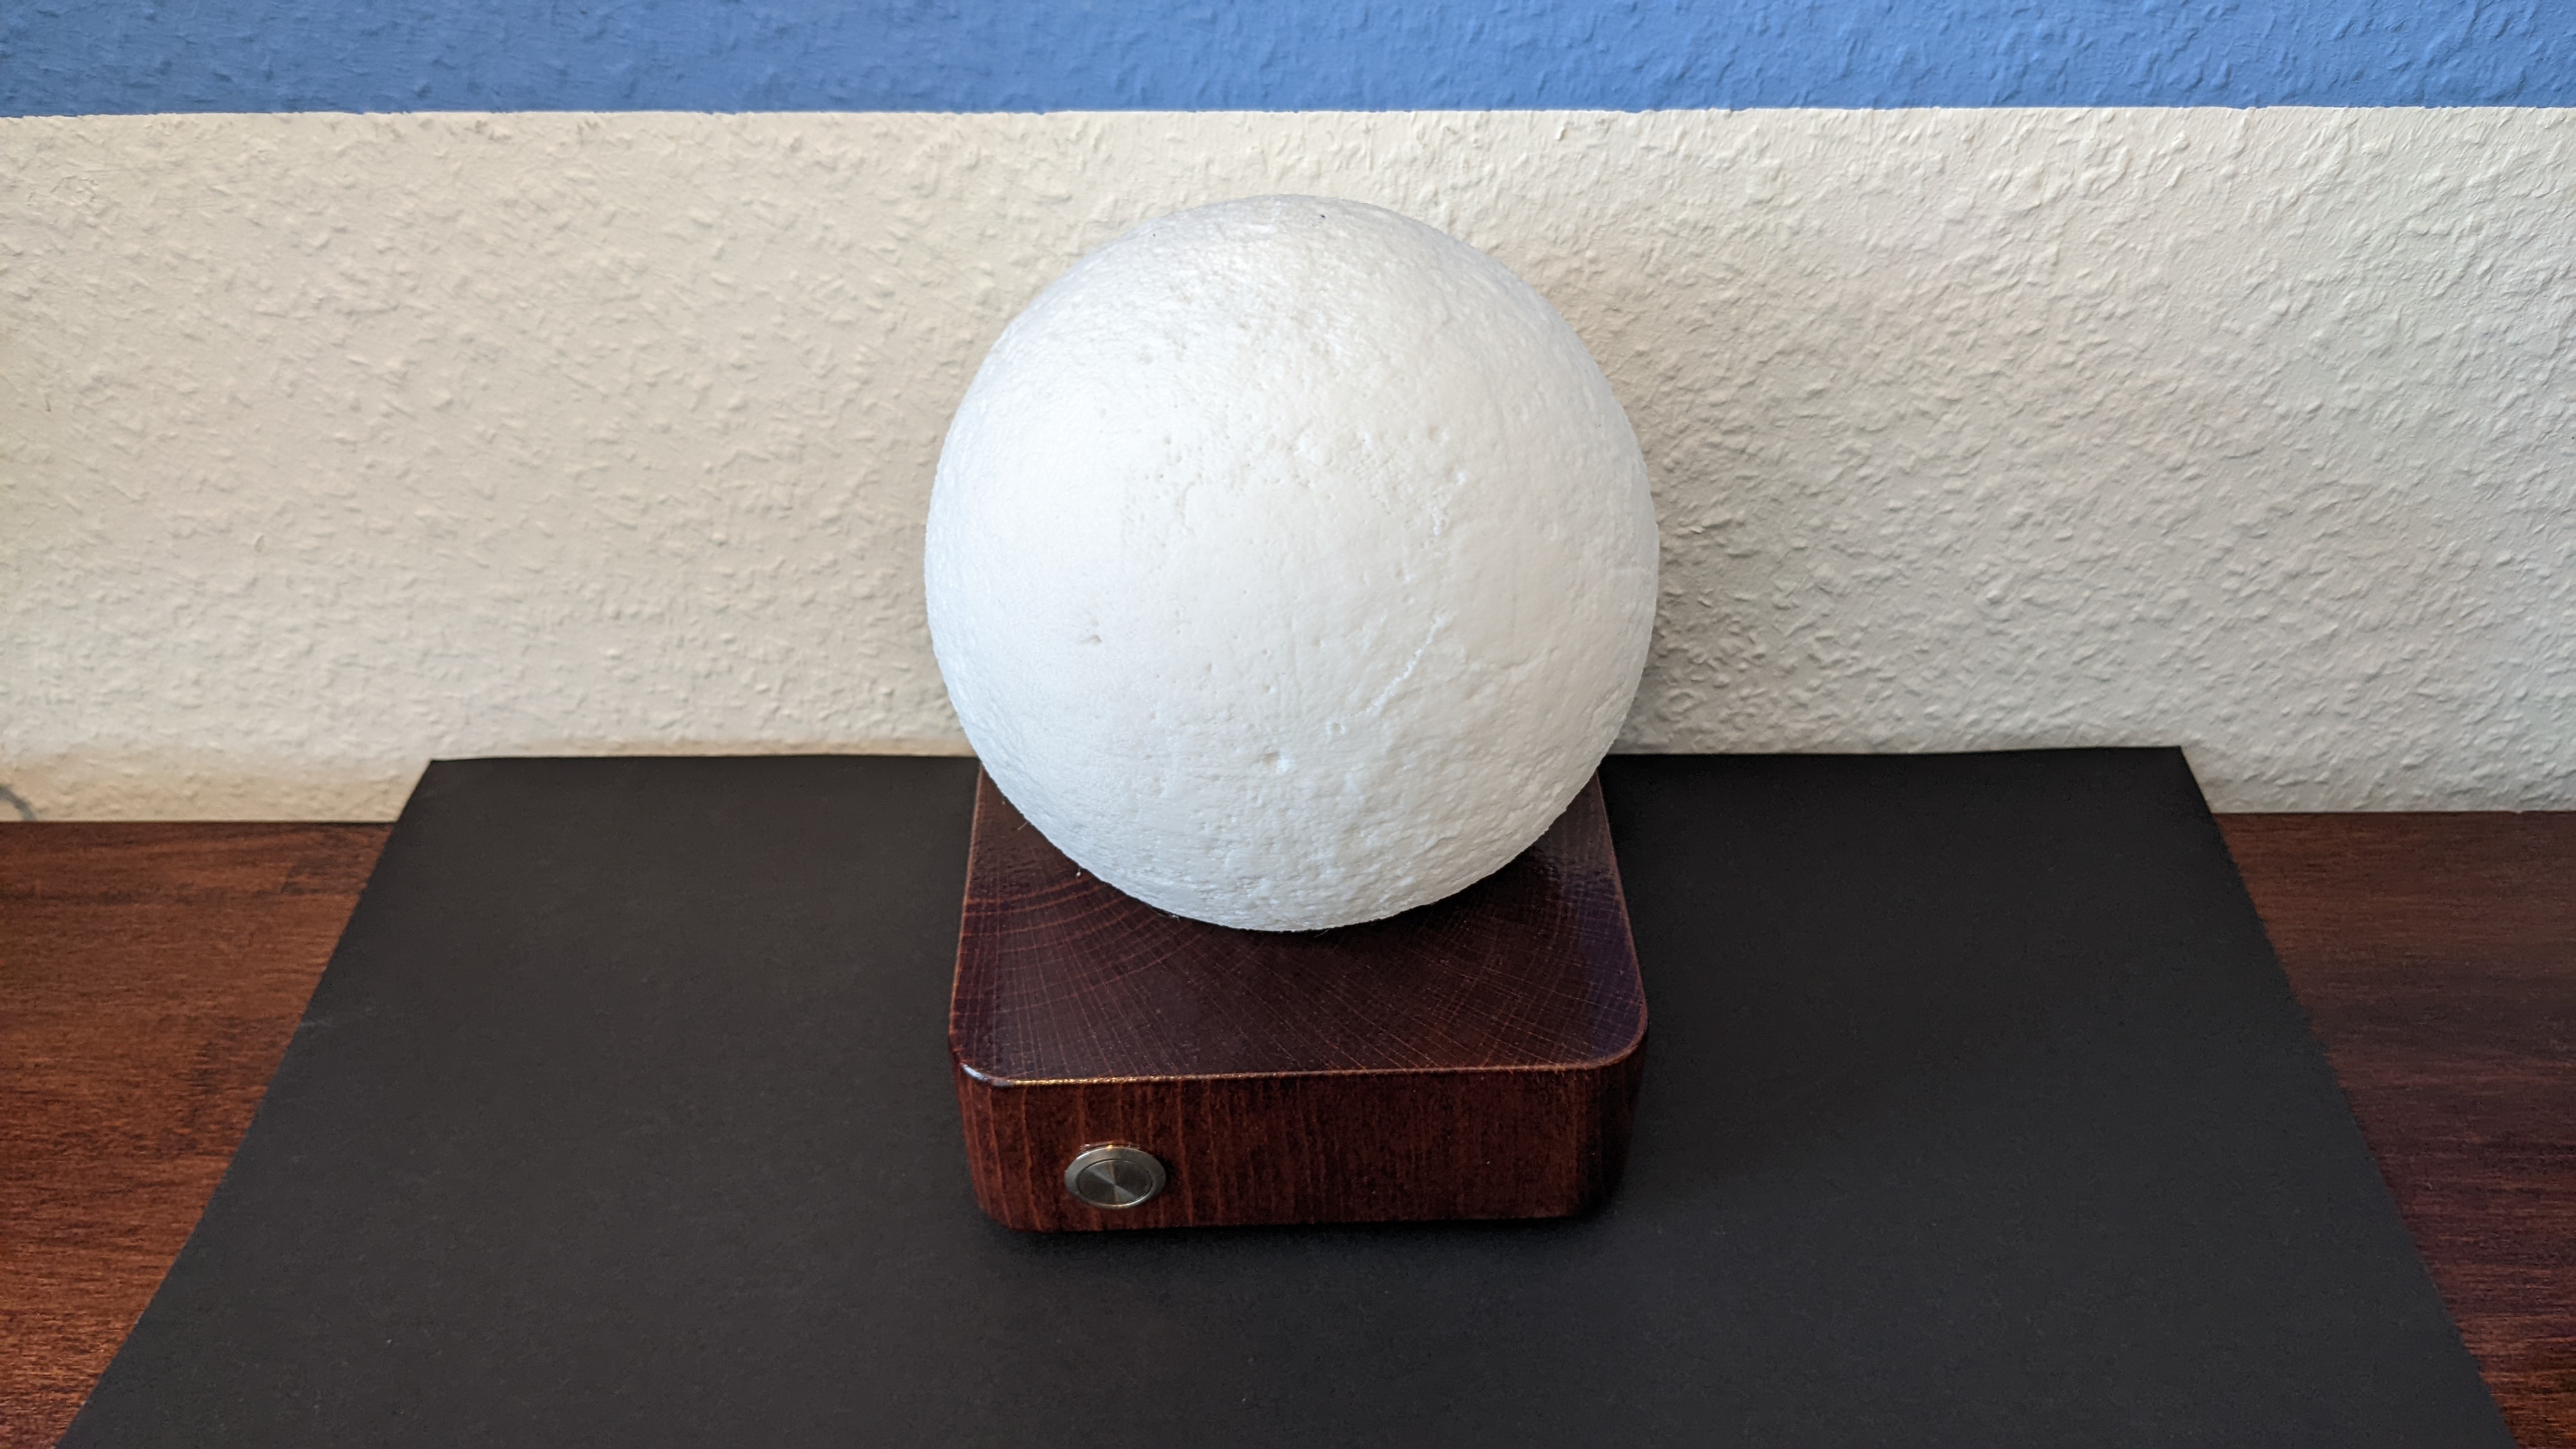
The white balance is a bit off. The moon is much more yellow than it seems.

