Im using this project to get my feet wet with hardware programing/designing. The macropad is only a precursor to a fully fletched 105 key Keyboard
To-Do list
- Design the PCB
- Gather all electronic components
- Get the PCB manufactured
- Design the faceplate/shell for the macropad
- Solder the Switches and Diodes
- Assemble everything
- Write the C# companion program
Features
- Fully customizable via C# companion program
- Works without the companion program with OBS etc. just assign the
F13-F24 buttons to the desired function
Update 26.02.2021
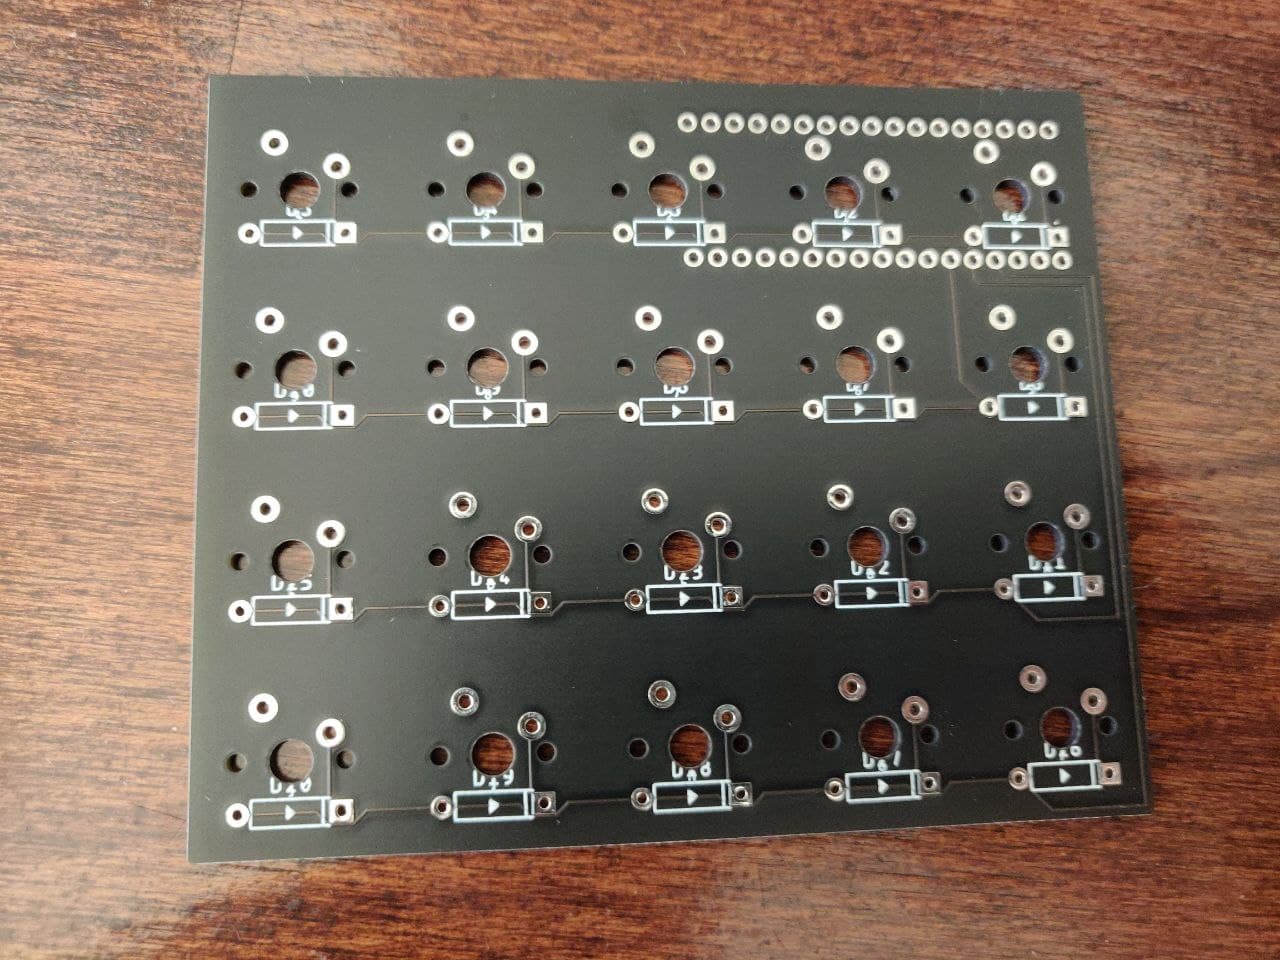
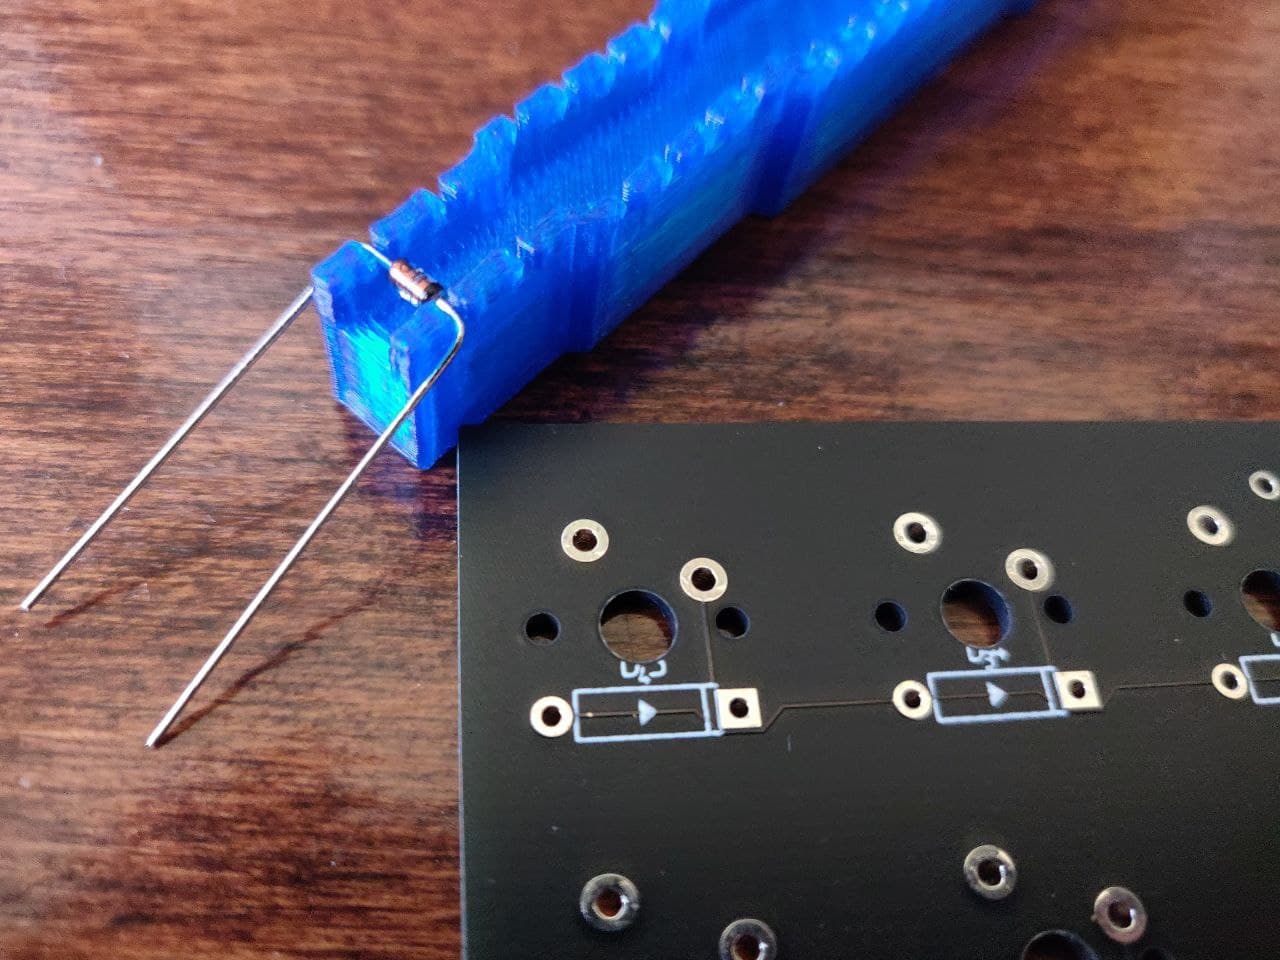
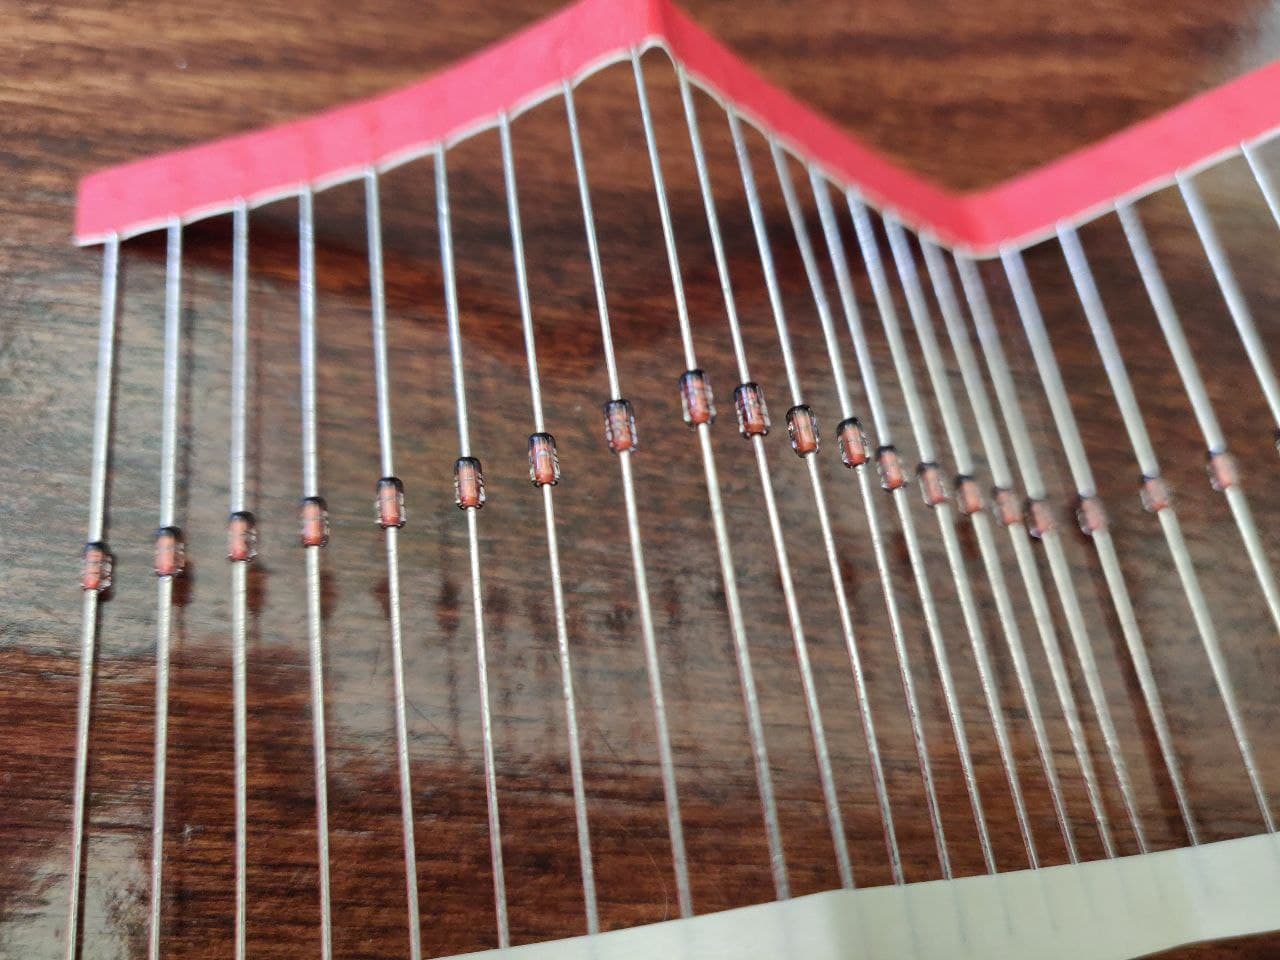
I designed the PCB in Autodesk Fusion Eagle and send it to JLCPCB to get them manufactured. They did a fantastic job but I screwed up.
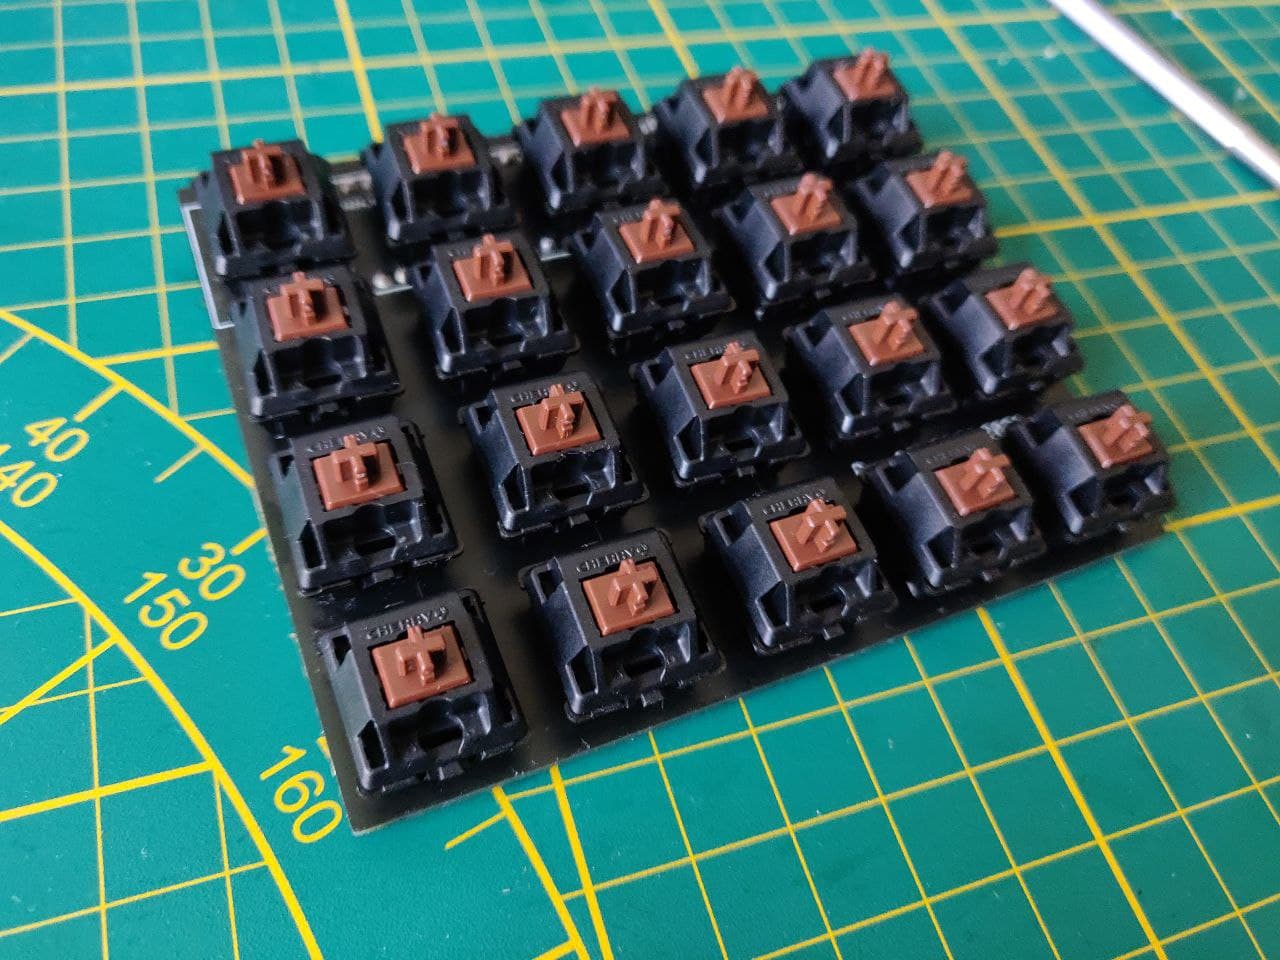
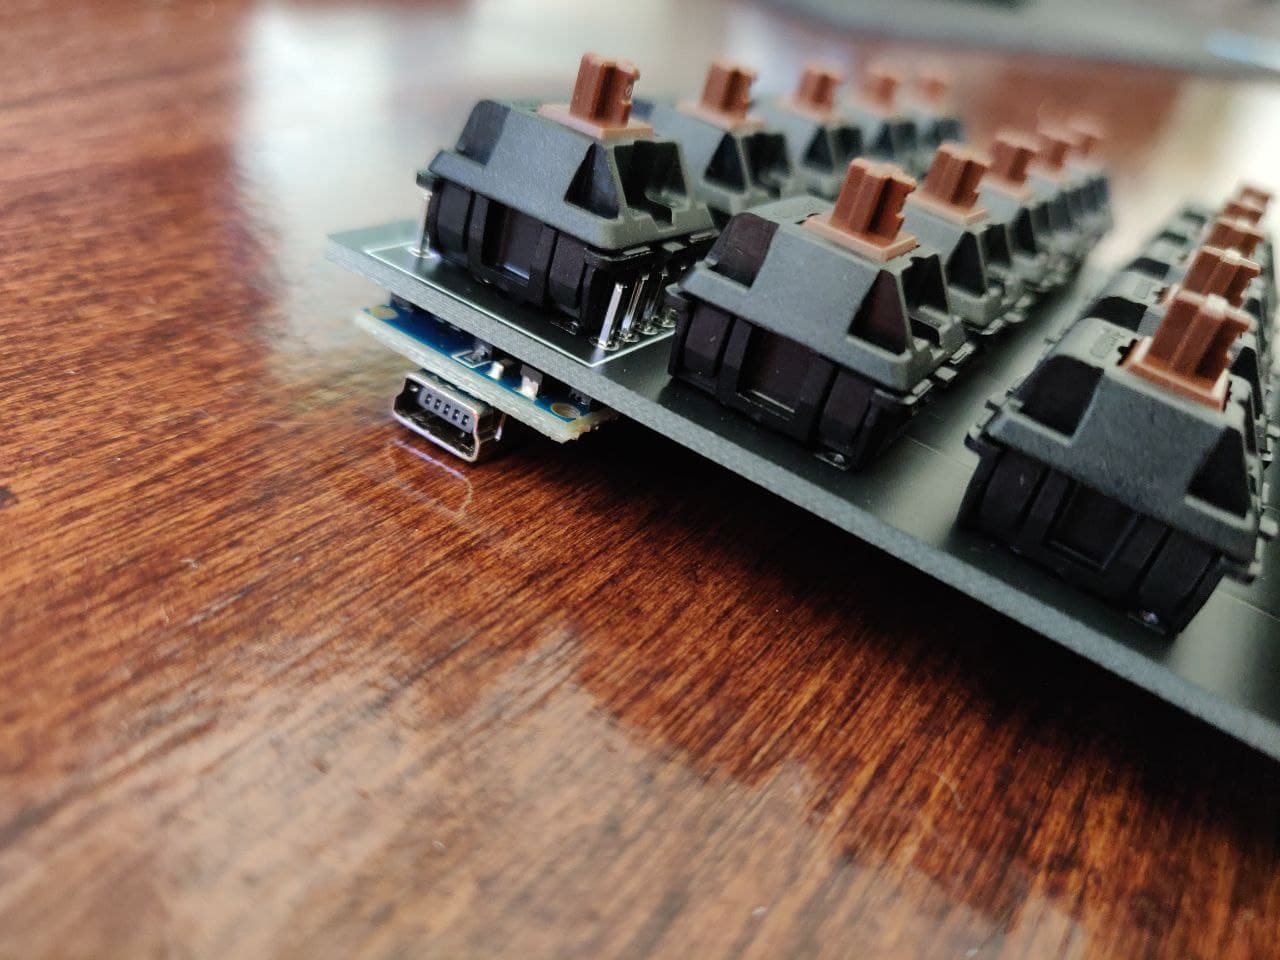
I got the PCB after 8 business days from China to Germany only to discover that I designed my switchmatrix completly wrong.
Update 10.03.2021
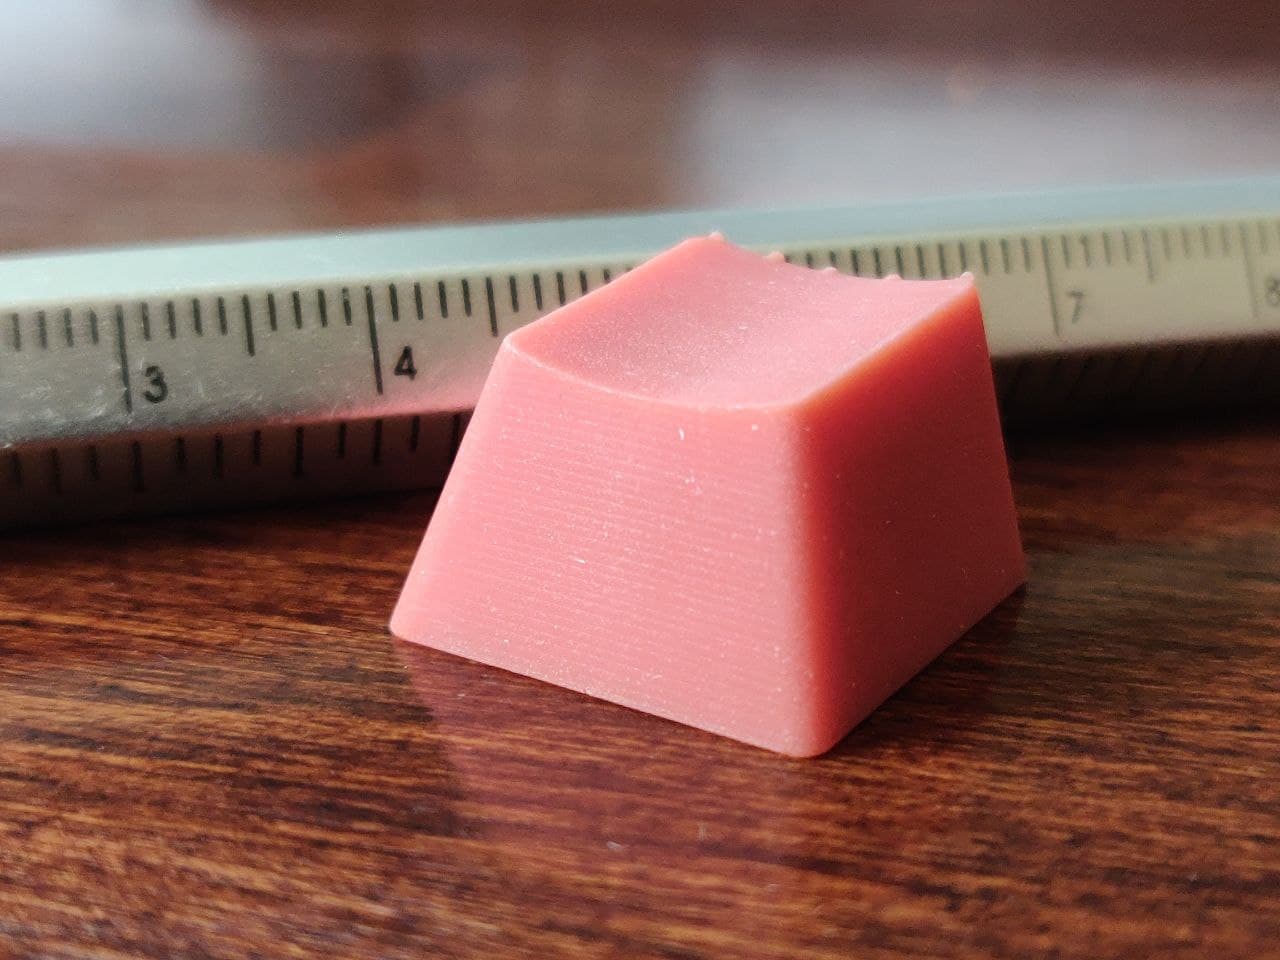
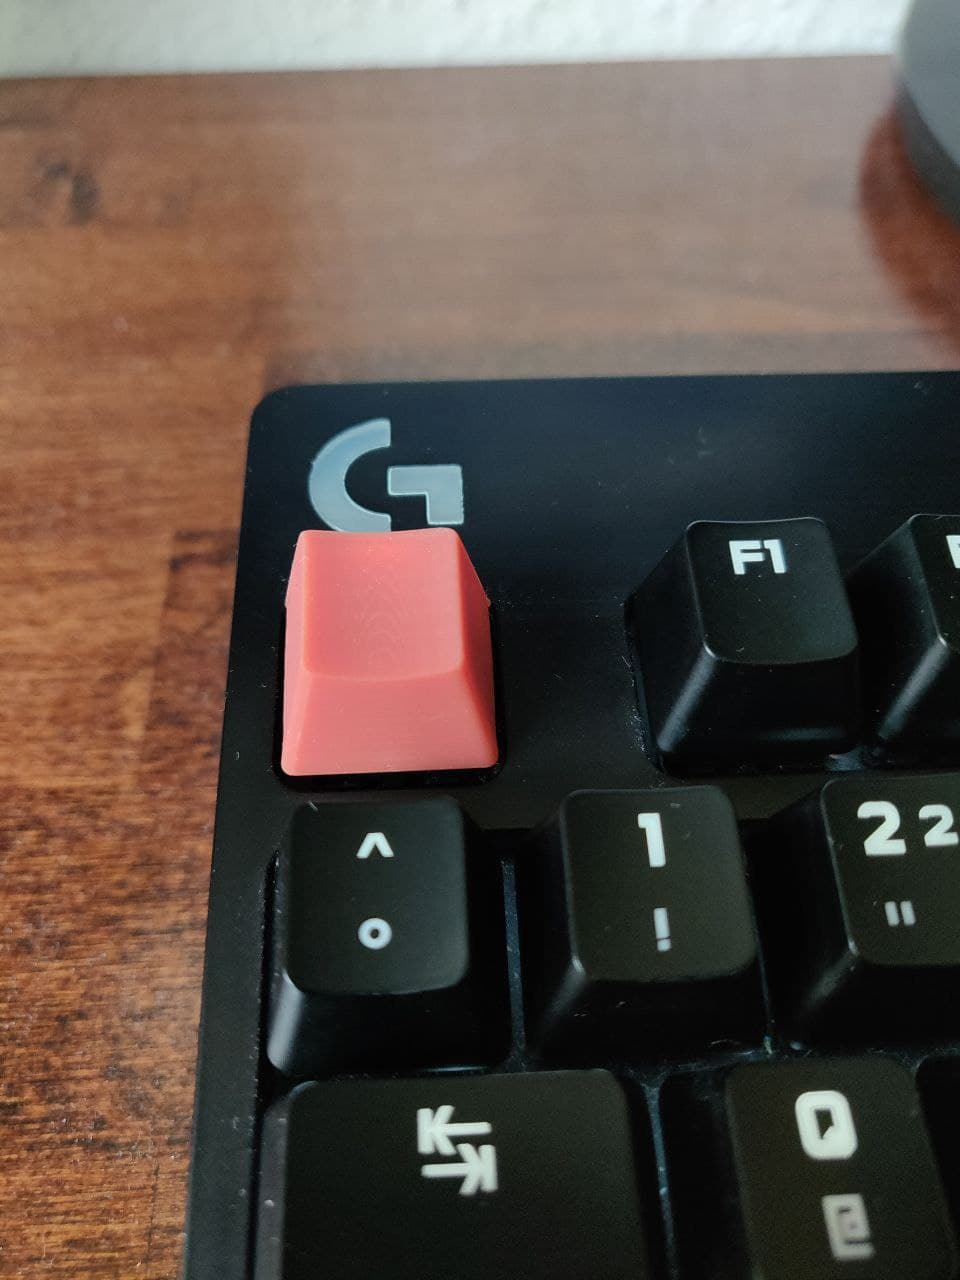
I made the decision to switch away from a switchmatrix - for now - and downgrade to 12 keys so that my arduino could handle all inputs via its own pin. Simultaneously I scouted the internet for some cherry keycaps but could not found any. Almost everything was sold out or really overpriced. So I went ahead and printed my own keycaps with my Anycubic Photon SLA printer.
Update 22.03.2021
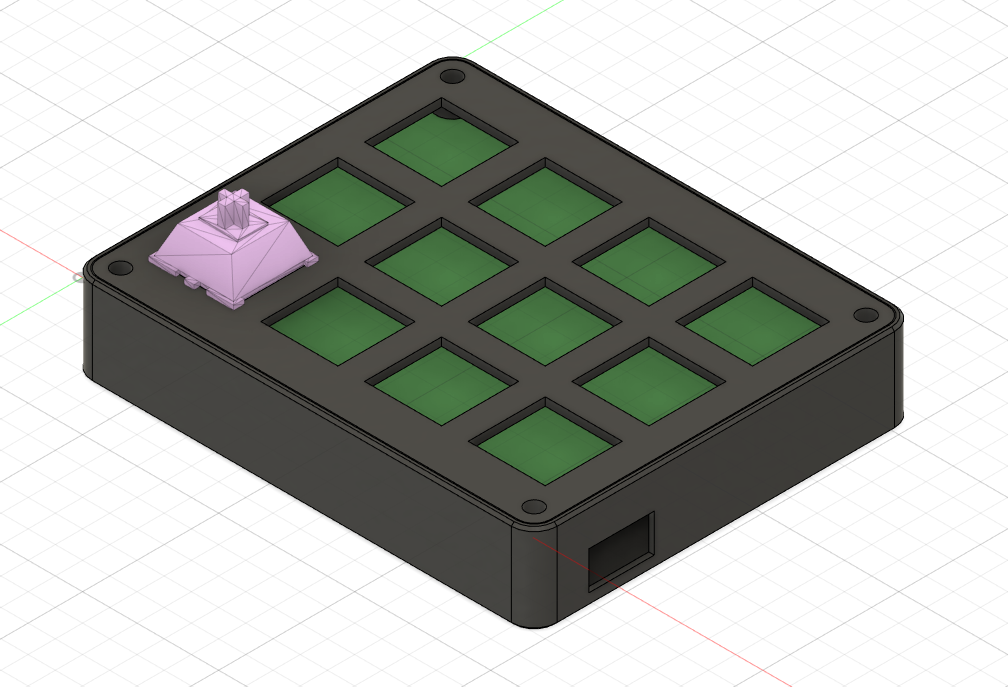
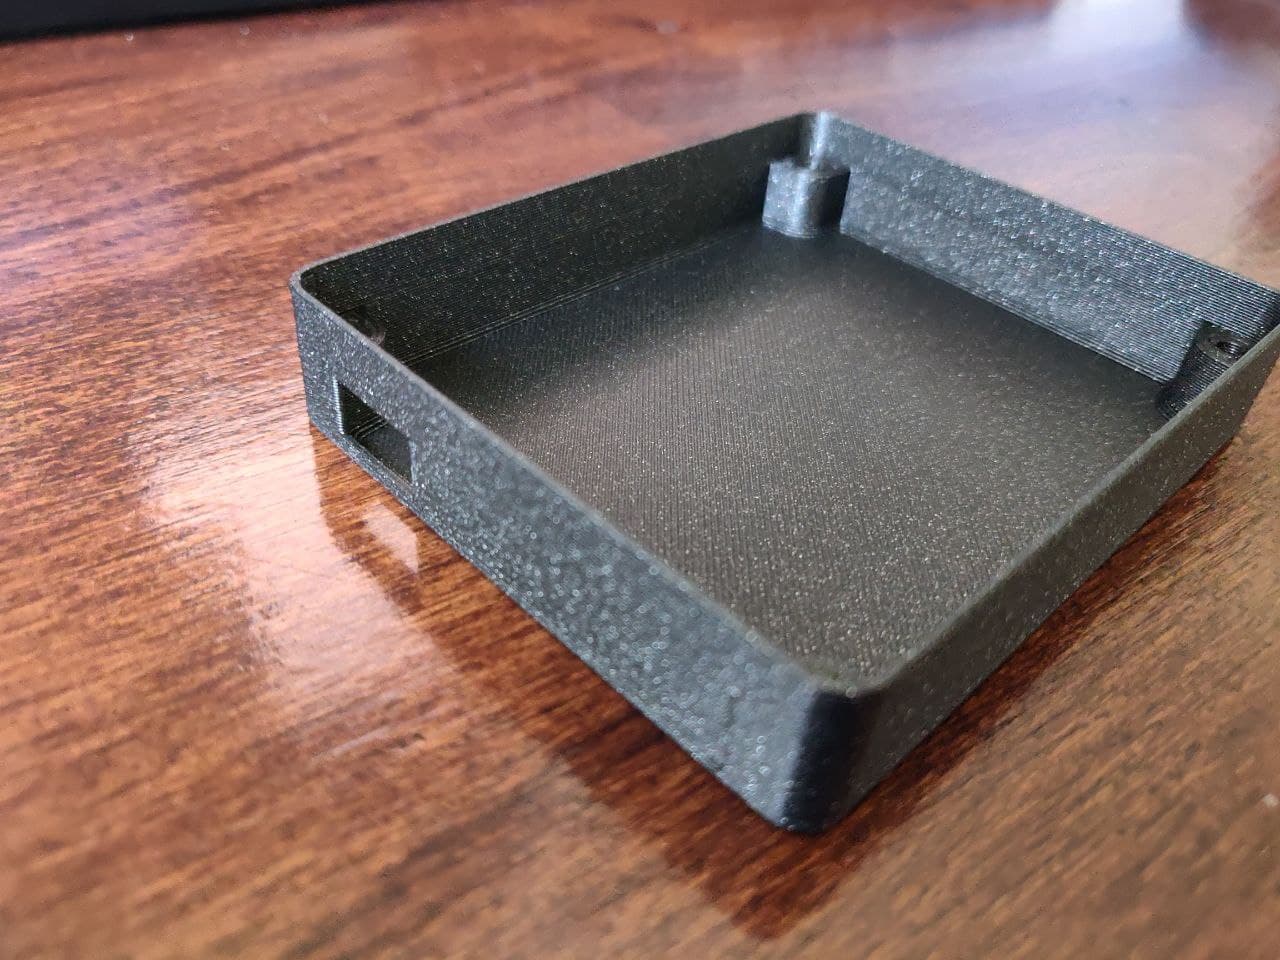
Time to design a new 3D model in Fusion360 and send it to my FDM printer.
Update 24.03.2021
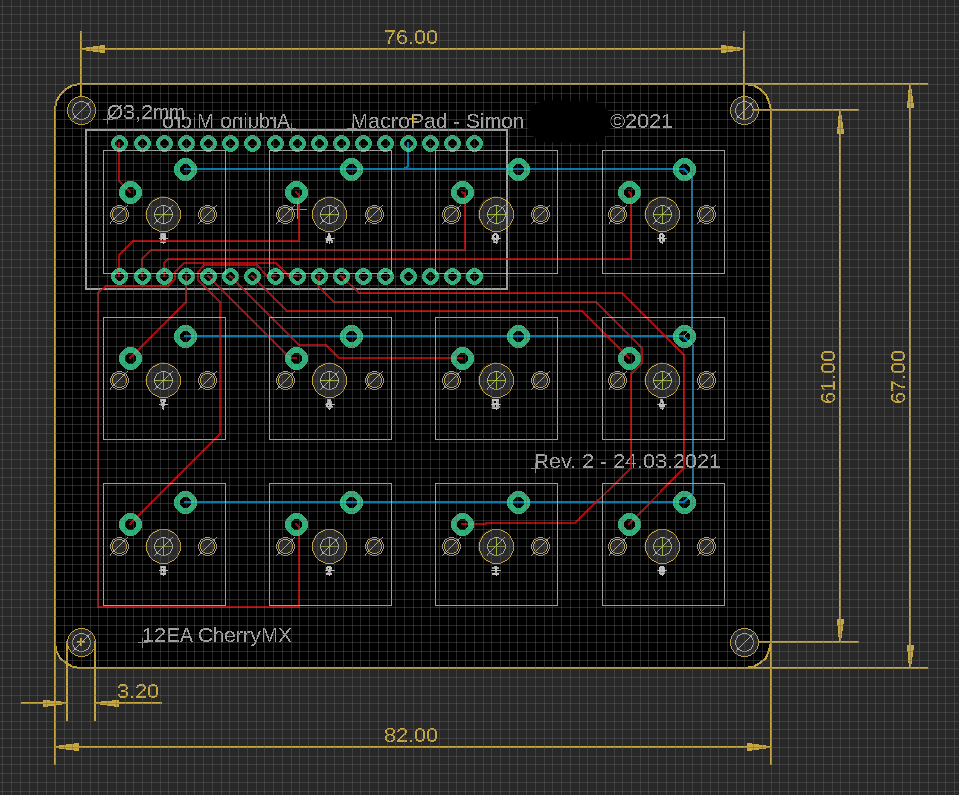
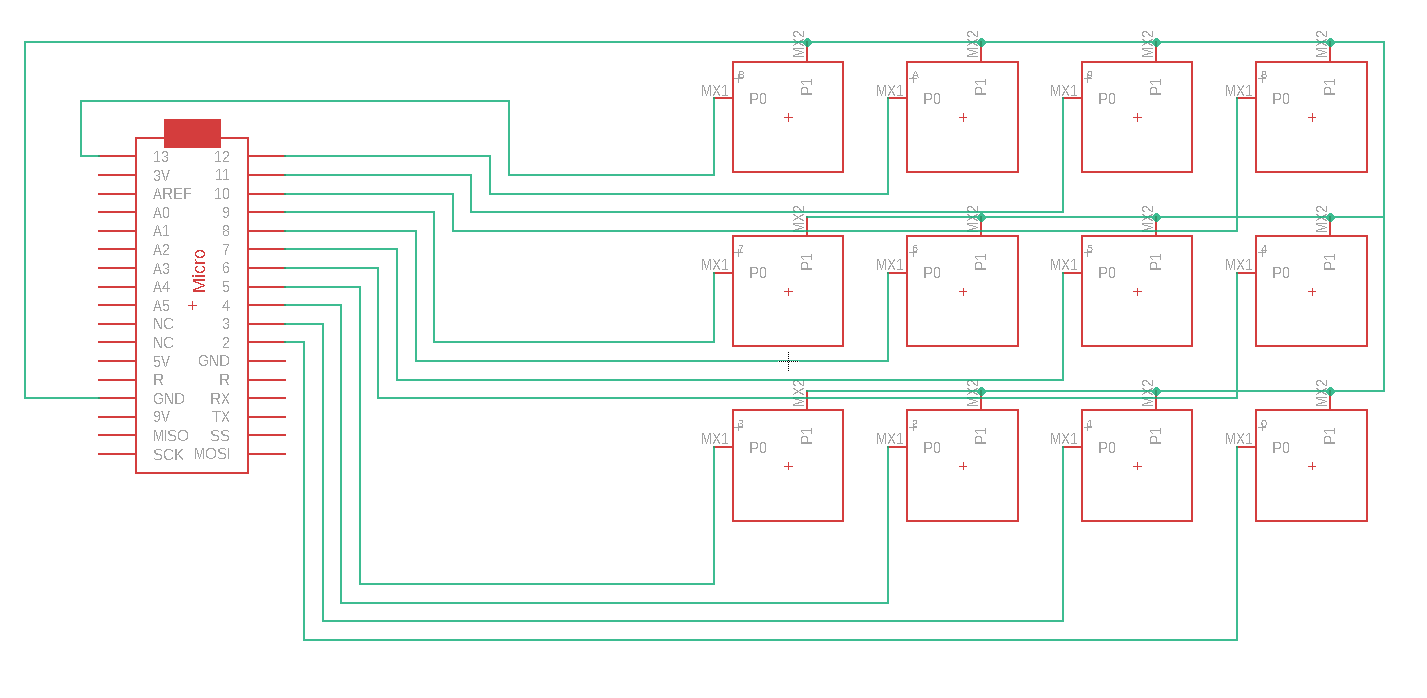
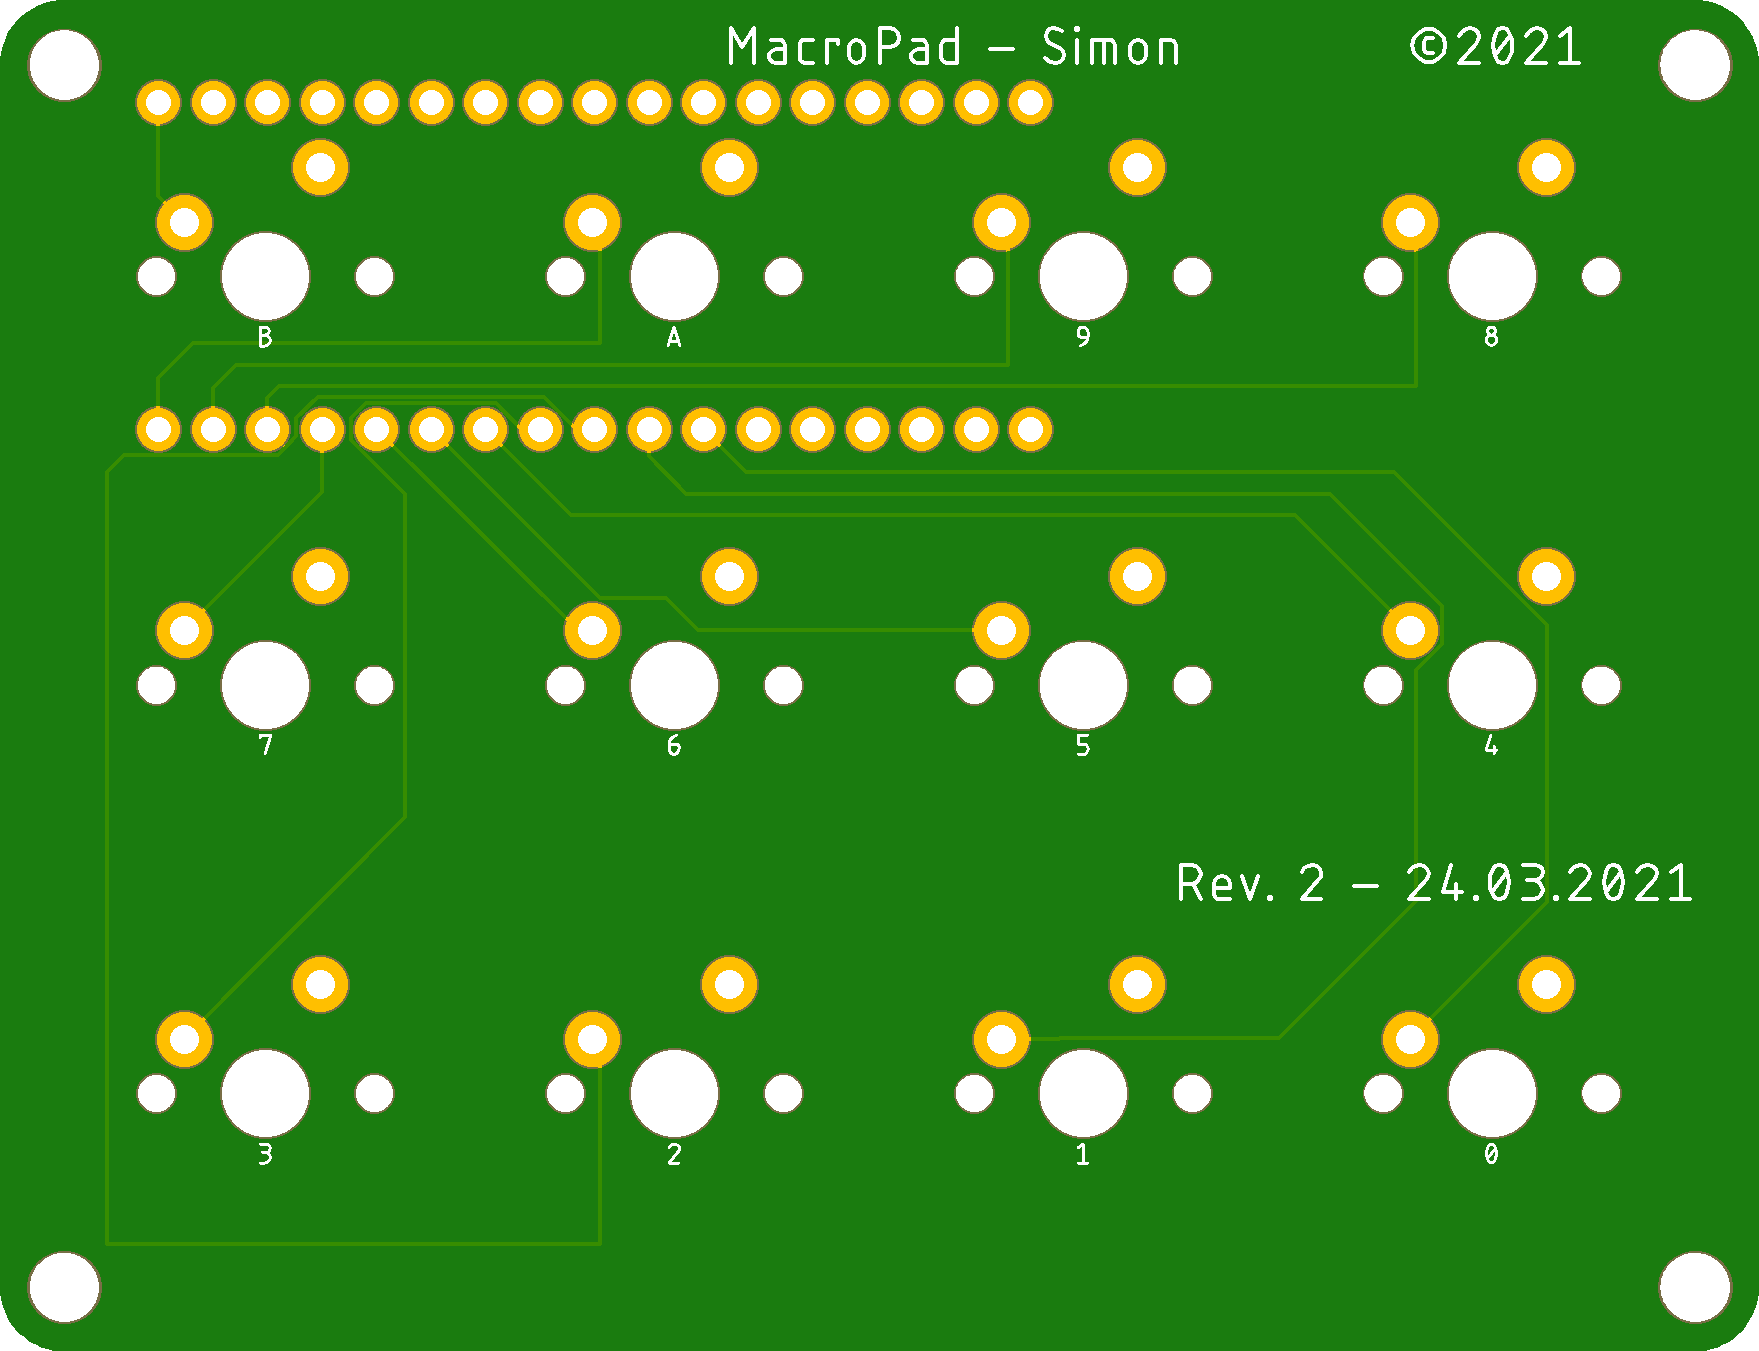
Revision 2 of the Macro keypad - this time only with 12 keys.
I went ahead and completely redesigned the PCB in Eagle. I changed the Arduino footprint to a genuine Arduino micro, because the "3rd party" Arduino could not handle the keystrokes that well. Also, I removed the 1N4148 Diodes because they are not longer needed in a configuration where each switch has its own input.
Update 29.03.2021
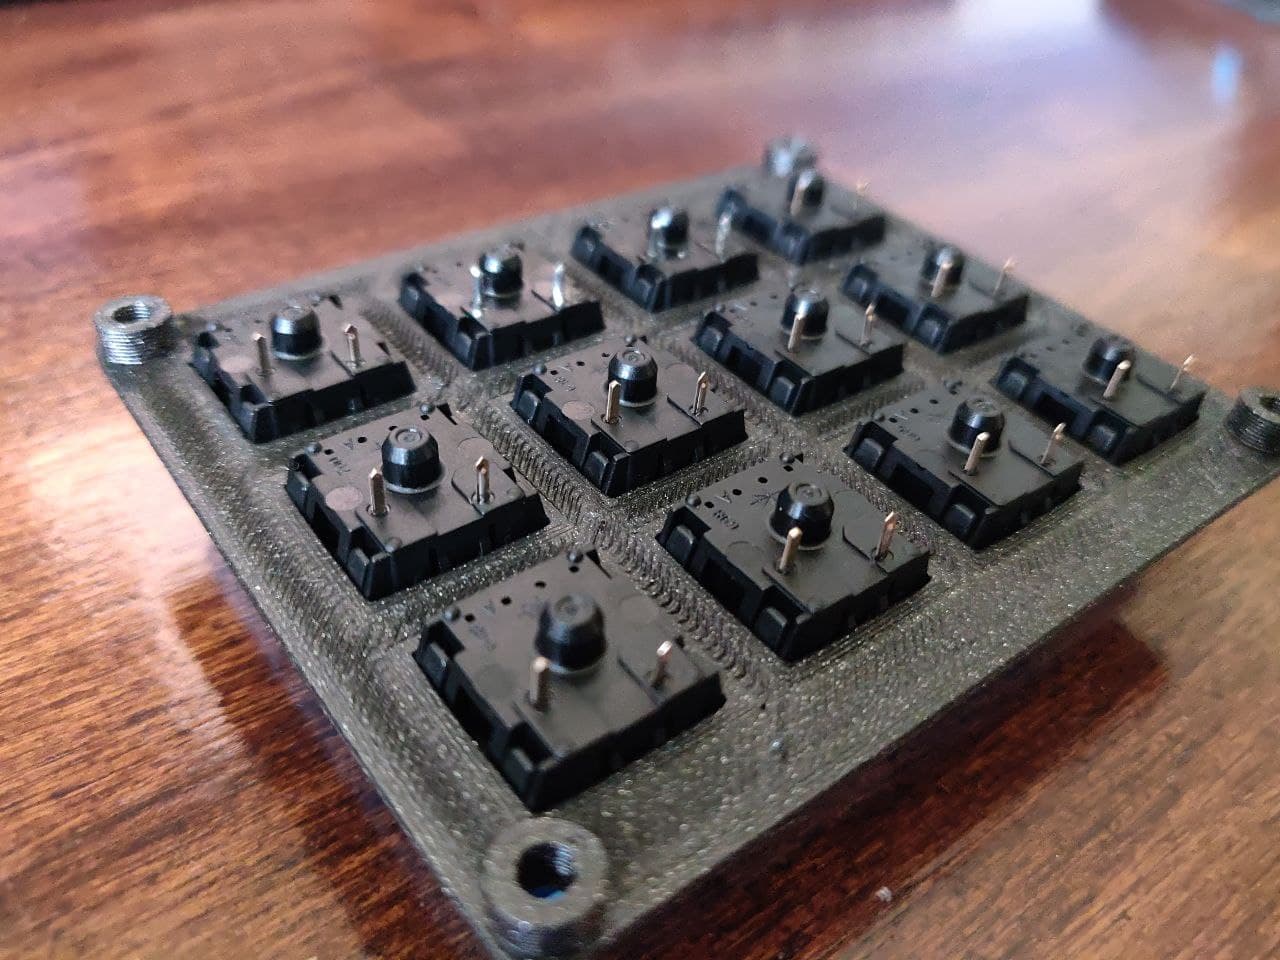
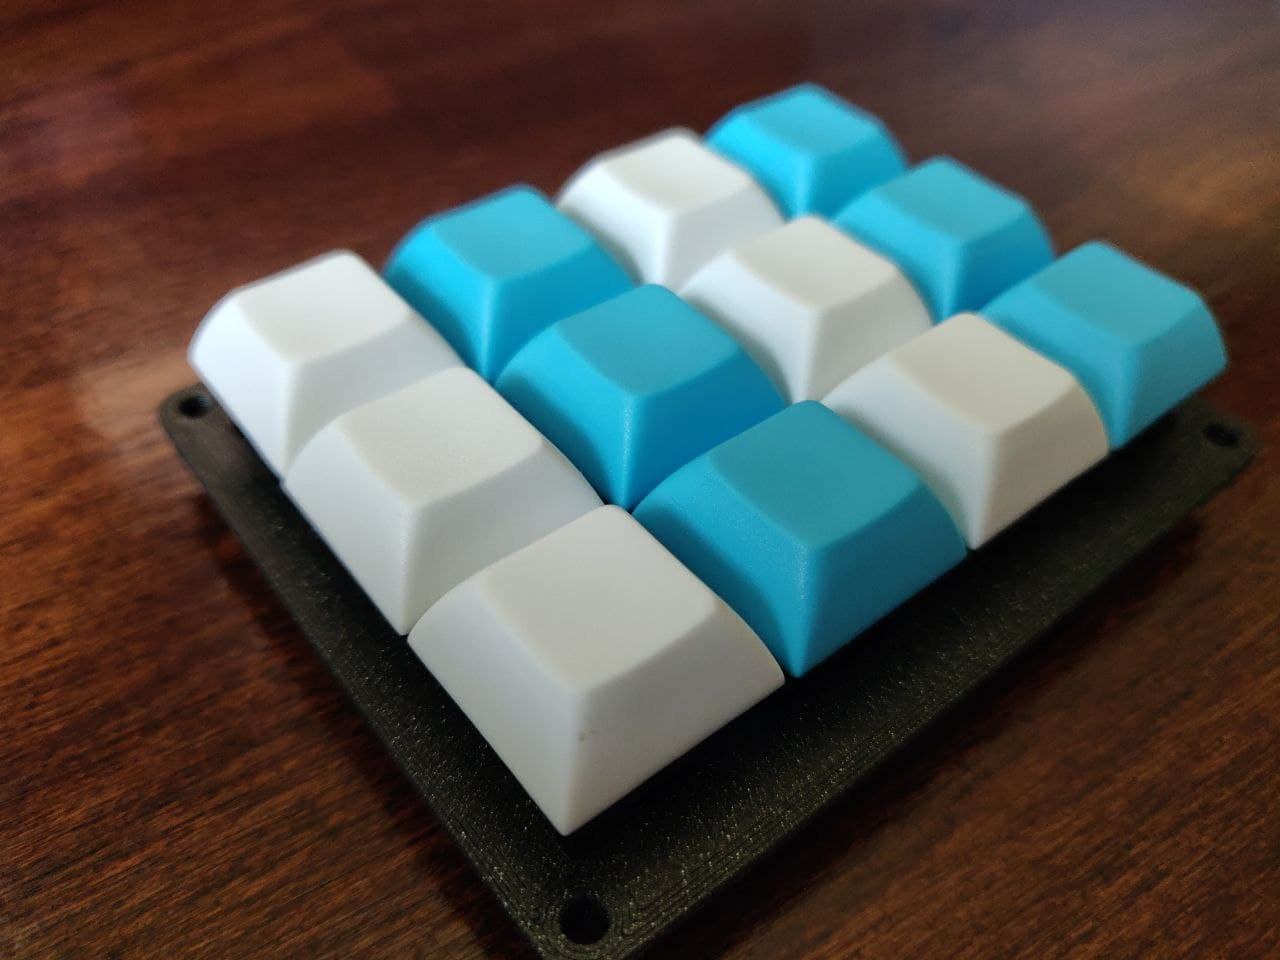
Time to test fit the keys and keycaps I finally found online, while I wait for the PCB.
Update 10.04.2021
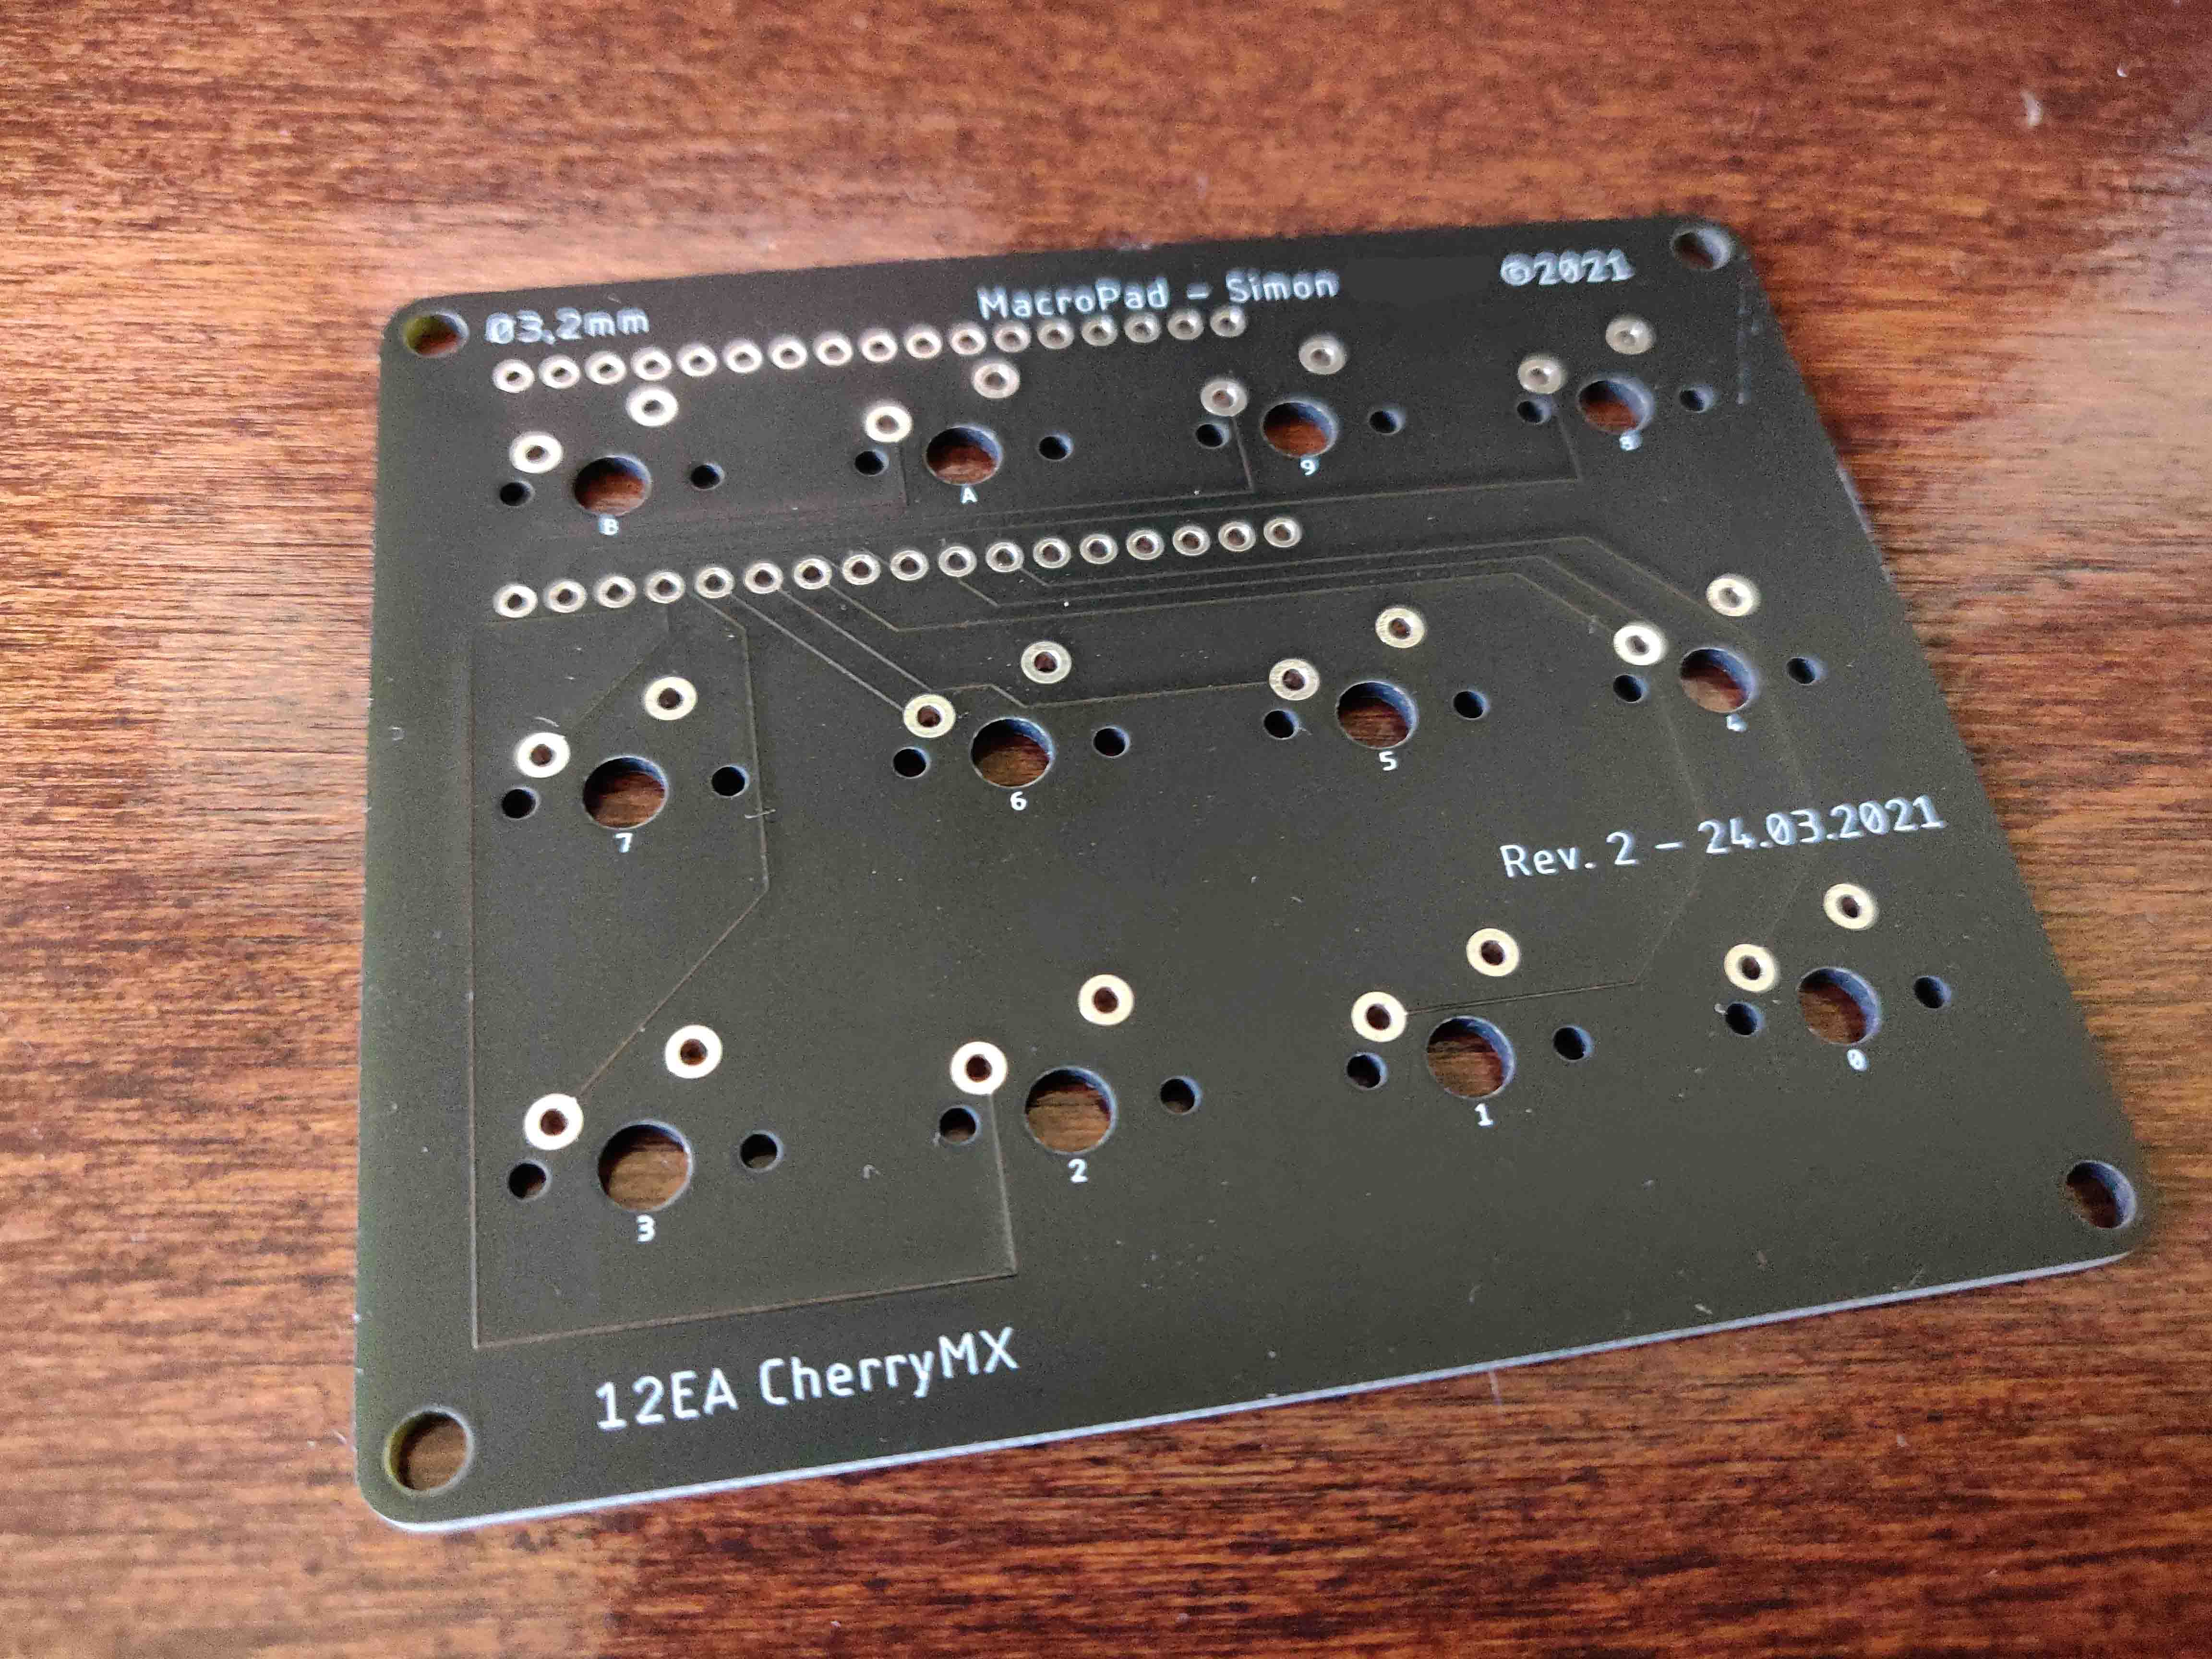
I received the second revision of my PCB, and this time, everything looked fine. Rev. 2 comes with rounded corners and Ø3,2mm mounting holes.
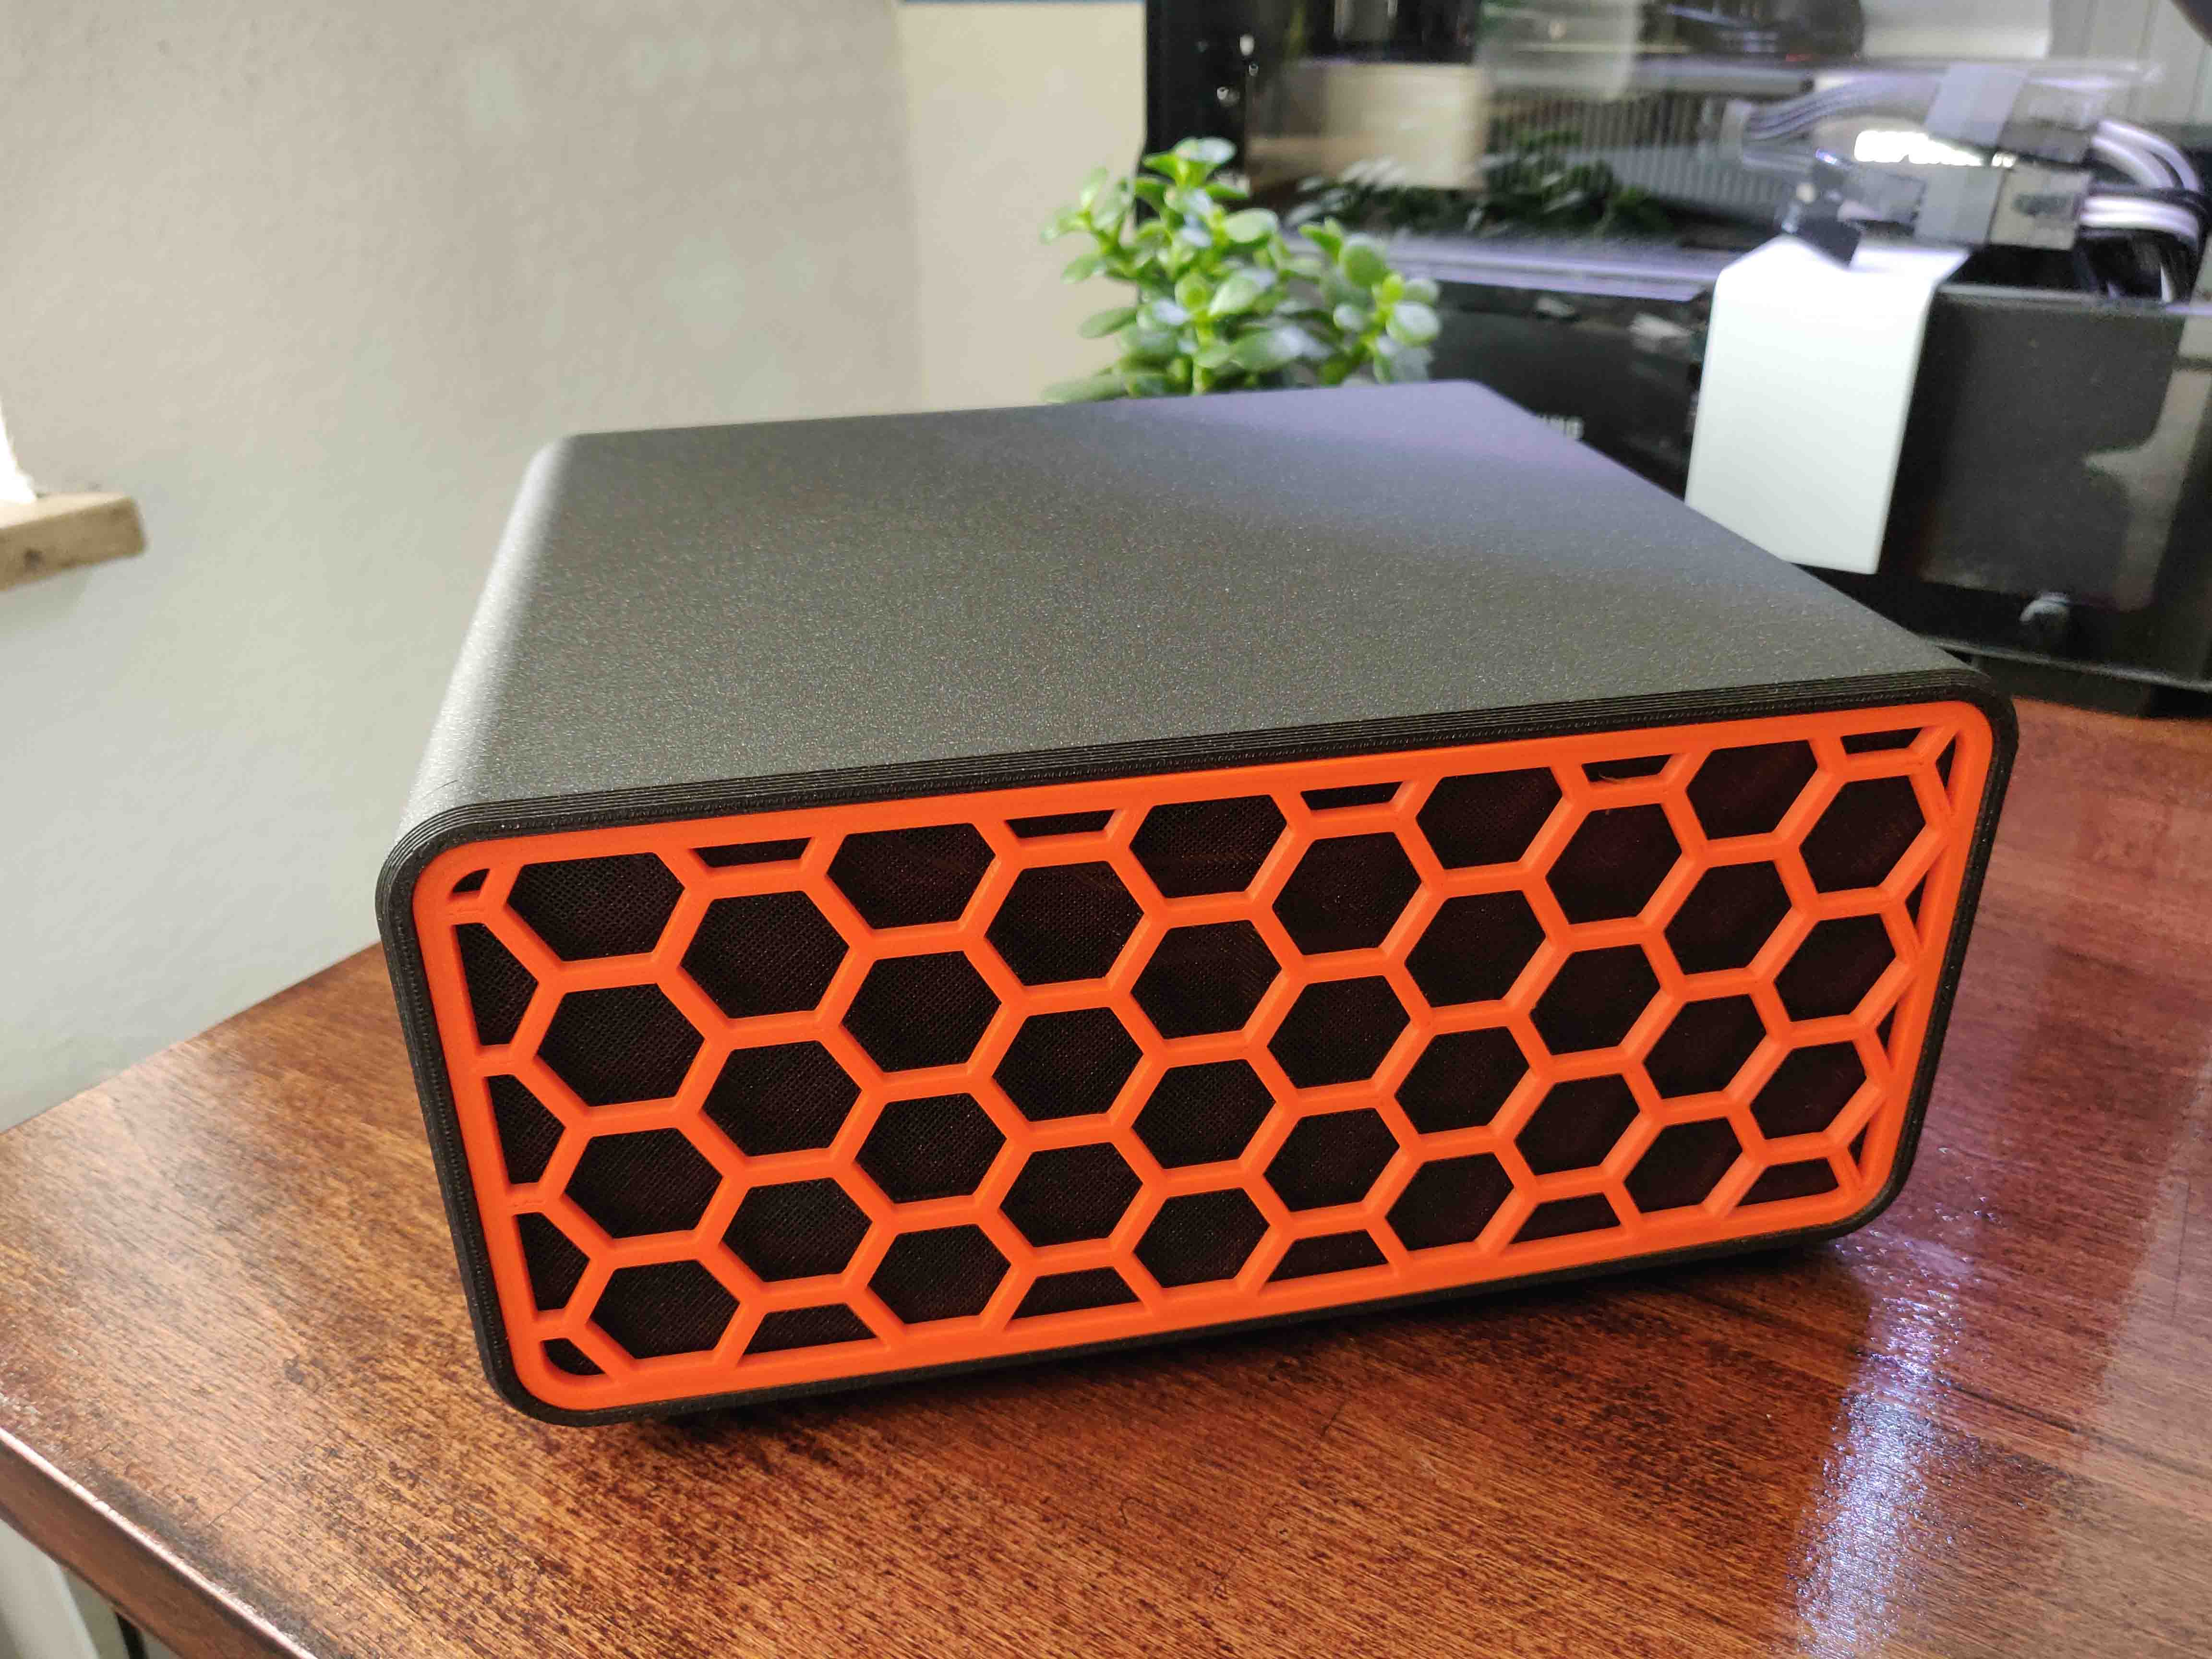
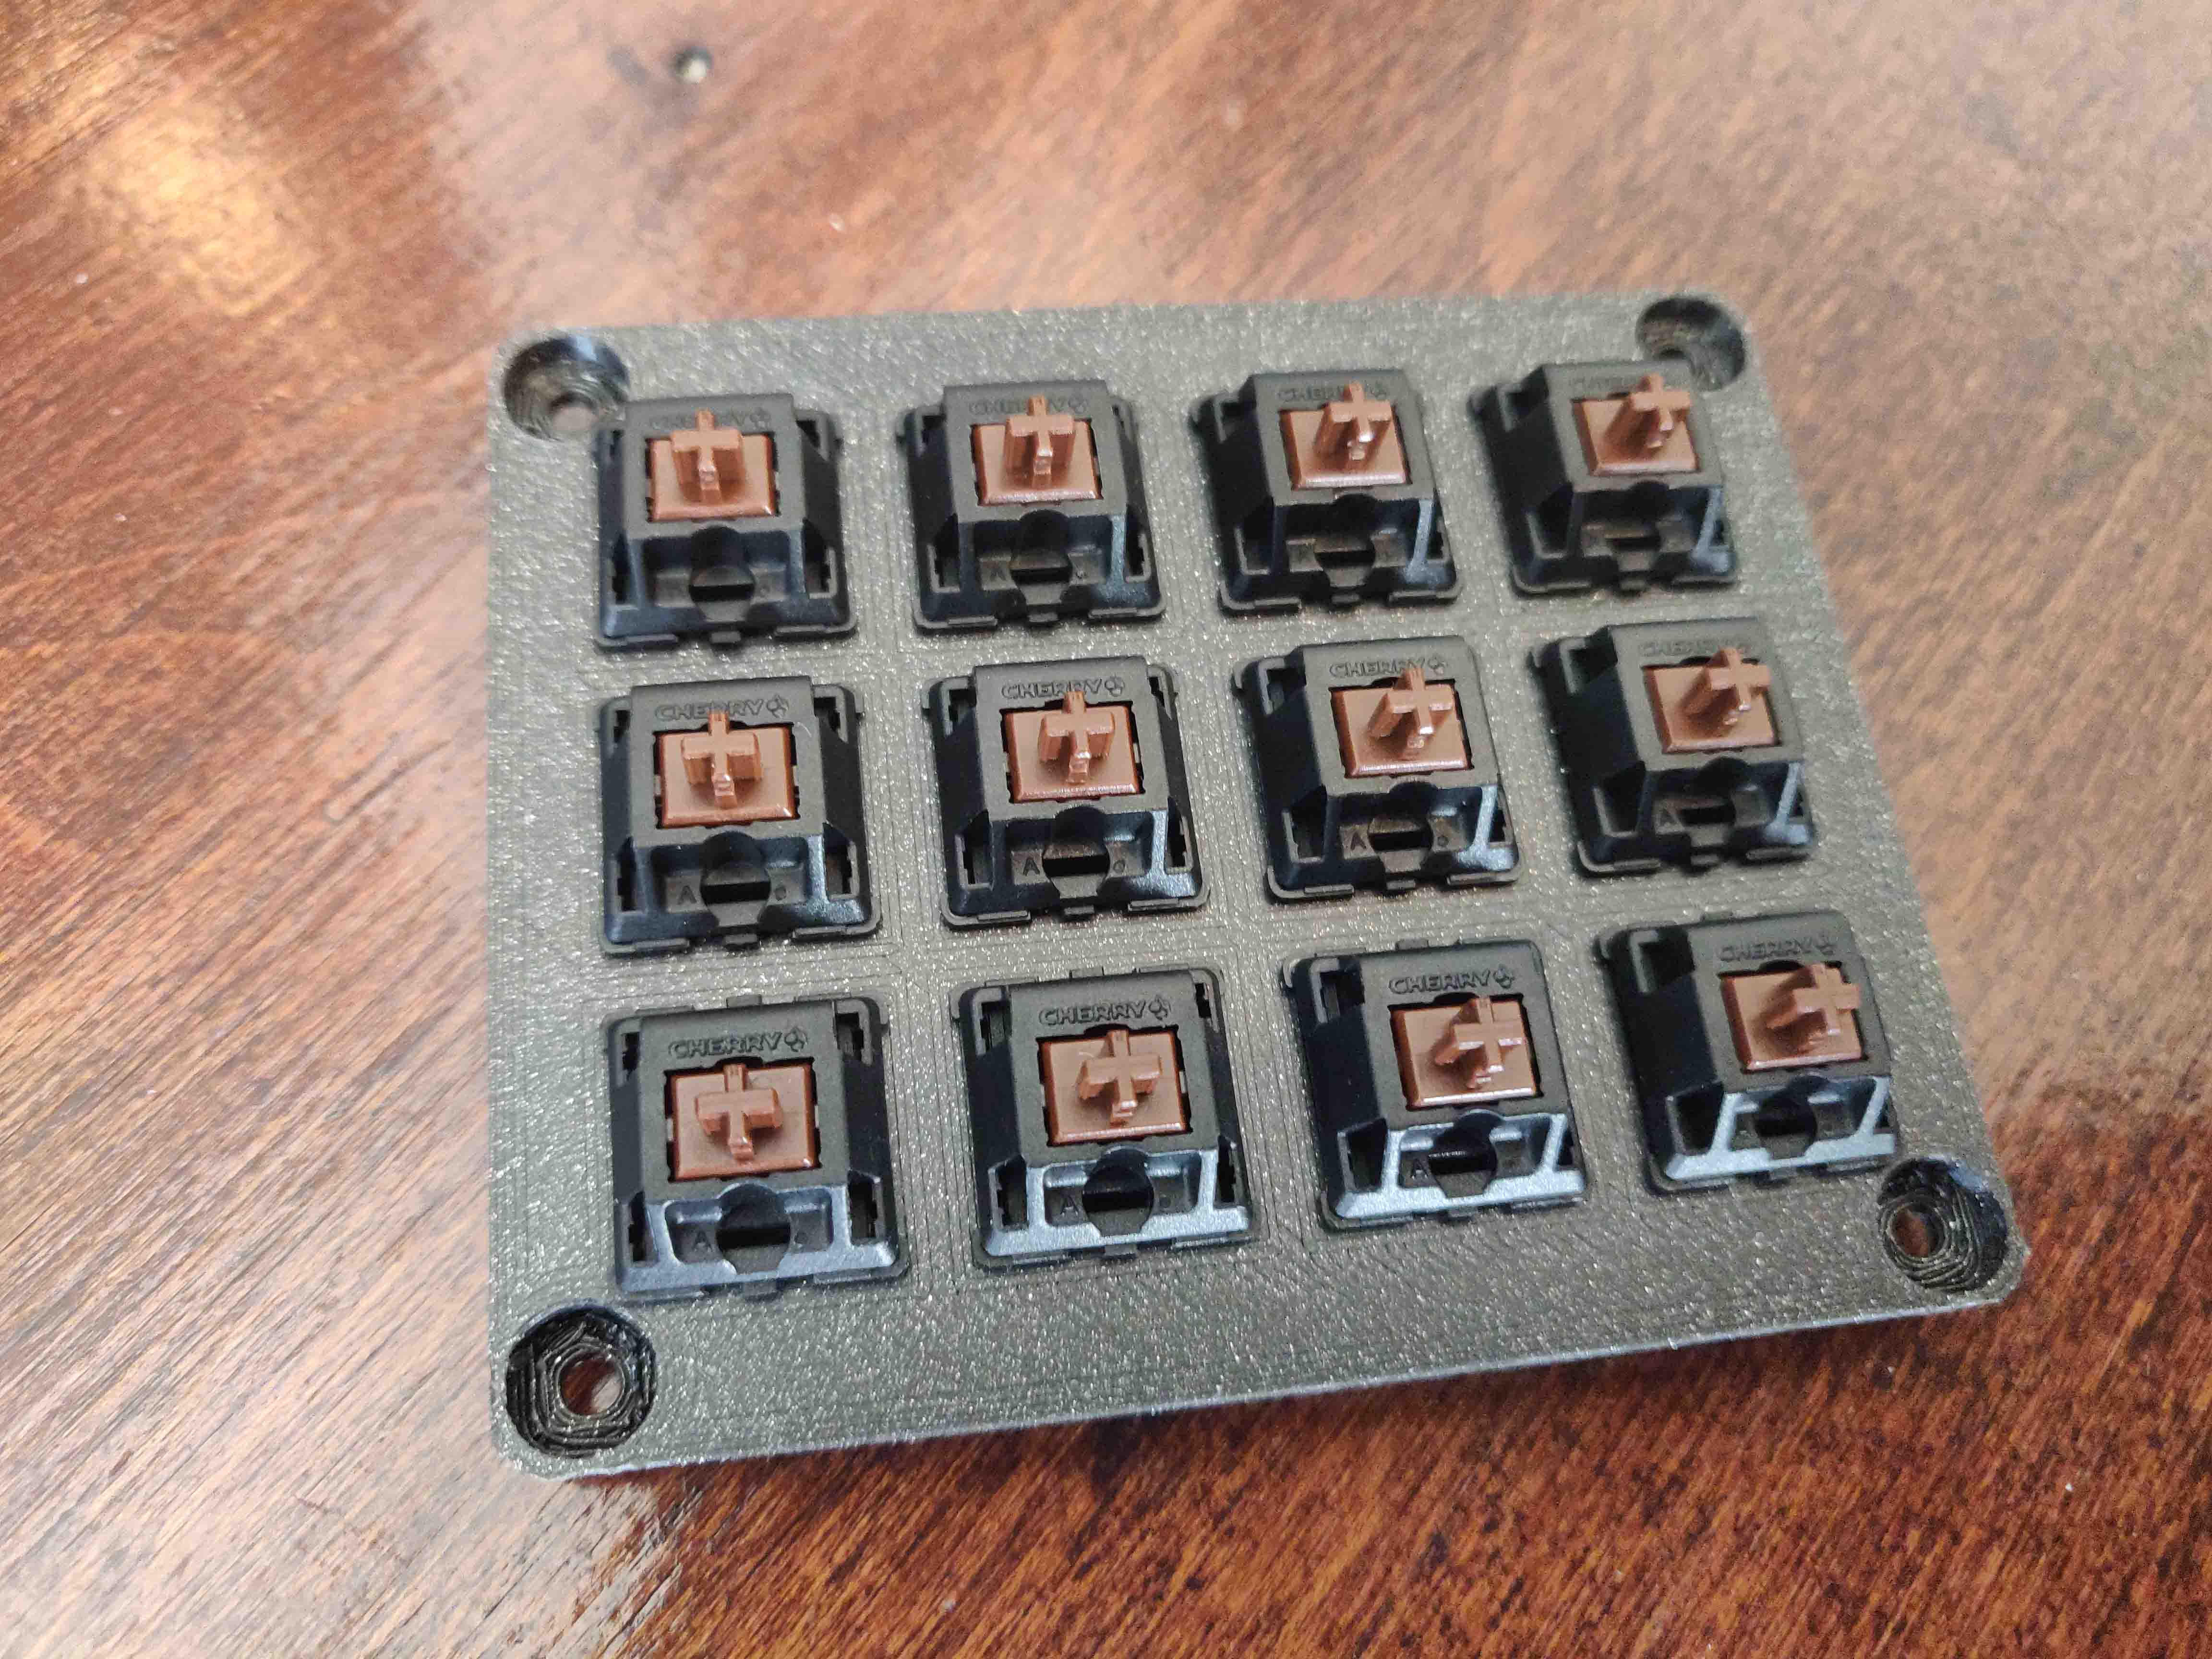
So I went ahead and printed the two necessary parts. The outer shell and the keygrid.
The fit-check for the arduino looked good, so I soldered it in place. After all this, it was time to assemble everything and give it a function test - which looked promising.
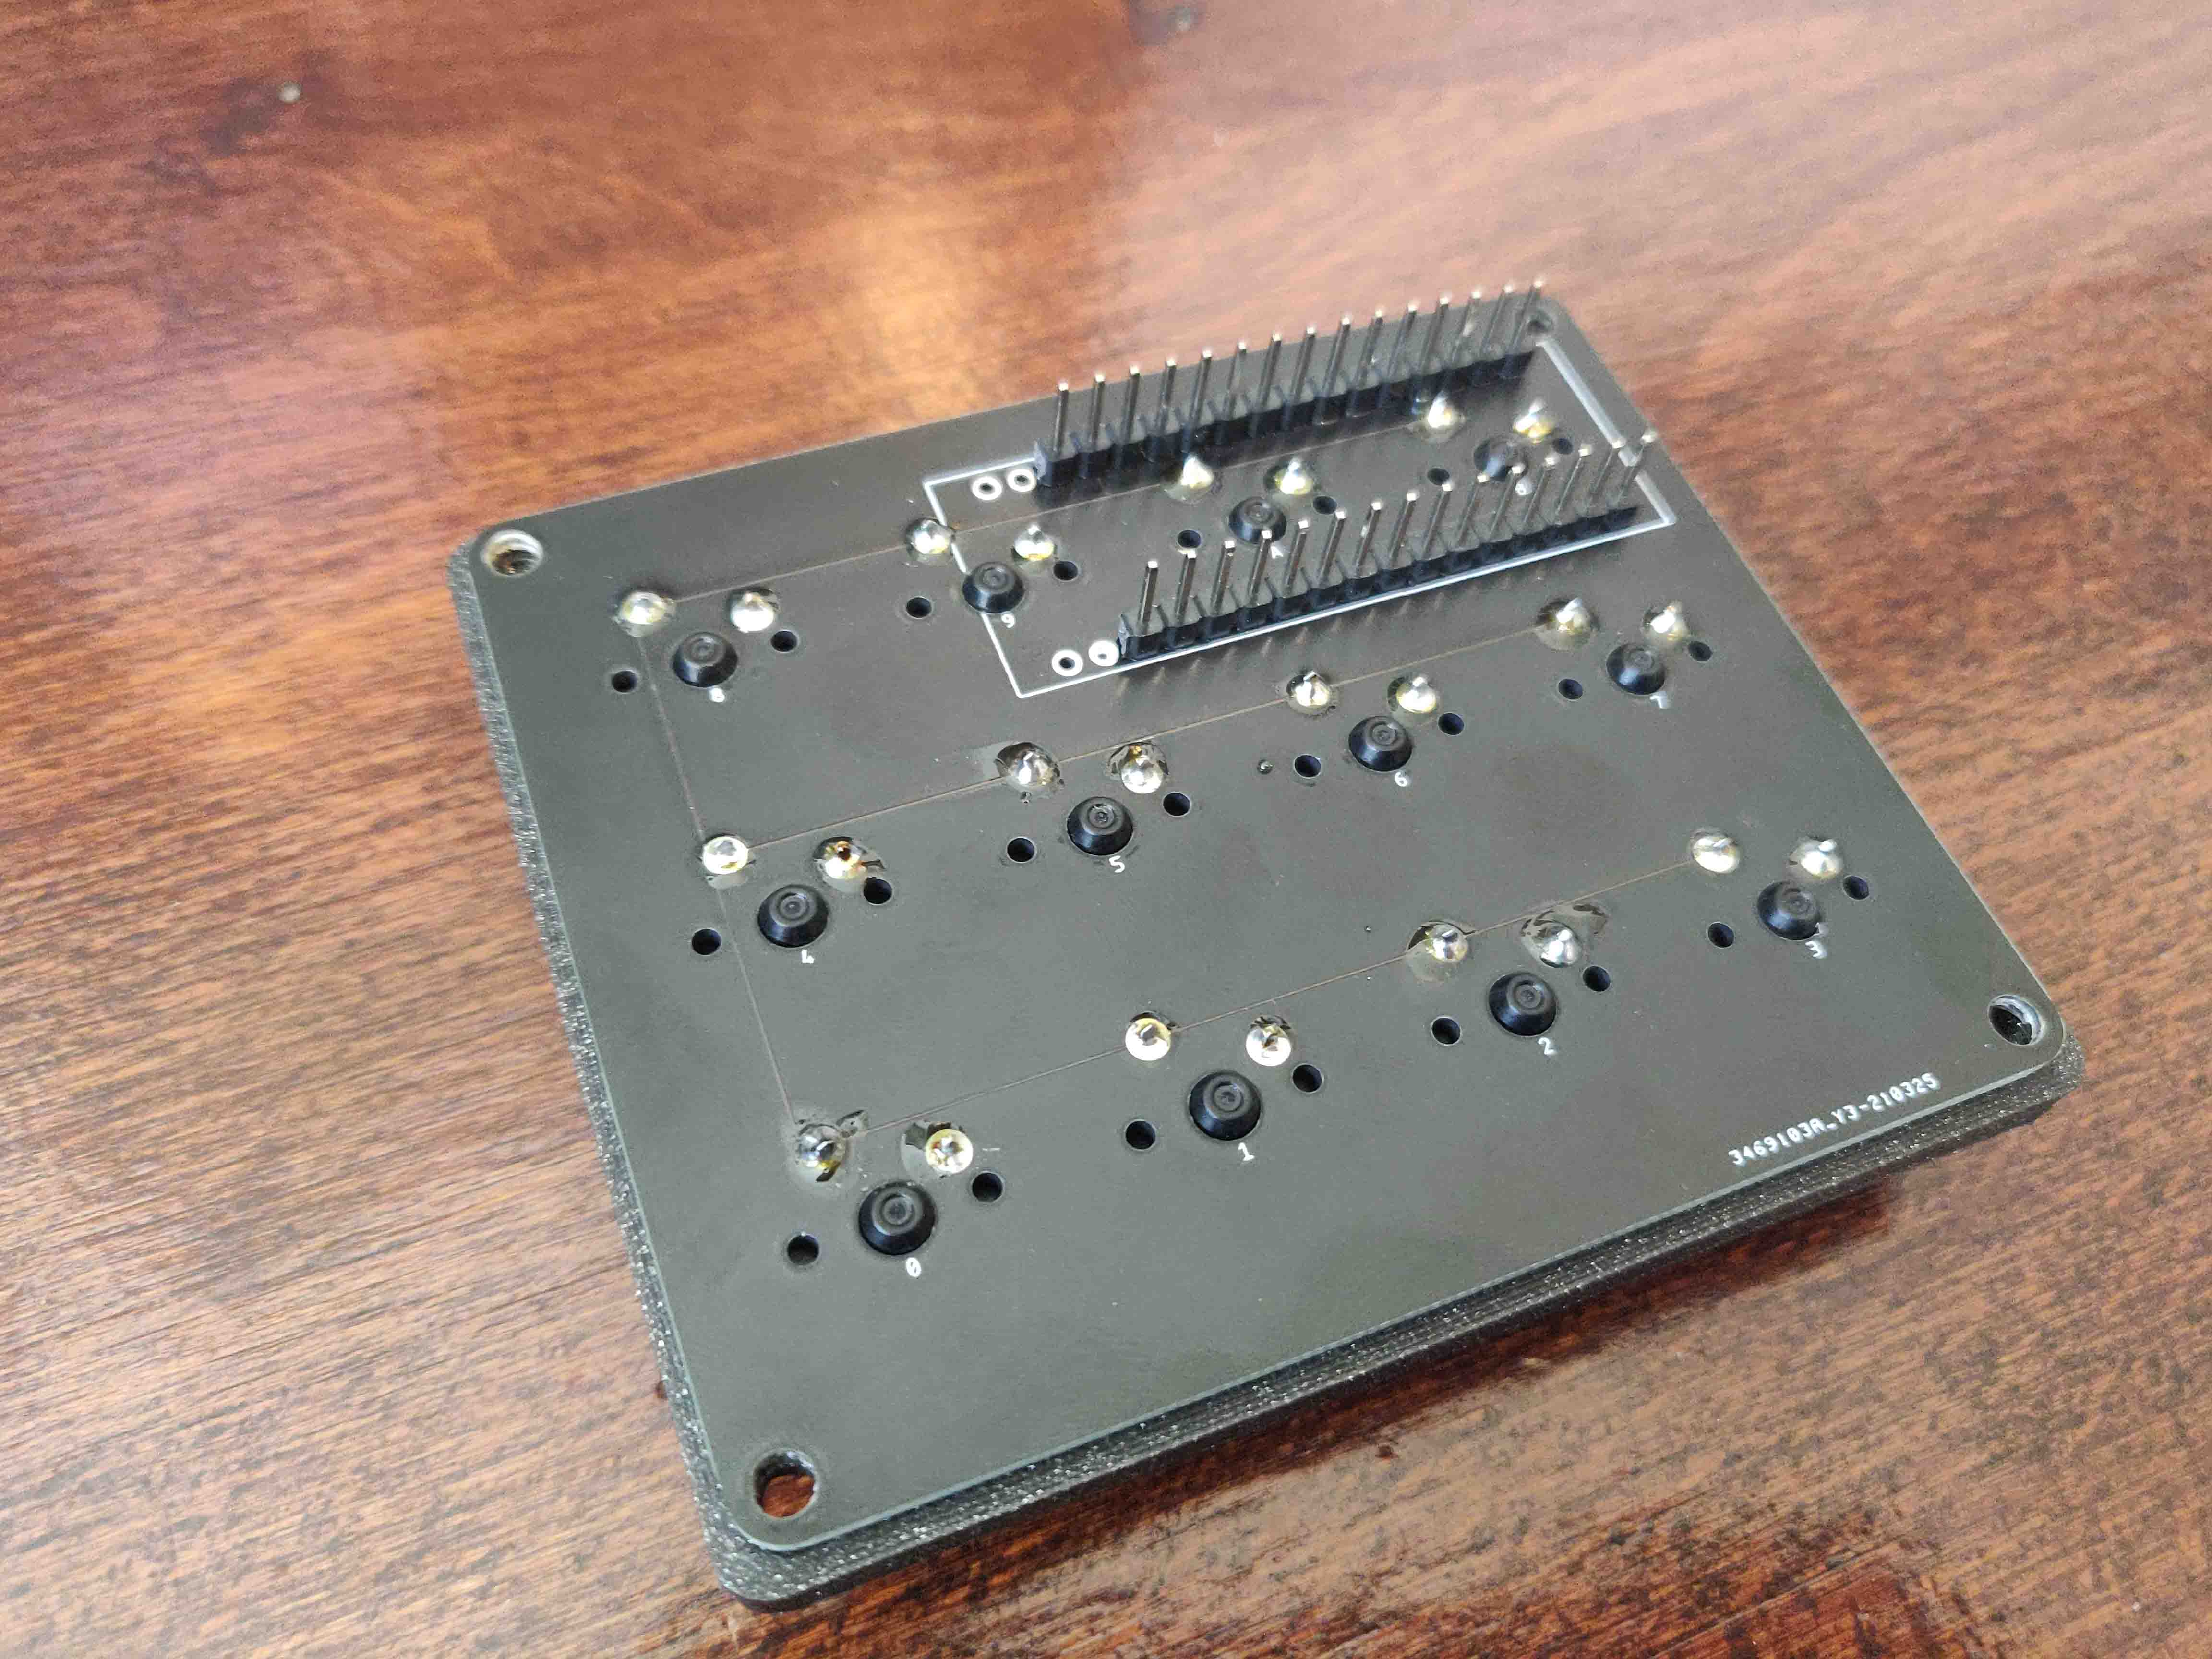
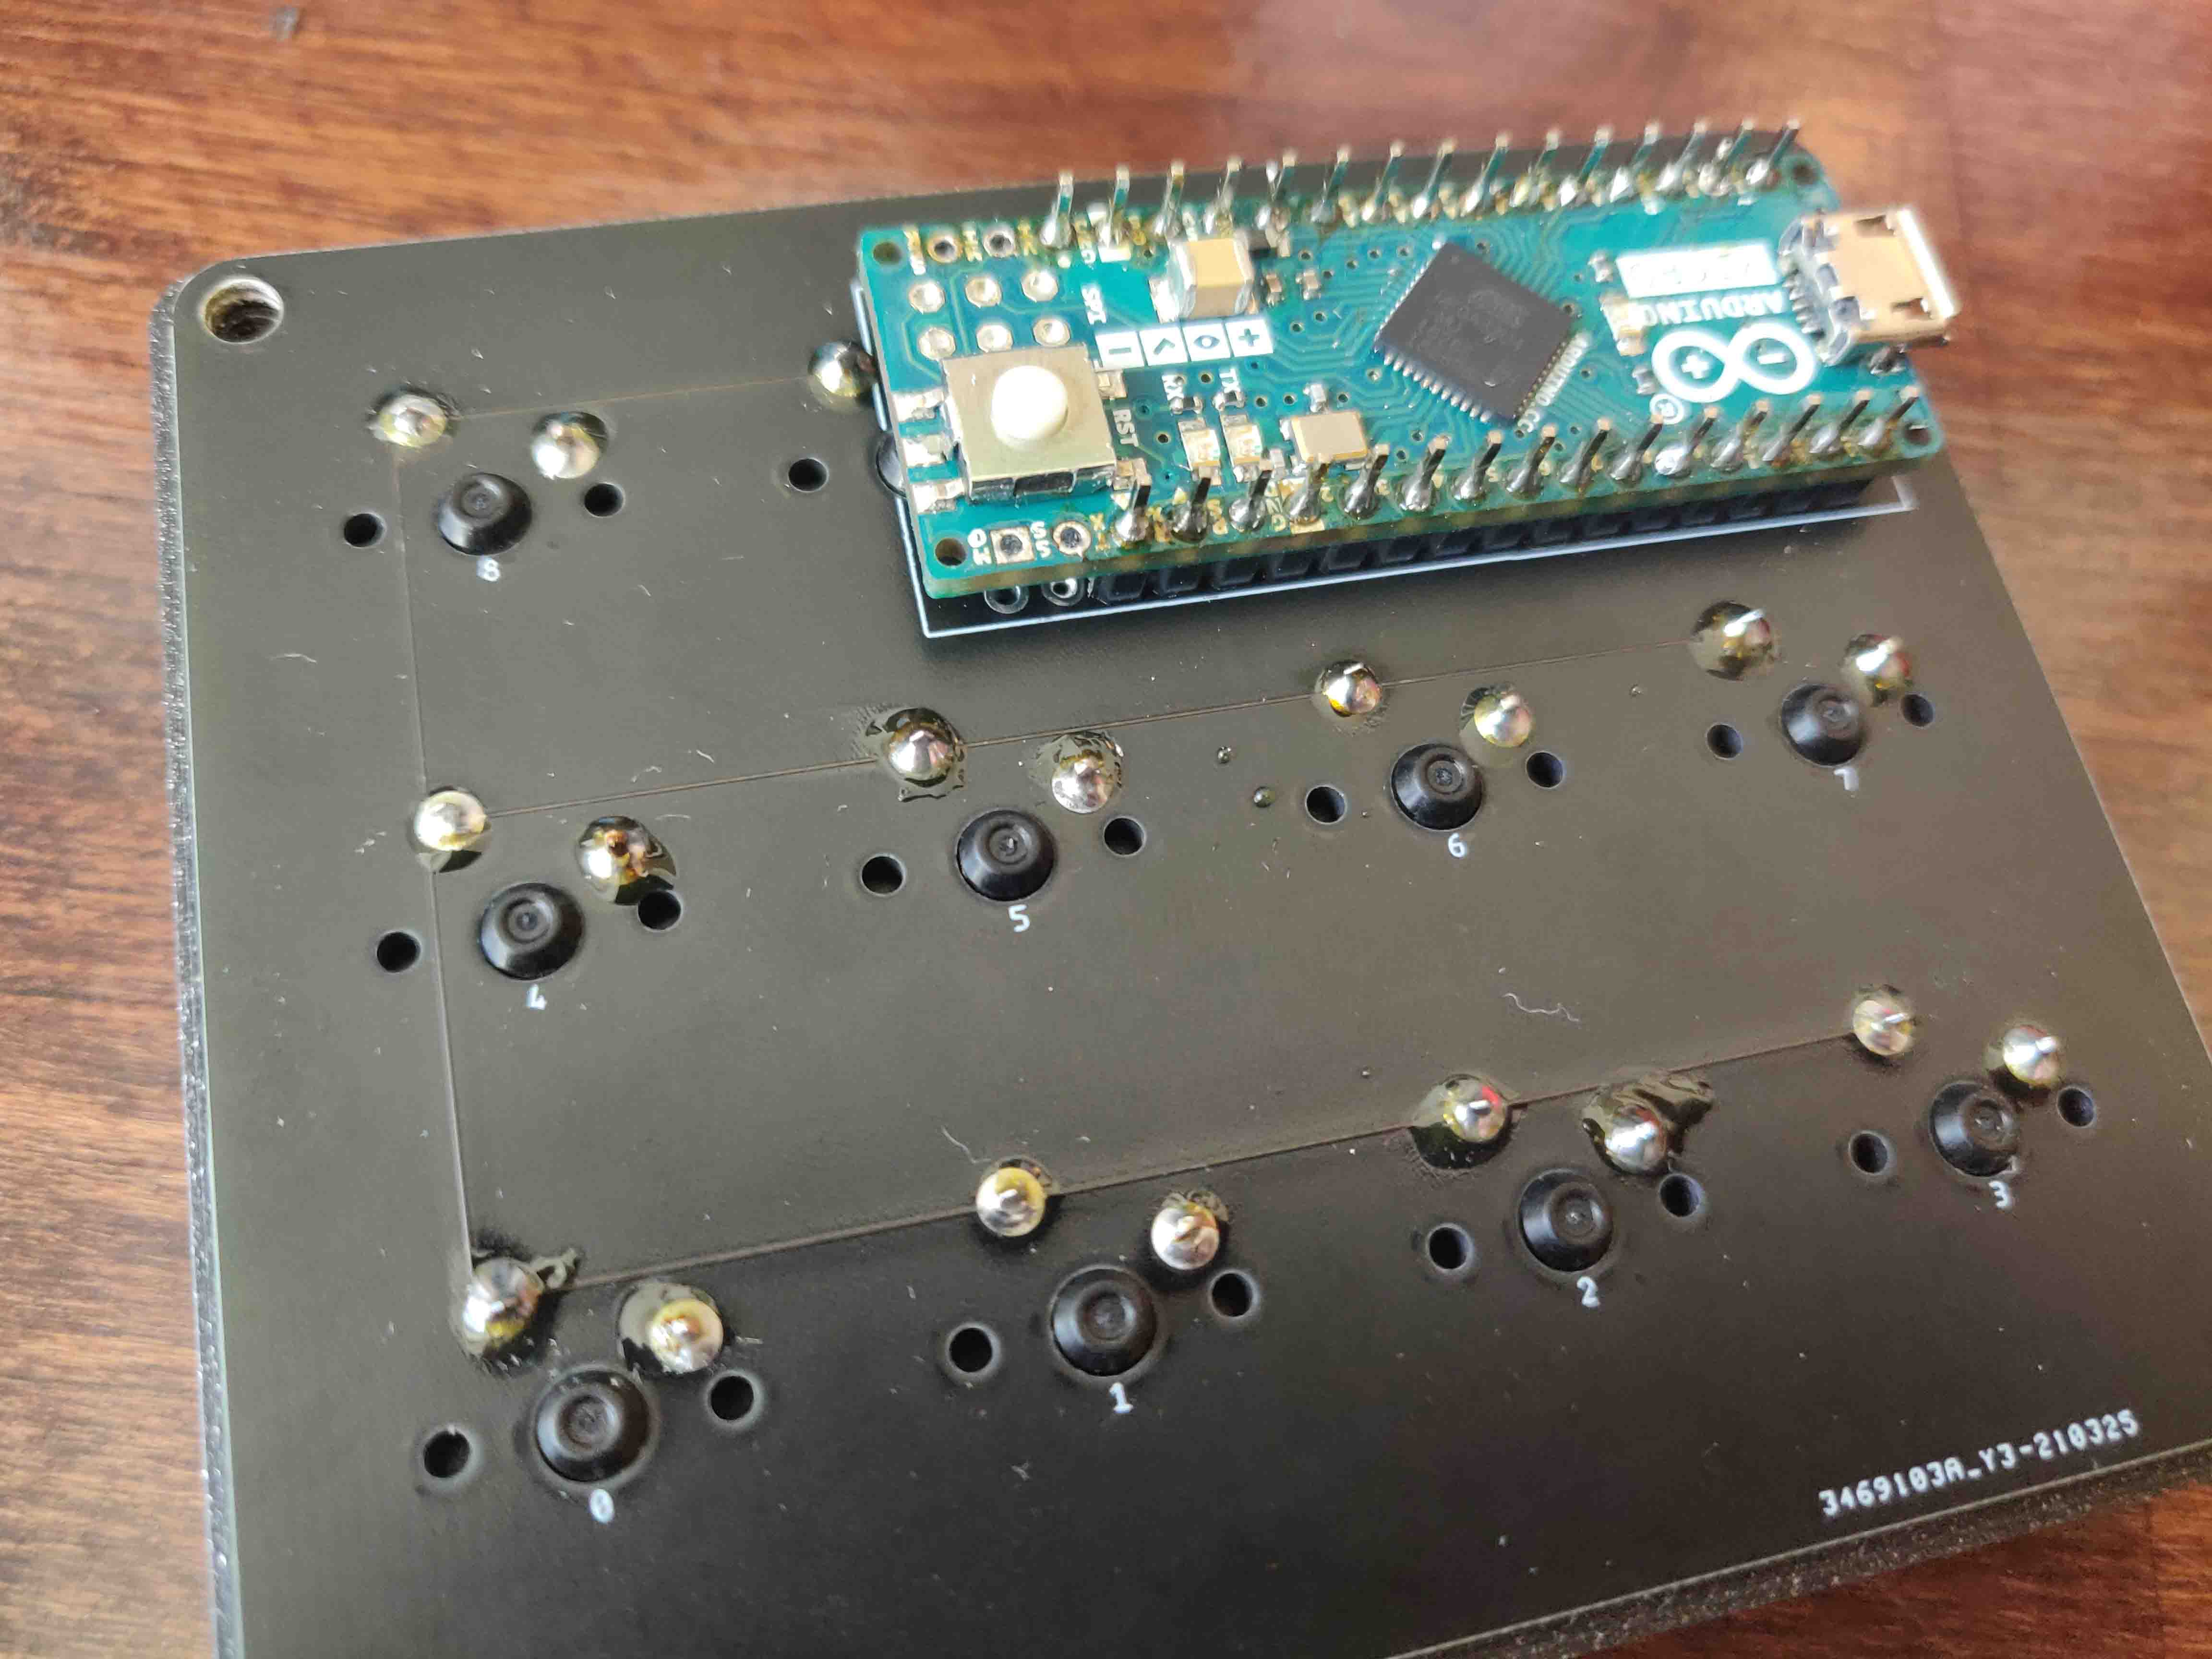
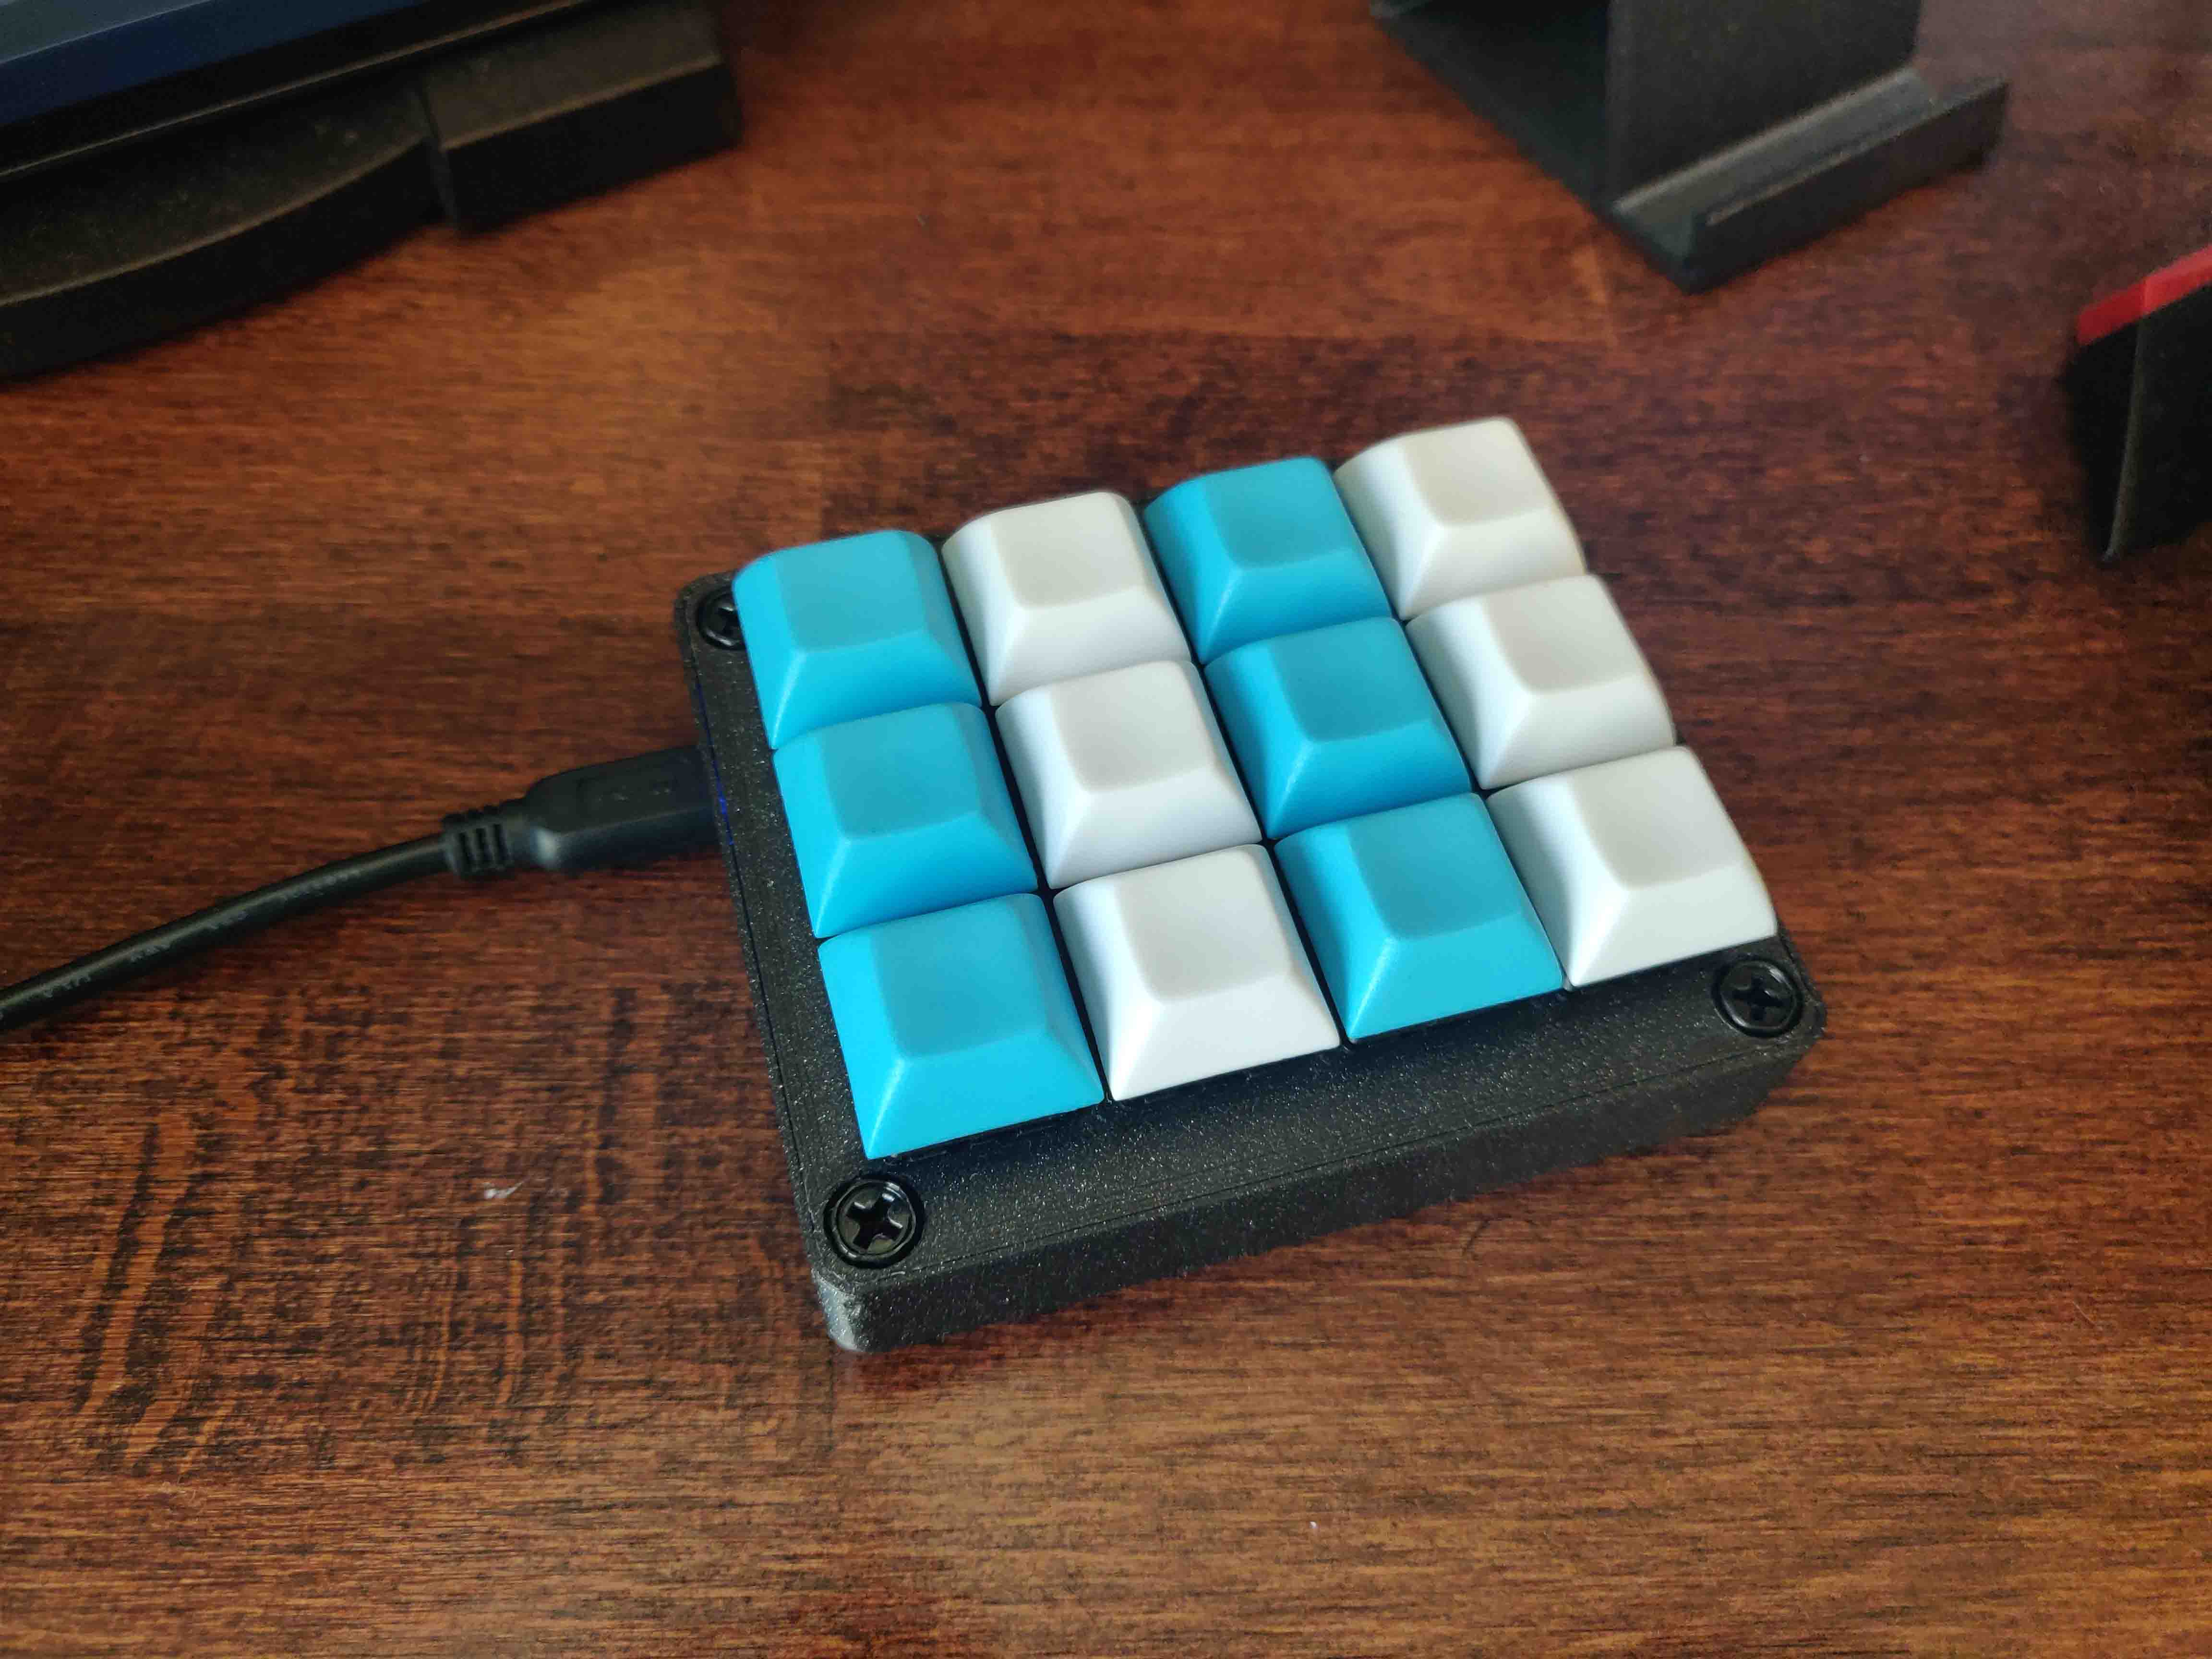
Update 17.04.2021
The interface between the Macropad (Hardware) and the C# program (Software) was handled by an Arduino Micro. The software for the arduino was written by David Madison over at partsnotincluded.com. I just modified it to fit my hardware setup.
/*
 *  Project     'Stream Cheap' Mini Macro Keyboard
 *  @author     David Madison
 *  @link       partsnotincluded.com/electronics/diy-stream-deck-mini-macro-keyboard
 *  @license    MIT - Copyright (c) 2018 David Madison
 *
 * Permission is hereby granted, free of charge, to any person obtaining a copy
 * of this software and associated documentation files (the "Software"), to deal
 * in the Software without restriction, including without limitation the rights
 * to use, copy, modify, merge, publish, distribute, sublicense, and/or sell
 * copies of the Software, and to permit persons to whom the Software is
 * furnished to do so, subject to the following conditions:
 *
 * The above copyright notice and this permission notice shall be included in
 * all copies or substantial portions of the Software.
 *
 * THE SOFTWARE IS PROVIDED "AS IS", WITHOUT WARRANTY OF ANY KIND, EXPRESS OR
 * IMPLIED, INCLUDING BUT NOT LIMITED TO THE WARRANTIES OF MERCHANTABILITY,
 * FITNESS FOR A PARTICULAR PURPOSE AND NONINFRINGEMENT. IN NO EVENT SHALL THE
 * AUTHORS OR COPYRIGHT HOLDERS BE LIABLE FOR ANY CLAIM, DAMAGES OR OTHER
 * LIABILITY, WHETHER IN AN ACTION OF CONTRACT, TORT OR OTHERWISE, ARISING FROM,
 * OUT OF OR IN CONNECTION WITH THE SOFTWARE OR THE USE OR OTHER DEALINGS IN
 * THE SOFTWARE.
 *
 */

// Key definitions
#define BUTTON_KEY1 KEY_F13
#define BUTTON_KEY2 KEY_F14
#define BUTTON_KEY3 KEY_F15
#define BUTTON_KEY4 KEY_F16
#define BUTTON_KEY5 KEY_F17
#define BUTTON_KEY6 KEY_F18
#define BUTTON_KEY7 KEY_F19
#define BUTTON_KEY8 KEY_F20
#define BUTTON_KEY9 KEY_F21
#define BUTTON_KEY10 KEY_F22
#define BUTTON_KEY11 KEY_F23
#define BUTTON_KEY12 KEY_F24

// Pin definitions
#define BUTTON_PIN1 2
#define BUTTON_PIN2 3
#define BUTTON_PIN3 4
#define BUTTON_PIN4 5
#define BUTTON_PIN5 6
#define BUTTON_PIN6 7
#define BUTTON_PIN7 8
#define BUTTON_PIN8 9
#define BUTTON_PIN9 10
#define BUTTON_PIN10 11
#define BUTTON_PIN11 12
#define BUTTON_PIN12 13
// ---------------------------------

#include "Keyboard.h"

// Button helper class for handling press/release and debouncing
class button {
  public:
  const char key;
  const uint8_t pin;

  button(uint8_t k, uint8_t p) : key(k), pin(p){}

  void press(boolean state){
    if(state == pressed || (millis() - lastPressed  <= debounceTime)){
      return; // Nothing to see here, folks
    }

    lastPressed = millis();

    //state ? Keyboard.press(KEY_LEFT_SHIFT) : Keyboard.release(KEY_LEFT_SHIFT);
    state ? Keyboard.press(key) : Keyboard.release(key);
    pressed = state;
  }

  void update(){
    press(!digitalRead(pin));
  }

  private:
  const unsigned long debounceTime = 100;
  unsigned long lastPressed = 0;
  boolean pressed = 0;
} ;

// Button objects, organized in array
button buttons[] = {
  {BUTTON_KEY1, BUTTON_PIN1},
  {BUTTON_KEY2, BUTTON_PIN2},
  {BUTTON_KEY3, BUTTON_PIN3},
  {BUTTON_KEY4, BUTTON_PIN4},
  {BUTTON_KEY5, BUTTON_PIN5},
  {BUTTON_KEY6, BUTTON_PIN6},
  {BUTTON_KEY7, BUTTON_PIN7},
  {BUTTON_KEY8, BUTTON_PIN8},
  {BUTTON_KEY9, BUTTON_PIN9},
  {BUTTON_KEY10, BUTTON_PIN10},
  {BUTTON_KEY11, BUTTON_PIN11},
  {BUTTON_KEY12, BUTTON_PIN12},

};

const uint8_t NumButtons = sizeof(buttons) / sizeof(button);
const uint8_t ledPin = 17;

void setup() {
  // Safety check. Ground pin #1 (RX) to cancel keyboard inputs.
  pinMode(1, INPUT_PULLUP);
  if(!digitalRead(1)){
    failsafe();
  }

  // Set LEDs Off. Active low.
  pinMode(ledPin, OUTPUT);
  digitalWrite(ledPin, HIGH);
  TXLED0;

  for(int i = 0; i < NumButtons; i++){
    pinMode(buttons[i].pin, INPUT_PULLUP);
  }
}

void loop() {
  for(int i = 0; i < NumButtons; i++){
    buttons[i].update();
  }
}

void failsafe(){
  for(;;){} // Just going to hang out here for awhile :D
}
Update 22.04.2021
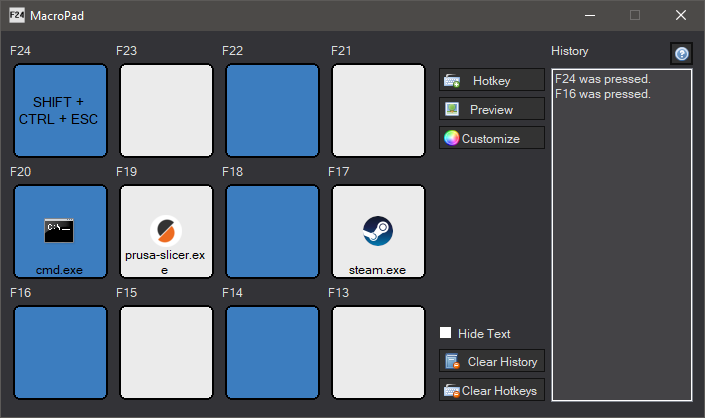
Time for the C# program. My feature list consisted of:
- Global hotkeys - usable on the desktop and in games.
- A small history window, so you know which button you pressed.
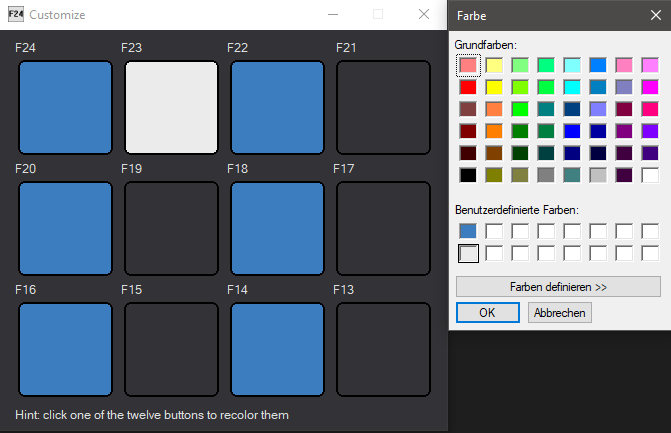
- Each button should be colorable individually.
- A resizeable preview window - which has no function - and can be used as a cheat sheet.
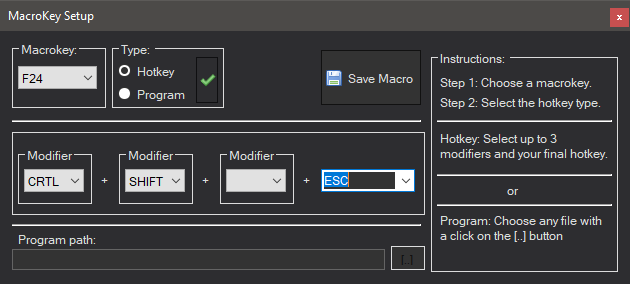
- The user should decide which function each hotkey has. Either a combination of up to 4 button (
CRTL, SHIFT, ALT + any other button on the keyboard), or use a hotkey button to launch programs.
- The program should be launchable with a argument. In this case
-mini. Just append it to the shortcut and it will launch in the system tray ("C:/User/Program.exe - mini").
- Hide the names of the
*.exe files.
- Program has darkmode enabled by default.
This is MacroPad.
Written in C# without any external libraries. I just had to use two hooks into the user32.dll to receive my hotkeys.
[DllImport("user32.dll")]
public static extern IntPtr PostMessage(IntPtr hWnd, uint Msg, IntPtr wParam, IntPtr lParam);
[DllImport("user32.dll")]
public static extern bool RegisterHotKey(IntPtr hWnd, int id, int fsModifers, int vlc);
With these two hook I could simply register as many hotkeys as I want. In my case - 12. RegisterHotKey(this.Handle, _CTRL_F13, 0, (int)Keys.F13);
Now I used a simple switch case to test which key was pressed by the user and perform the hotkey/program, which was determined by the user.
 if (m.Msg == 0x0312)
                {
                    int _hotkey = m.WParam.ToInt32();
                    switch (_hotkey)
                    {
                        case 13:
                            //F13 was pressed
                            break;
                        case 14:
                            //F14 was pressed
                            break;
The program lauch was as easy as.
Process.Start(_programpath defined by the user_);
The hotkeys were handled by.
SendKeys.Send();
